Jump to main content Jump to navigation Jump to footer

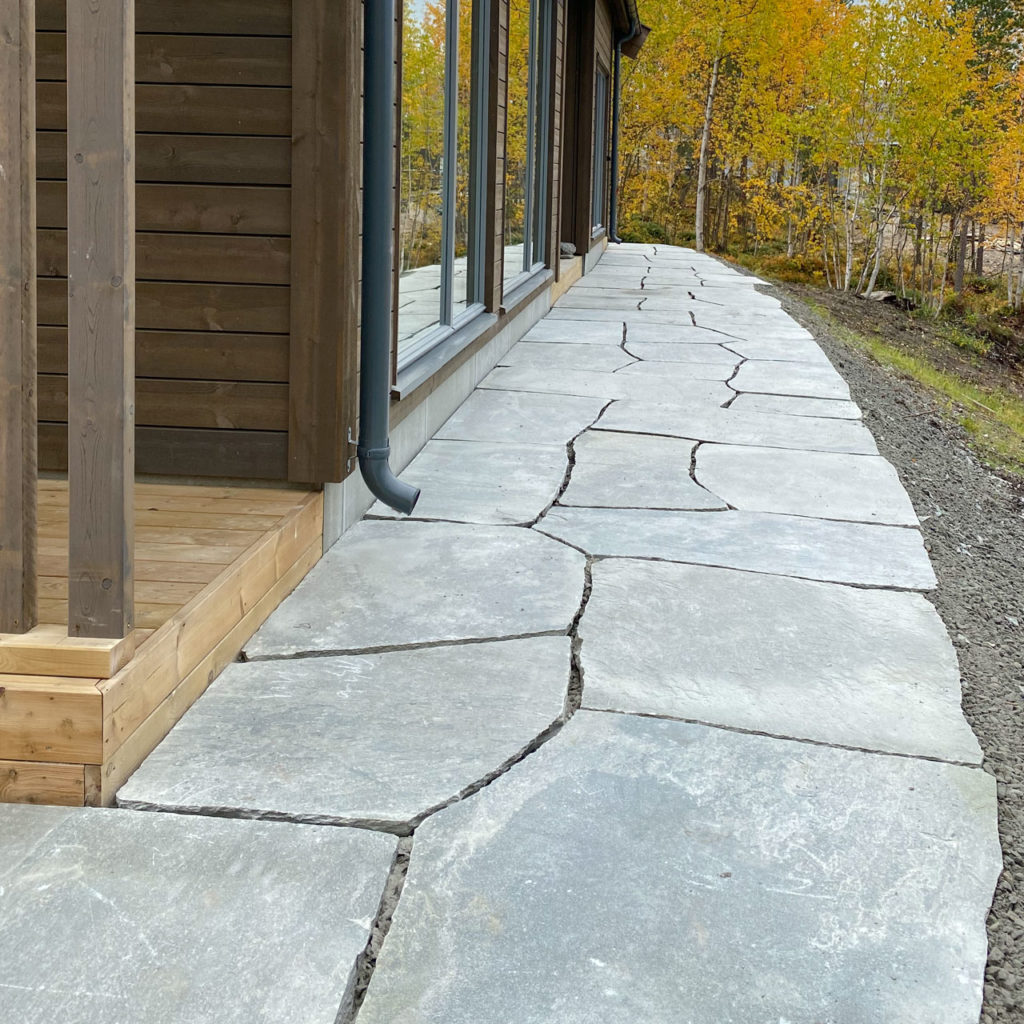
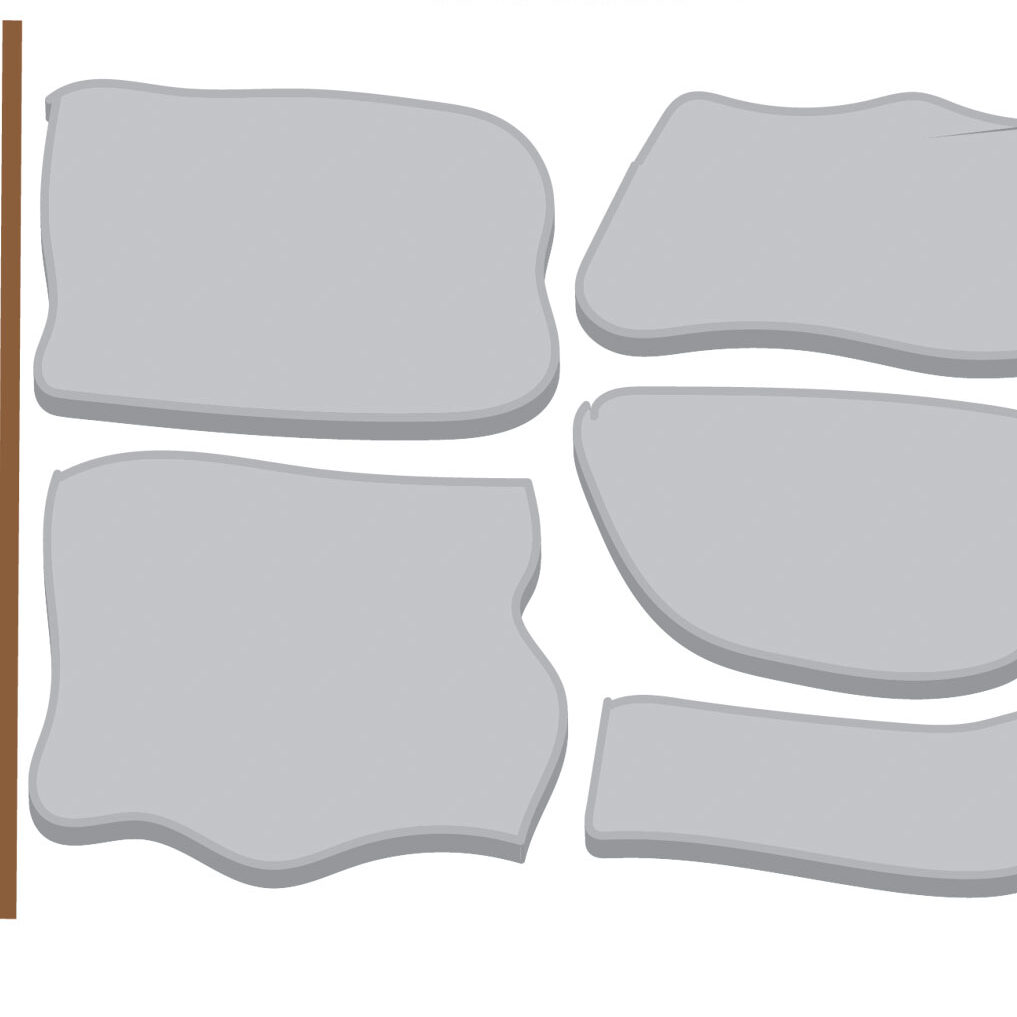
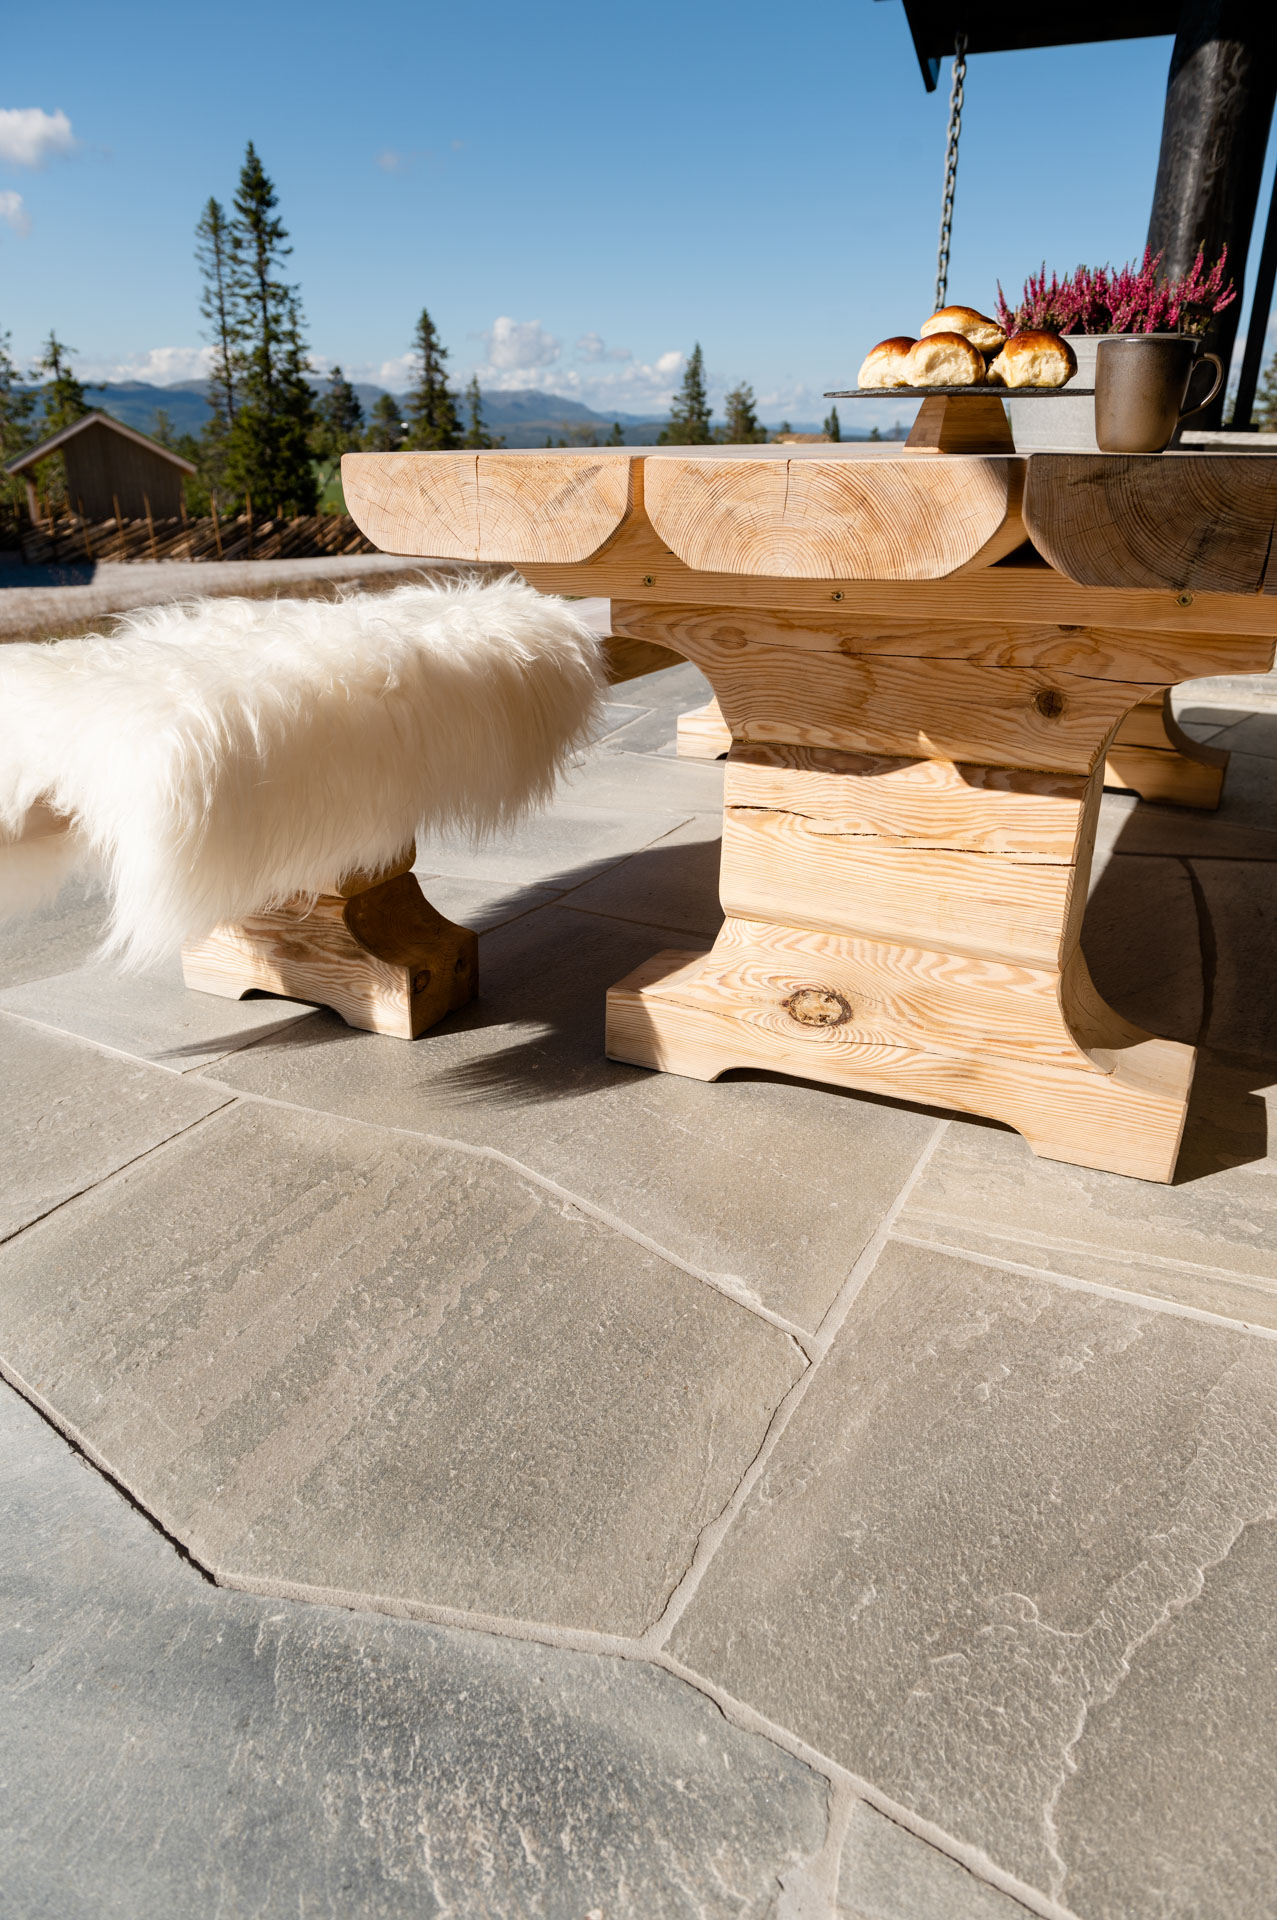
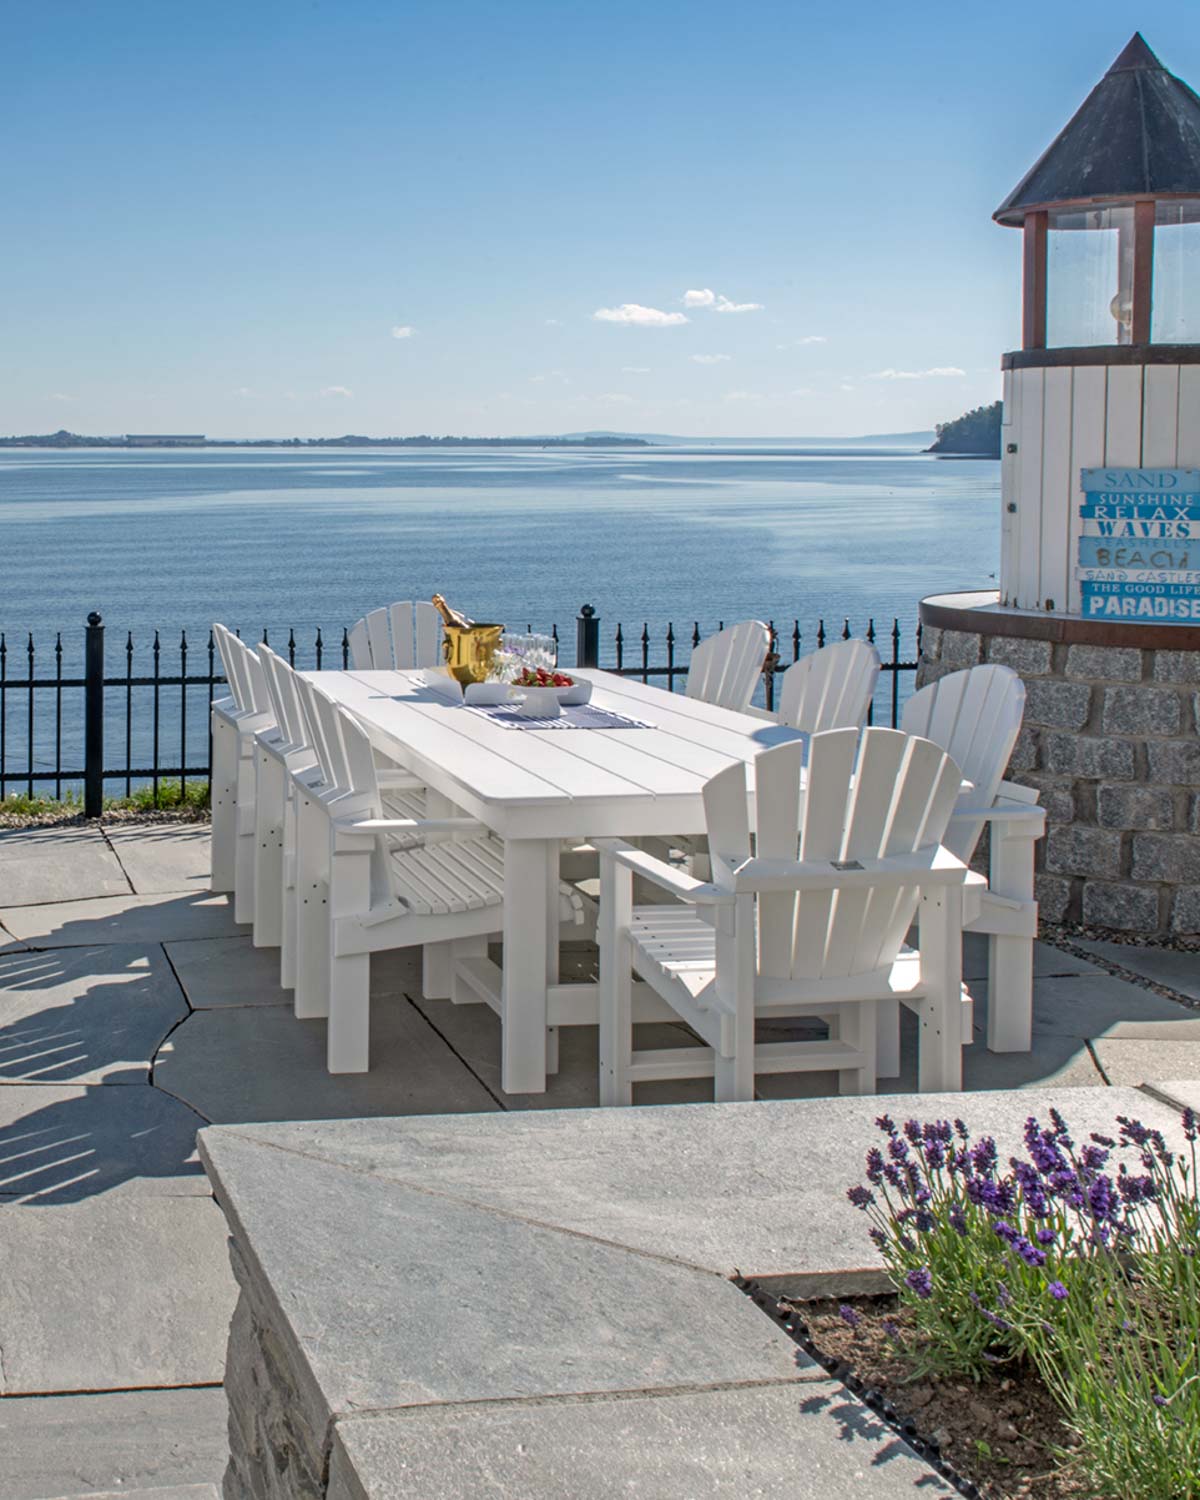
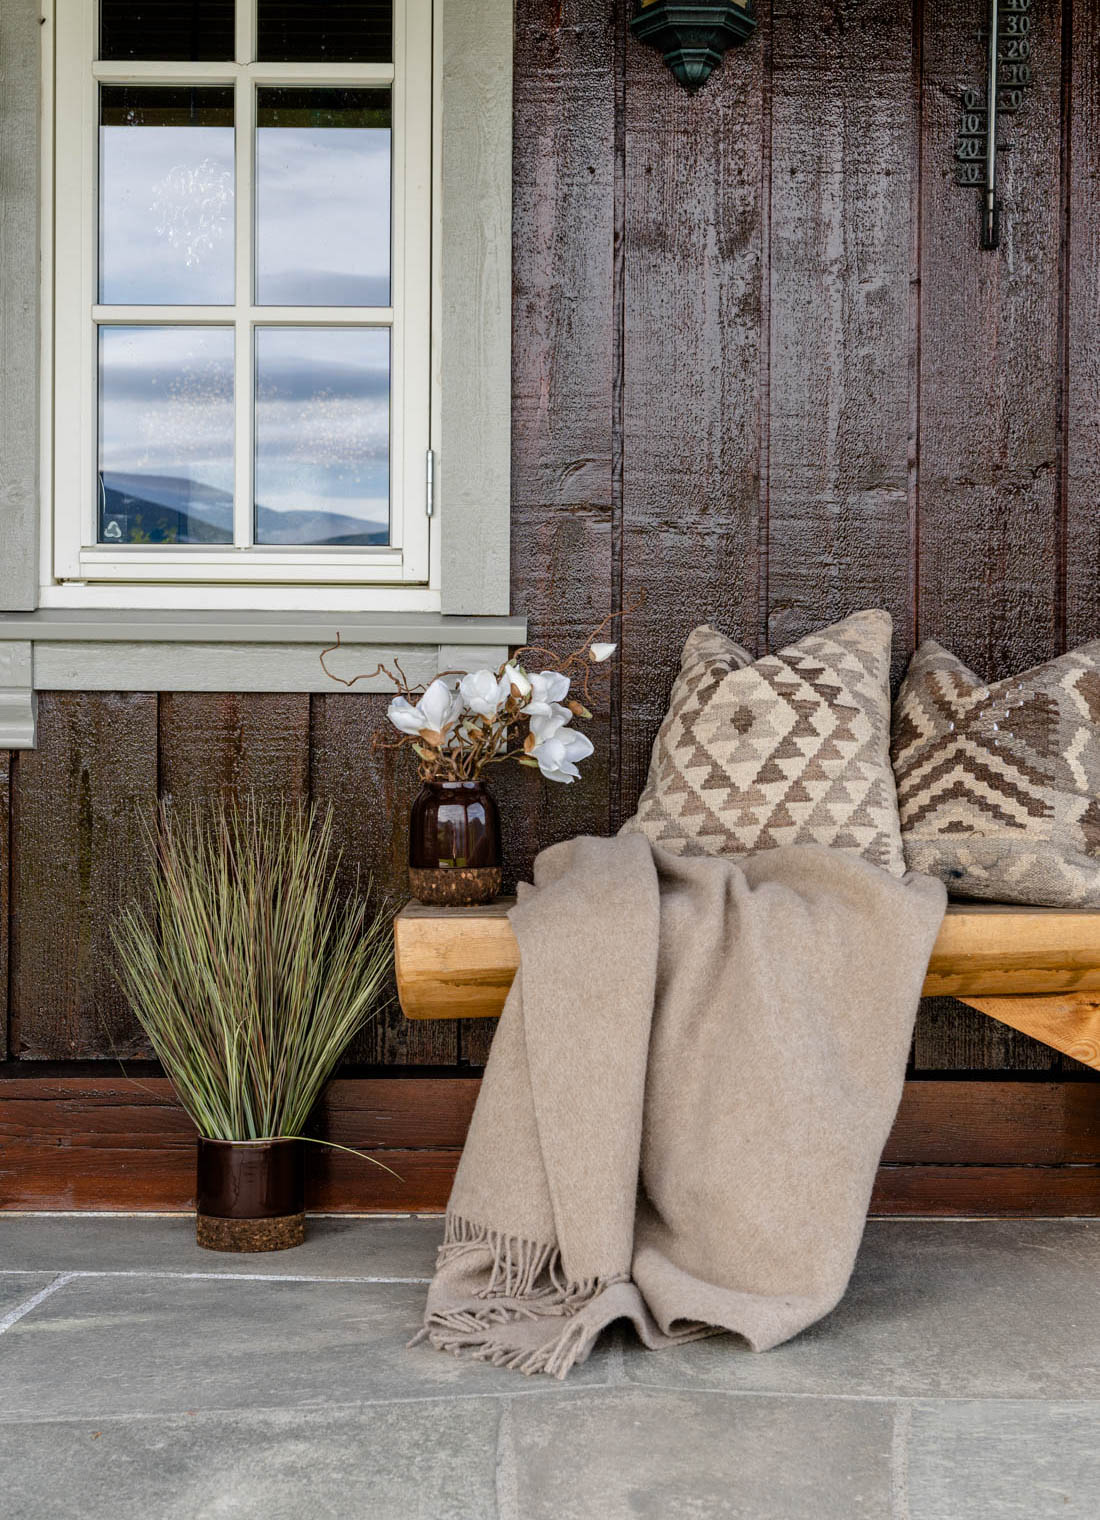
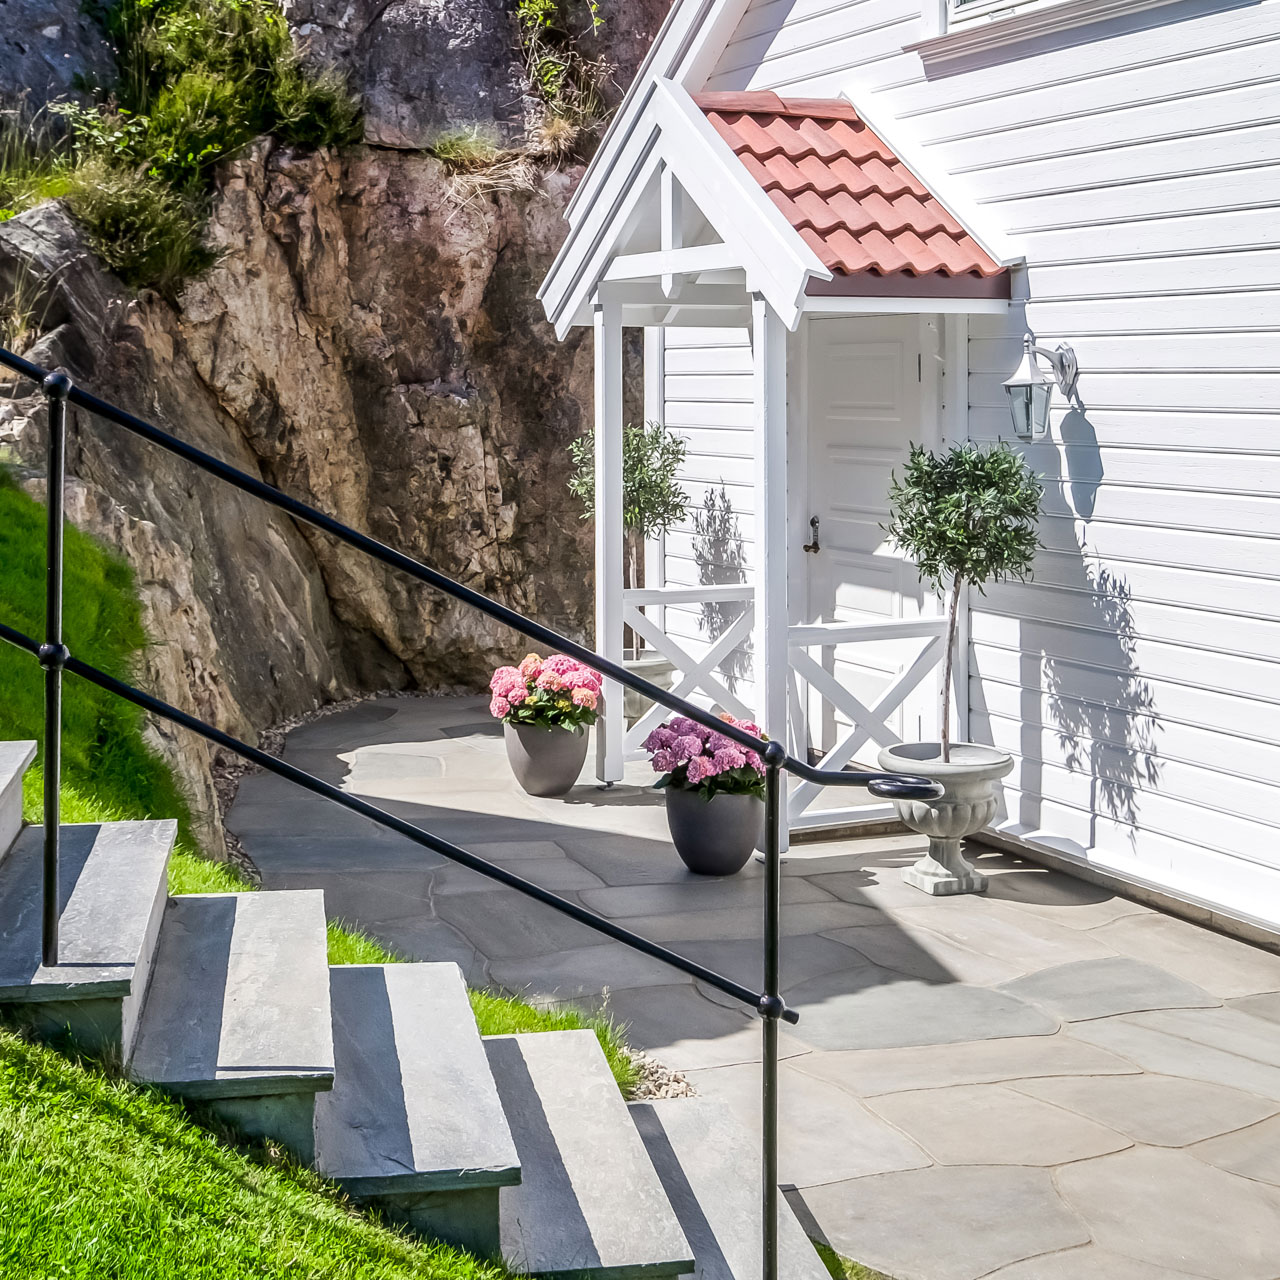
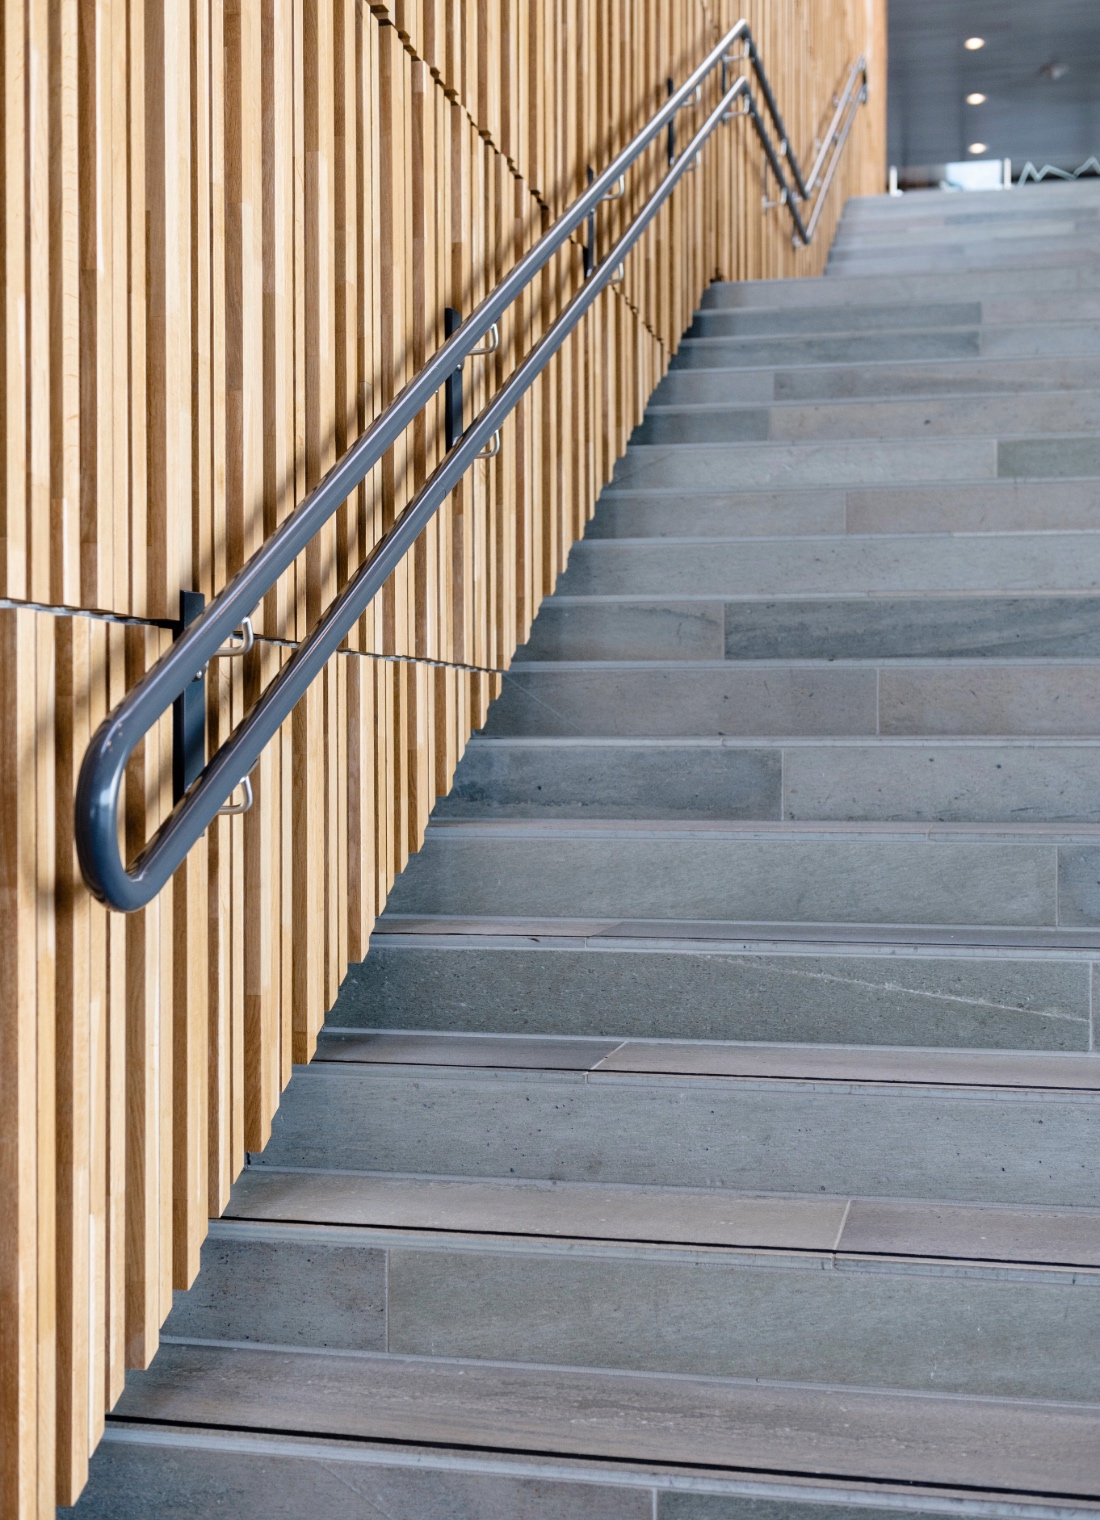
How to lay a paved area and path with large flagstones

Lys grå store bruddskifer fra Oppdal er lagt som en bred gangsti rundt en hytte.

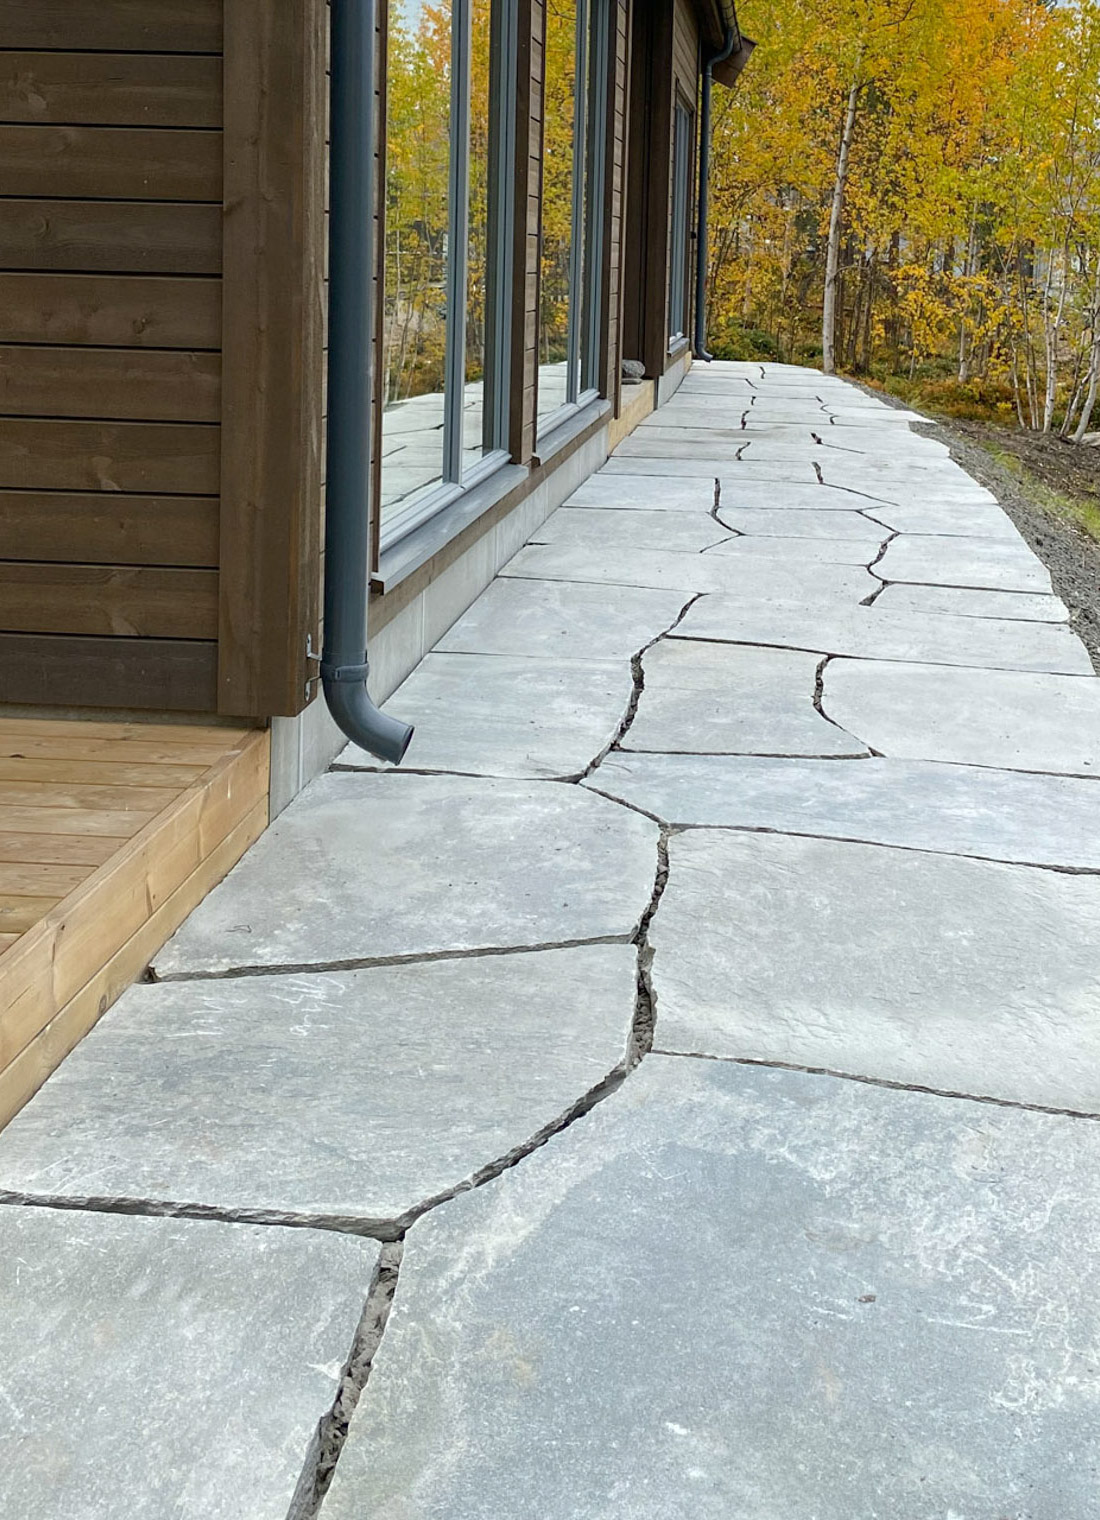
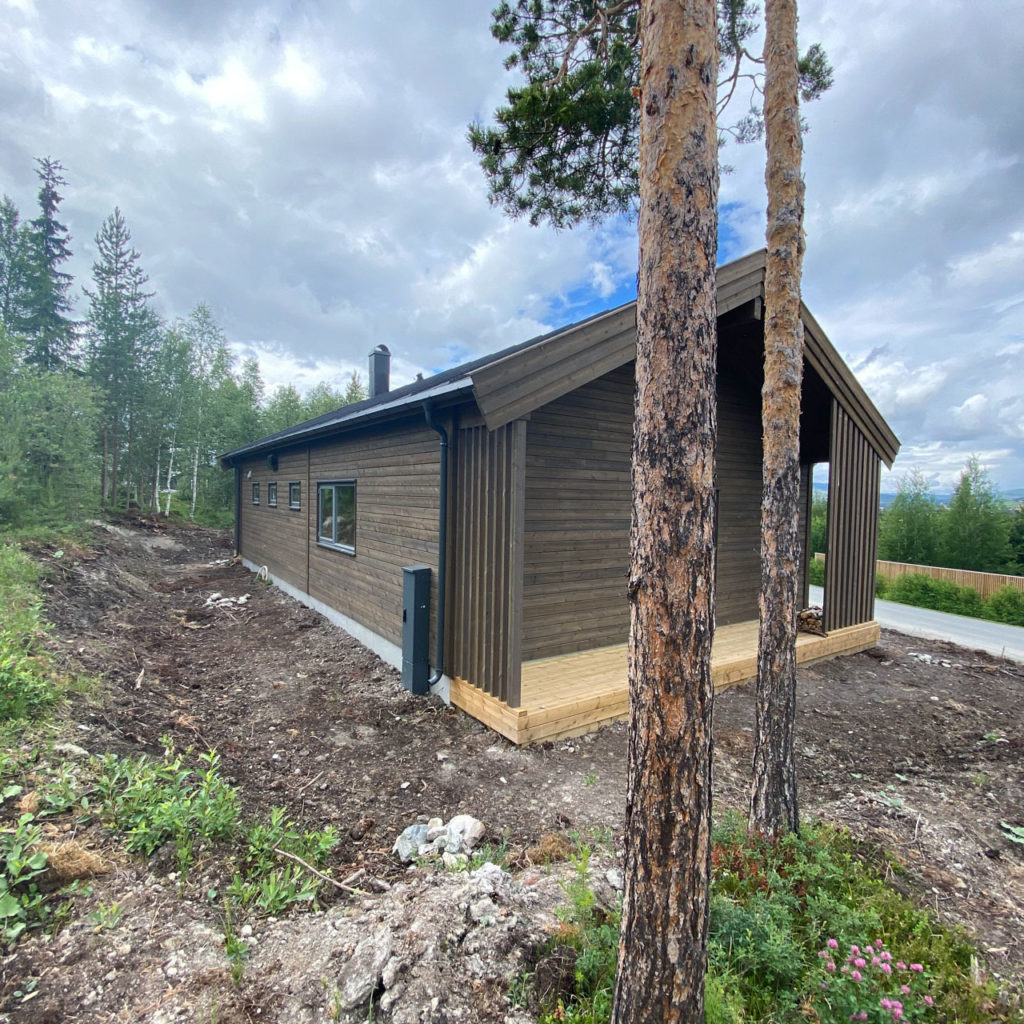
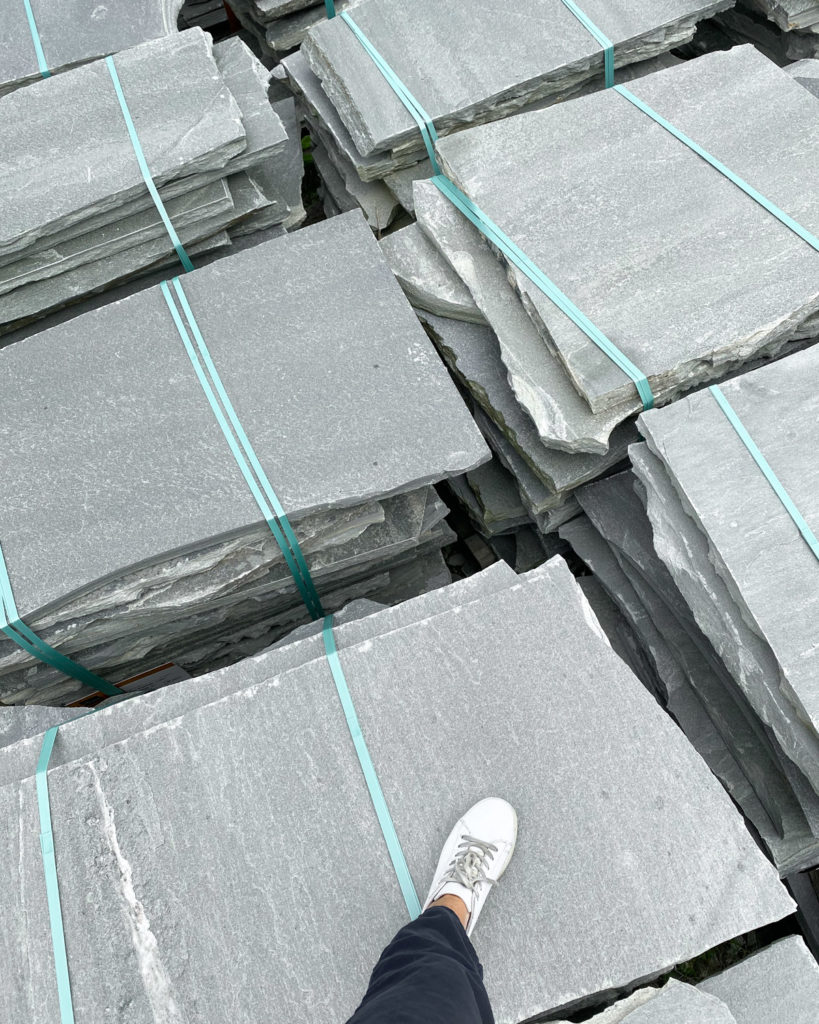
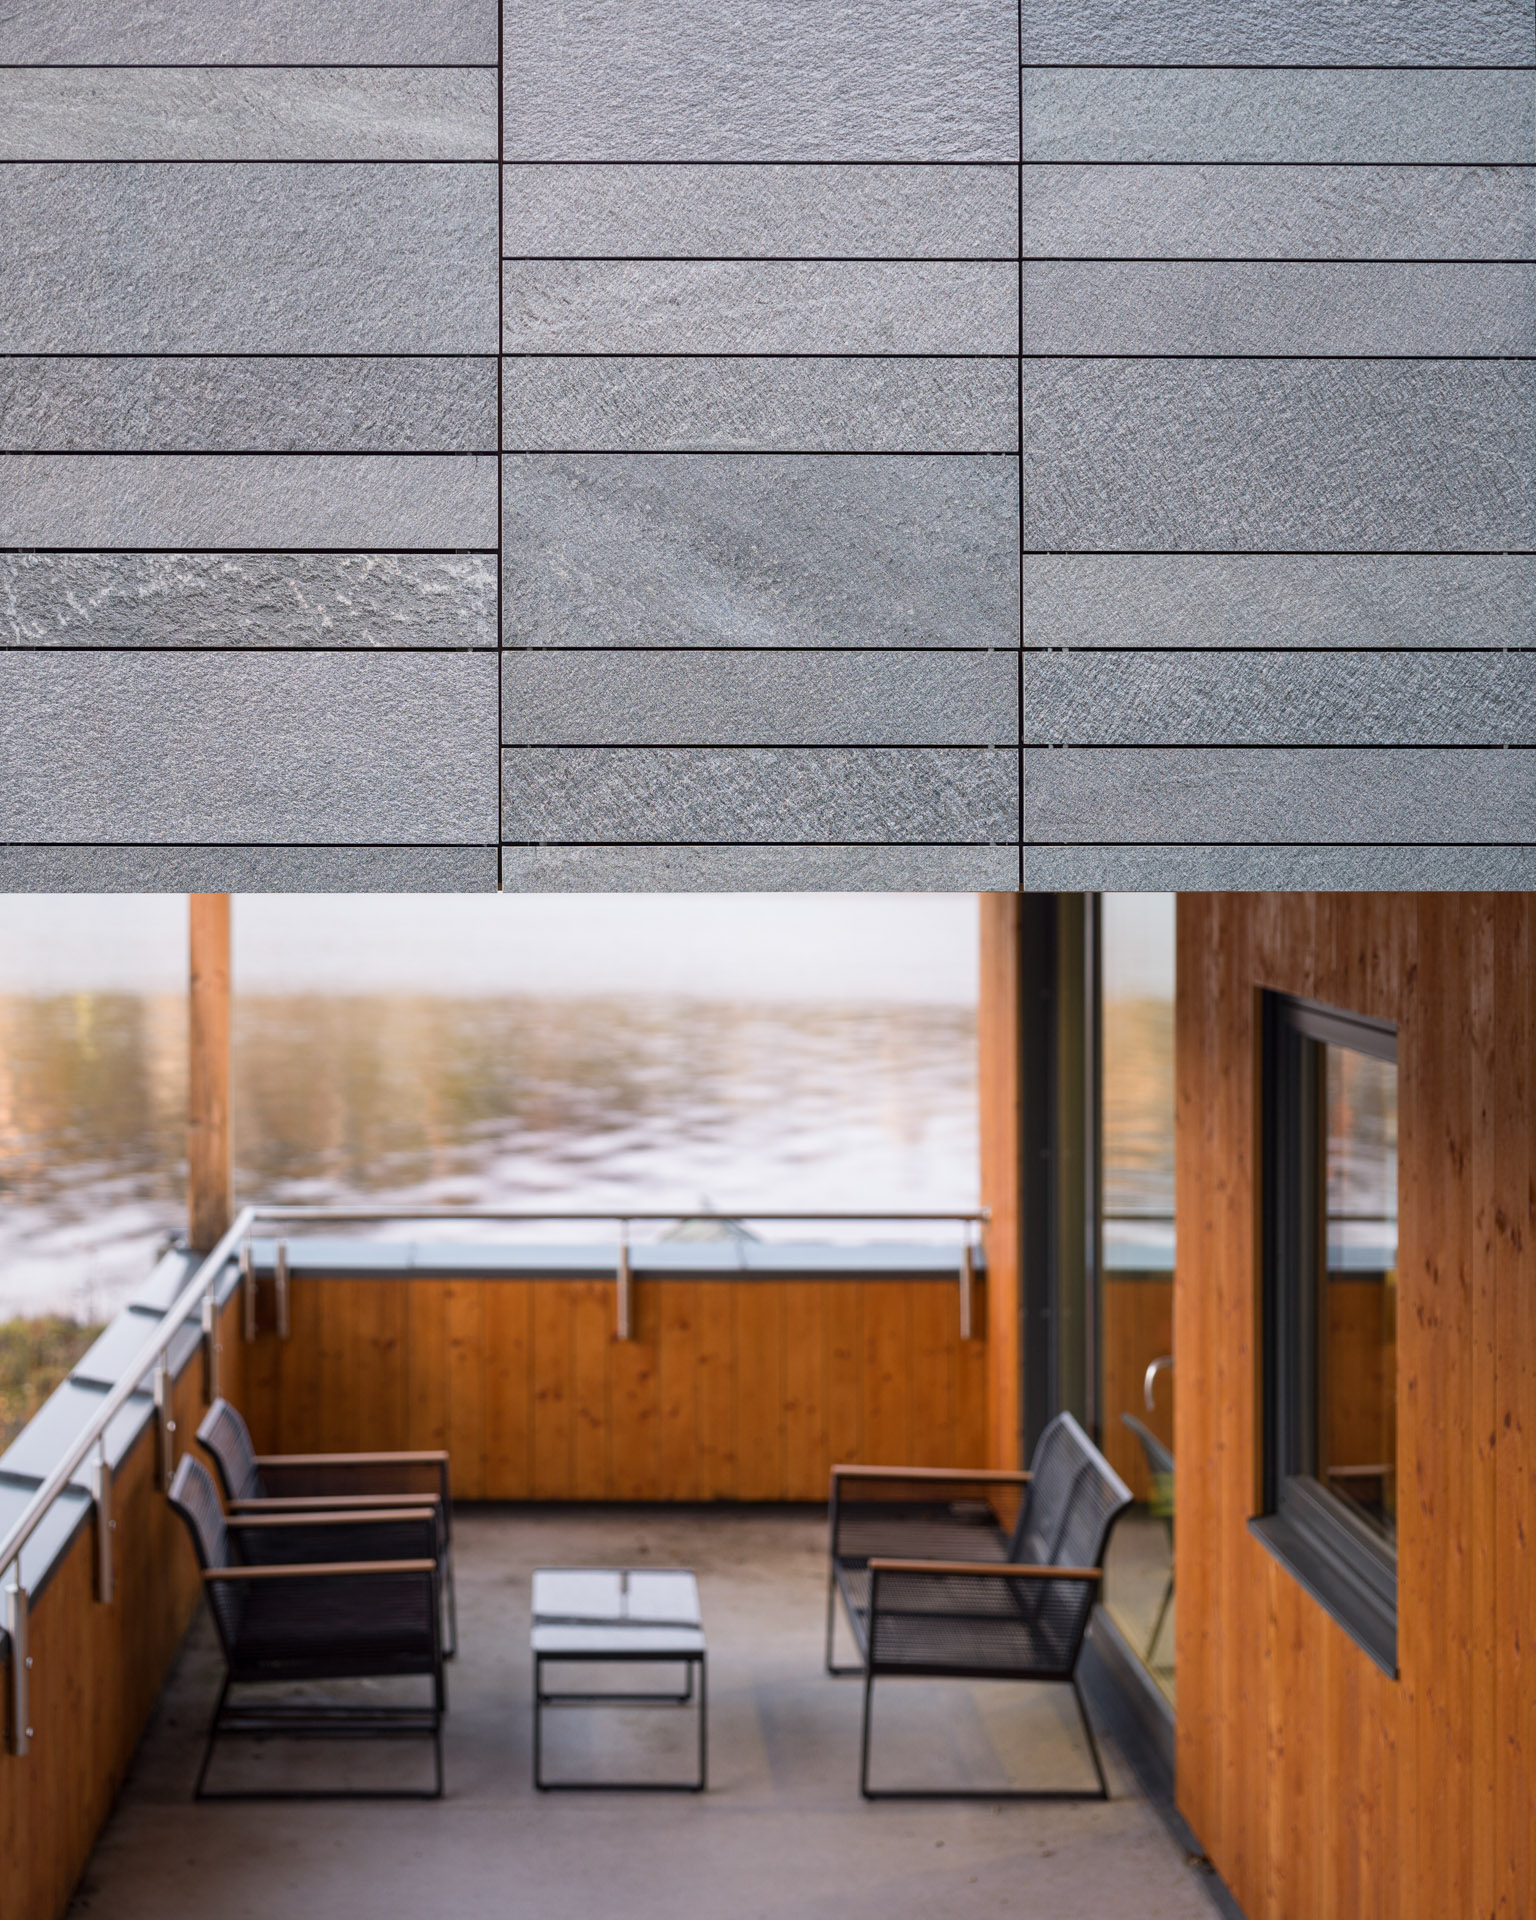
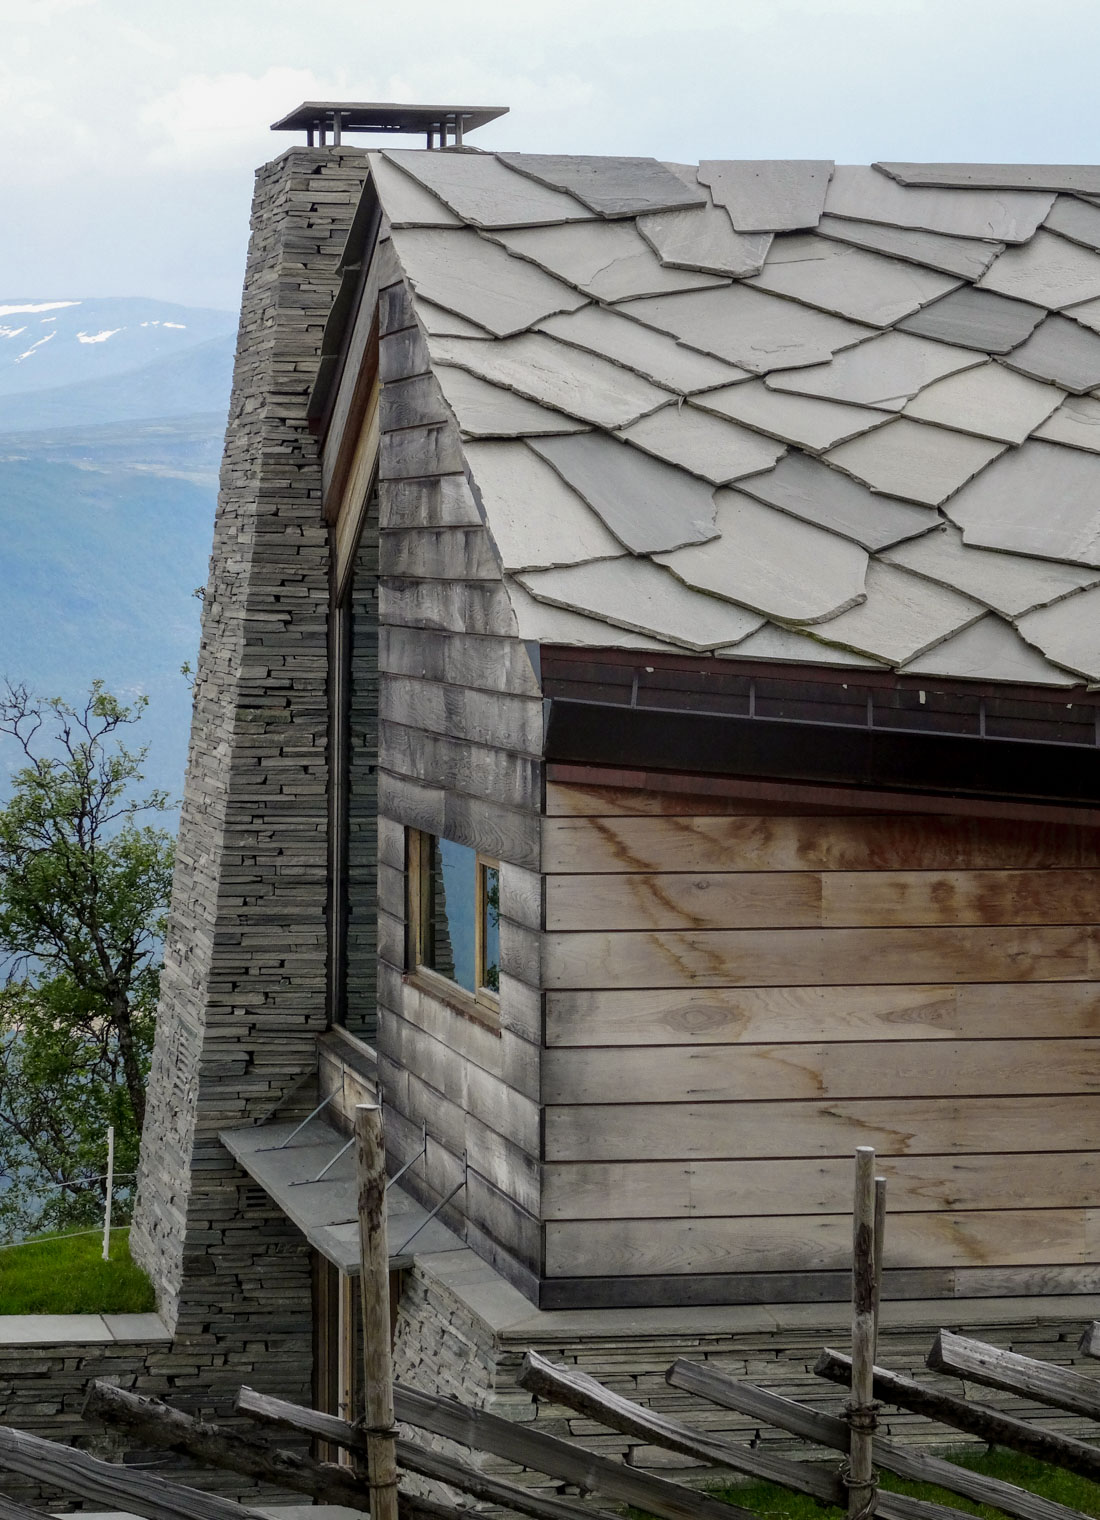
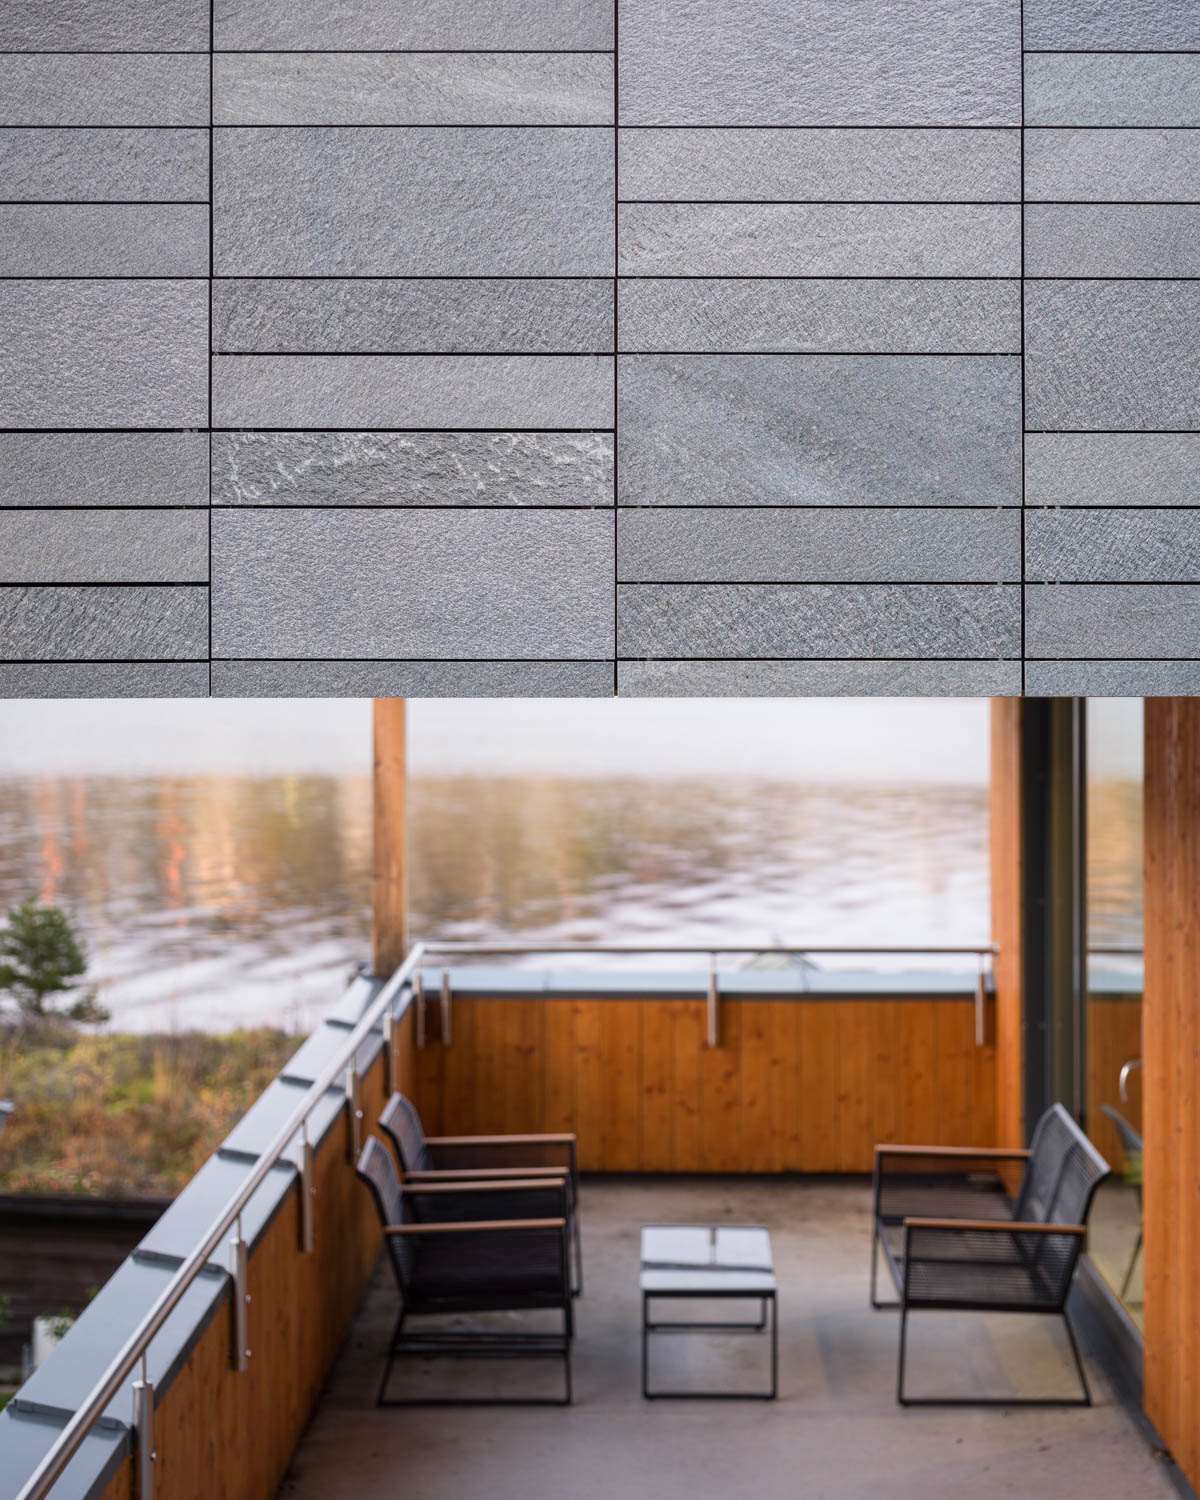
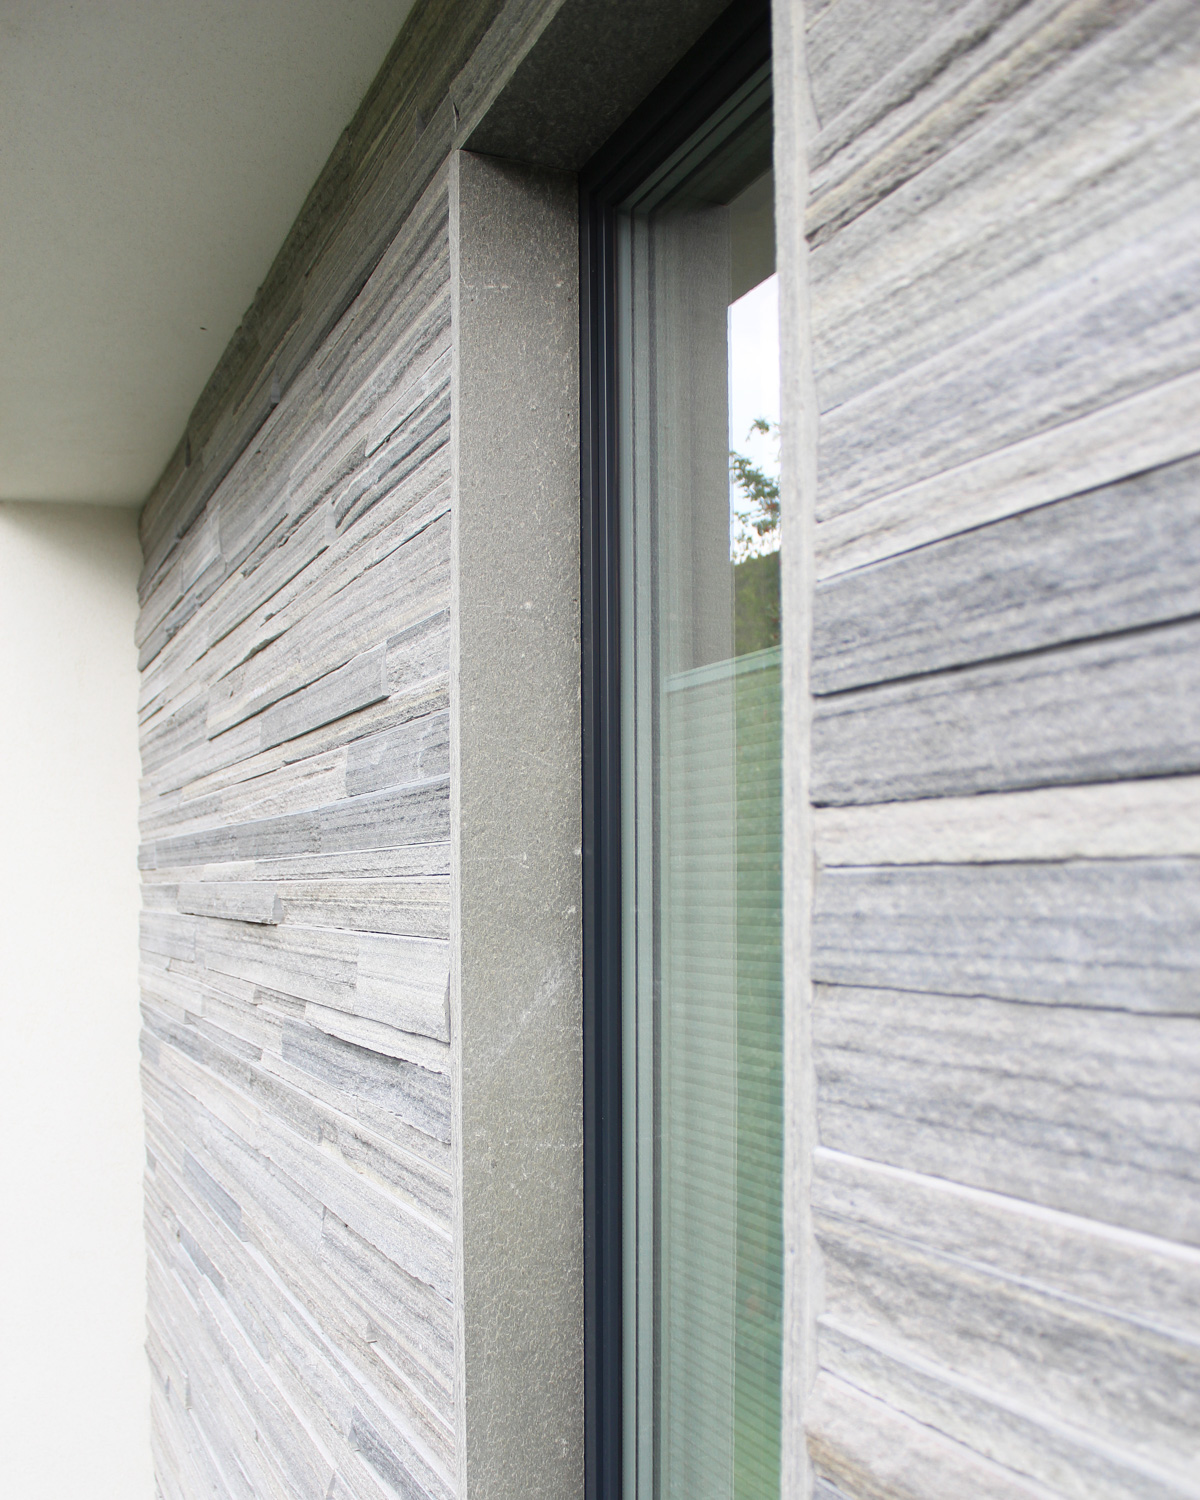
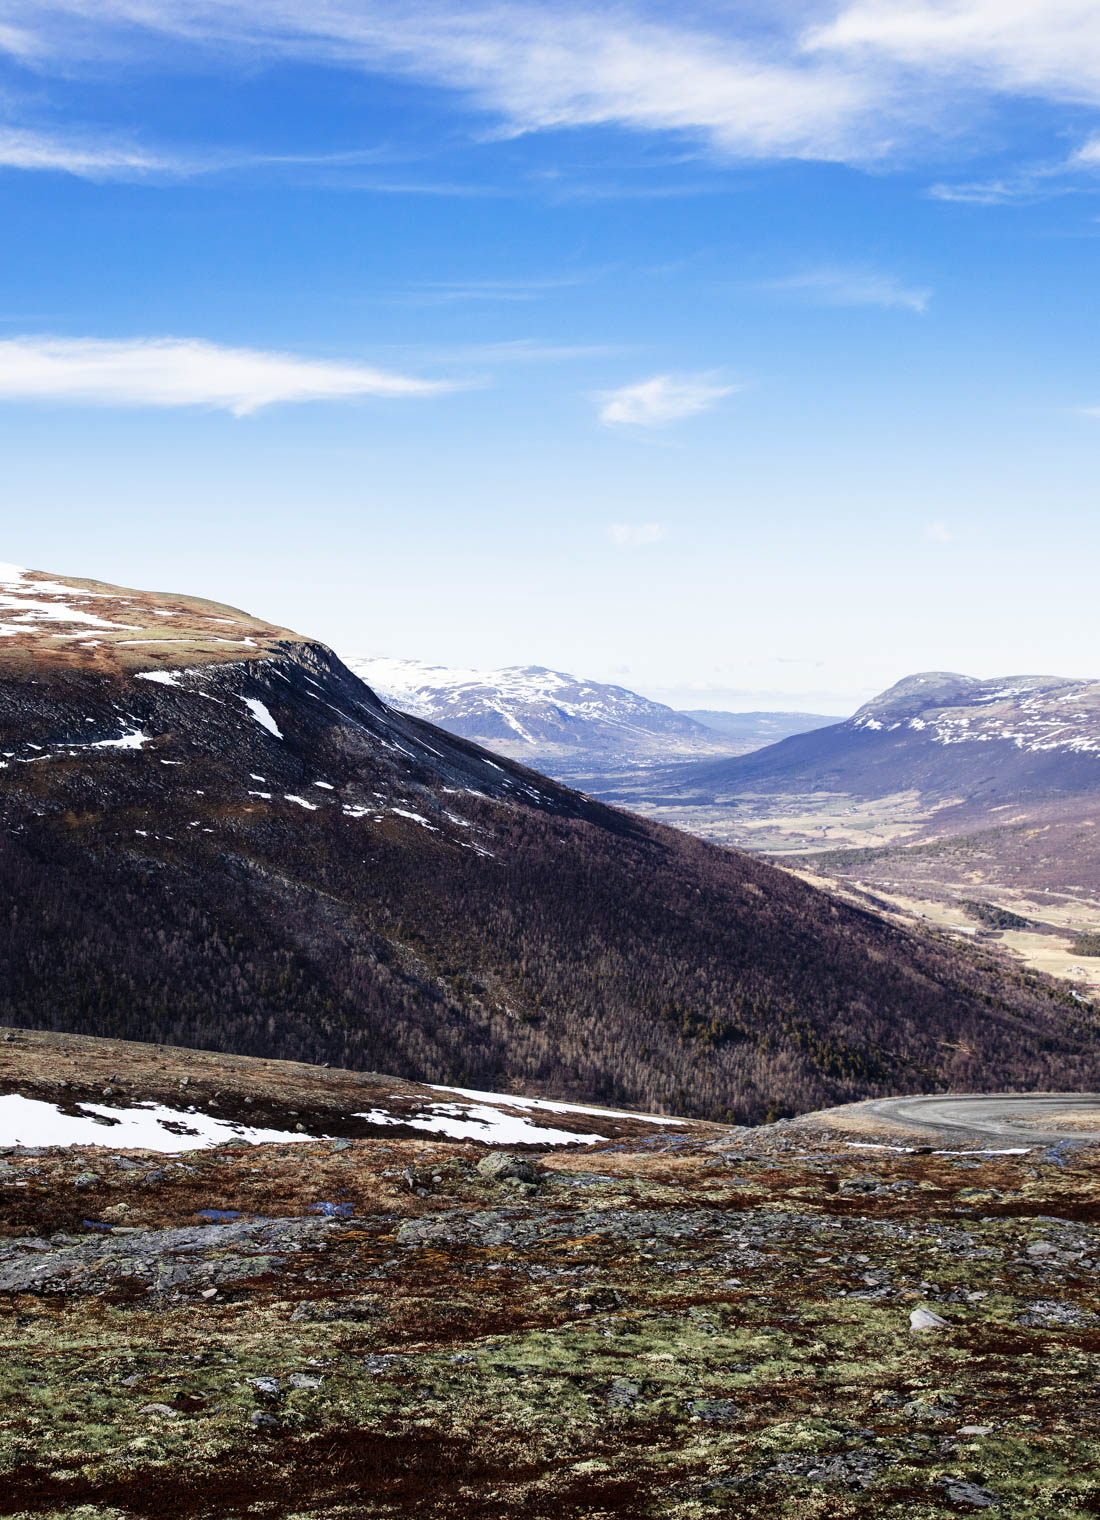
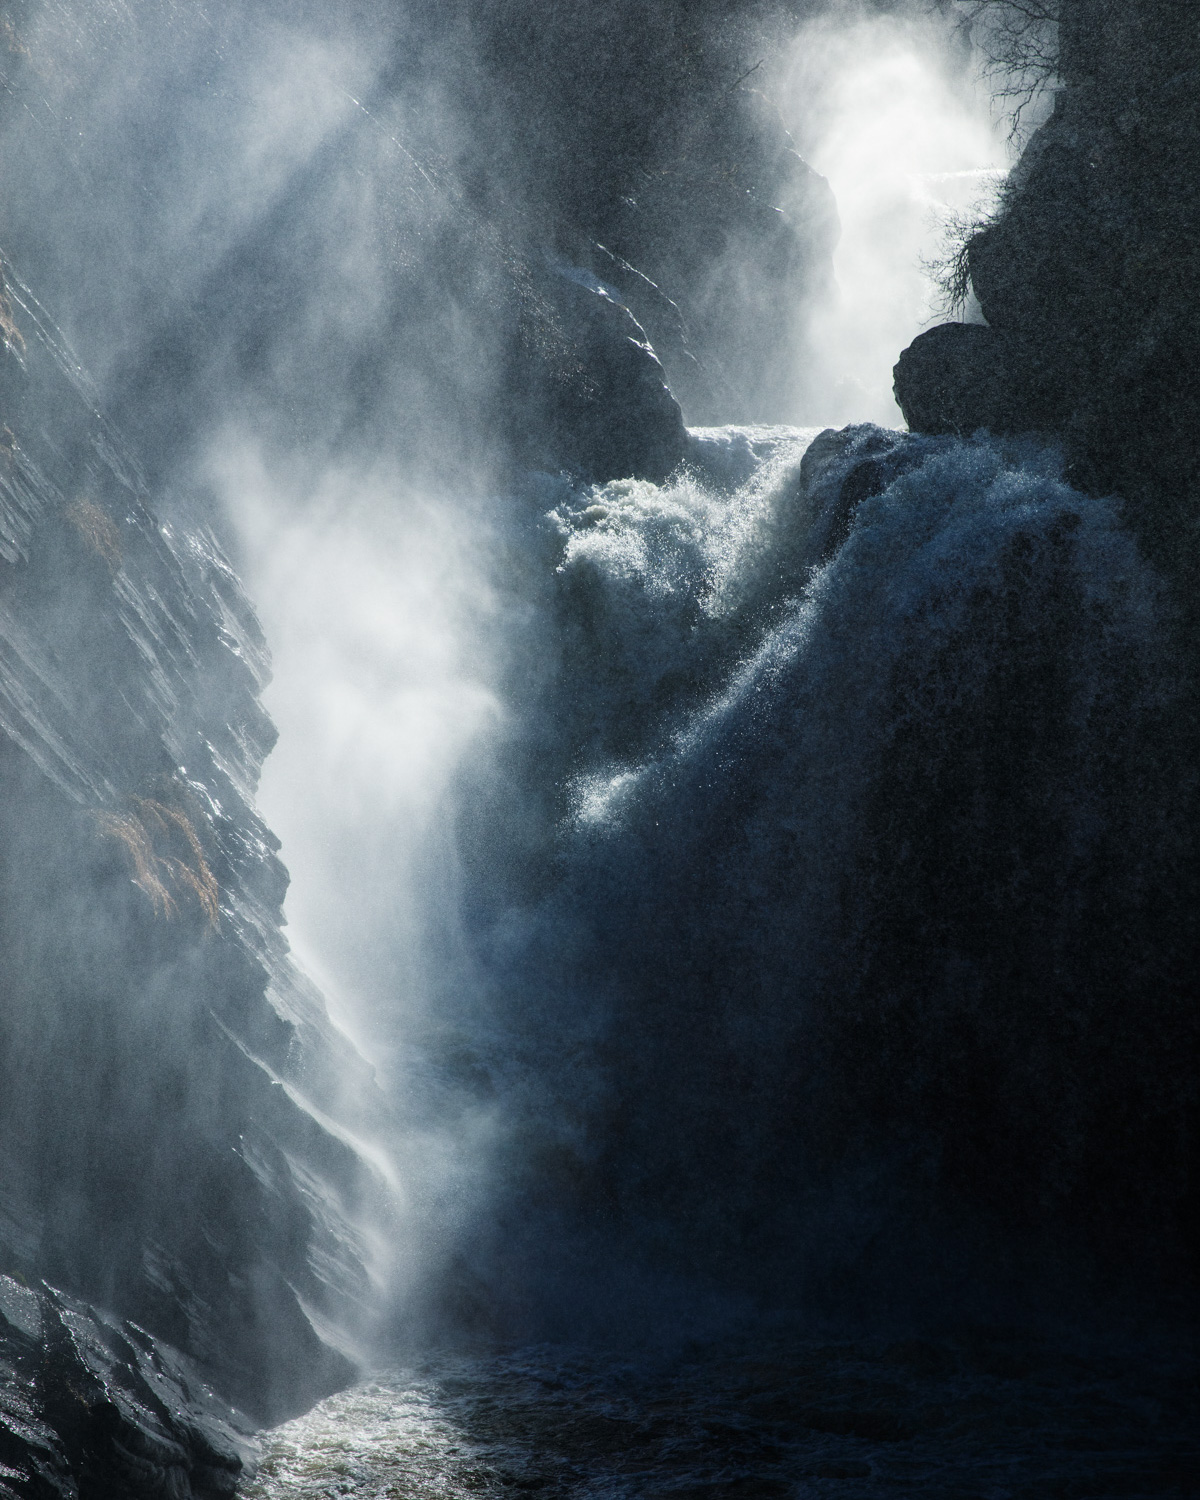
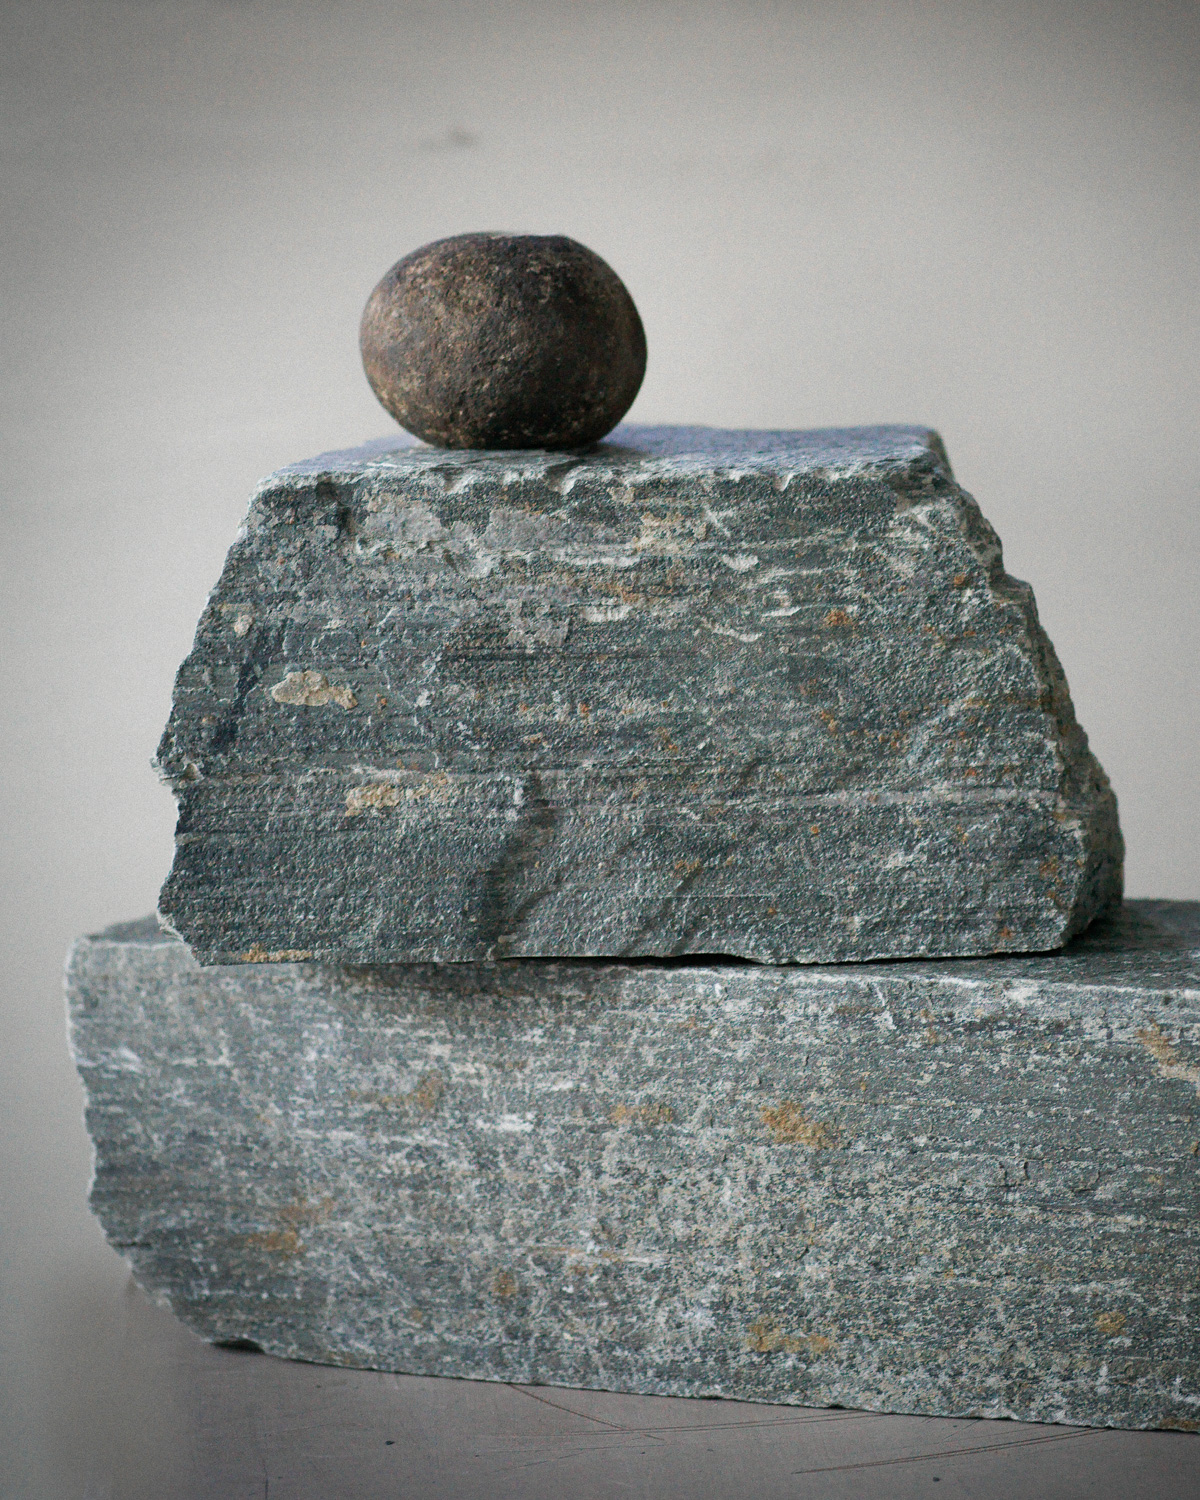
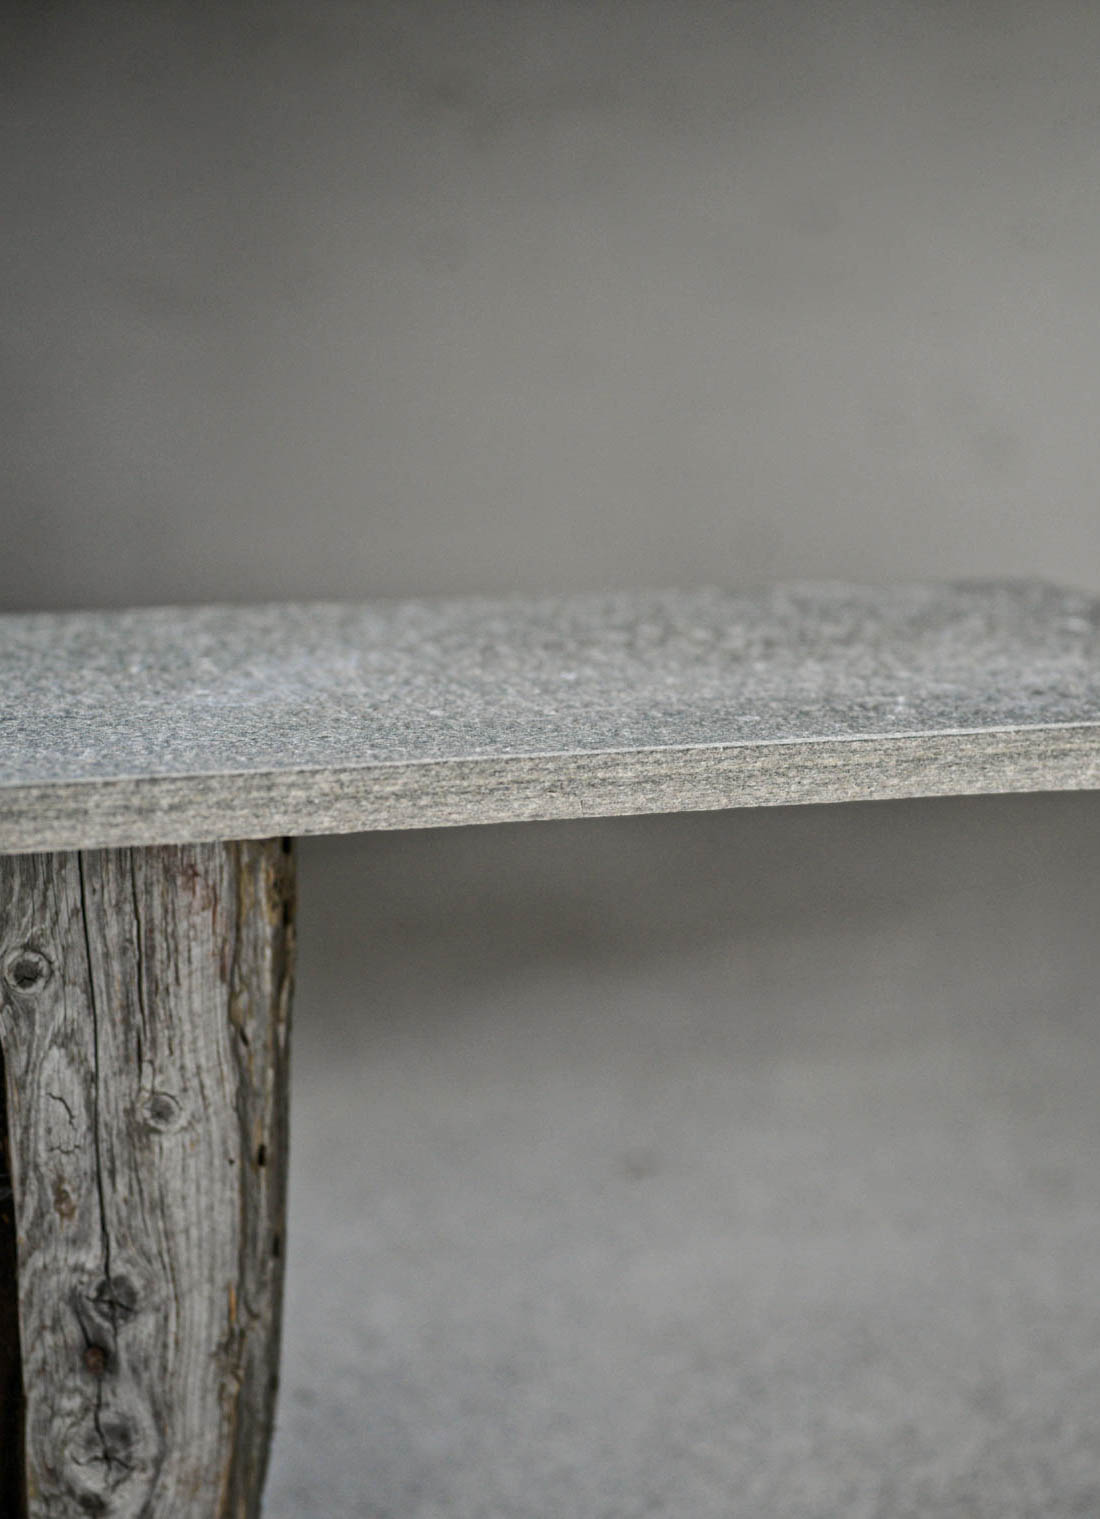
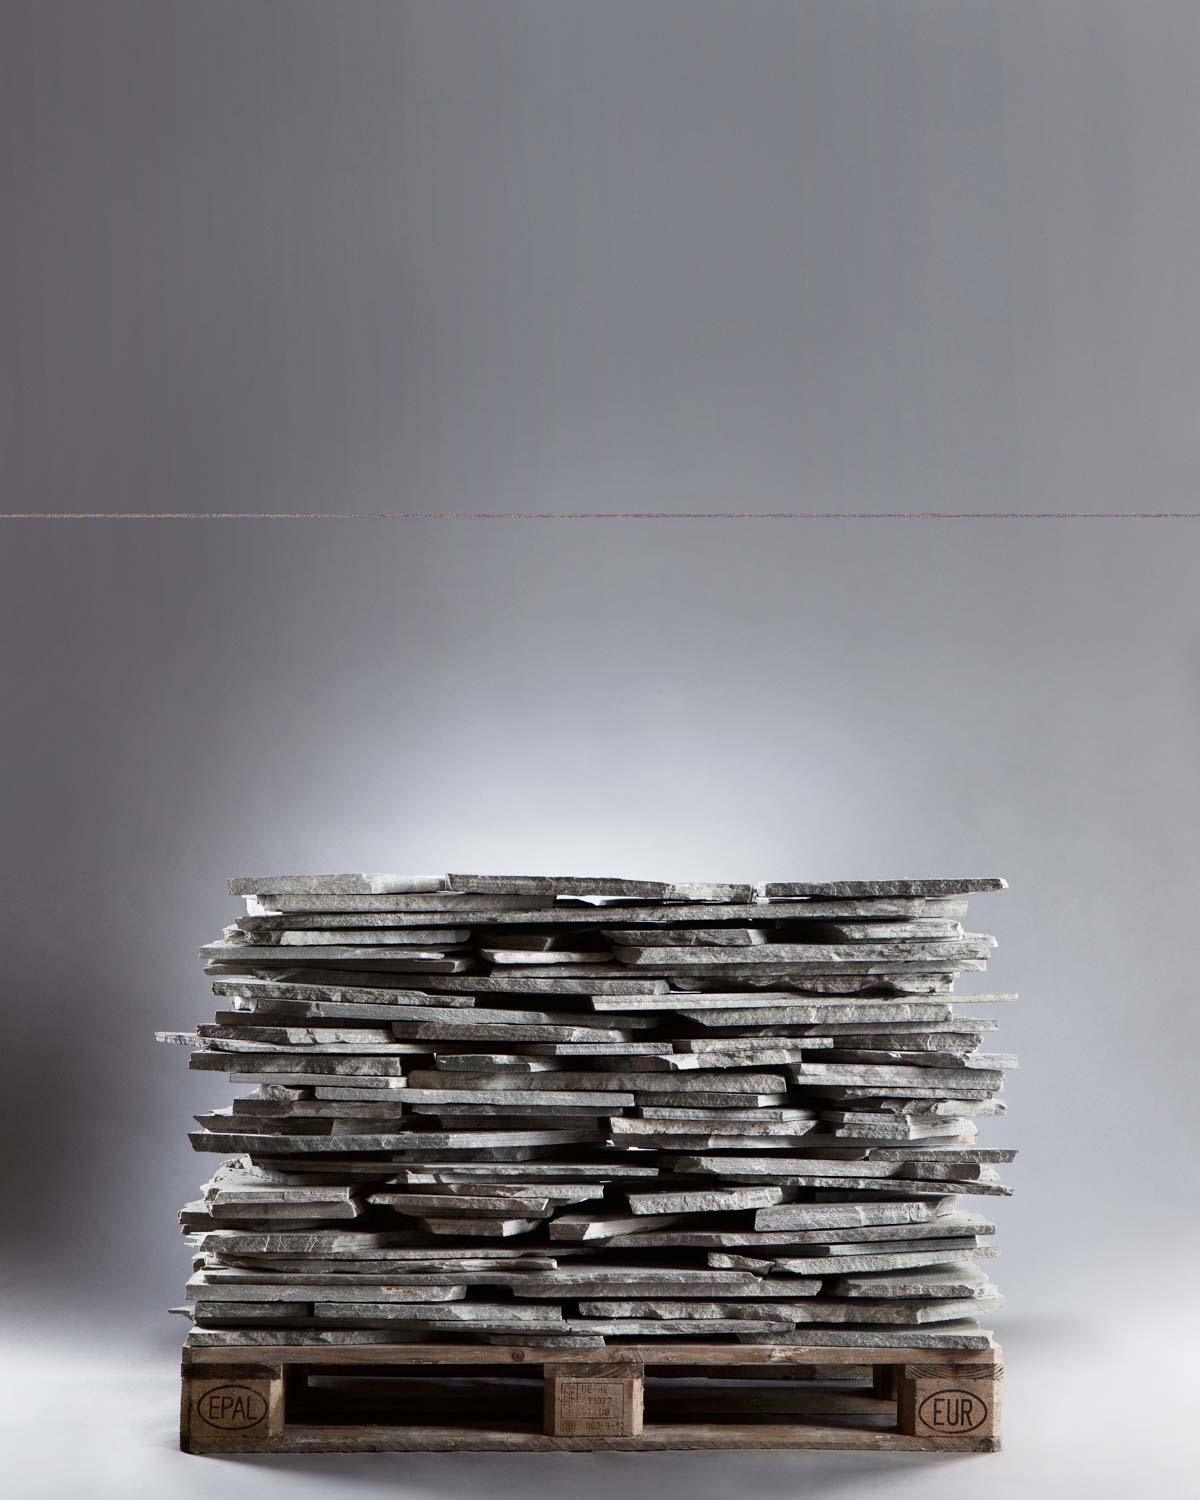
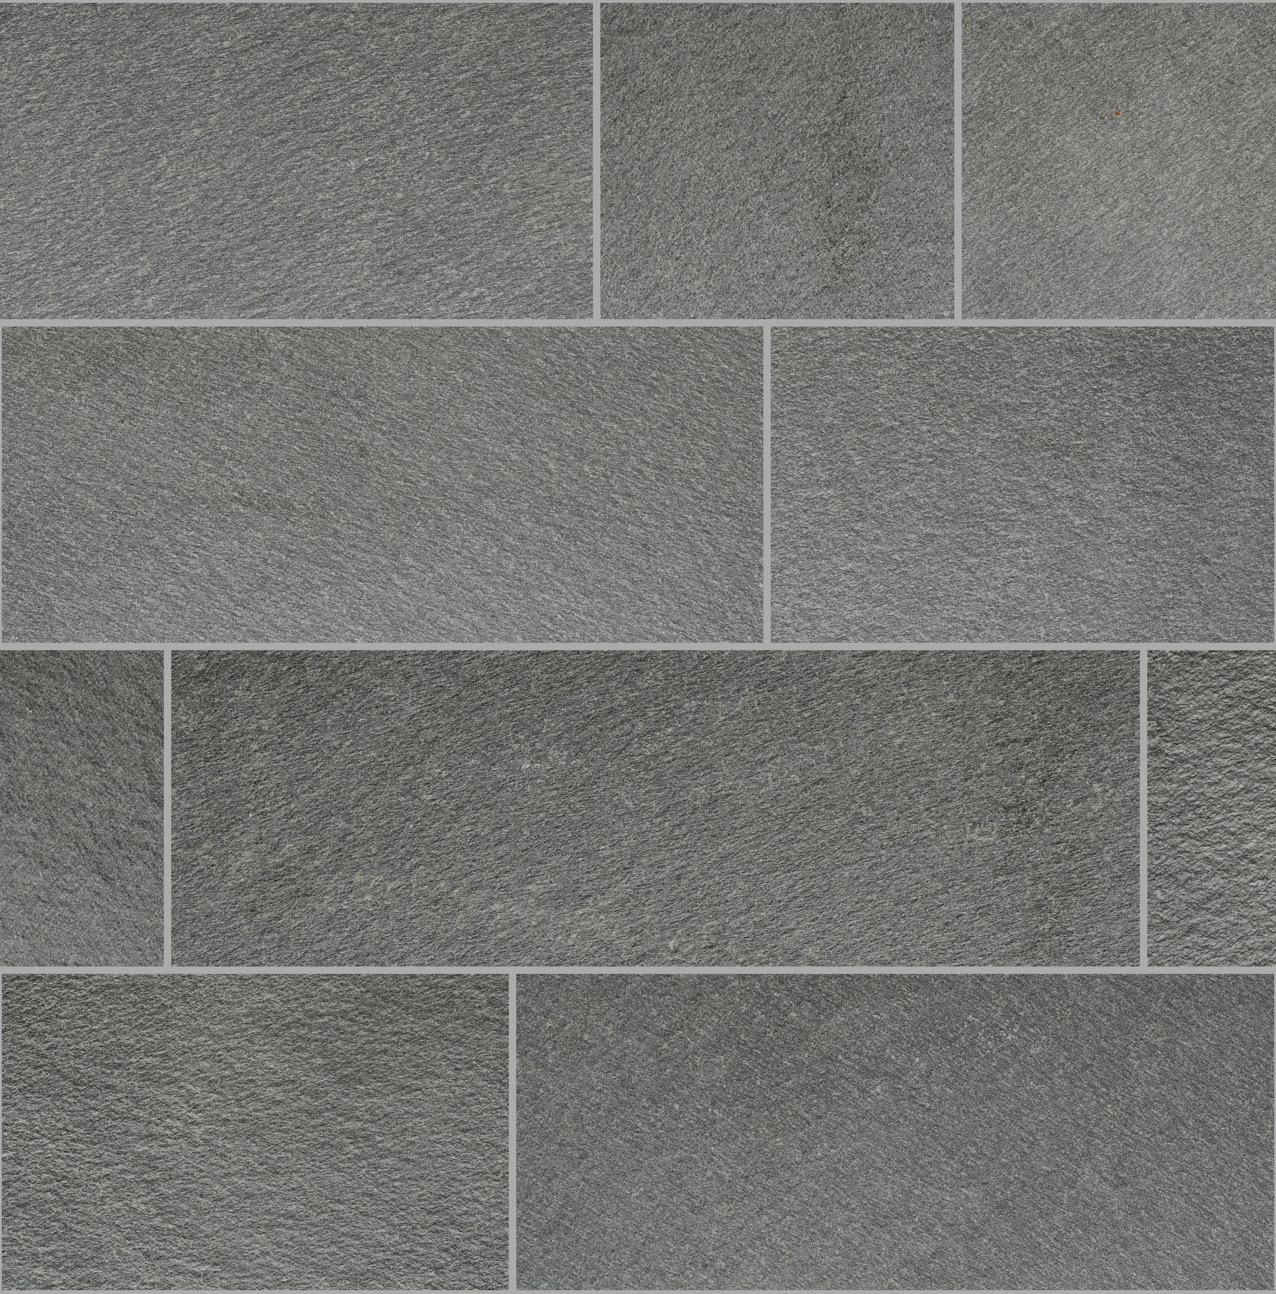
Our range includes some really large, thick flagstones quarried from Sæterfjellet mountain, 12 km south of the centre of Oppdal, Norway.

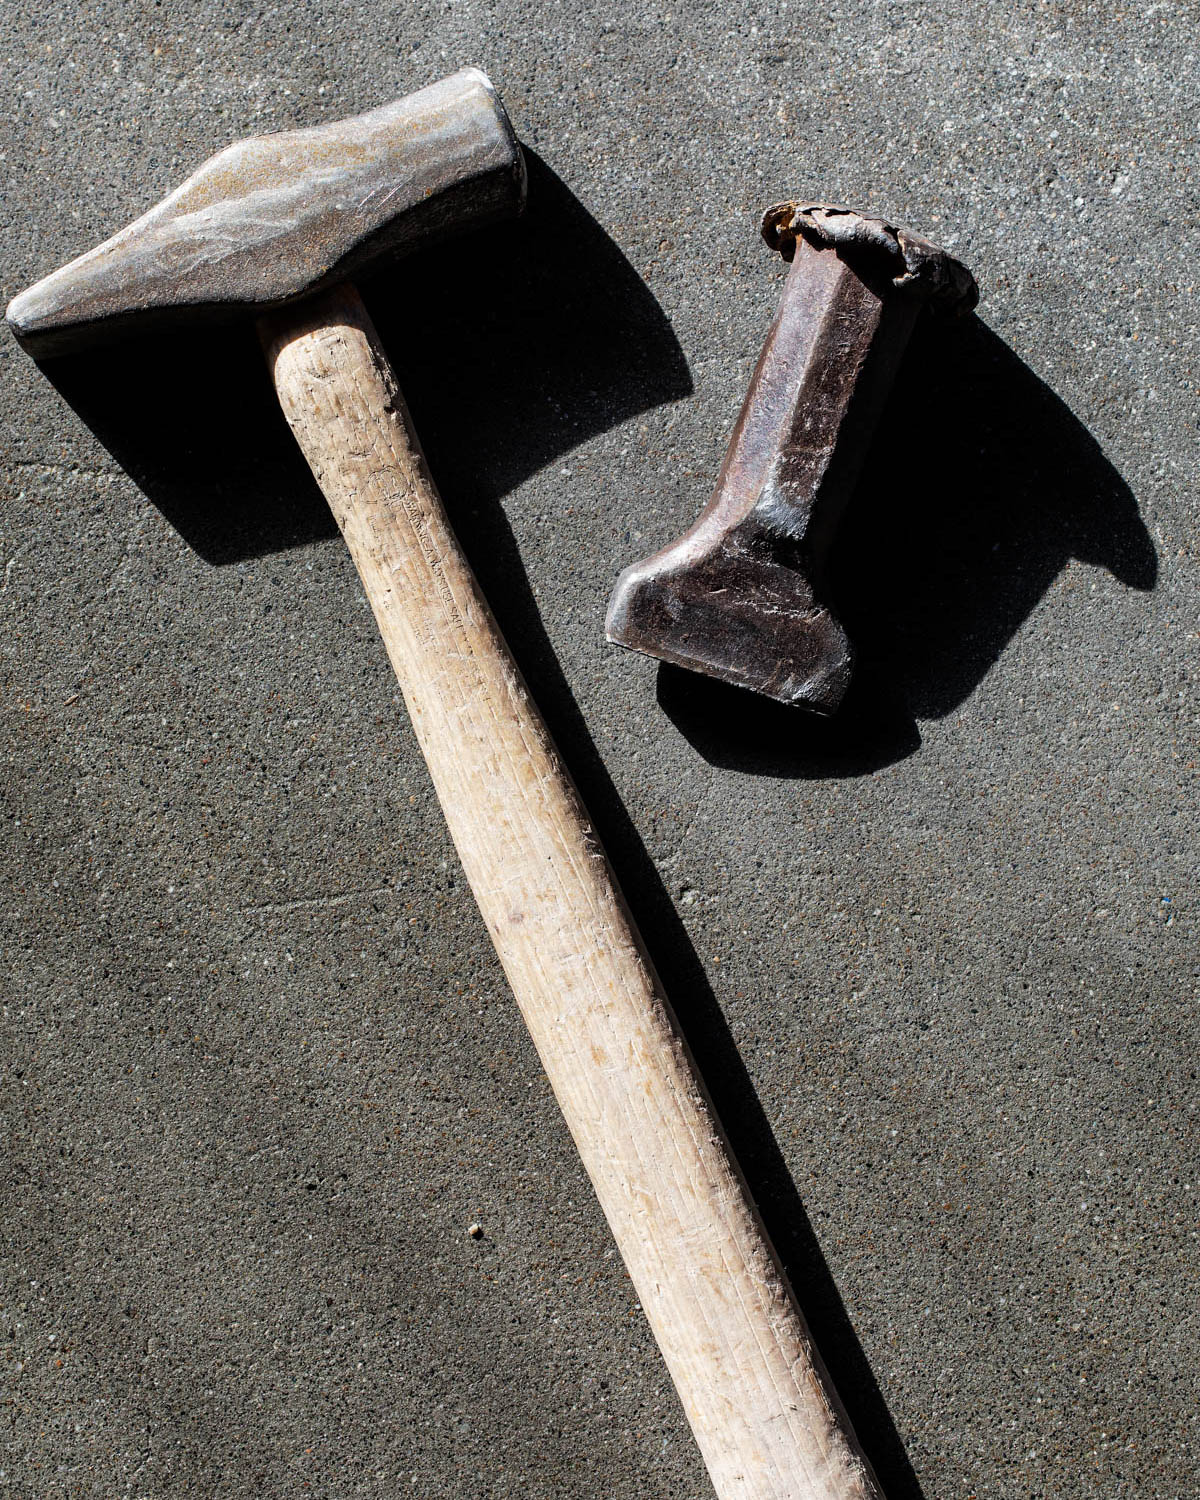
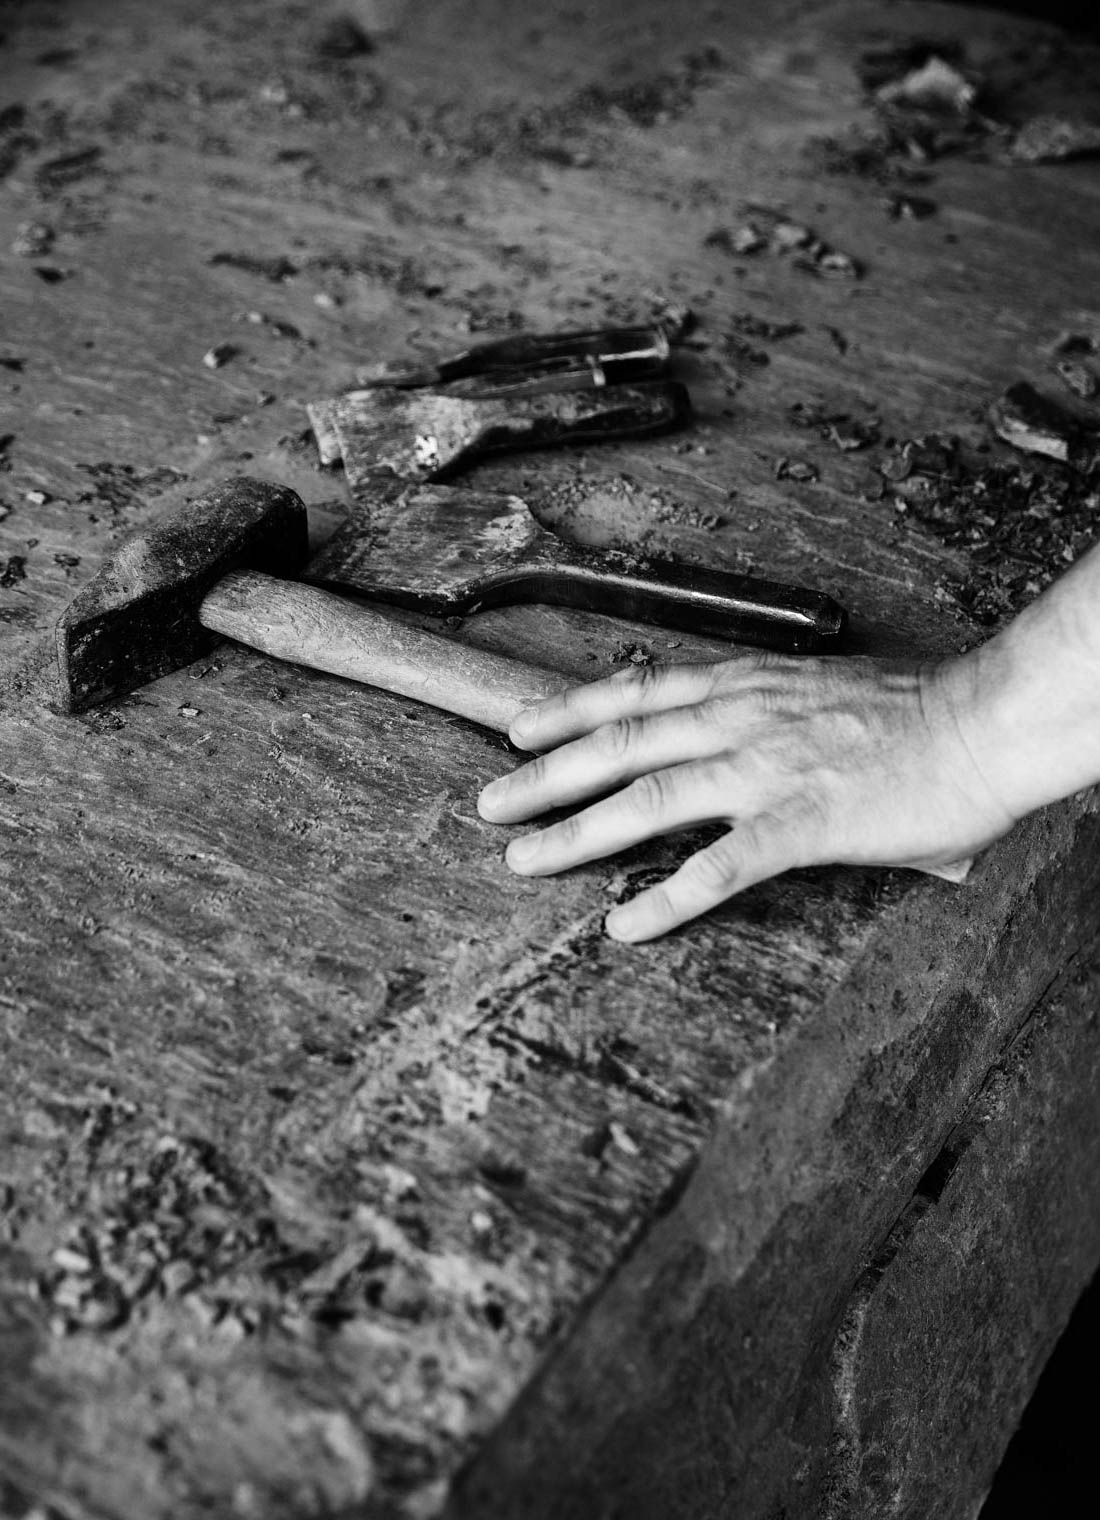
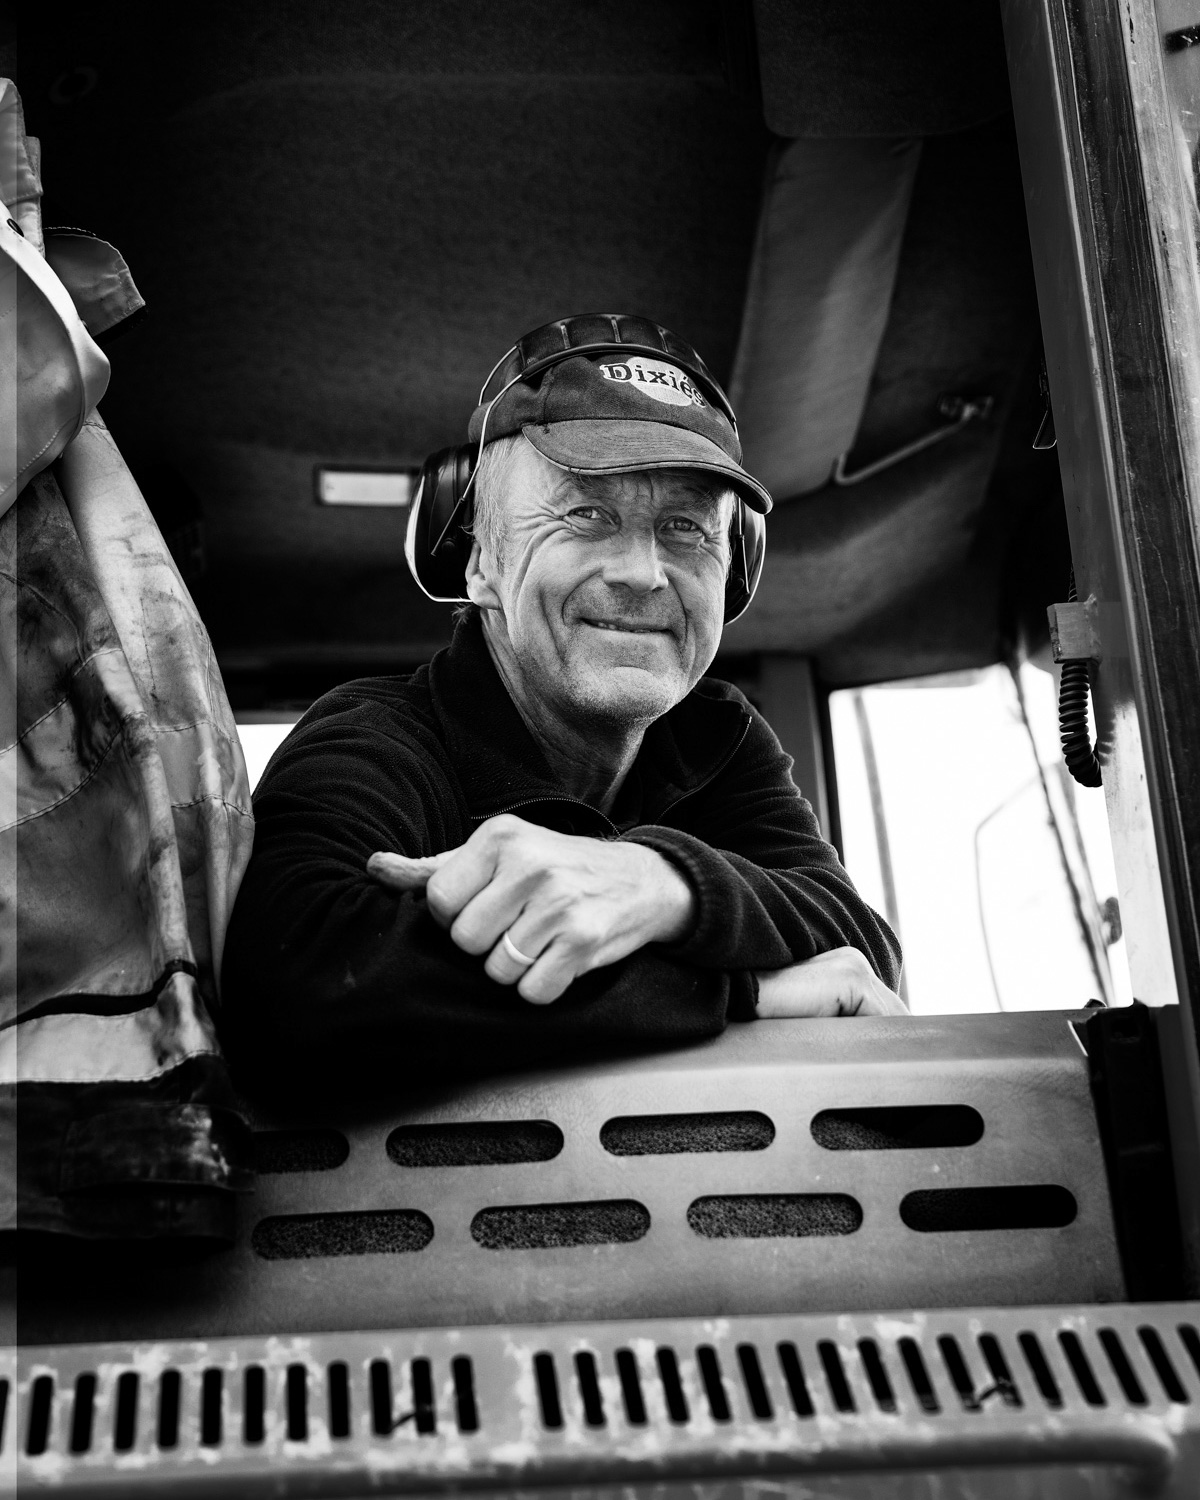
The quarrymen have split and rough-hewn the slabs.

Beautiful chunks of Norwegian rock, just as nature made them around 750 million years ago.

Here is a step by step description and a video showing how this slate-tiled hallway and garden area were created.

A picture of a cabin with an outdoor area prepared for laying slate slabs.
BEFORE
A wide footpath of slate that goes around a cabin.
AFTER

Large flagstones of Light Oppdal quartzite slate:

Et nærbilde av paller med store bruddskifer.

Large flagstones are suitable for everything from mountain cabins and natural gardens to seaside cabins and urban gardens (often laid as garden paths).

Each flagstone is between ½-1 sqm and between 4 and 6 cm thick.

They are heavy and thus a little more cumbersome to handle. But with the right lifting technique, and some good tips along the way, you can do it yourself and achieve all these advantages with your purchase:

  • These flagstones create a natural look like a glimpse into nature, and almost like a mountain walk!
  • Large slate flagstones that are easy to keep clean.
  • Solid and strong (can withstand motor vehicles).
  • Do not require much preparation.
  • Can be used either without further work or shaped to give a more streamlined look.
  • Can withstand rough shaping.
  • Little or no breakage.
  • No gluing or grouting, etc.

Laying a patio/garden path

What you need:

  • Large flagstones
  • Gravel/shingle
  • Ruler
  • Slate splitter or slate wedge
  • Ball hammer and/or a small sledgehammer
  • Own body weight (or a rubber mallet)

There is little or no waste when fitting the flagstones. With rough fitting (alternative 1), you should allow an extra 5 per cent of slate, and for finer fitting (alternative 2) you should around 10 per cent extra.

In normal ground conditions, an around 10 cm layer of gravel or shingle, with a bit extra for height adjustment, will be enough to lay under thinner slabs. A size of 8/16 mm will be well-drained and suitable.Little or no shaping will give grouting spaces of between 5-15 cm, which can be filled with e.g. sand, fine gravel, slate chips, rock chips, soil and grass seeds.

En skisse som viser tråkkheller lagt med liten grad av tilpasning.
Little or no shaping will give grouting spaces of between 5-15 cm, which can be filled with e.g. sand, fine gravel, slate chips, rock chips, soil and grass seeds.
En skisse som viser tilpassede tråkkheller lagt som en bred gangsti.
More extensive shaping for a more streamlined look will leave you with grouting spaces of between 2-5 cm, which can also be filled with sand, fine gravel, soil and grass seeds.

Preparation

  1. Roughly level the surface (use an excavator).
  2. Add a layer of gravel or shingle.
  3. Level the gravel or shingle with a drop of around 1.5 per cent in the appropriate direction. Remember to leave room for the slate. The level of the shingle or gravel should stop around 60 mm below the required height of the final patio or path.

How to move the slabs (the “slate dance”!)
Lift the flagstone away from the pallet – use gravity and balance point to tip it upwards. Remember to keep a straight back!
Once the slap is upright, rock it to one side, and then to the other and “dance” it over to where you want to lay it.

Laying and shaping

1 – Planning

Lay the slabs down to get an idea of how you want it to look. Spend some time on studying the flagstones.

When you lay a terrace or patio, pay extra attention to the shape of the flagstones and where you want to place them, so that you don’t get stuck. You should always lay a couple of flagstones at the front, so you know how to continue once you have finished laying the current flagstone.

Is there anywhere you would like an extra large flagstone? Perhaps in front of a door or steps, or beneath the barbecue? Is there one flagstone you think is particularly beautiful or has a special shape that you would like to keep untouched? Mark these special flagstones in advance because you should lay these first, in their designated places.

2 – Determine the height of the underlay material

Check the thickness of the first flagstone to determine how much underlay material you might need to reach the top level of the finished path or terrace (approximately 6 cm if you have a 10 cm layer of gravel). From this, you can estimate the amount of underlay you will need to compensate.

Lay the compensation material where you want to place the flagstone and level it out.

3 – Lay the first flagstone

“Dance” it over and lay the flagstone towards you, not away from you. This gives you more control of it, and you can also make small adjustments on the way down.

4 – Adjust the flagstone if desired

Shape the flagstone as you want it to look. Use a slate splitter or slate wedge and/or a hammer to shape the stone and remove unwanted edges. Rough shaping can be done with a hammer and more fine adjustments with a slate splitter or wedge.

5 – Check and hammer it into place

Check that it is at the level you require and if not, add more or remove gravel or sand underneath. It is much better to get it right the first time than having to re-lay it due to the level being incorrect.

Hammer it well into place with a rubber mallet or simply jump up and down on the flagstone.

6 – Continuation

Check the level continuously. Adjust by adding more gravel or sand. Lay the next flagstone and fit it against the adjacent one.

We are sorry, but you are using a version of Internet Explorer that is not supported on this site. The browser is no longer updated by Microsoft and may therefore pose a security risk. We recommend that you use a different browser. Welcome back!