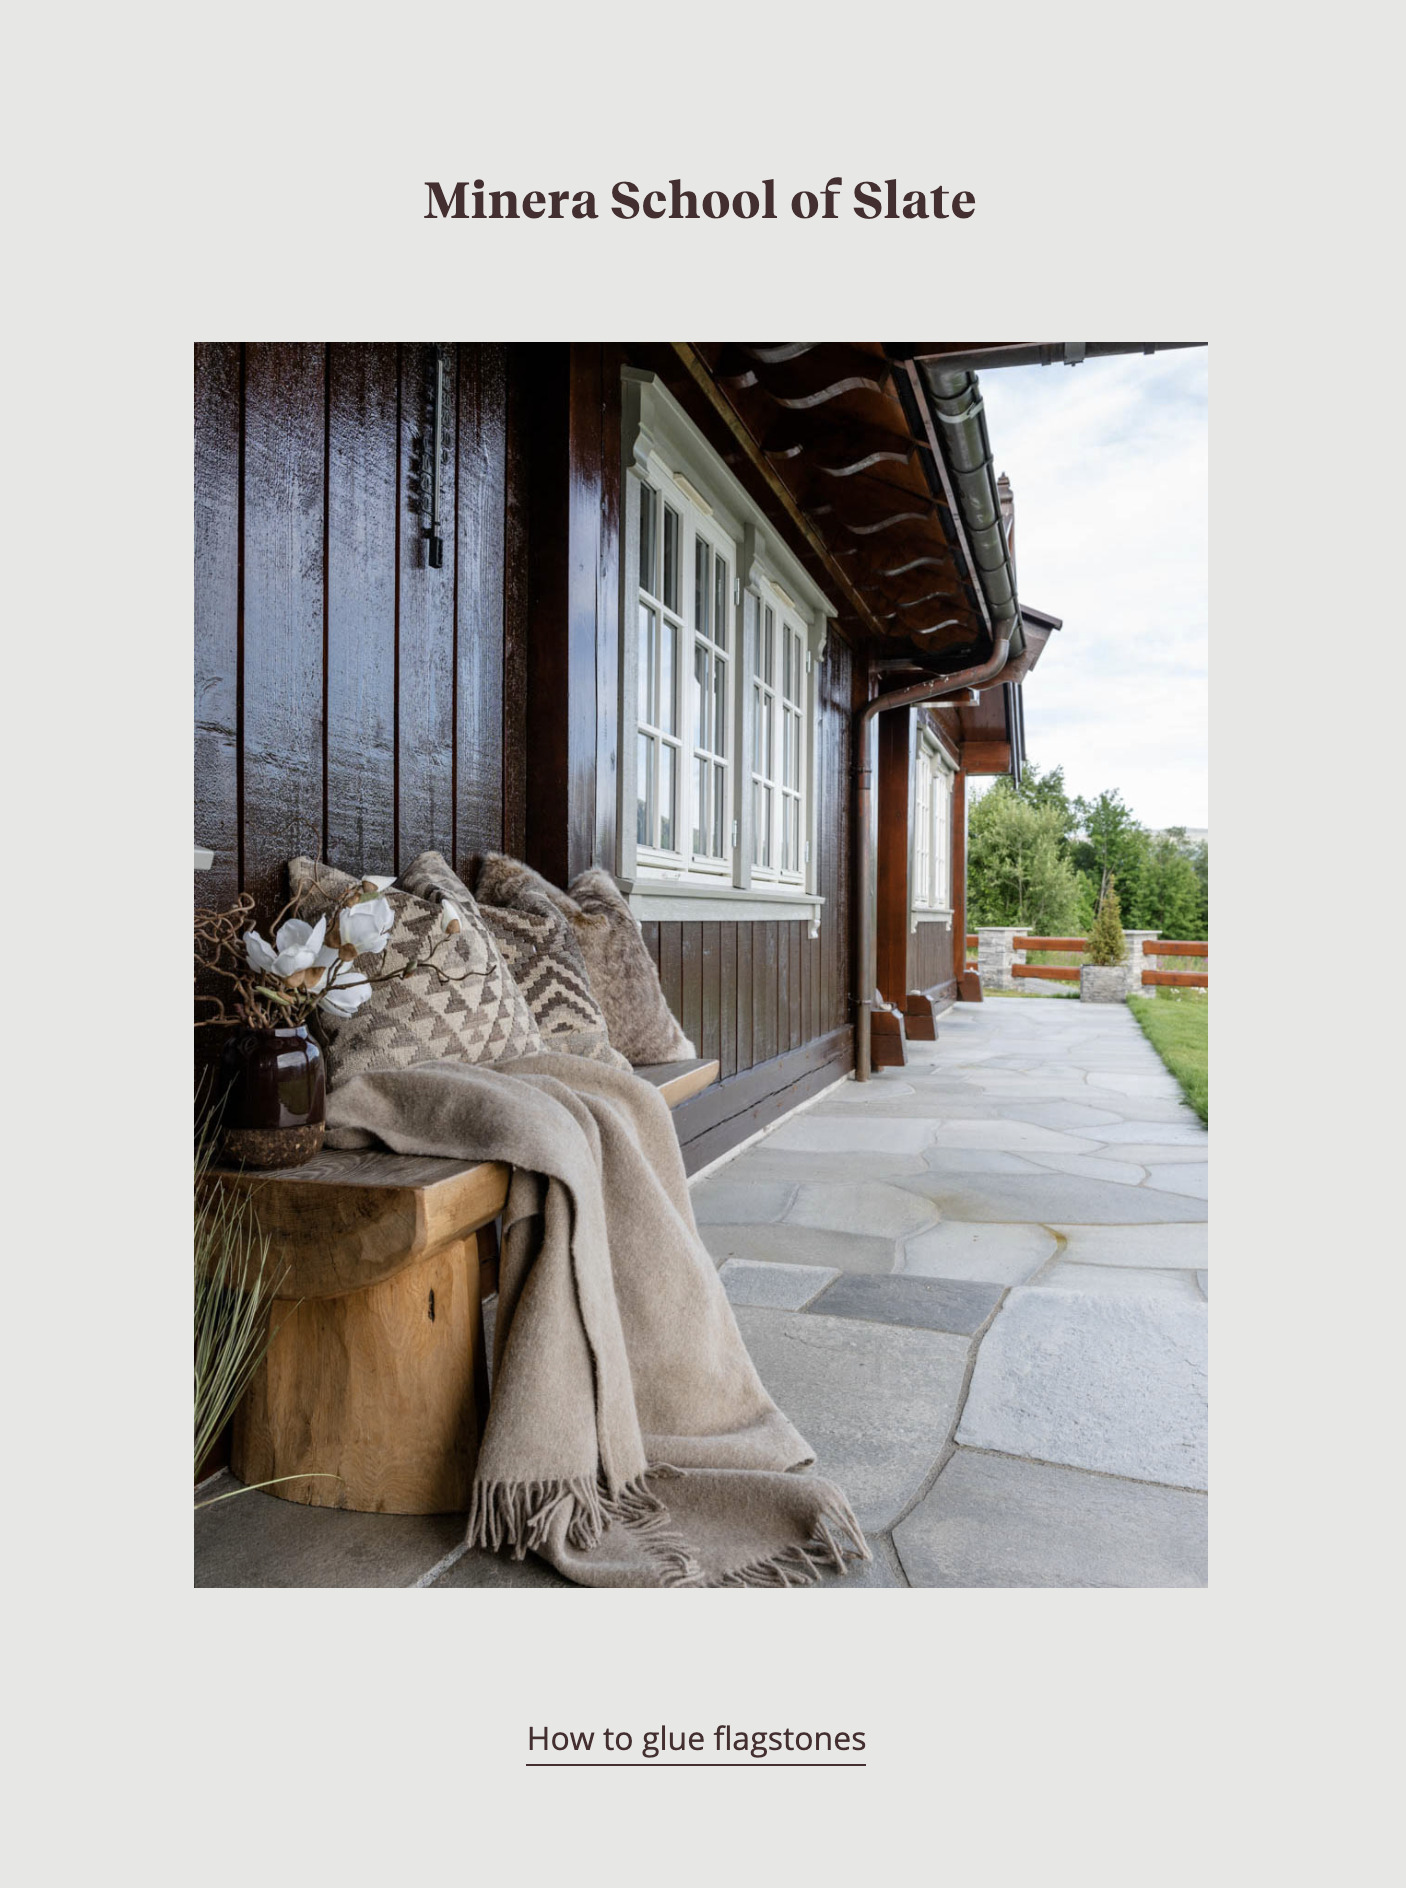


Lay your own slate paving … in a flash!
Dreaming of a new outdoor paved area? Laying slate paving is a sustainable and durable option – and surprisingly easy to do yourself. How to lay slate paving ... in a flash!
Dreaming of a new outdoor paved area? Laying slate paving is a sustainable and durable option – and surprisingly easy to do yourself. How to lay slate paving ... in a flash!
Have you been dreaming about giving your garden a facelift? Getting rid of an old lawn and replacing it with something that not only looks better, but also requires less maintenance? Then slate paving might be just the thing for you.
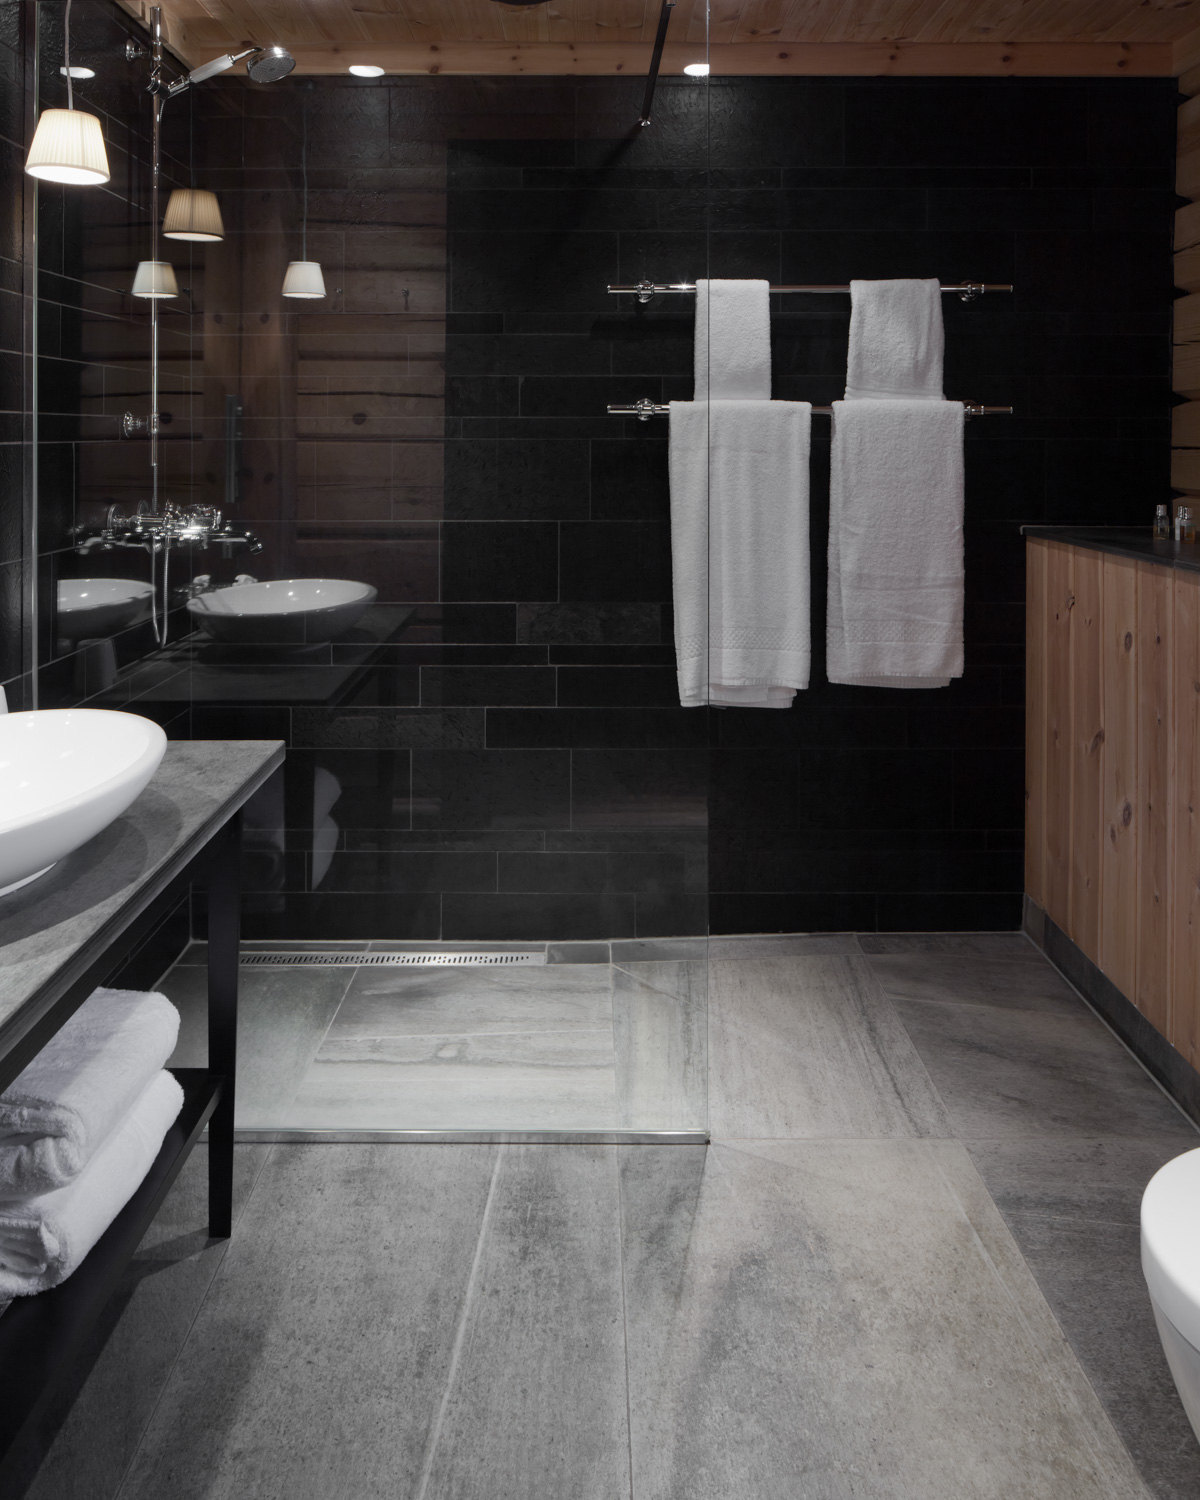
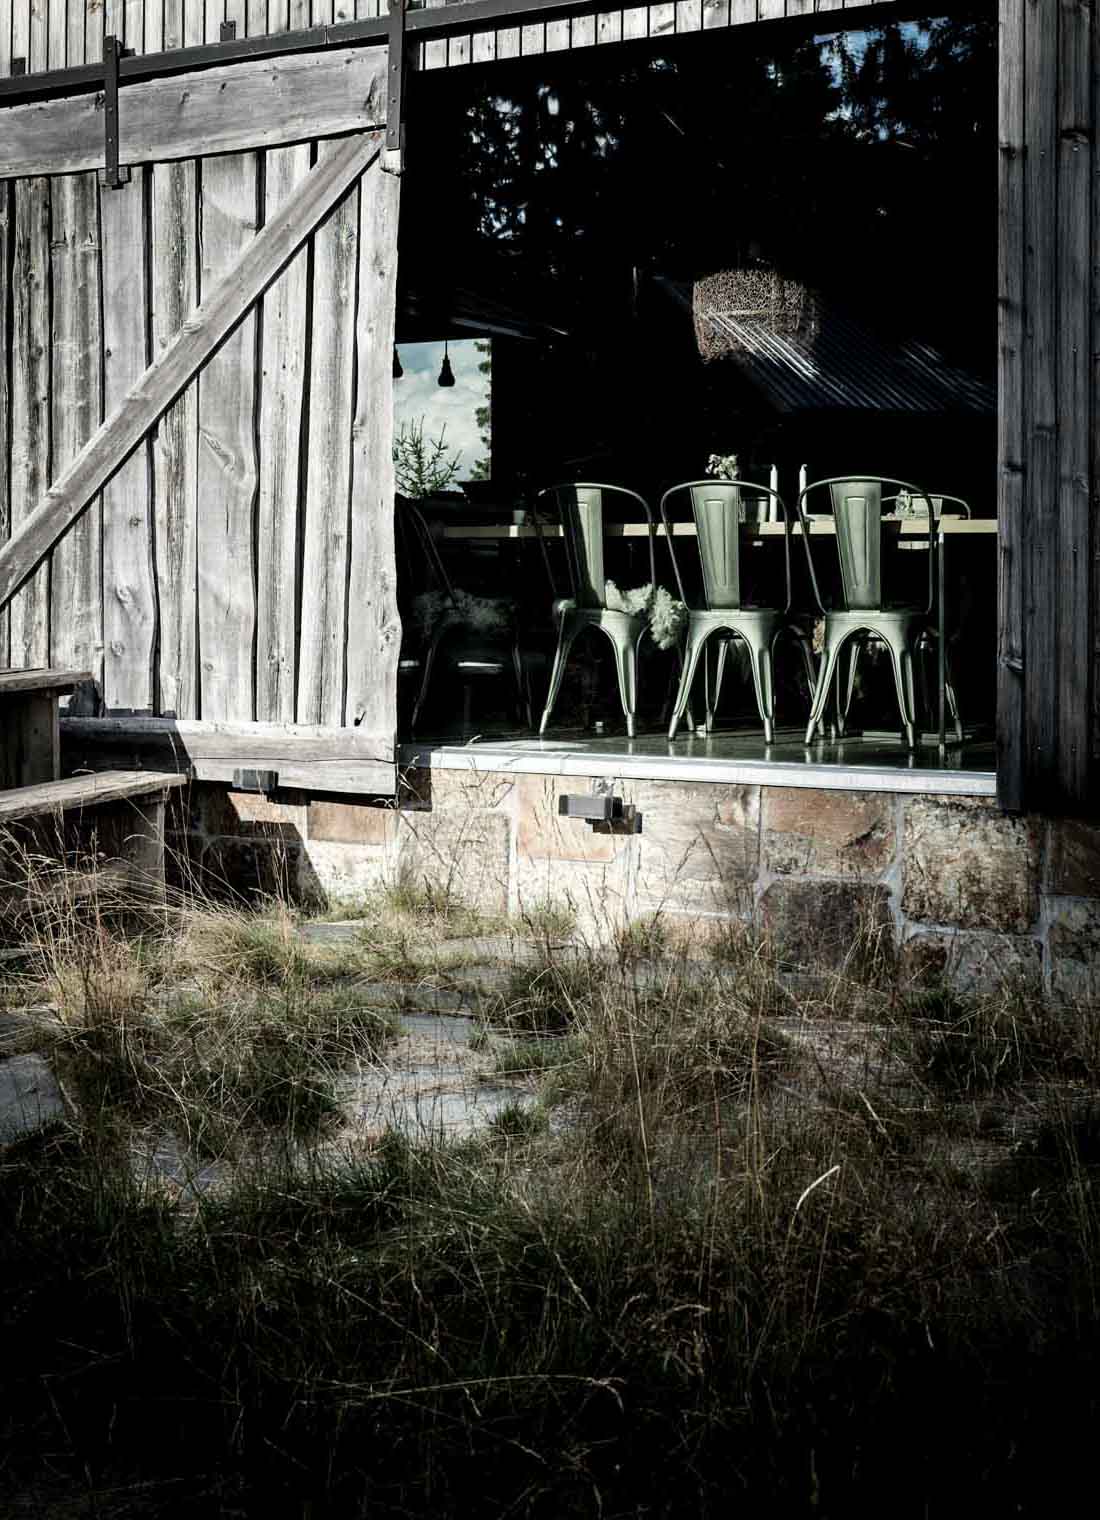
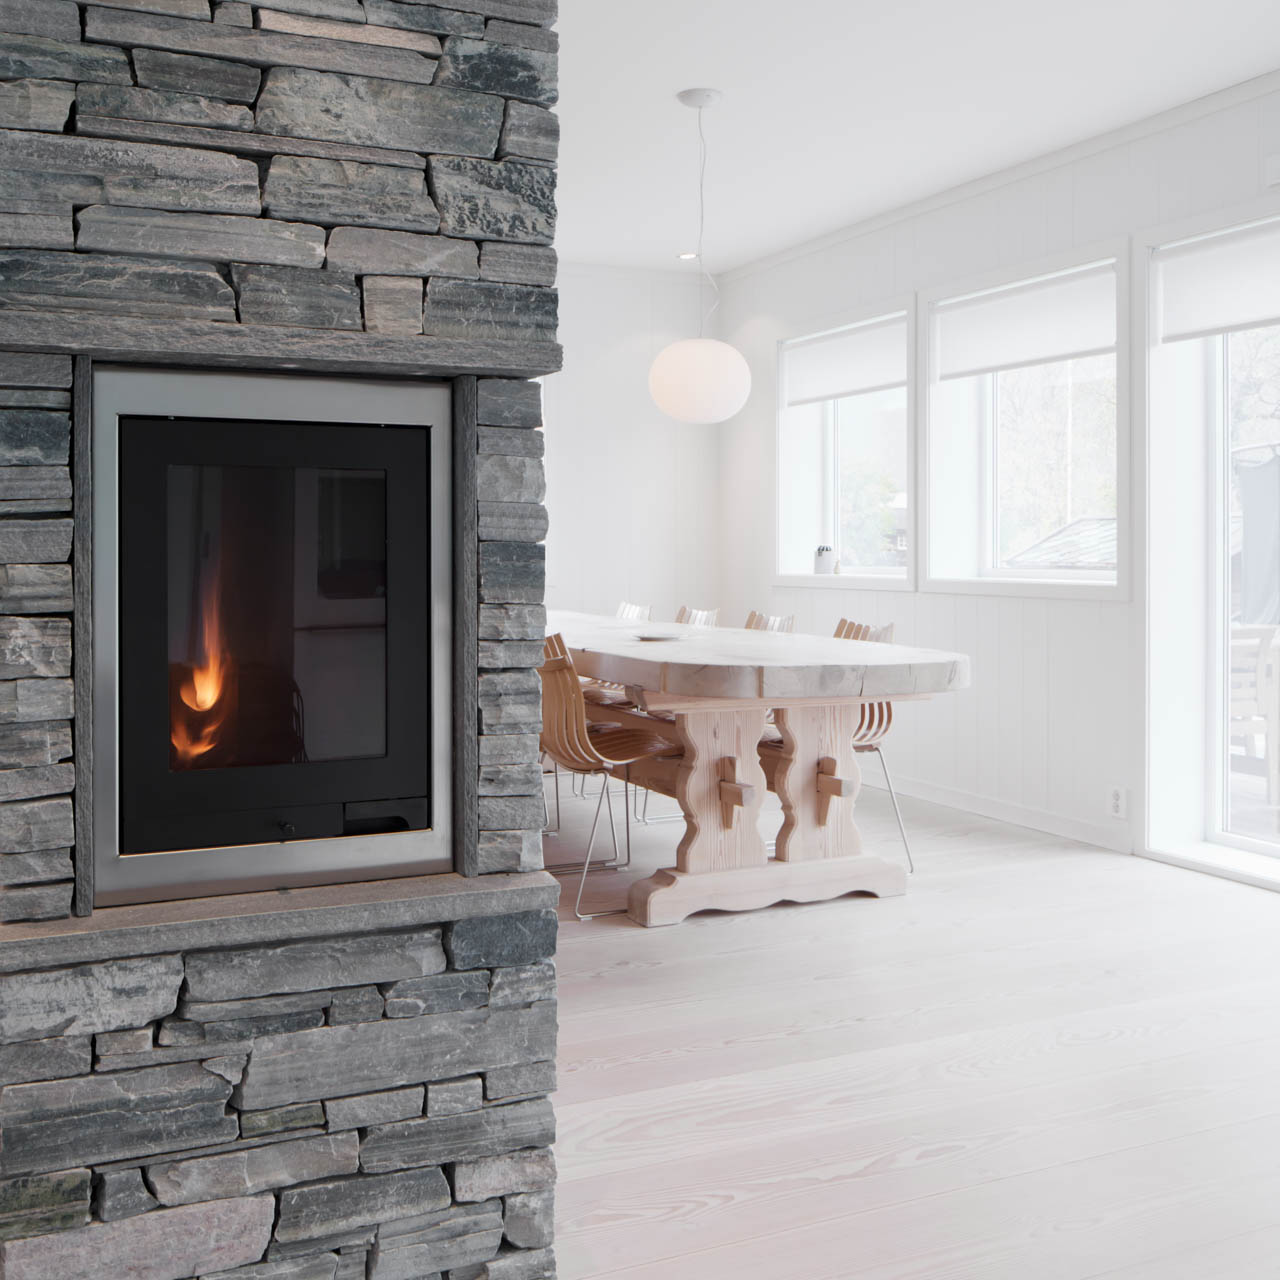
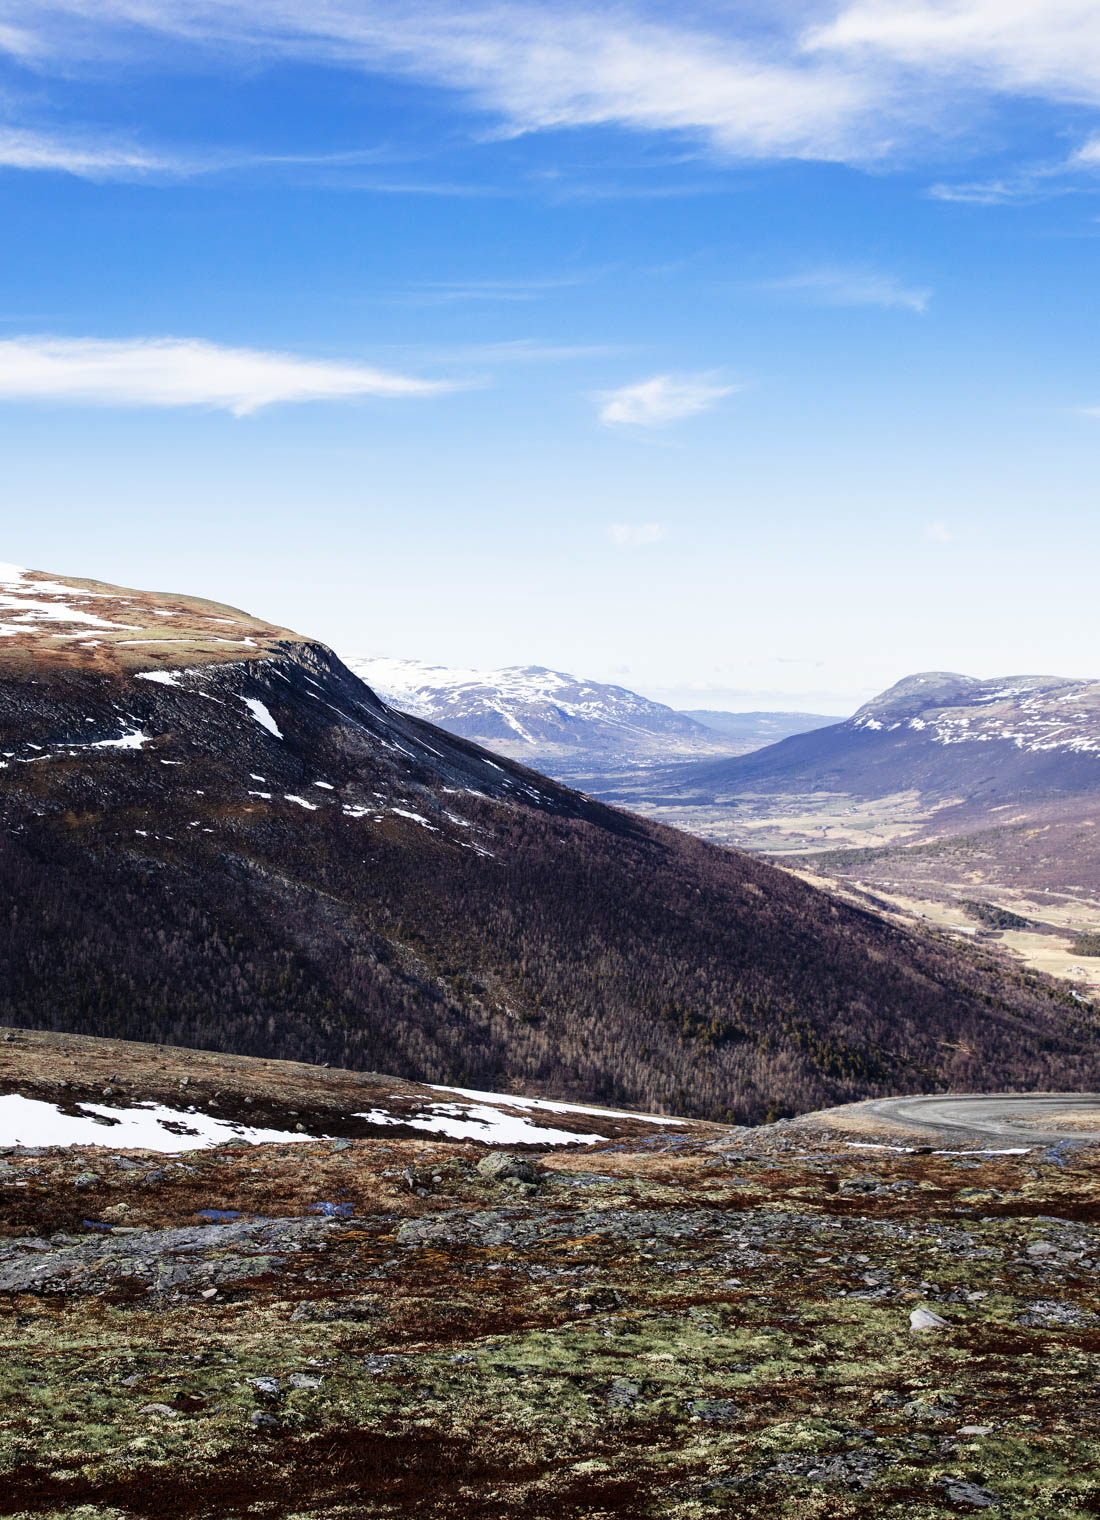
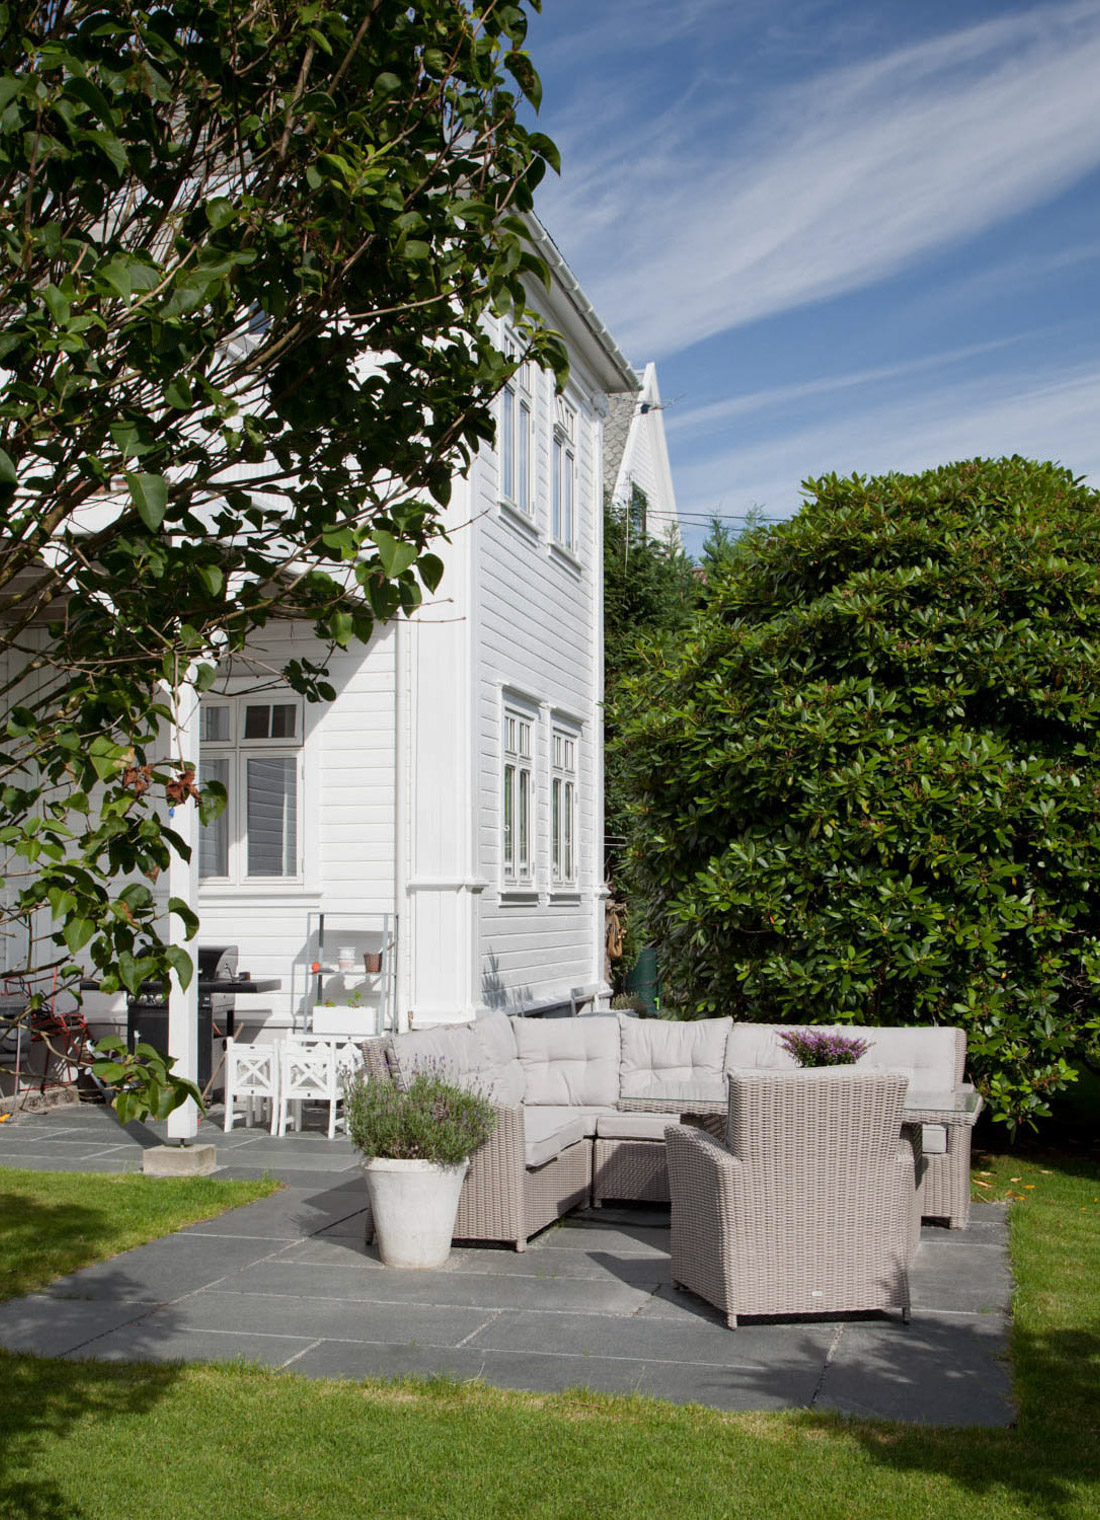
Slate is often associated with typical Norwegian mountain scenery, in a remote mountain cabin or around the fireplace in a hunting lodge. Which, of course is as it should be! But slate is so much more, and is the perfect choice, whether you’re planning to lay a new paved area around your summer cottage, or simply want an attractive and practical area in your garden.

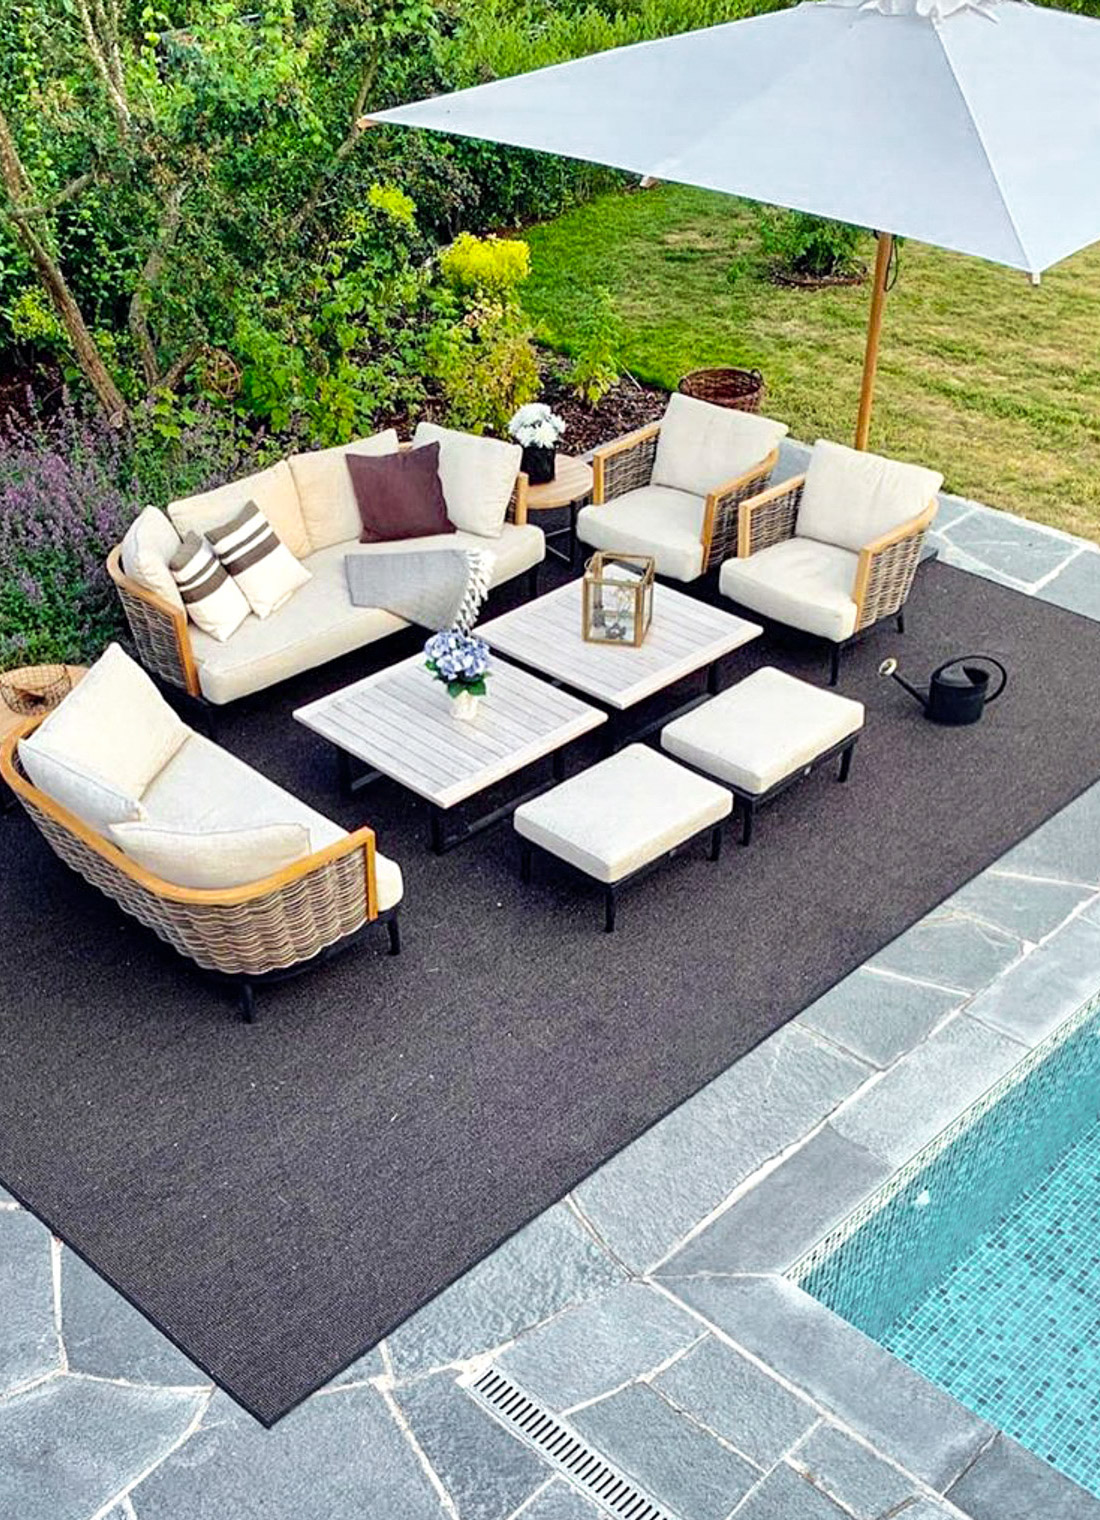
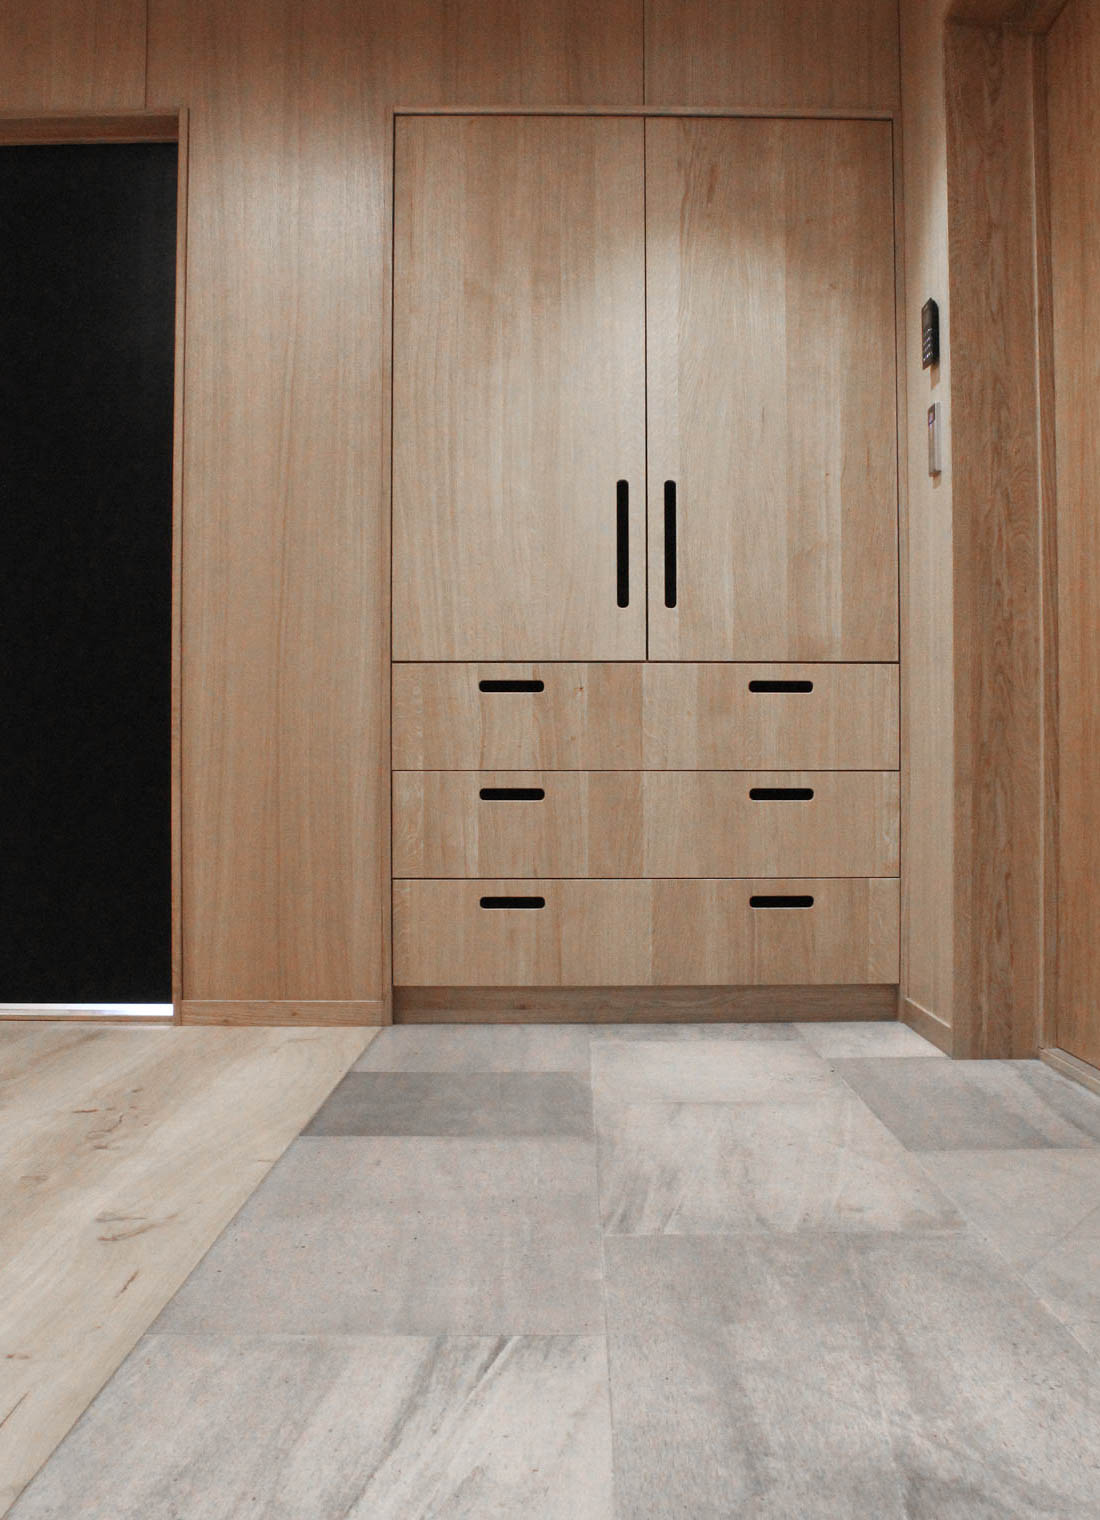
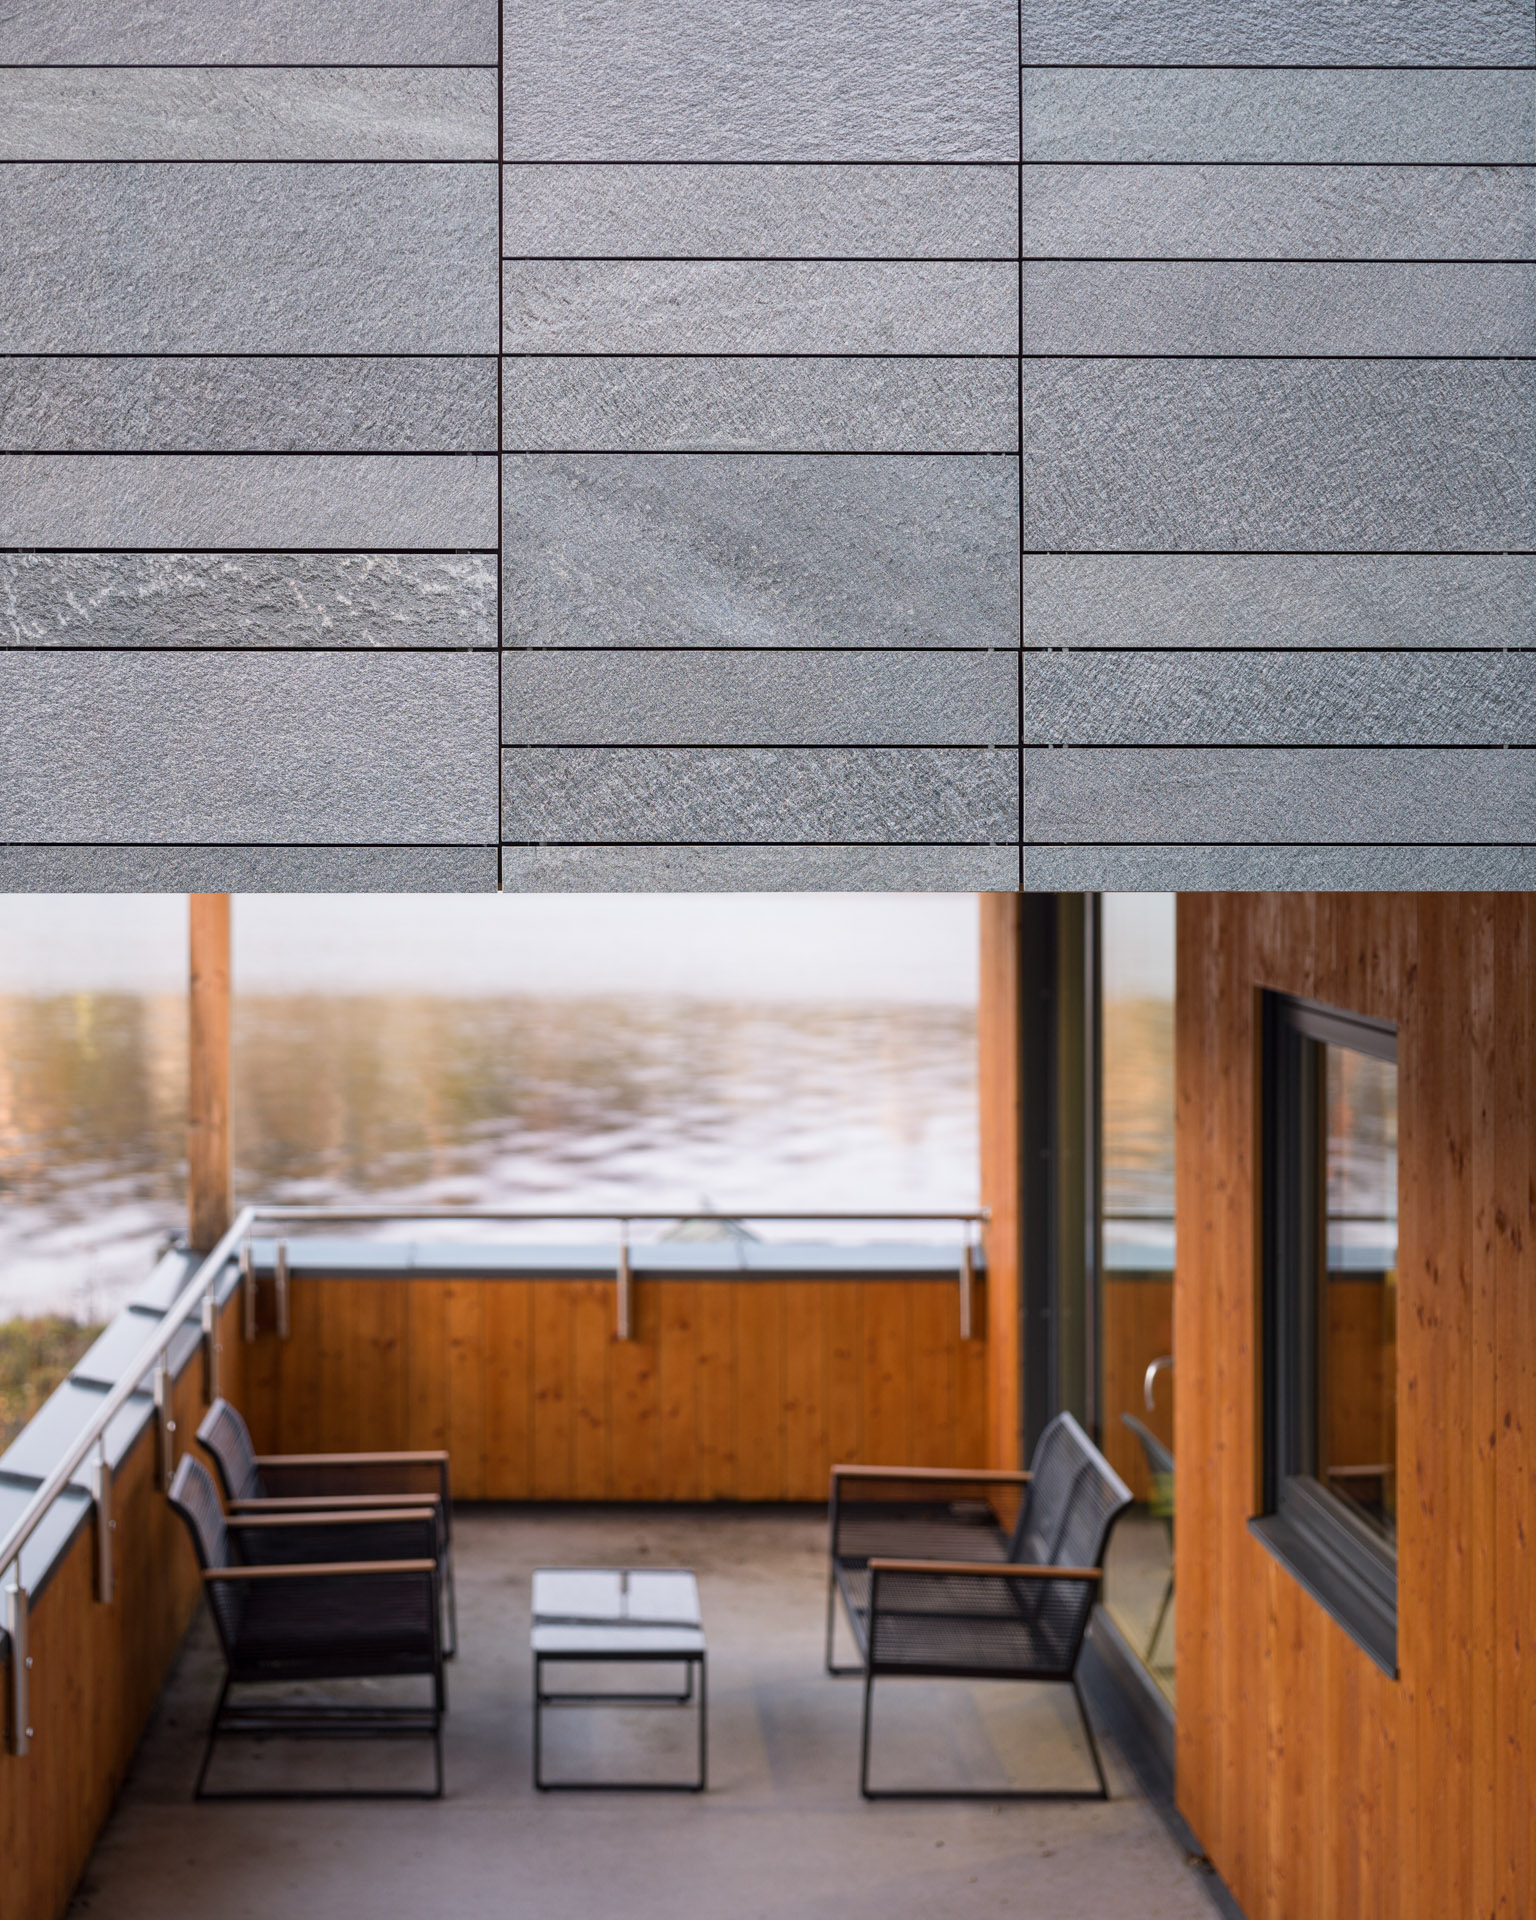
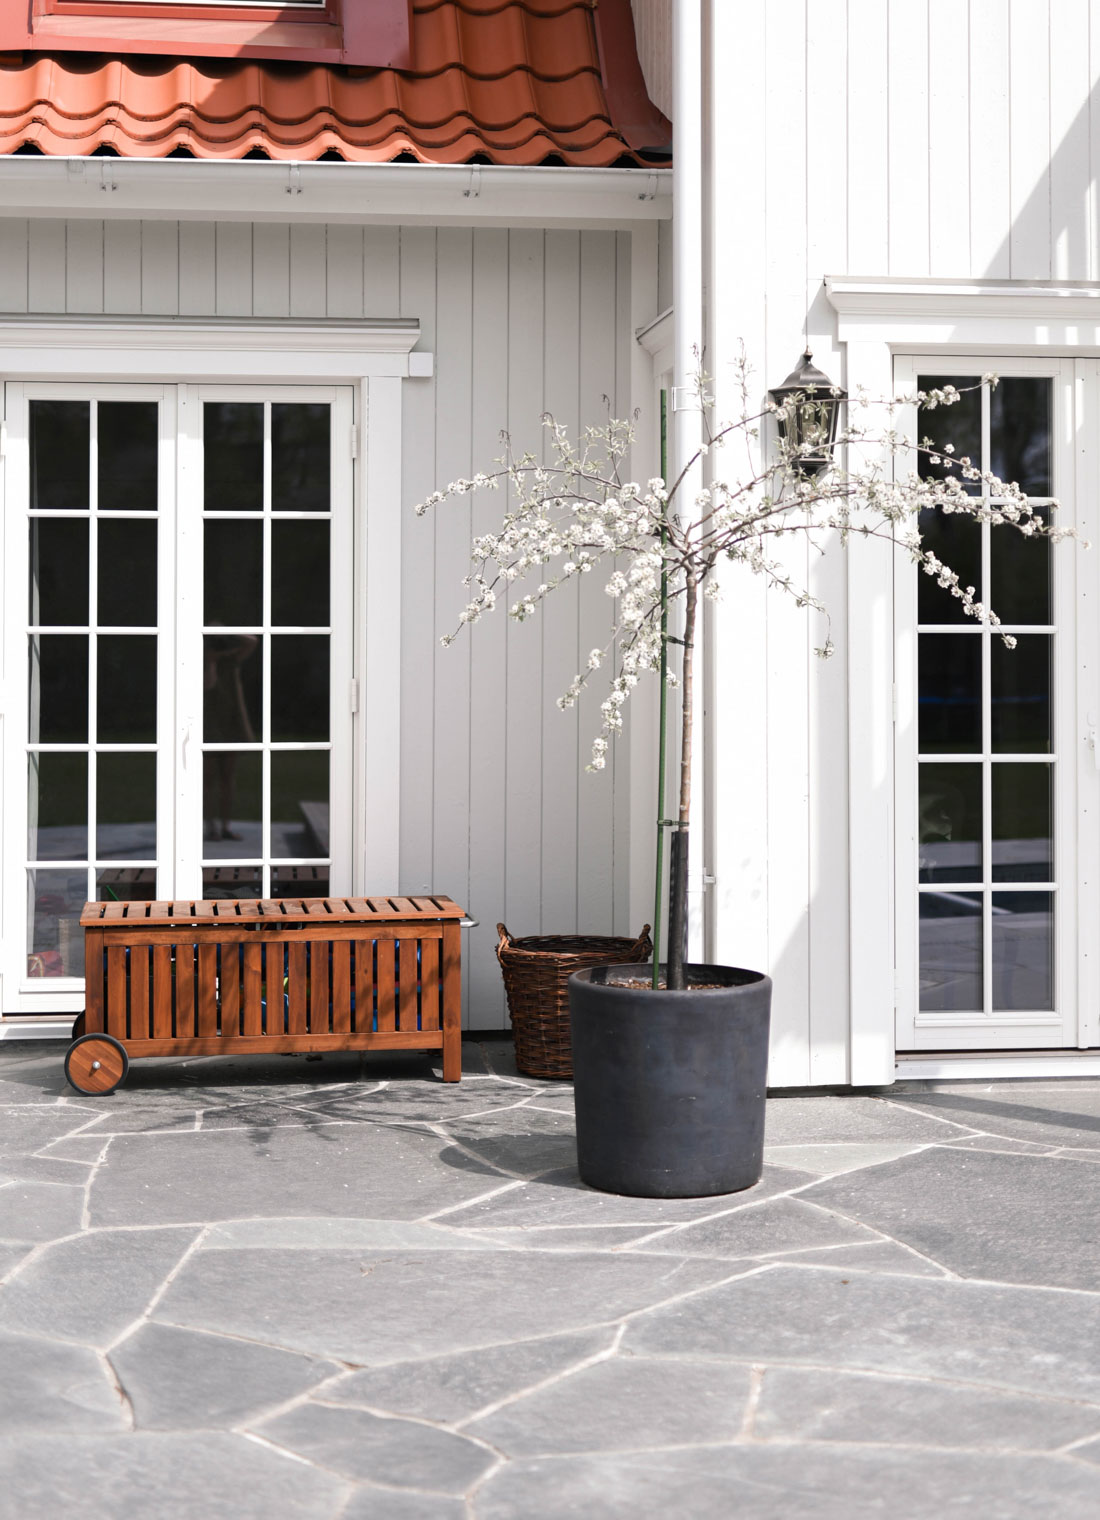
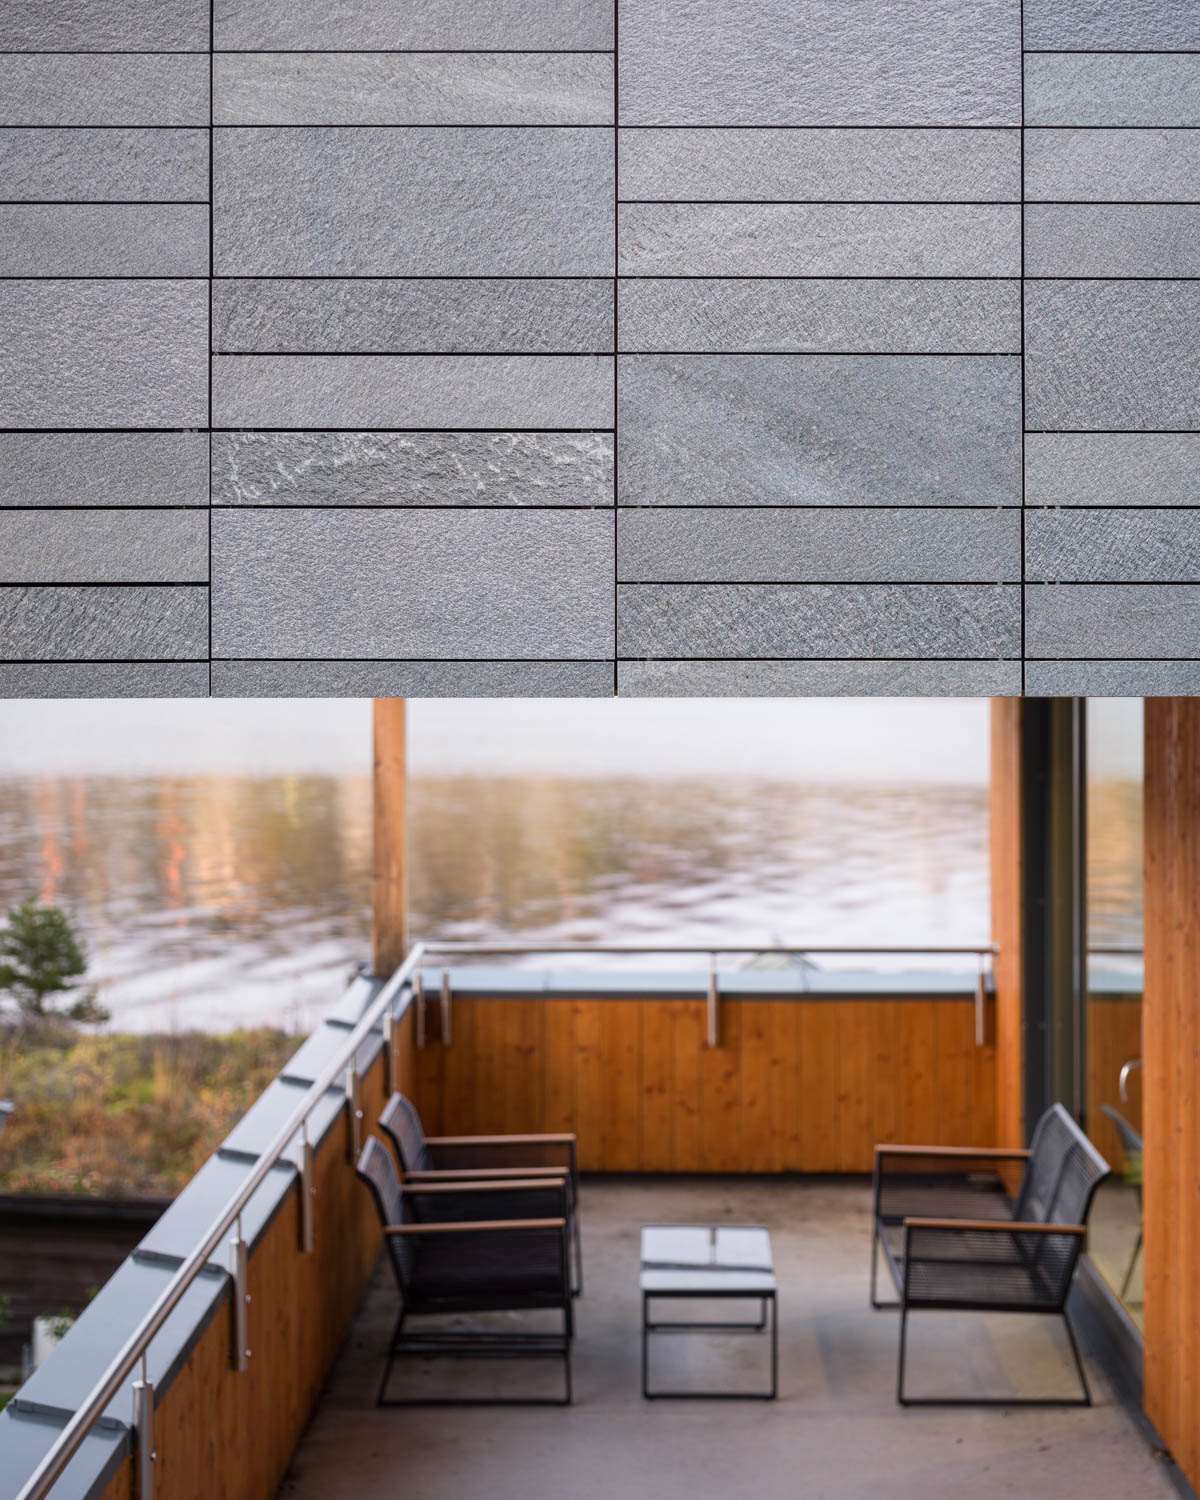
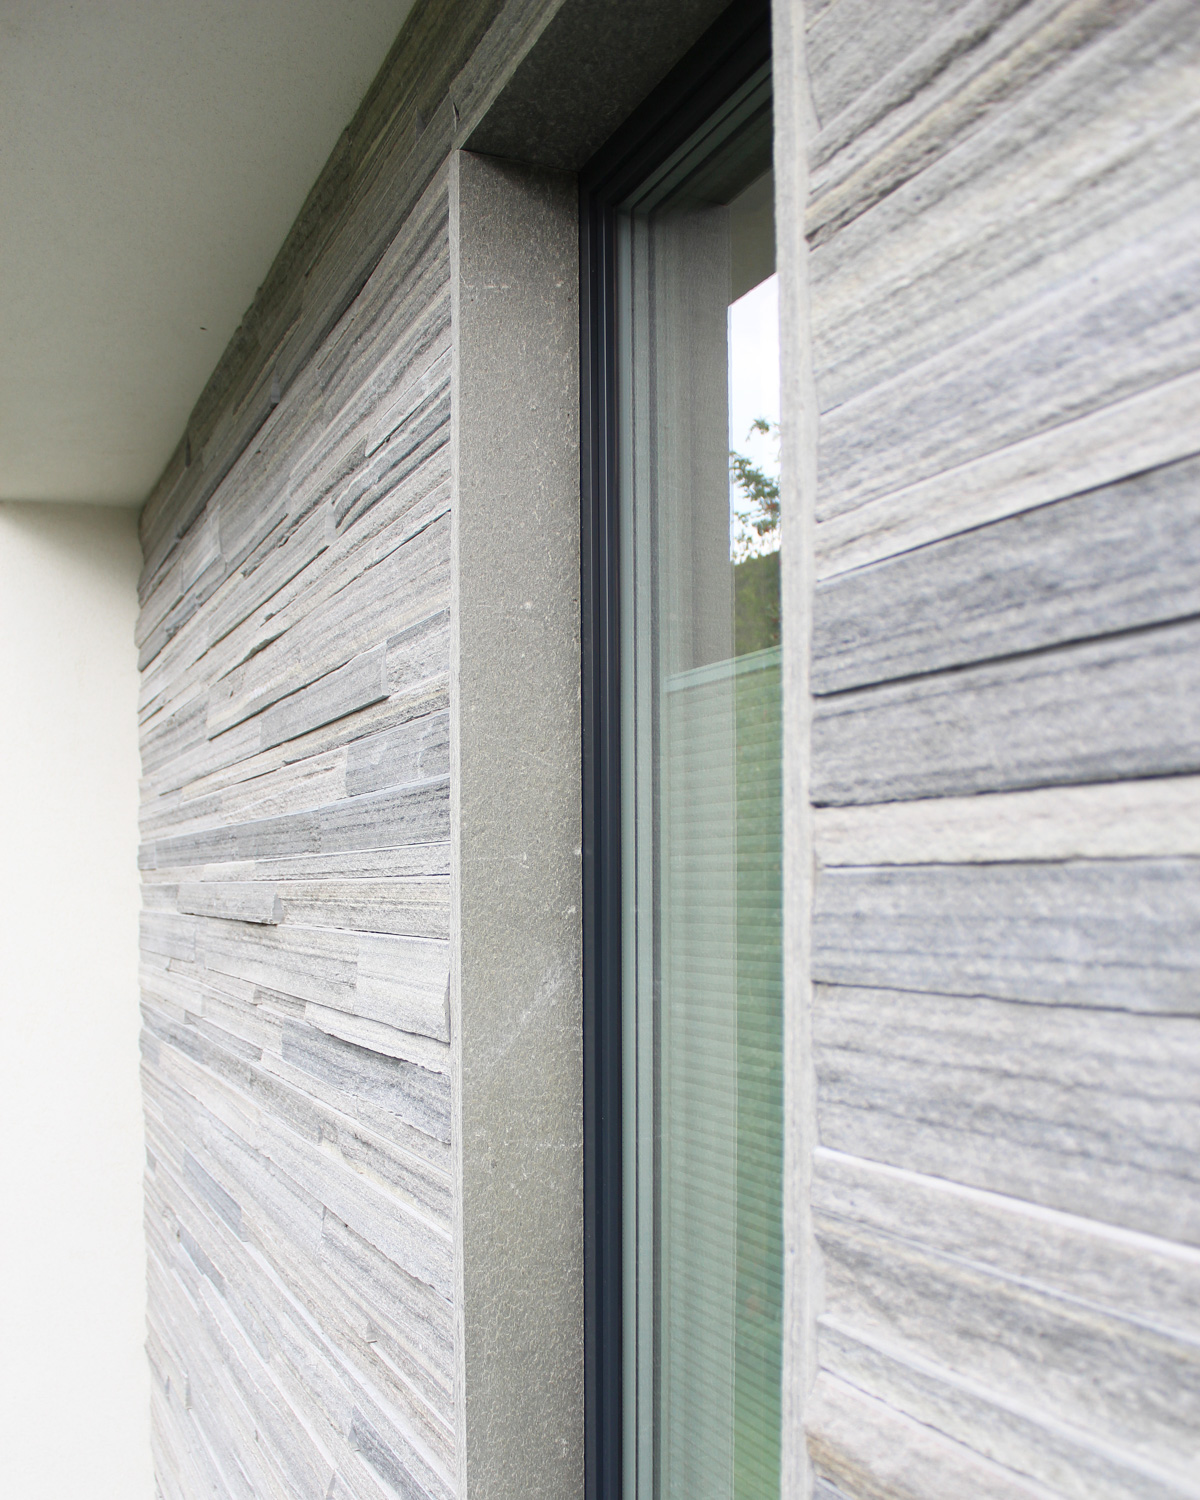
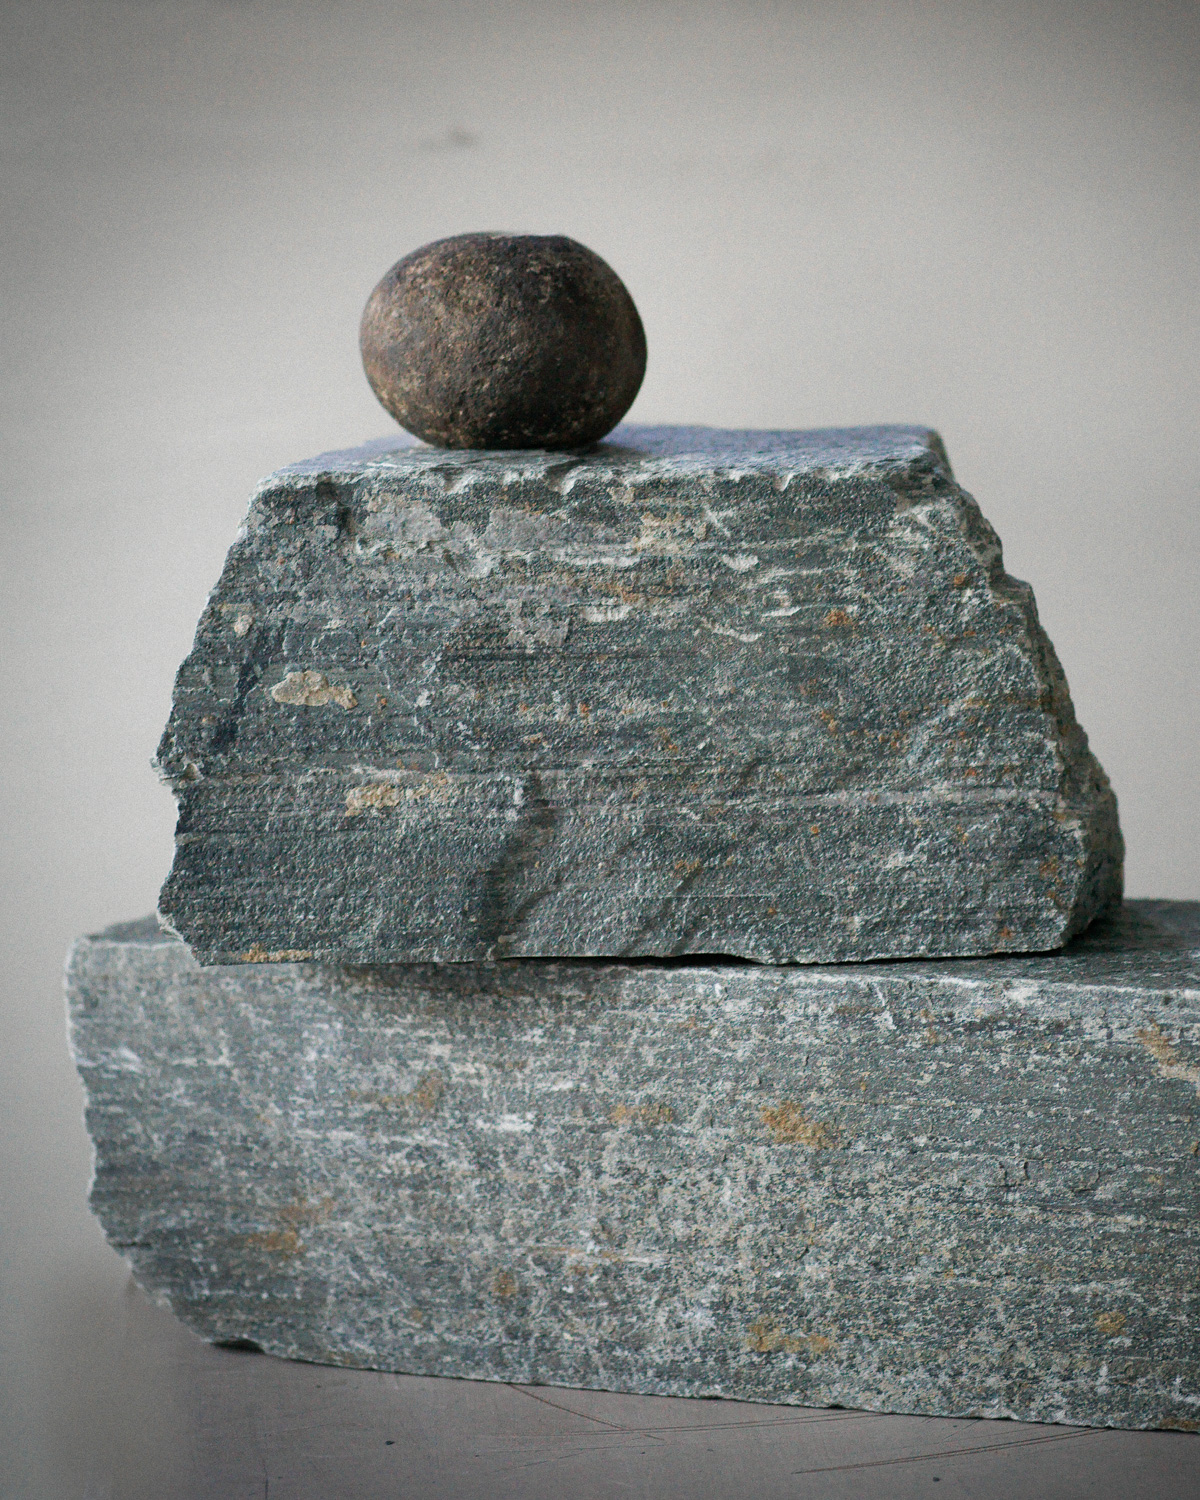
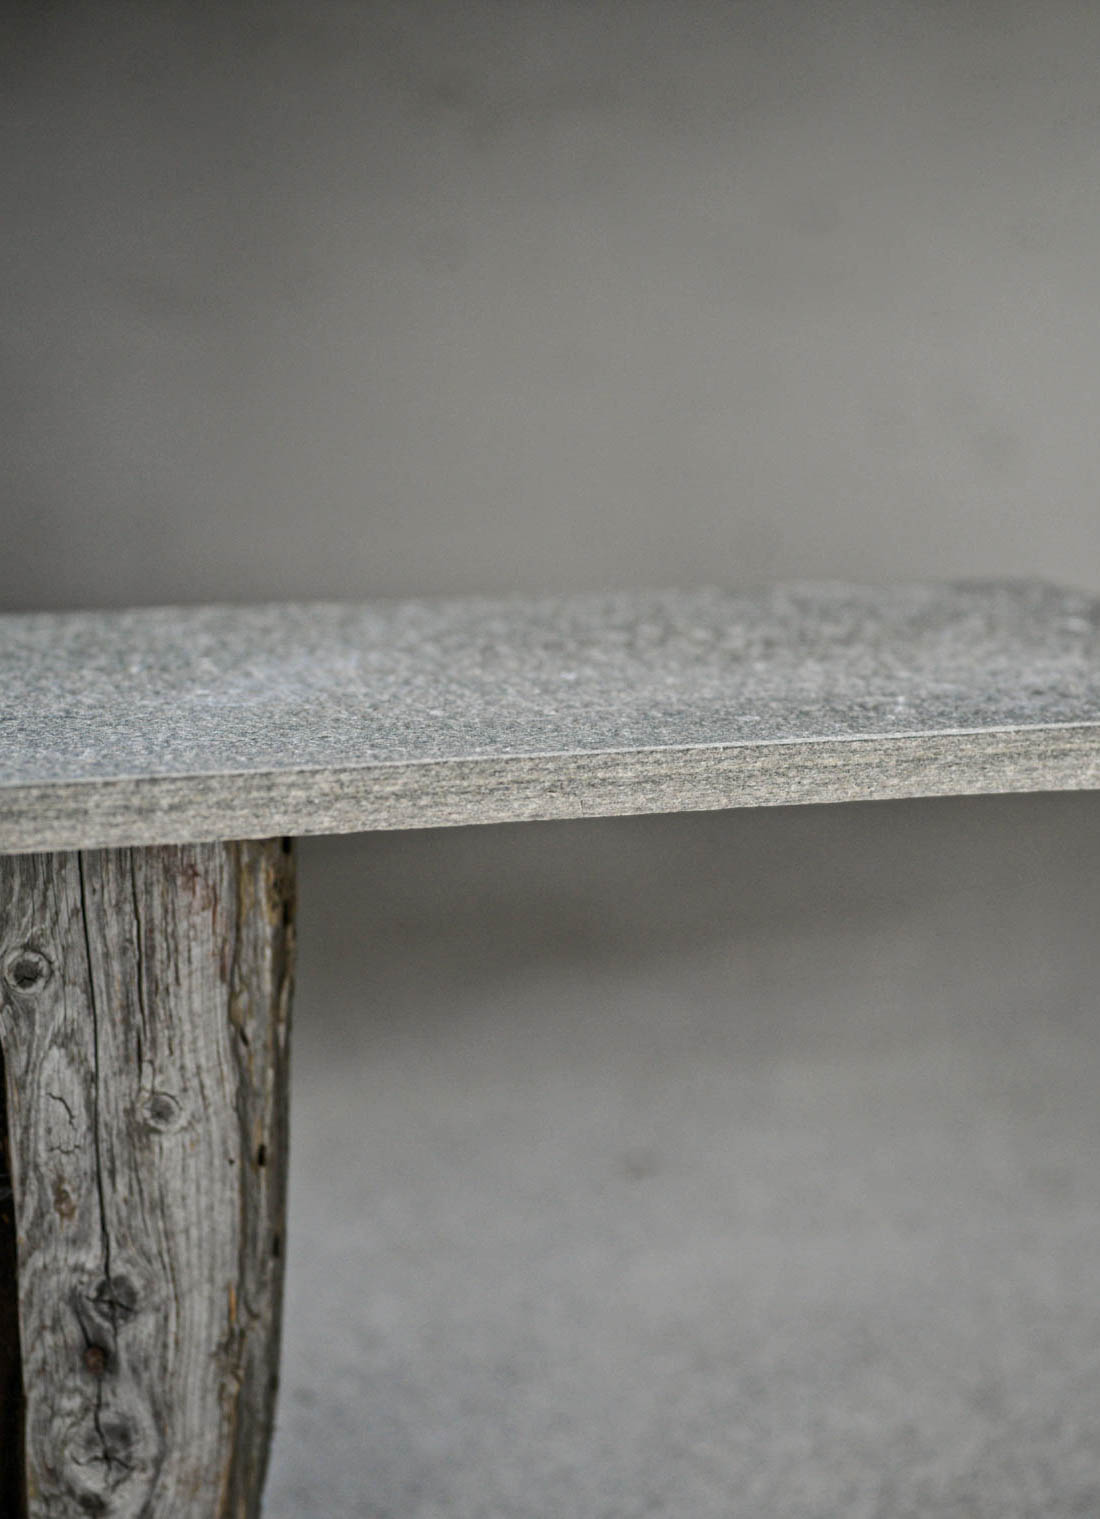
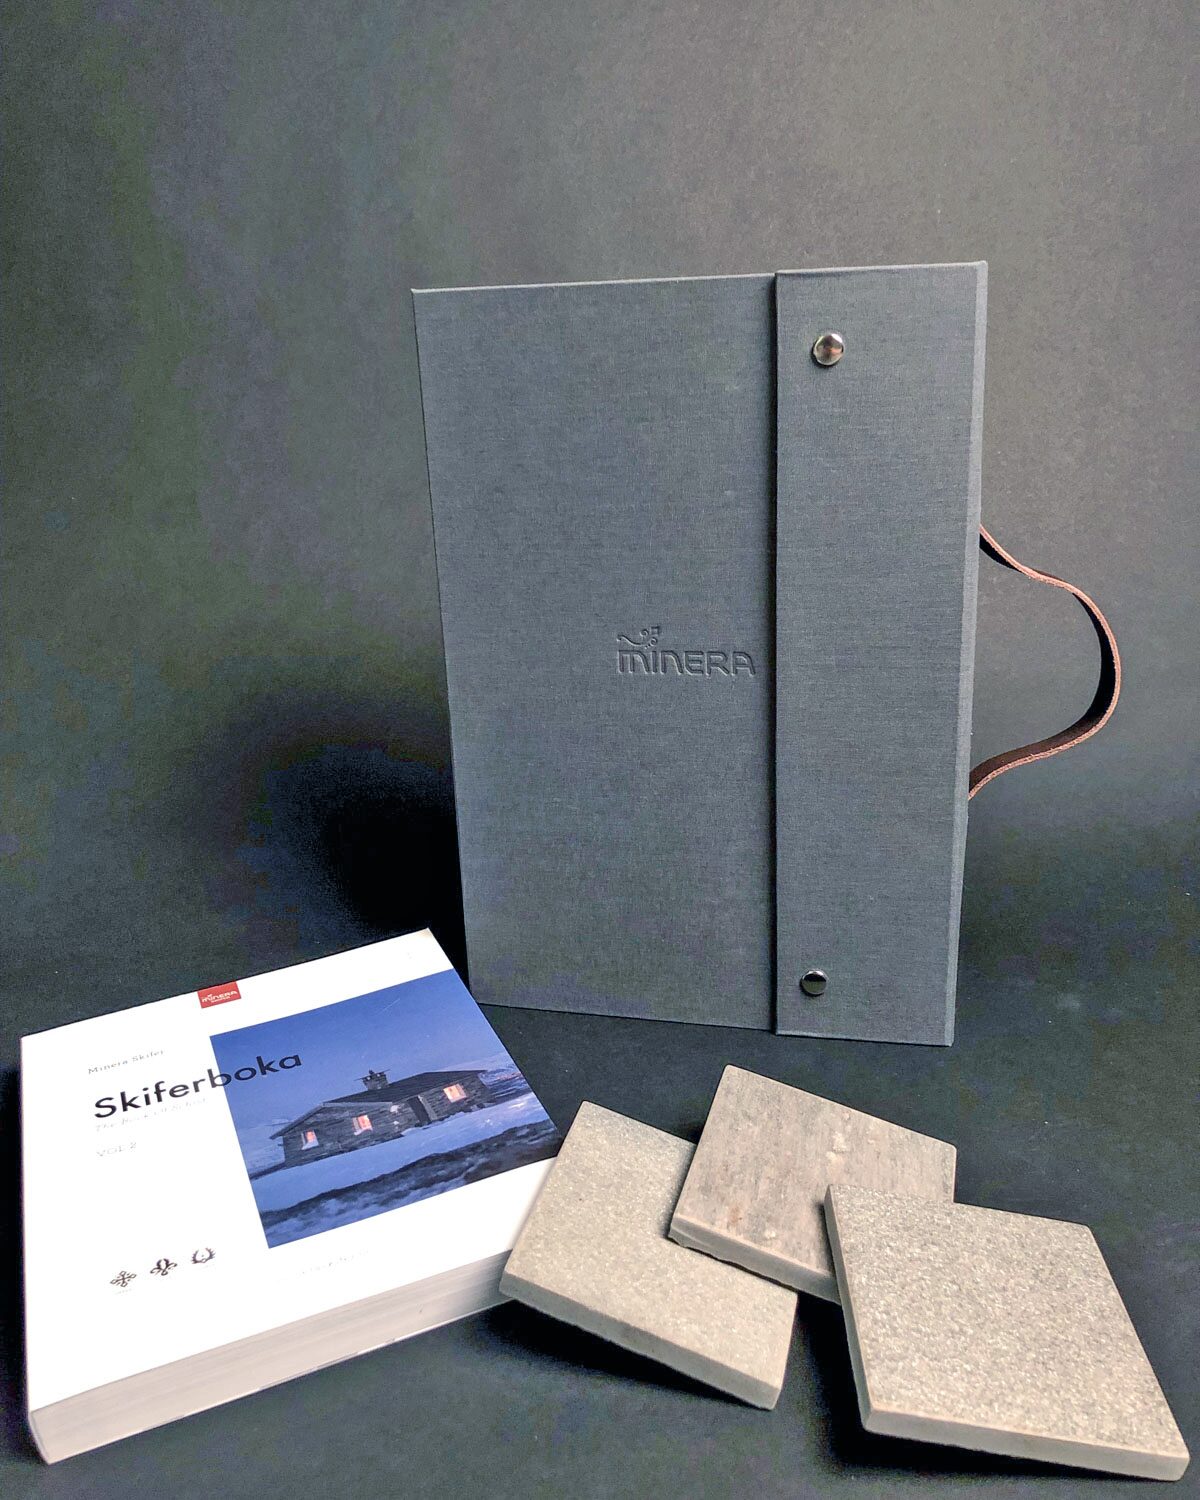
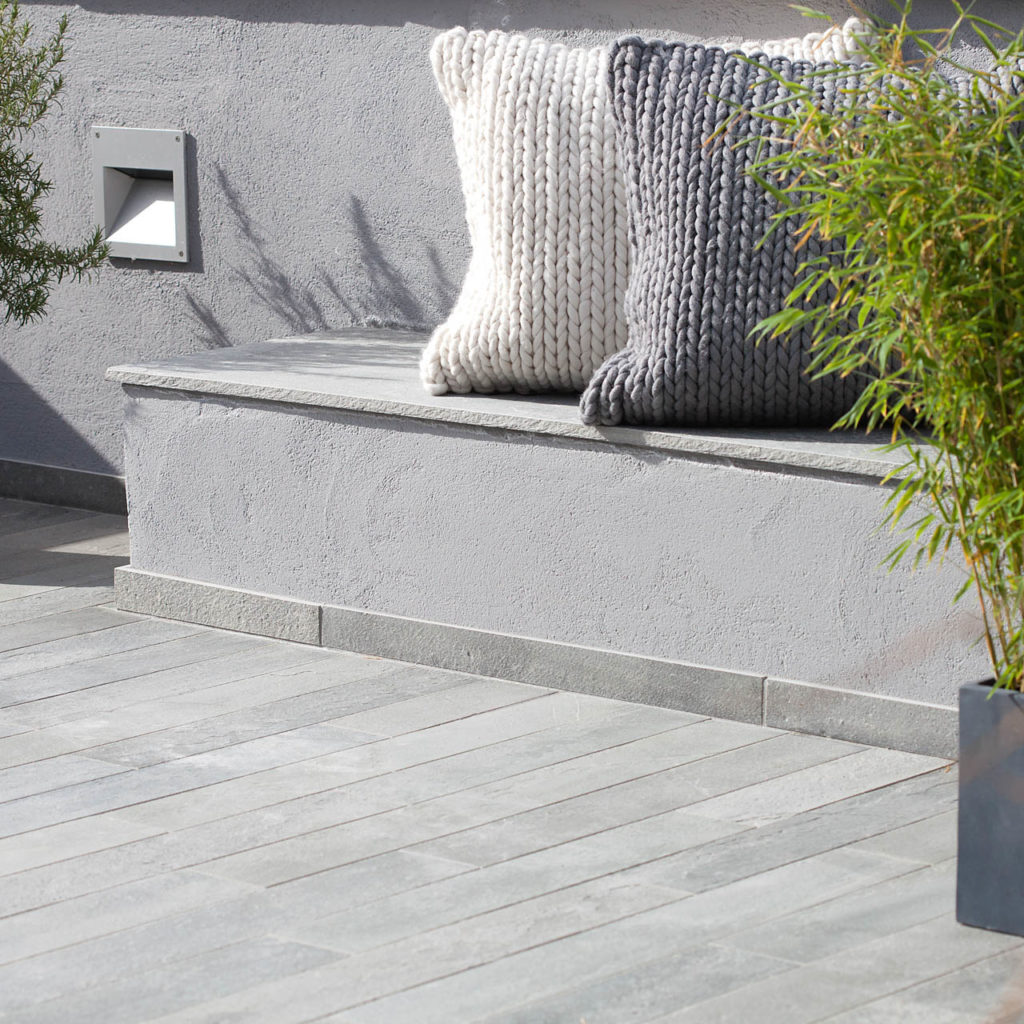
If you think slate is just grey rock, you should think again. Slate paving comes in a variety of shades – from light grey to almost black – and you can choose between precision-cut slate slabs or more rough-hewn flagstones.
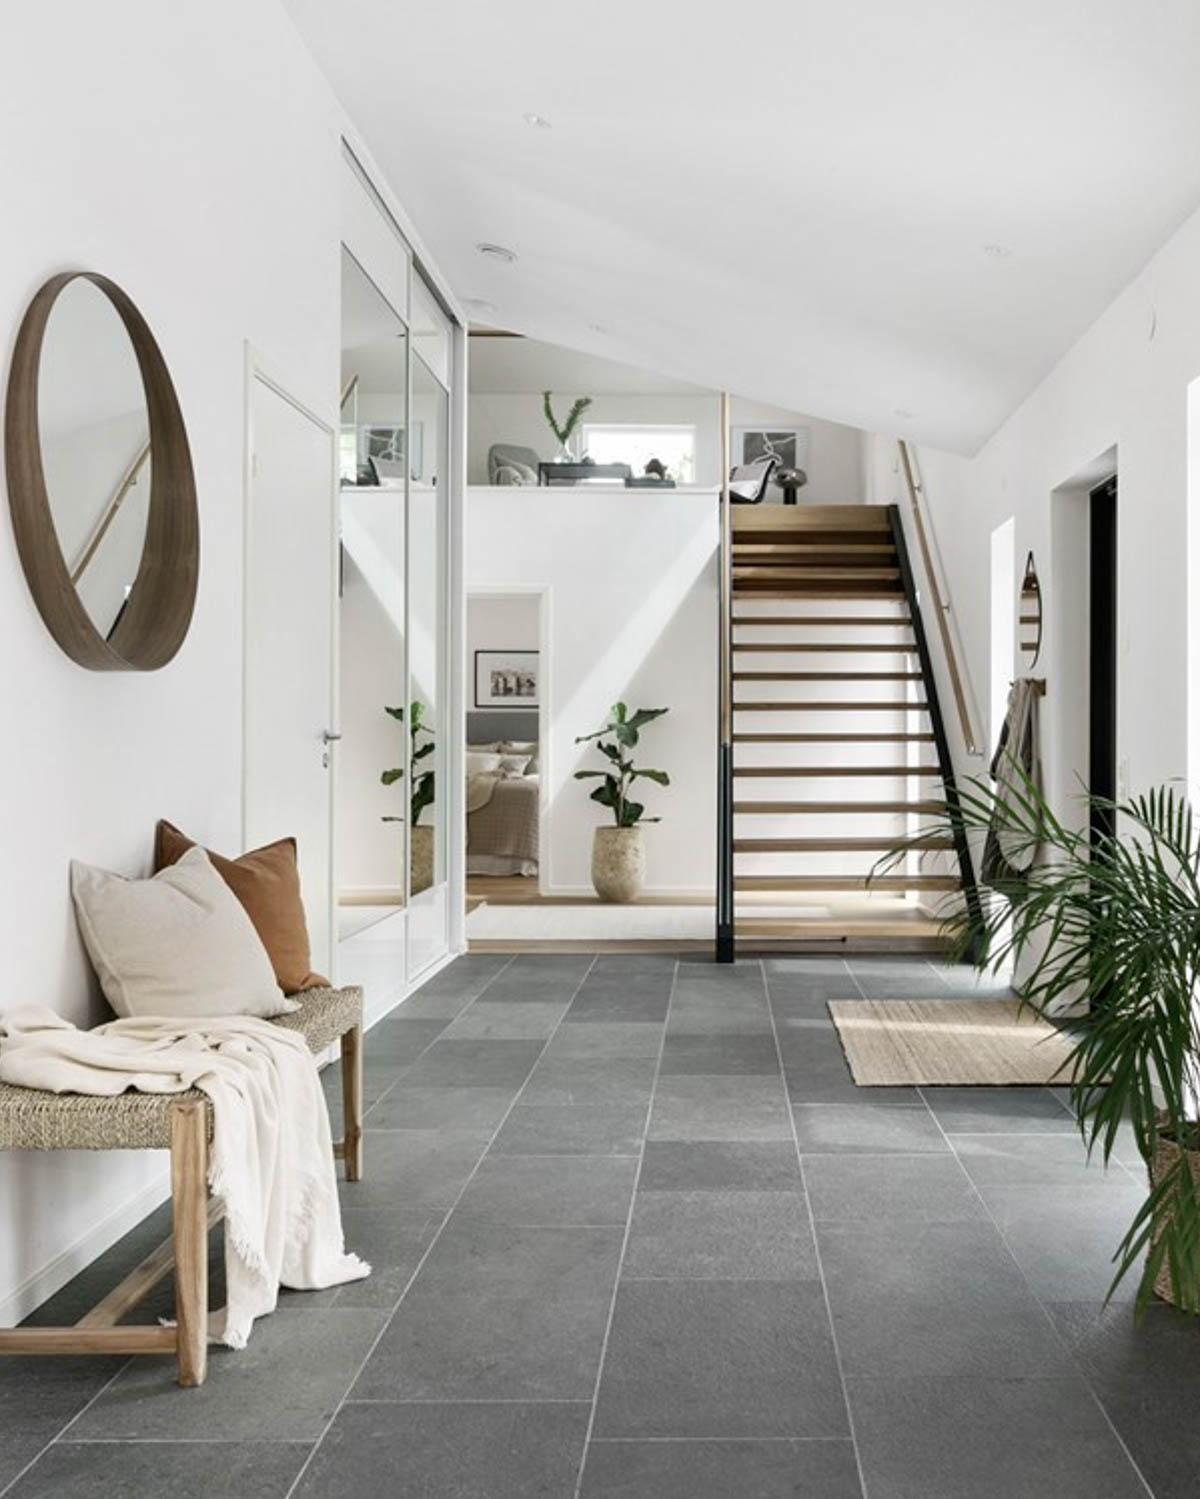
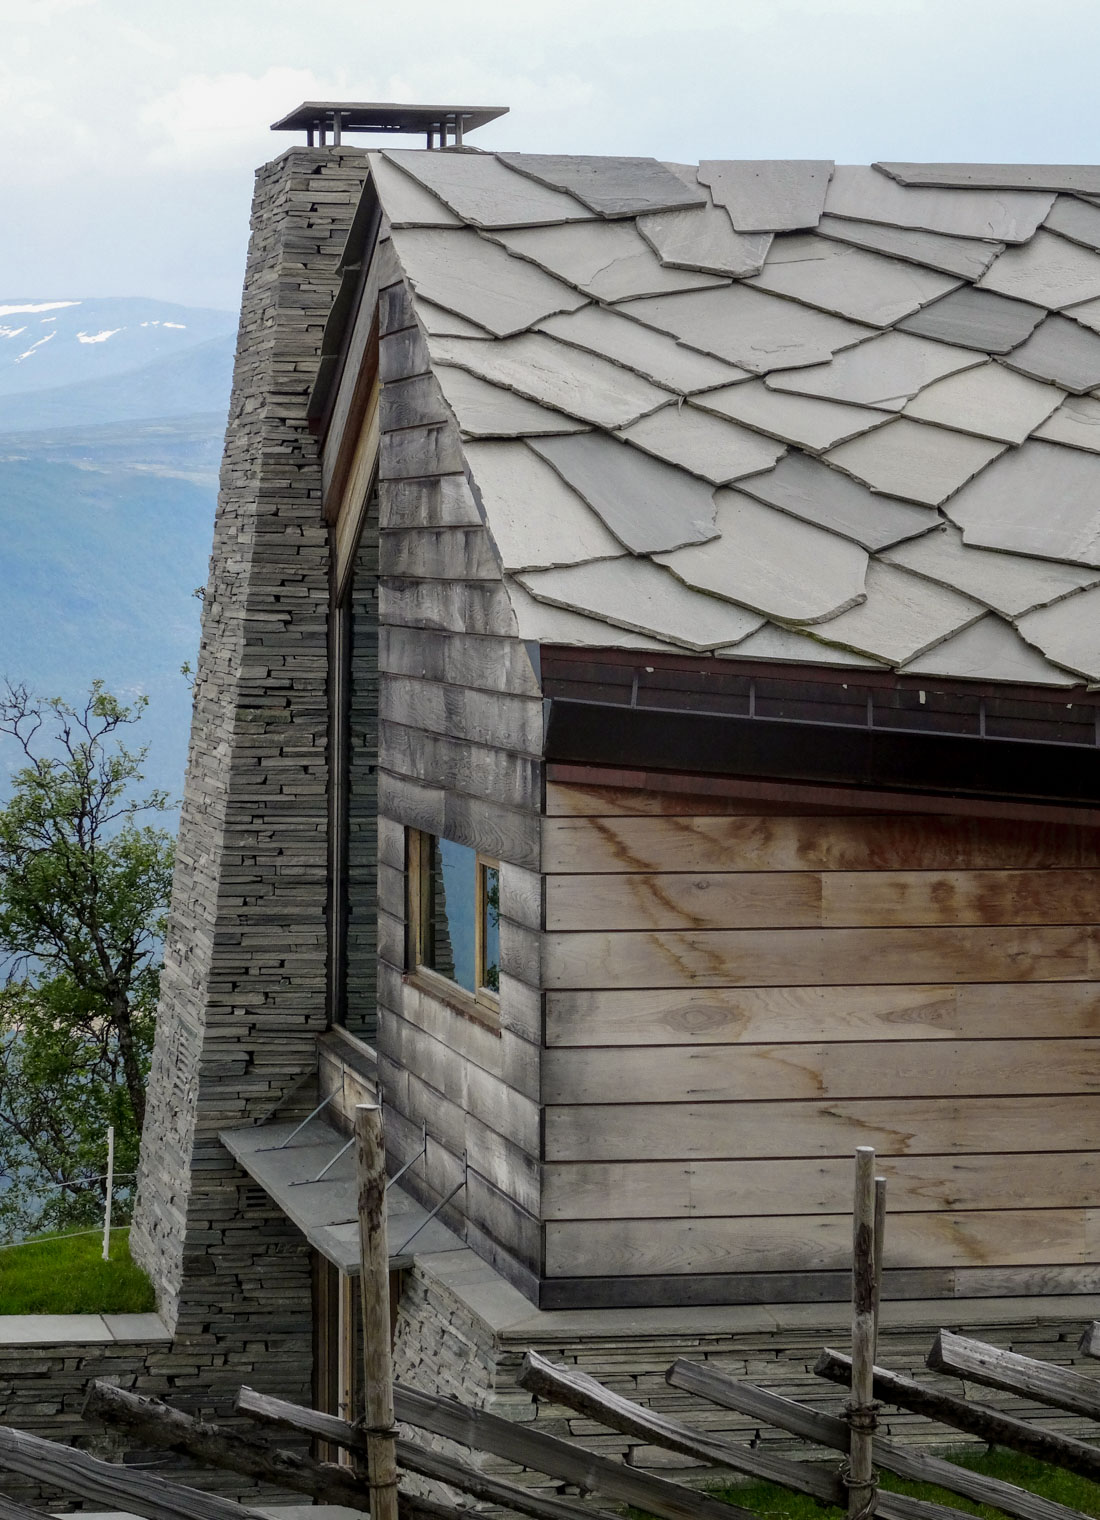
Besides being a local natural product that requires minimal maintenance and has very low emissions due to how it is quarried, slate is also a material that combines the traditional with the modern.
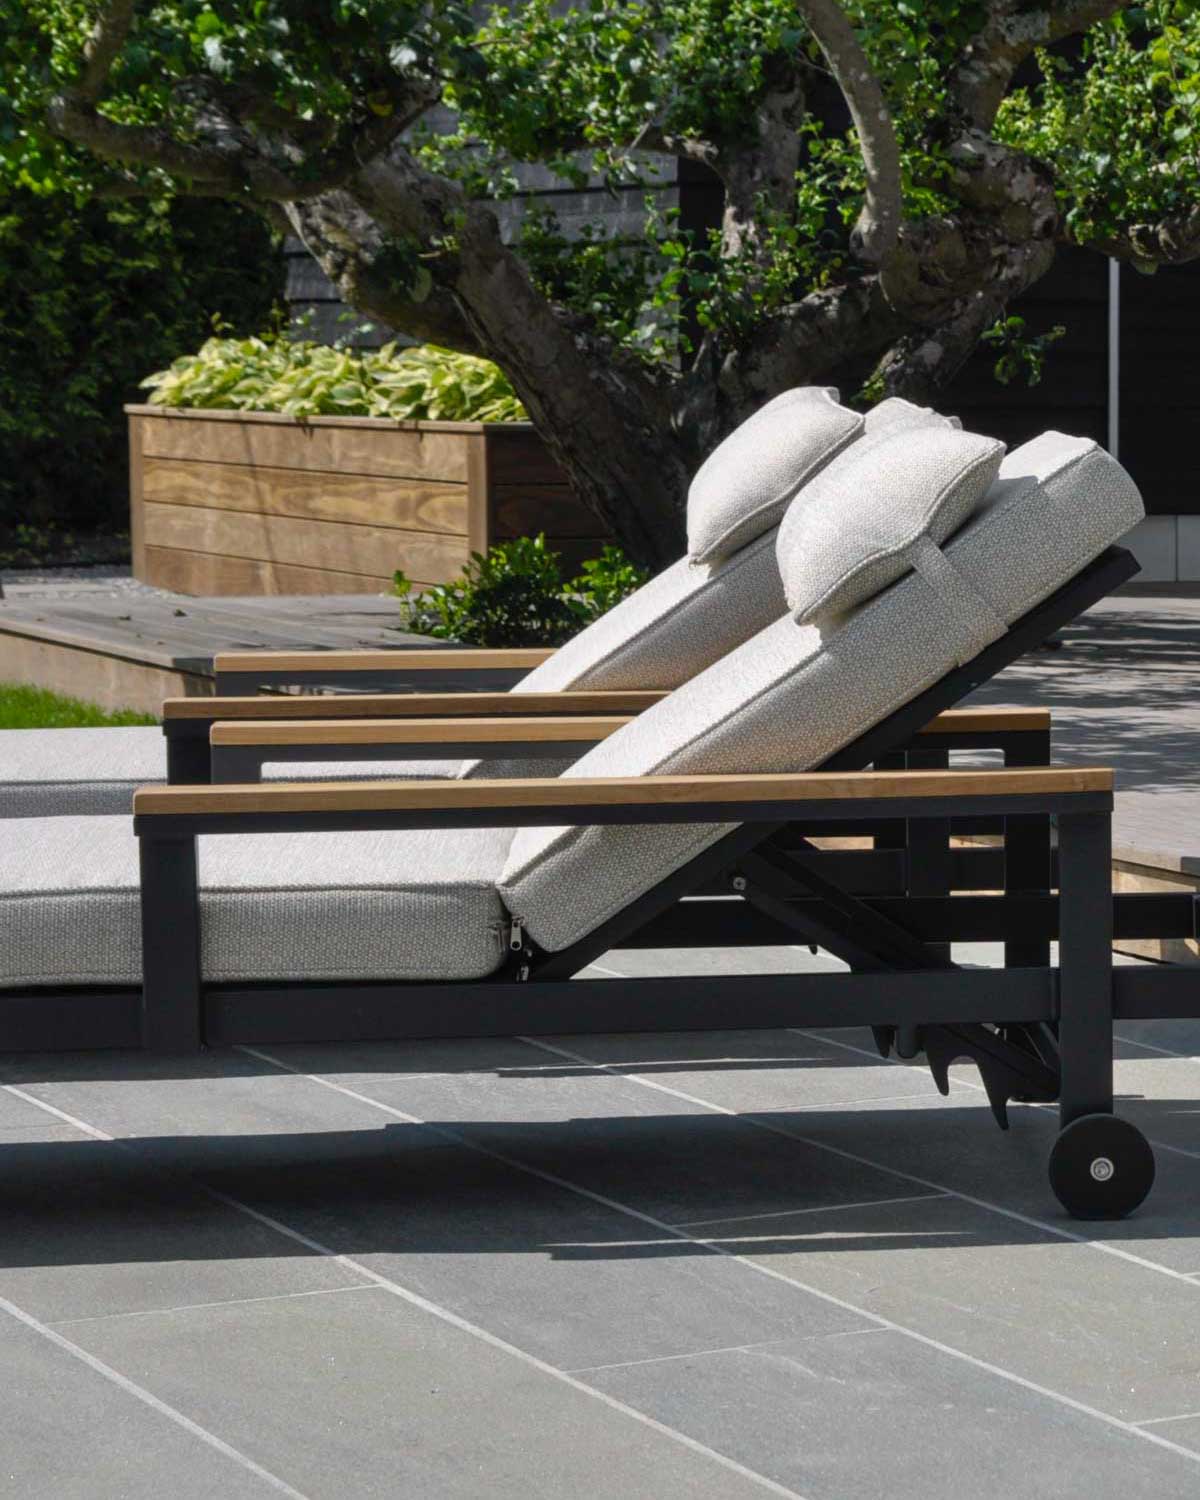
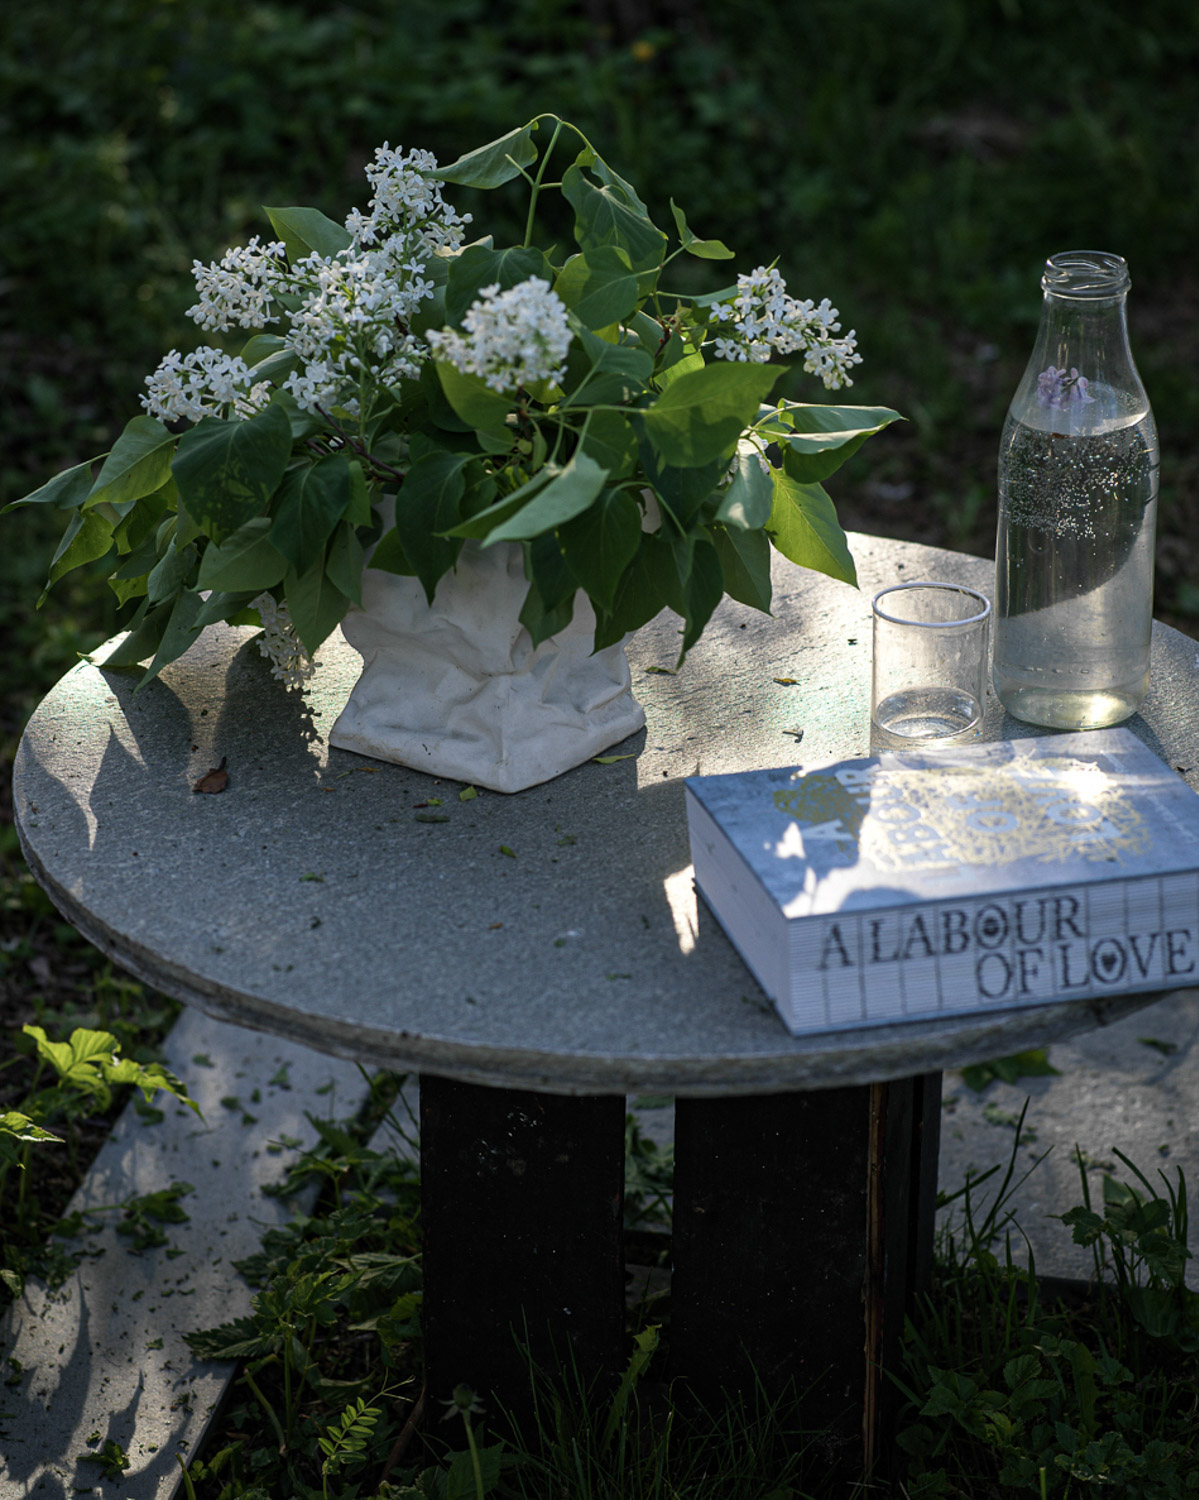
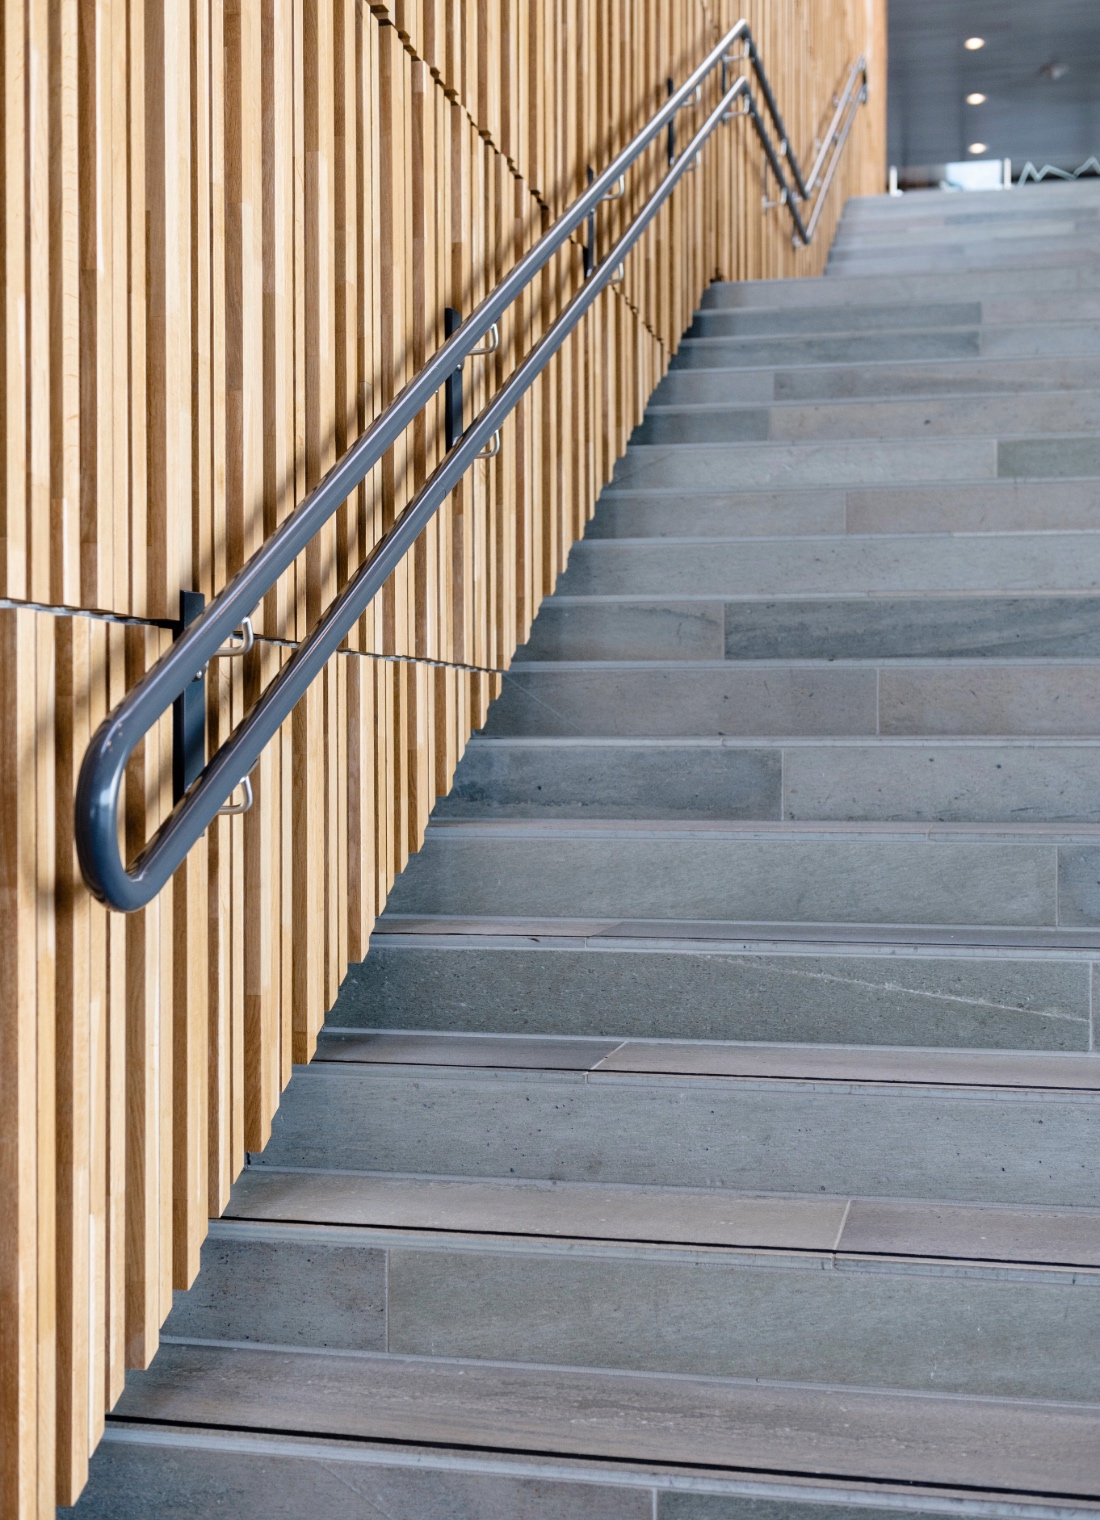
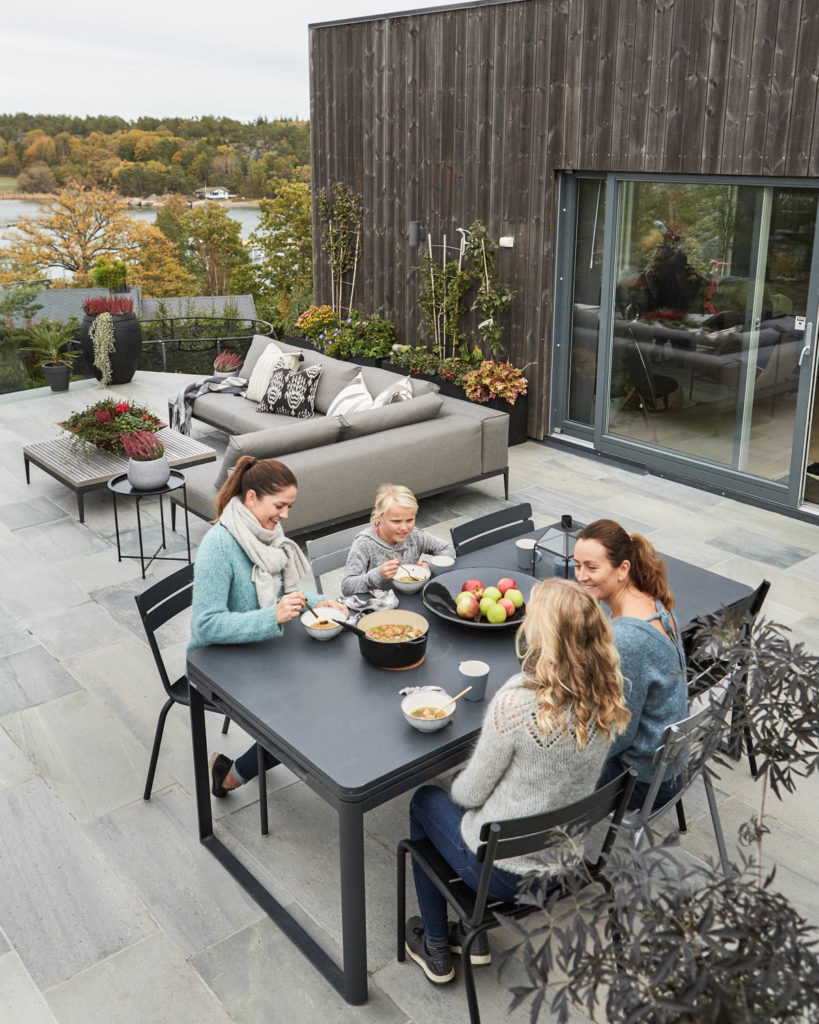
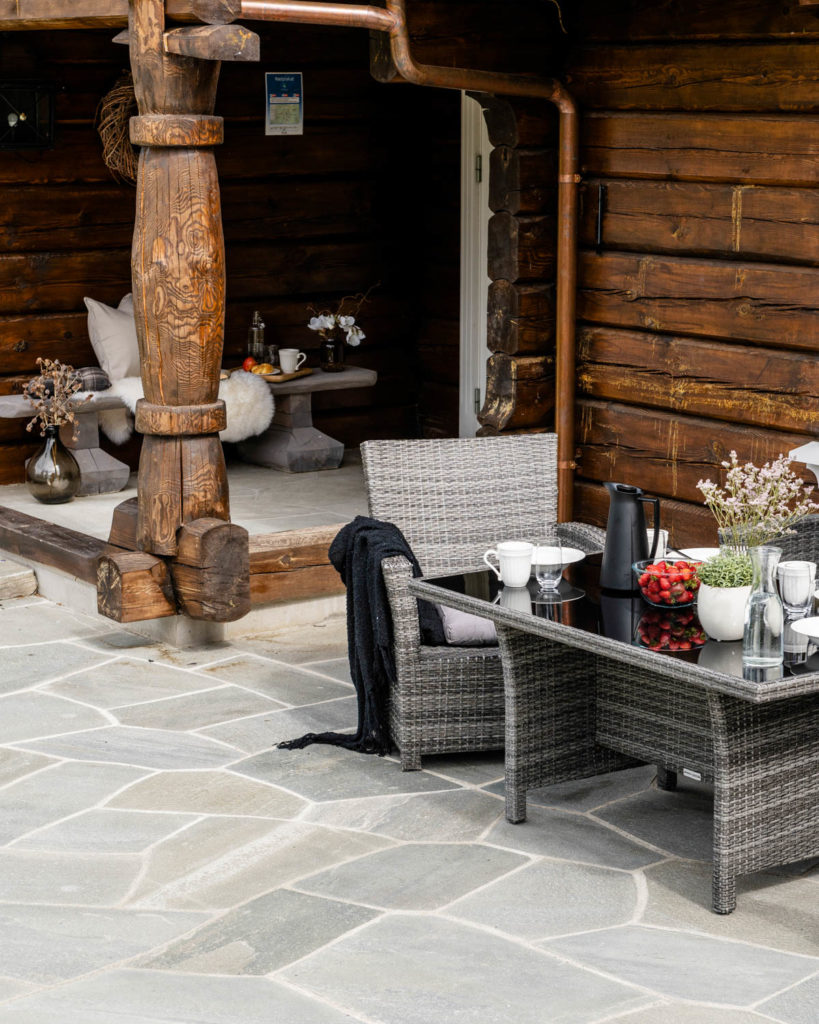
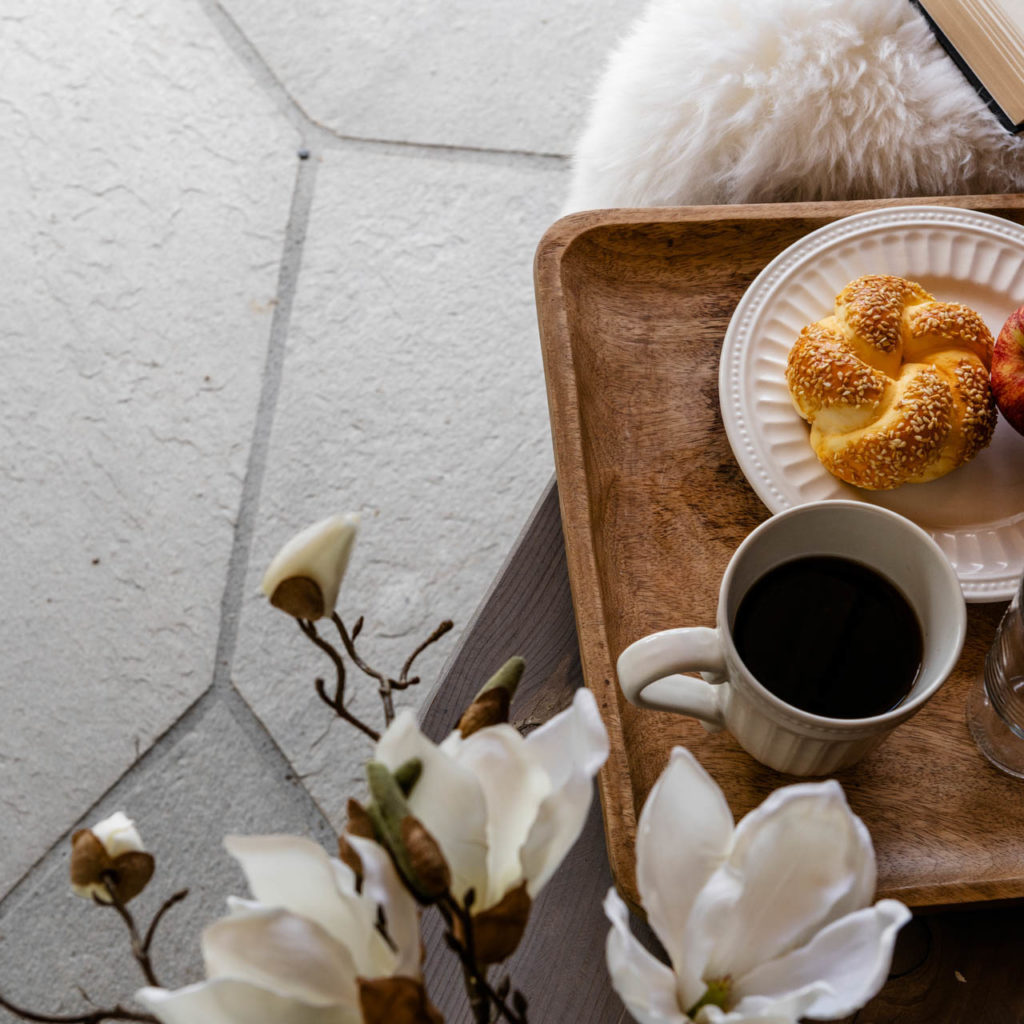
Natural stone such as slate absorbs and retains heat well, making it an excellent surface for outdoor use, whether it’s just enjoying a cup of coffee in the Easter sun, or spending lazy summer days.
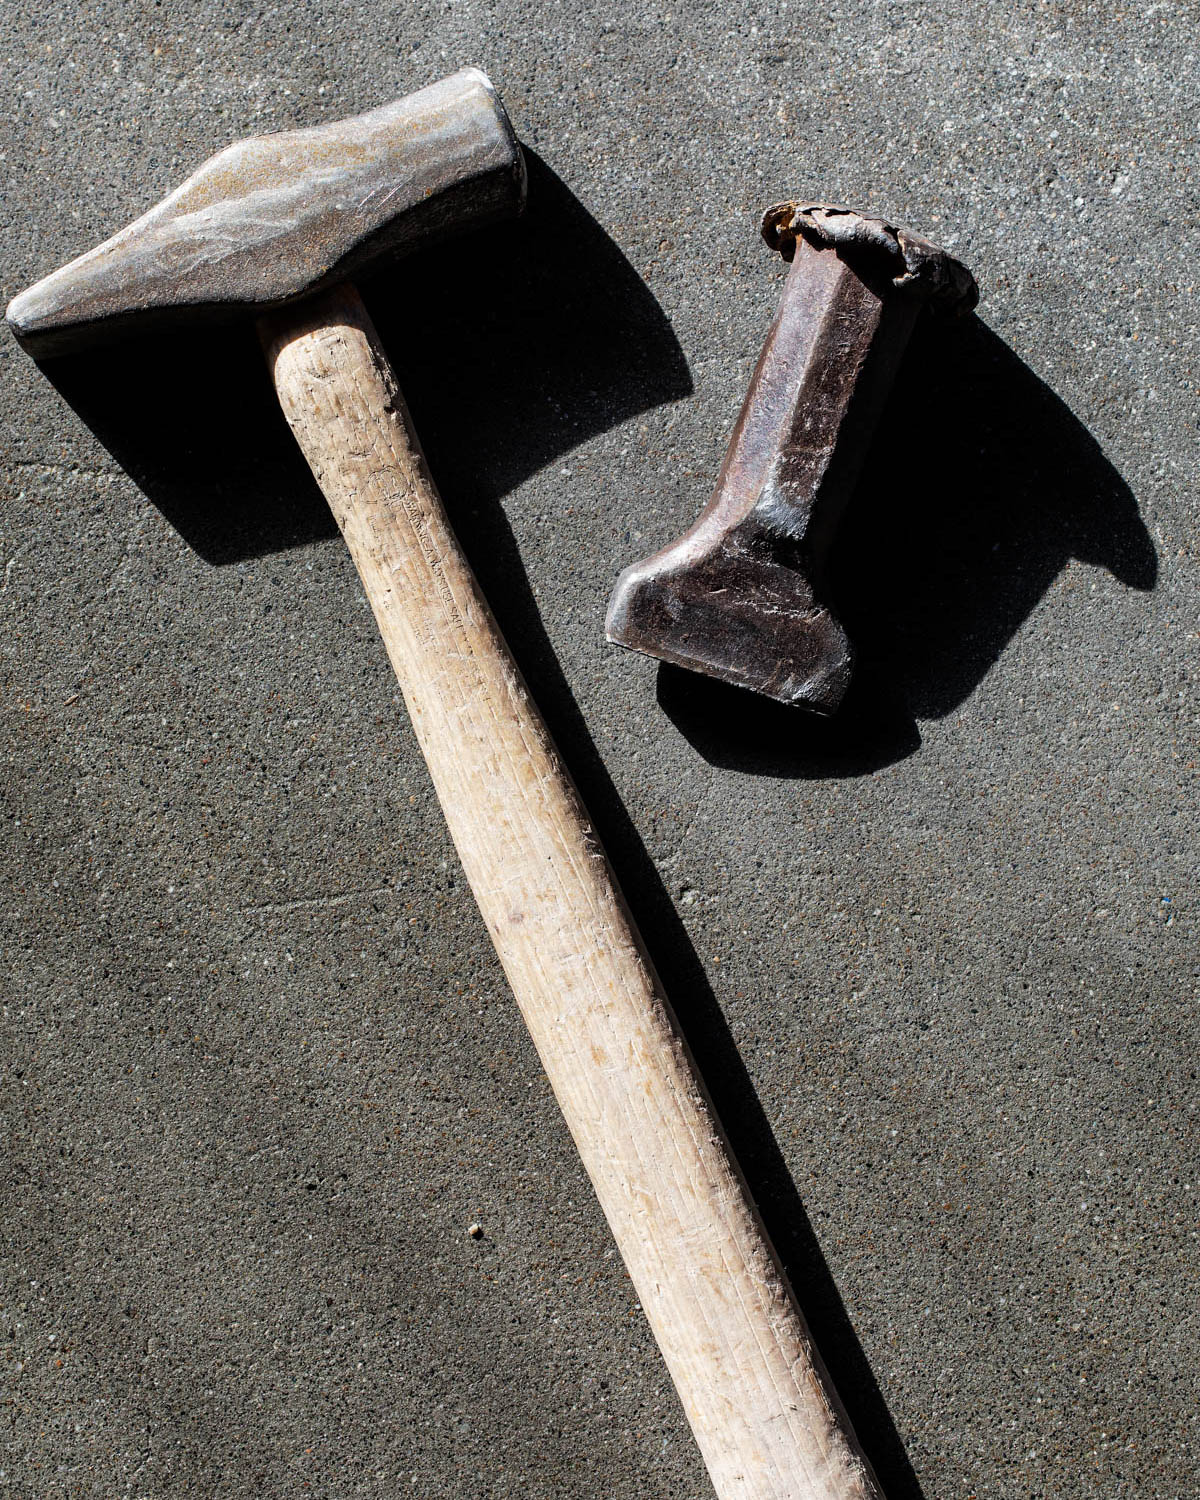
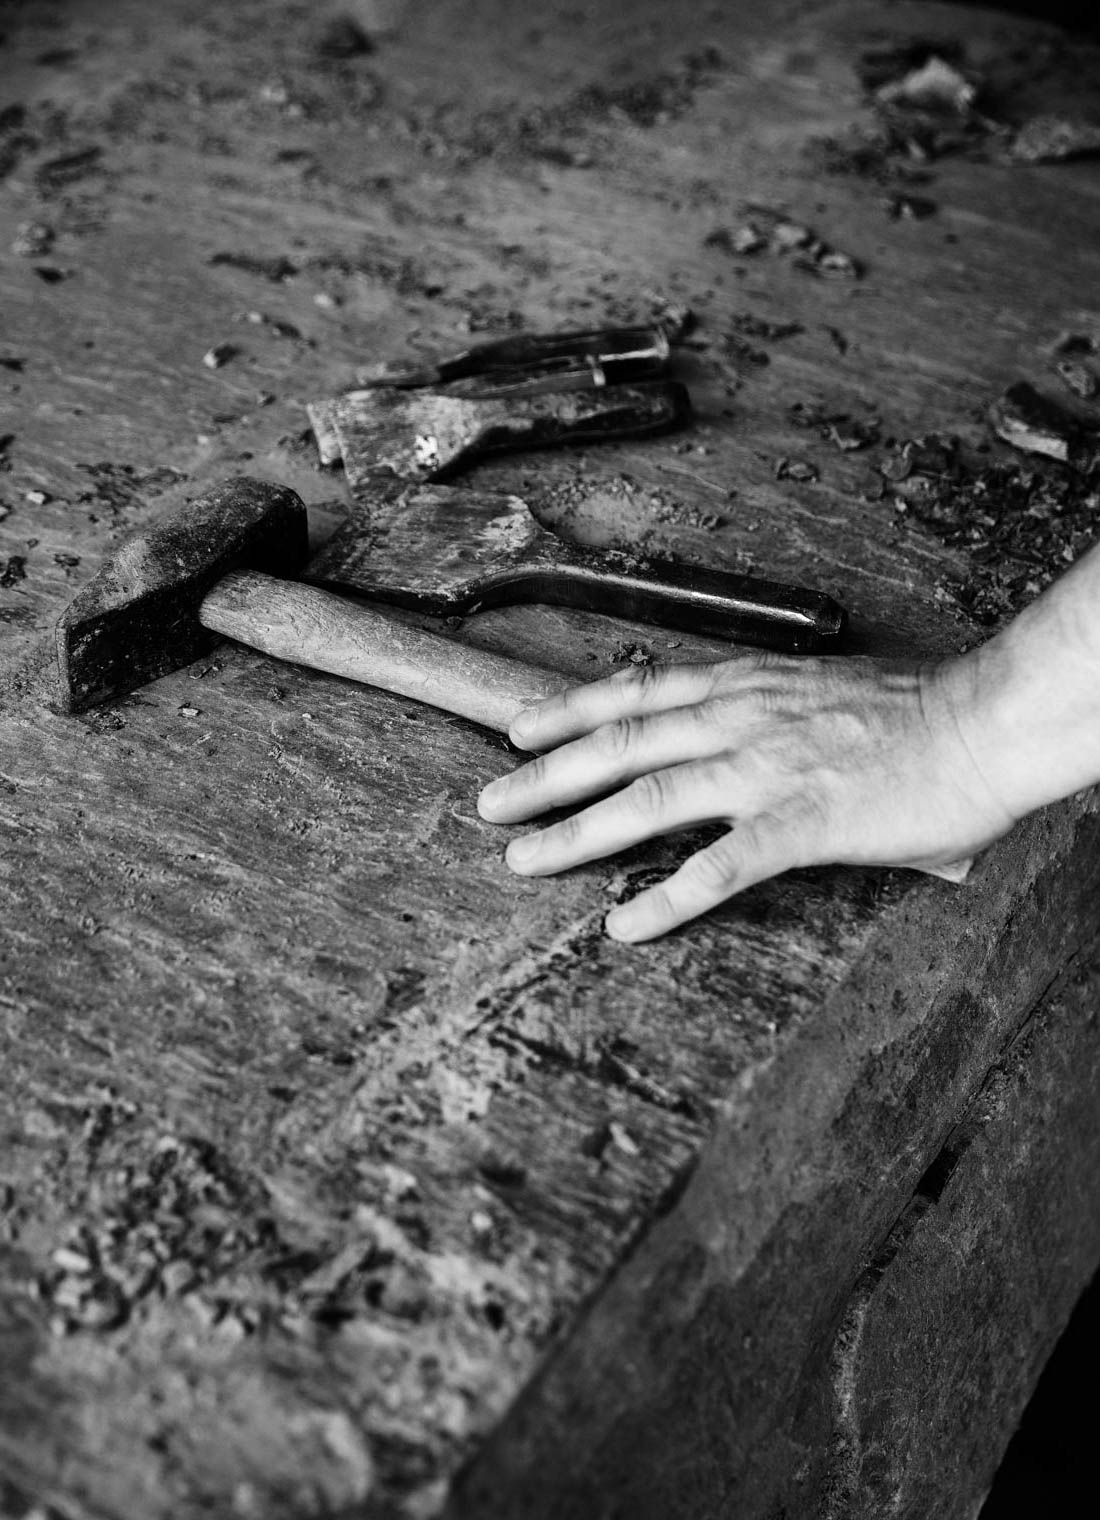
So get your hammer, chisel and shovel out and let’s get going!

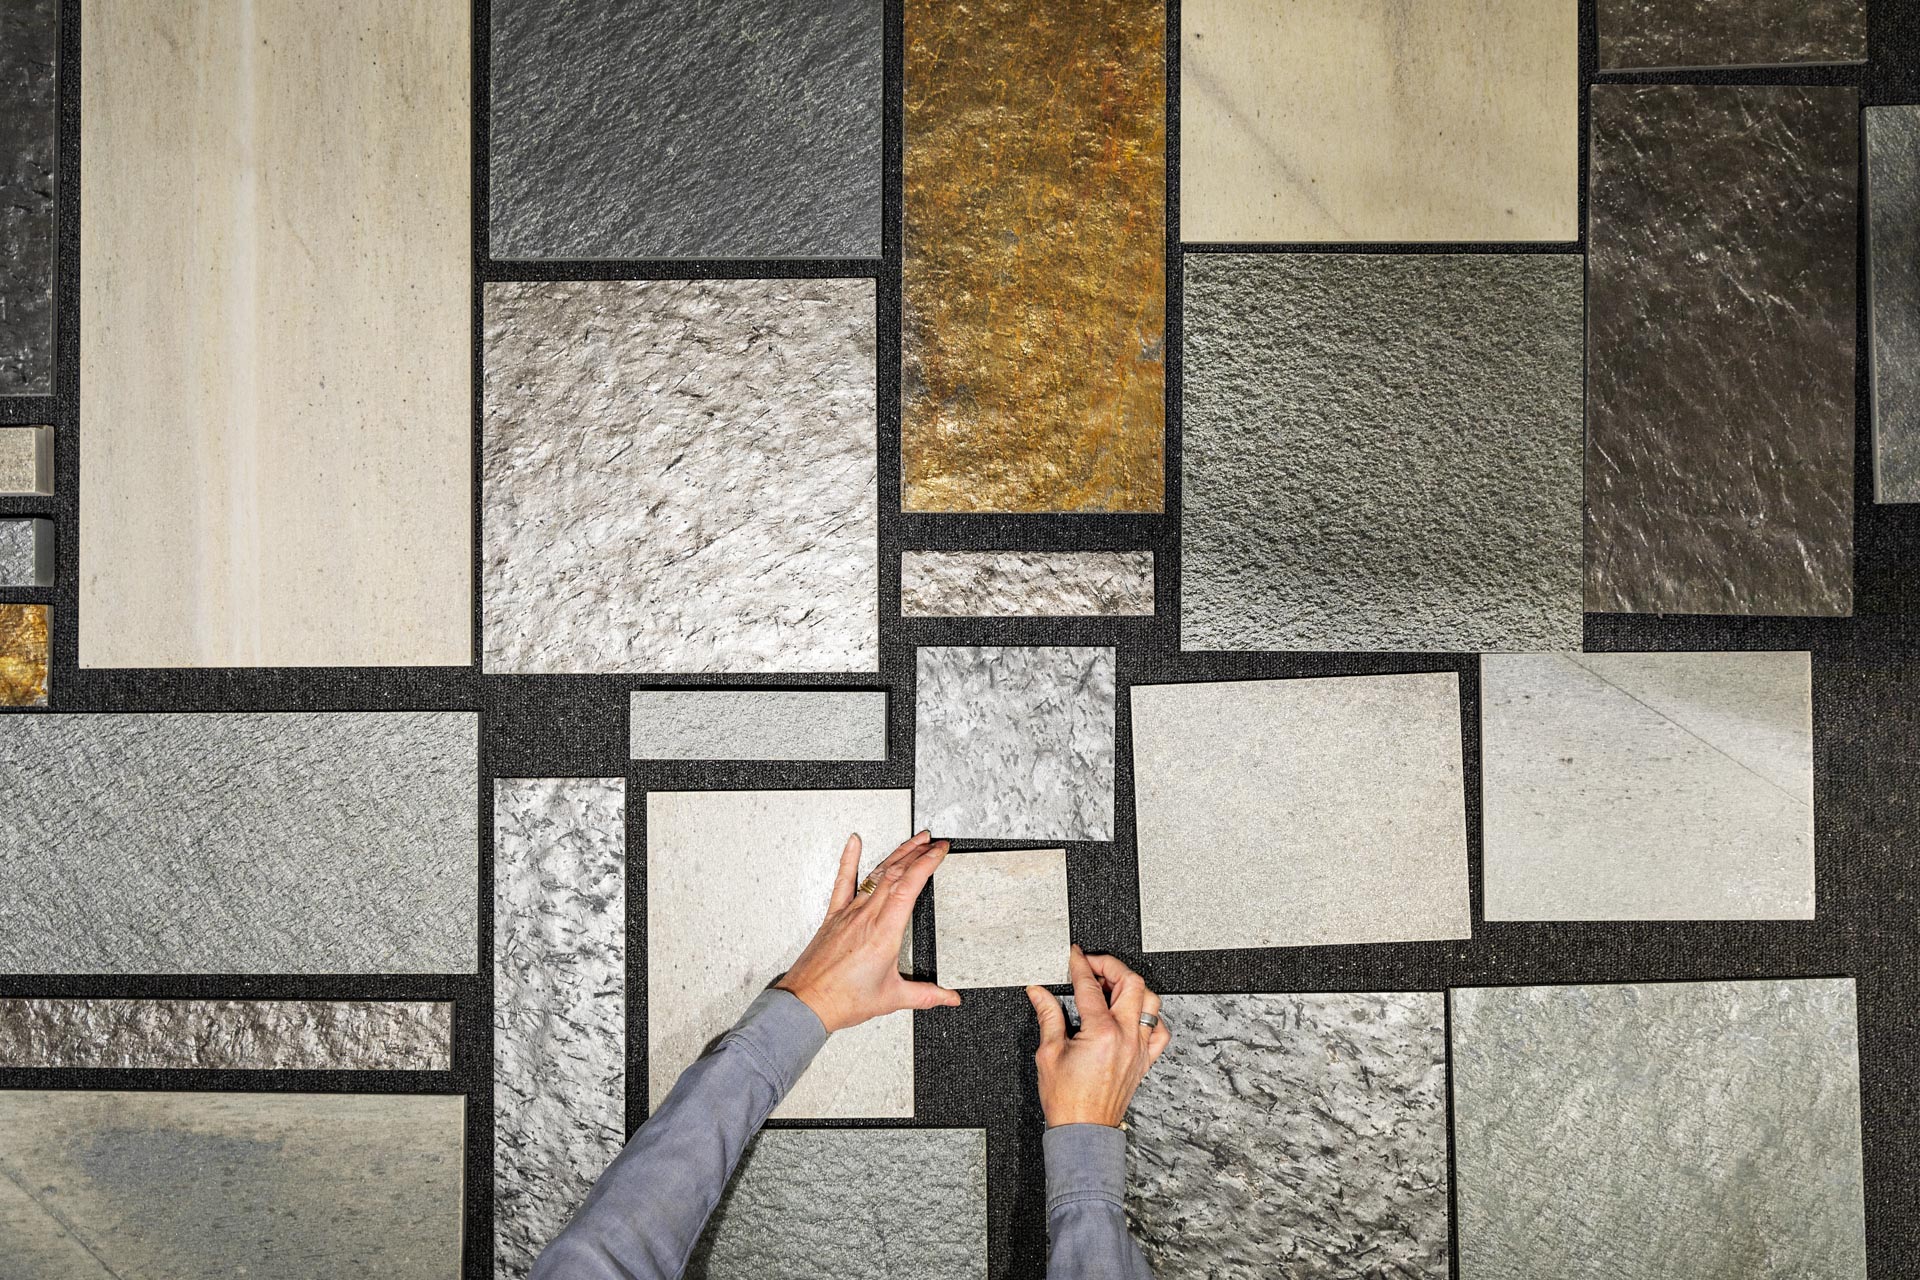
Grab your pencil and notepad; with slate, only the imagination sets the aesthetic limits.
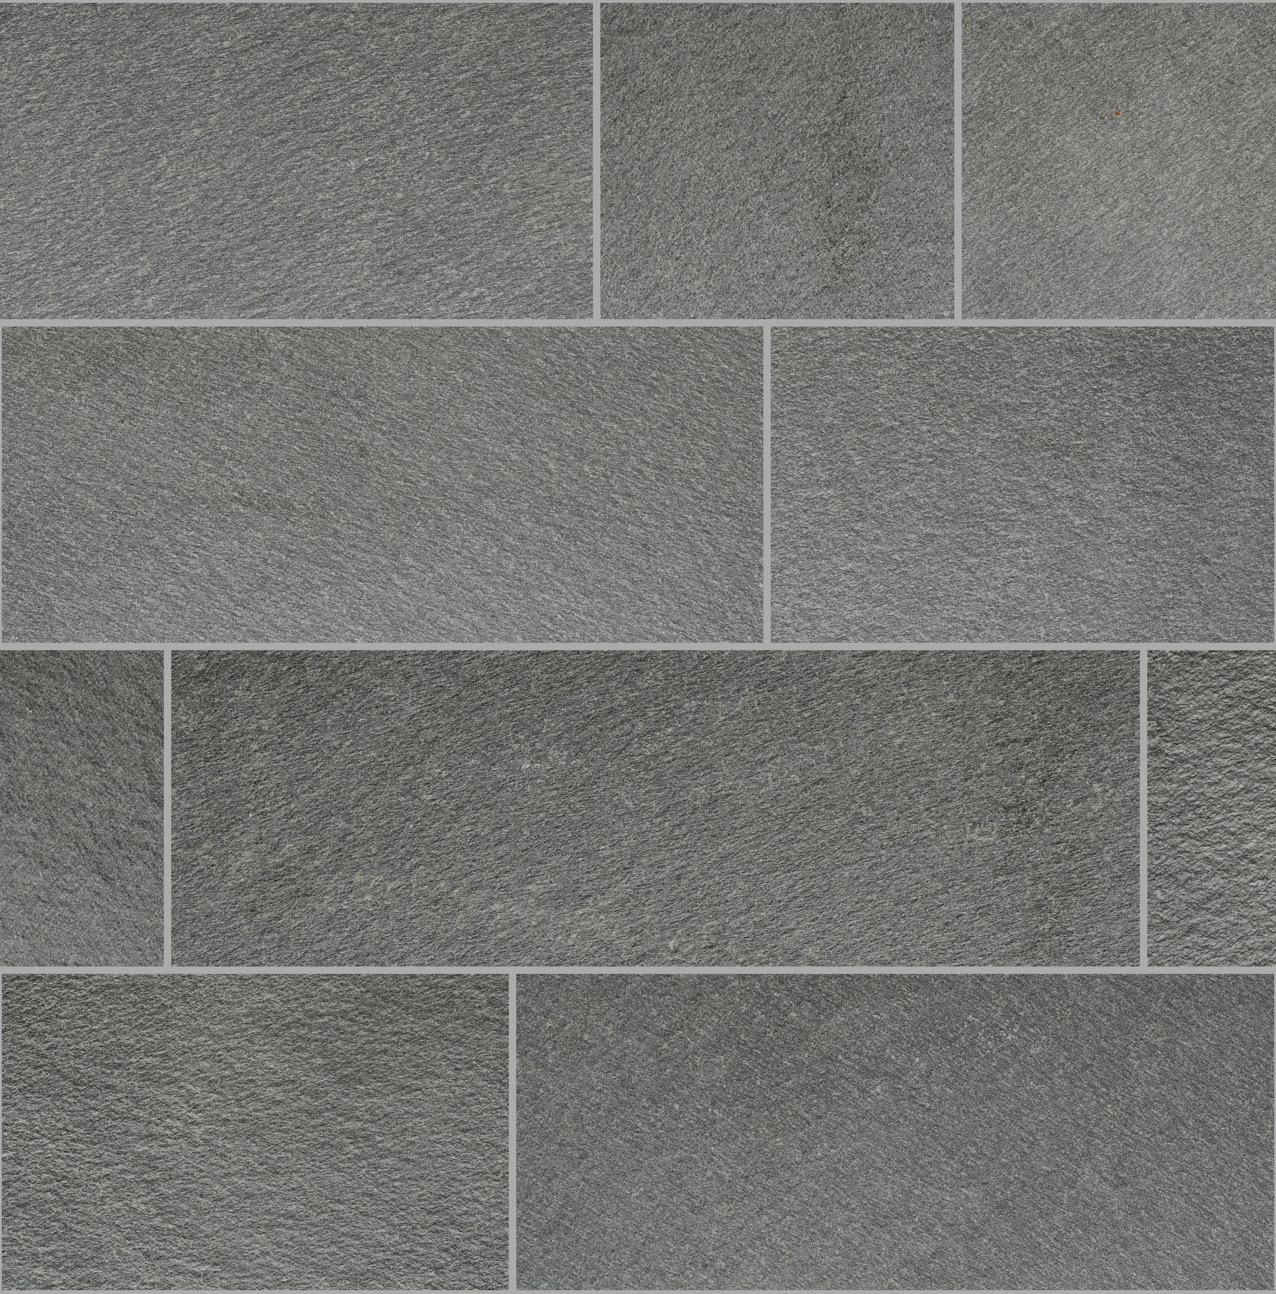
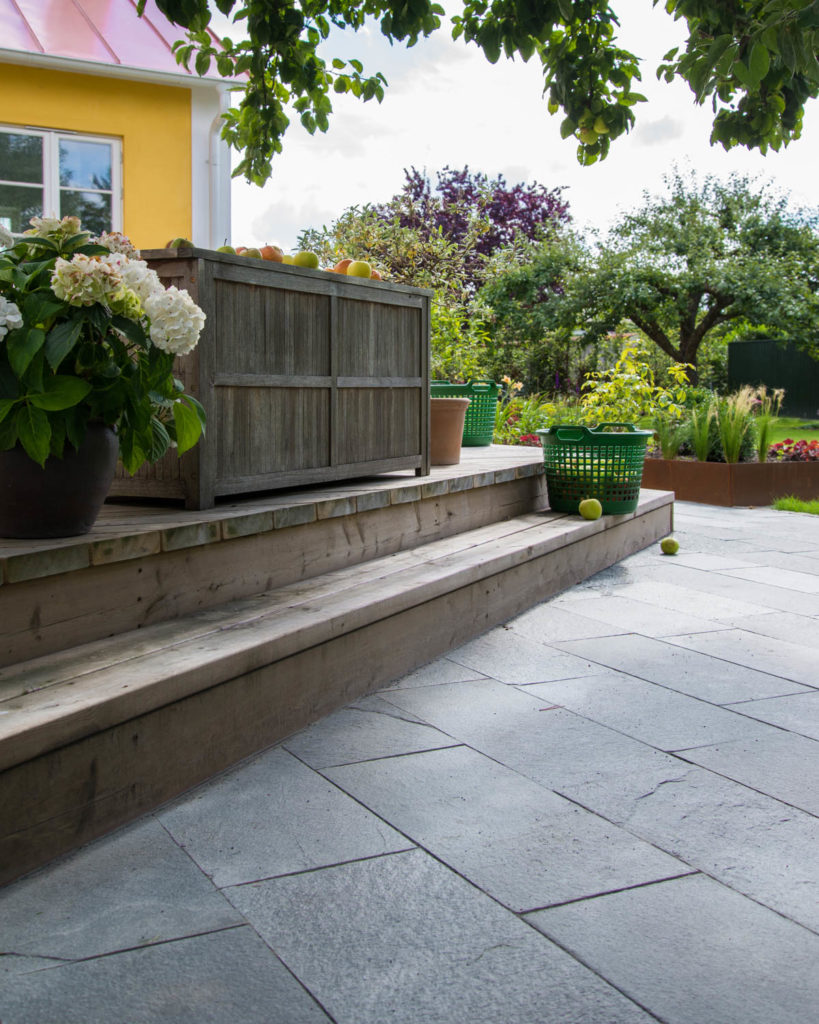
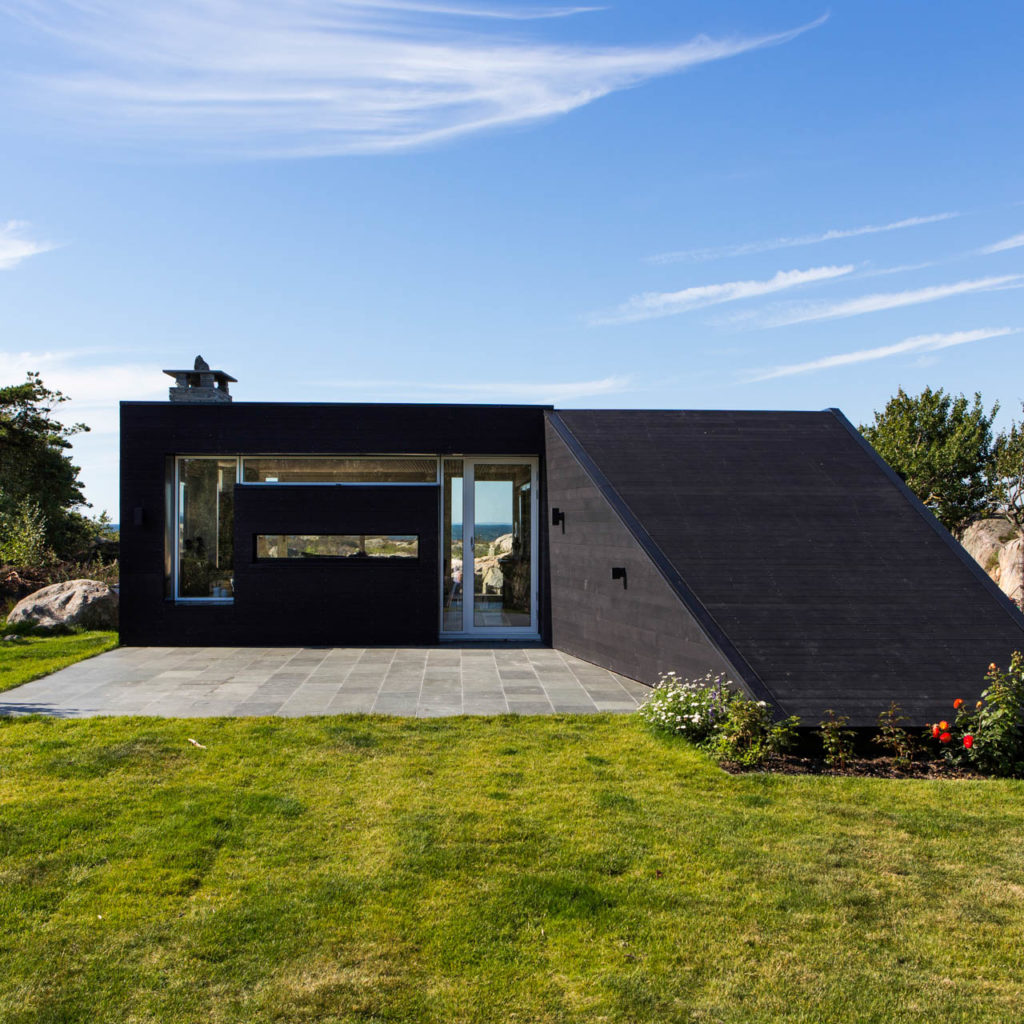
First you must determine the area and the type of paving you want. Flagstones give a more traditional and unique look and will suit a slightly older house. For a modern house, the slim and elegant look that comes with a rectangular cut outdoor tiles might work better.

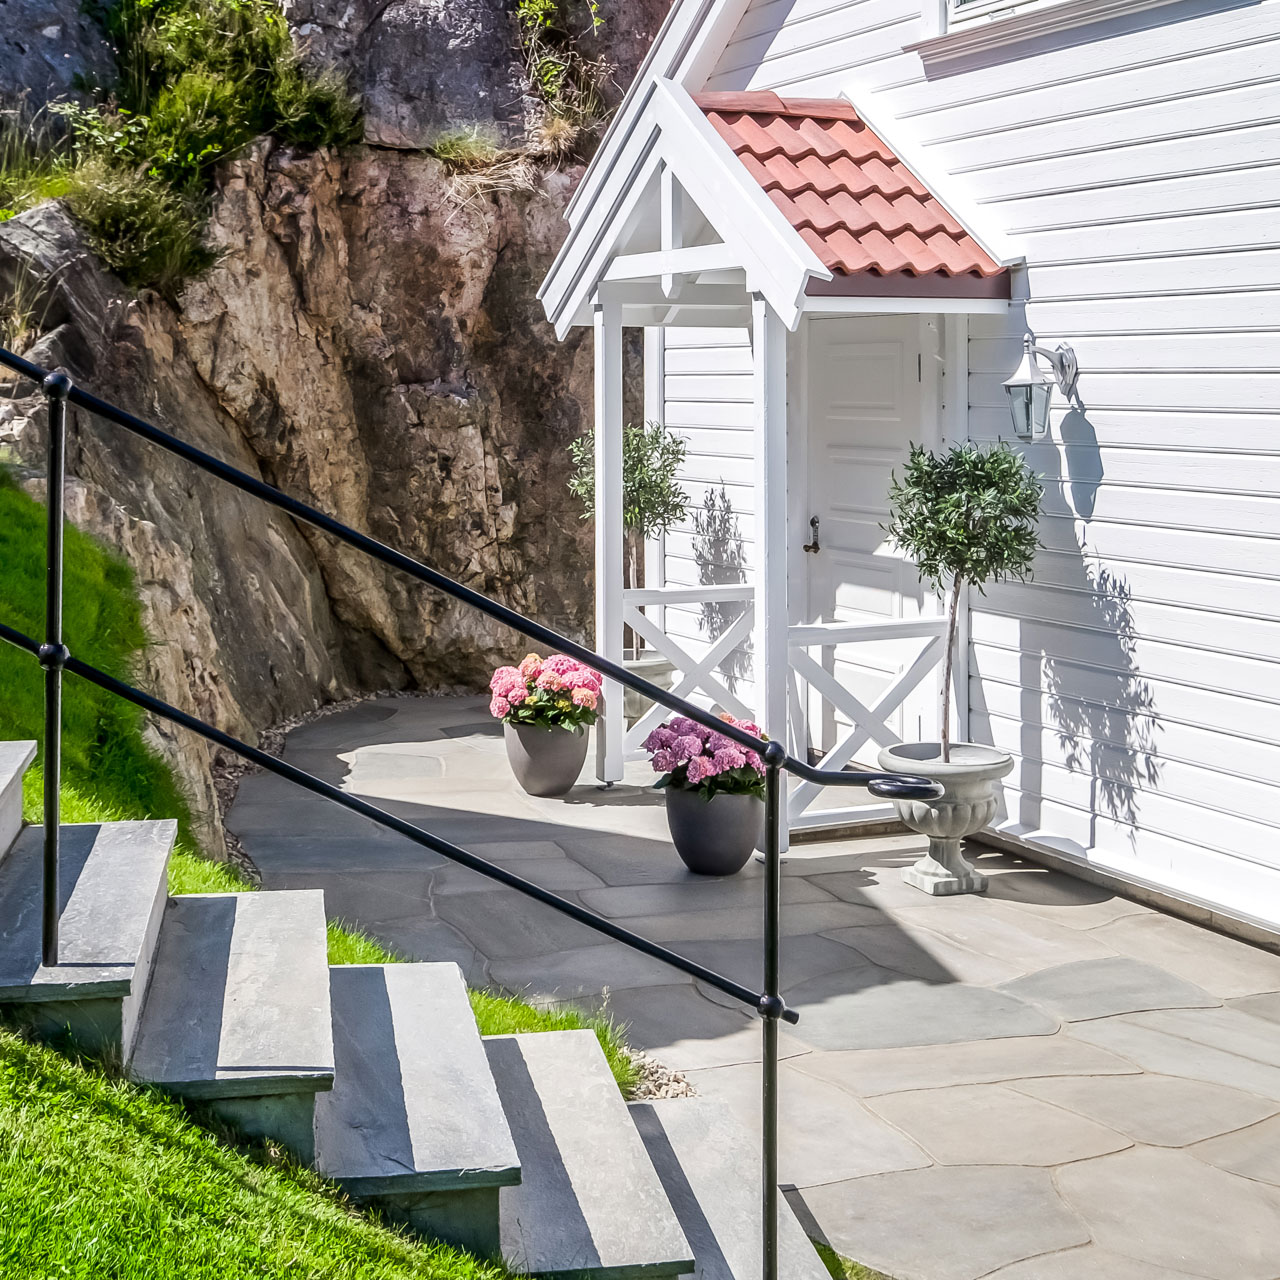
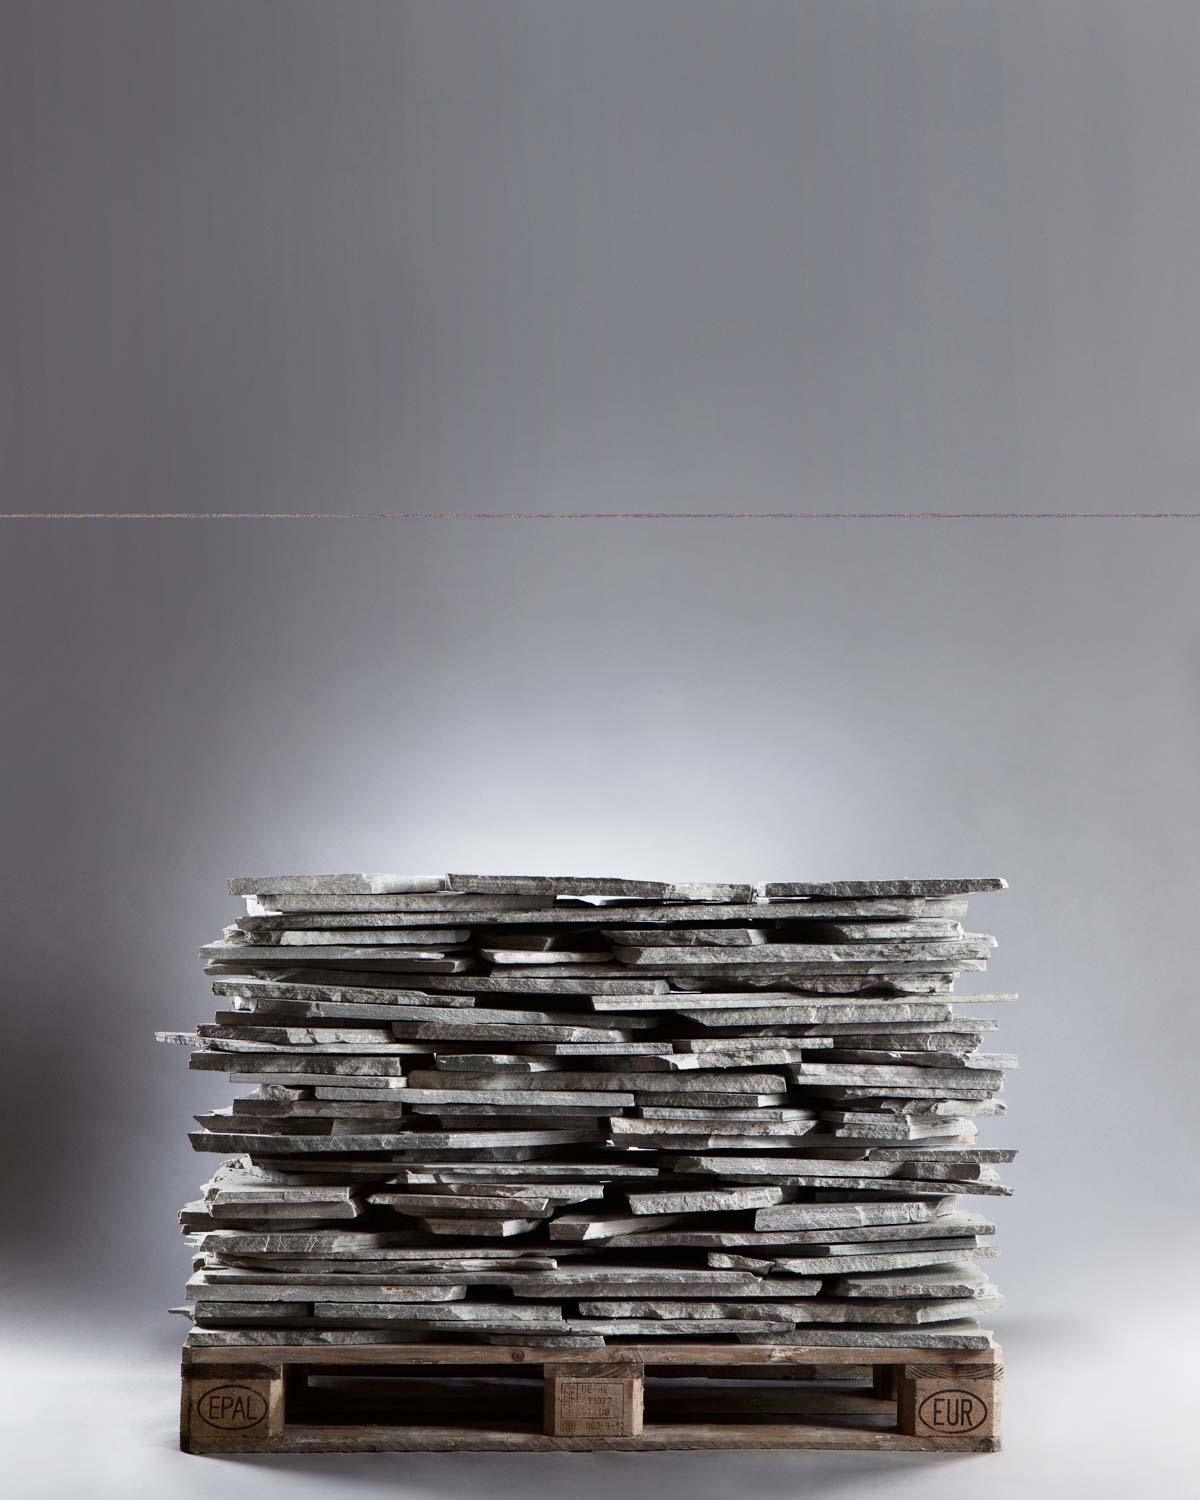
Flagstones are uncut and therefore come in different shapes and sizes. Your paving will be unique – almost like your fingerprint.
You should also consider the thickness of your flagstones. If they’re just for the garden, a thickness of 2-4 cm will probably be enough. But if you want something that can bear the weight of a car, 4-6 cm will be better.
This is where the fun begins – especially if you have decided on flagstones. When the slate flagstones arrive, lay them on the ground like the pieces of a jigsaw puzzle. Perhaps you already know which area gets the most sun, or where the barbecue will work best – this is where you’ll need the biggest flagstones. Then you can be certain that both the barbecue and the garden furniture will have a stable foundation. Then place the rest of the flagstones around and in between them, so that the entire area is filled.
How much work this will entail depends entirely on you. If you’re looking for a slightly rougher look with different joint sizes, you won’t need to spend a lot of time adjusting the slabs to fit. If you want a nice tight fit, however, this will require a little more work.
No matter how much you want to adjust, this doesn’t mean investing in a lot of new equipment. You can come a long way with just a hammer and chisel.
Once you’ve adjusted the pieces and completed the puzzle, it’s time to find your spade.
It’s also important to assess the underlayer, taking into account possible effects of ’frost heave’ when the moisture in the soil freezes and the earth expands and then contracts when it thaws. Generally, it’s enough to dig 15-20 cm deep. First lay some shingle or other coarse sand. This material is intended to provide drainage, so it’s important that the sand is not too fine. Then lay out the flagstones as planned.
At this point, it’s also very important to think about the gradient. If you’re laying your paving close to a house wall, there should be a slight gradient away from the house. If you’re laying free-standing paving, in a circle for example, the highest point of the gradient should be at the centre of the circle.
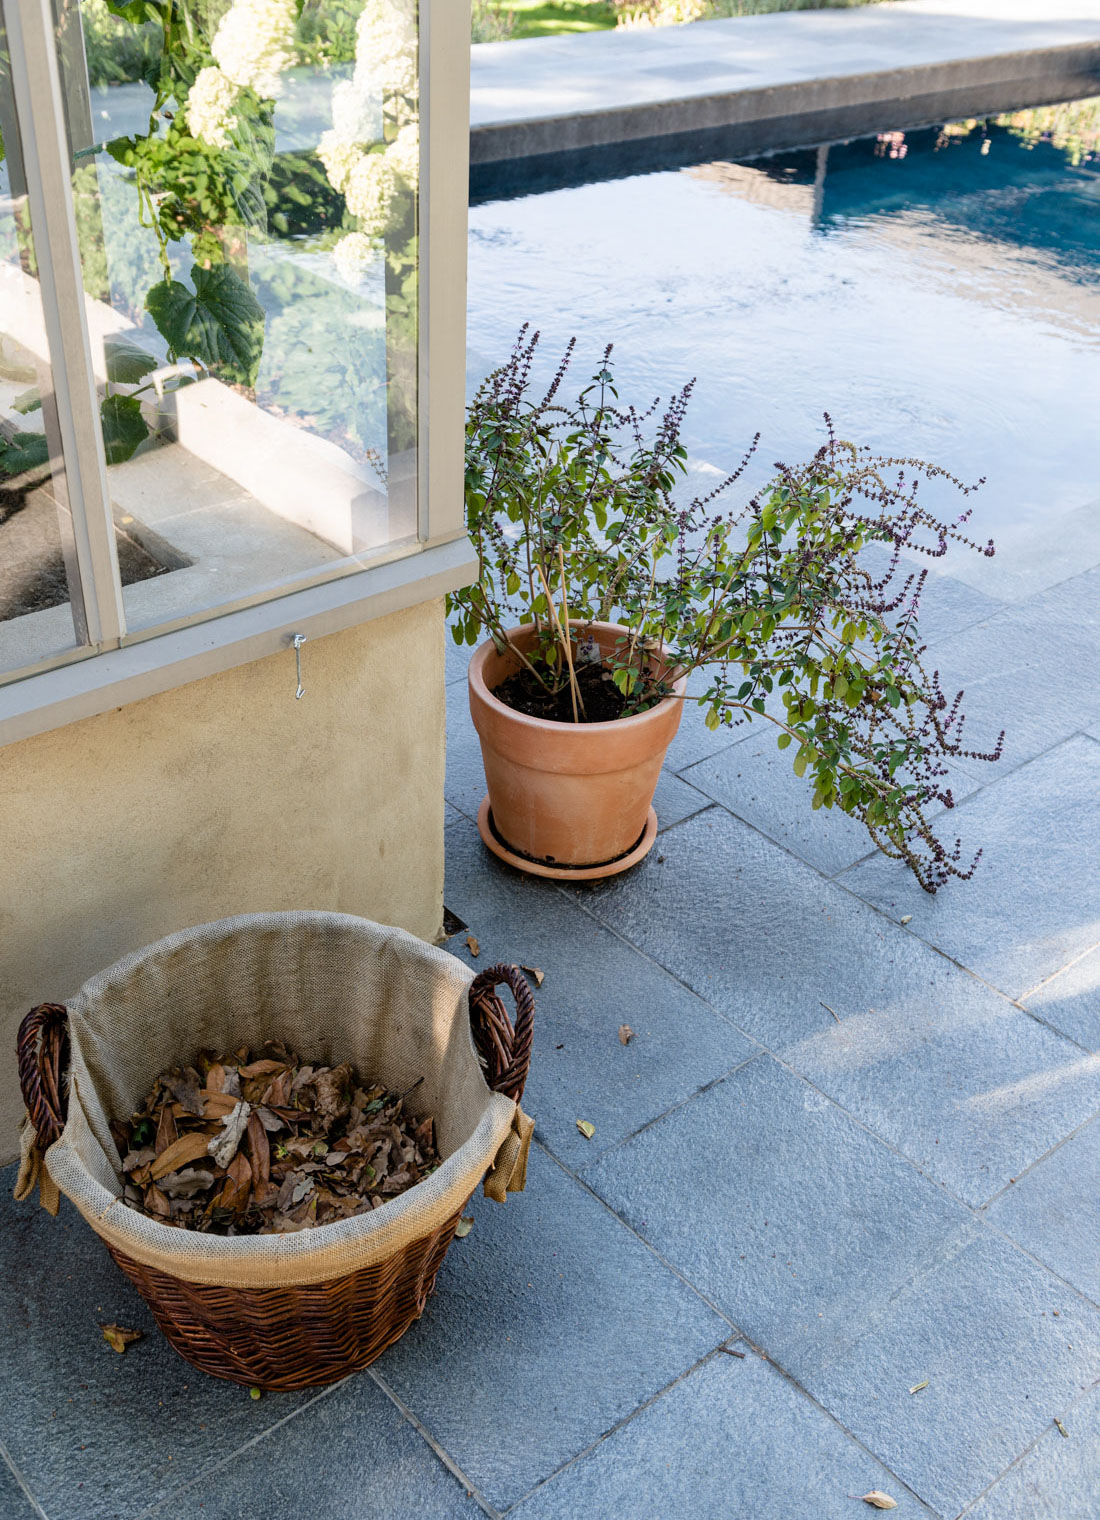
Even though slate is a virtually maintenance-free material, discolouration can occur if the stones remain under water for too long.
Now the hard work is done. You’ve measured, laid out and dug out, so all you have to do now is fill in the joints between the flagstones.
There are basically two ways to do this. Do you want to preserve the memory of the scruffy old grass that was once there? Just fill the joints with soil and grass seeds and the seeds will germinate again between the cracks. This will give your outdoor area a retro touch. When the grass starts to grow long, just run the lawnmower over it, as slate is very solid stone.
The second solution is to fill the joints in with grouting sand. This is just as easy and you won’t have to think about cutting the grass – at least not on your flagstones at least!
Grouting sand can be found in most hardware shops or garden centres and is a good choice if you have spent time making the joints as smooth and even as possible. This solution does require some maintenance, but no more than making refilling the joints part of your routine when setting out the garden furniture.
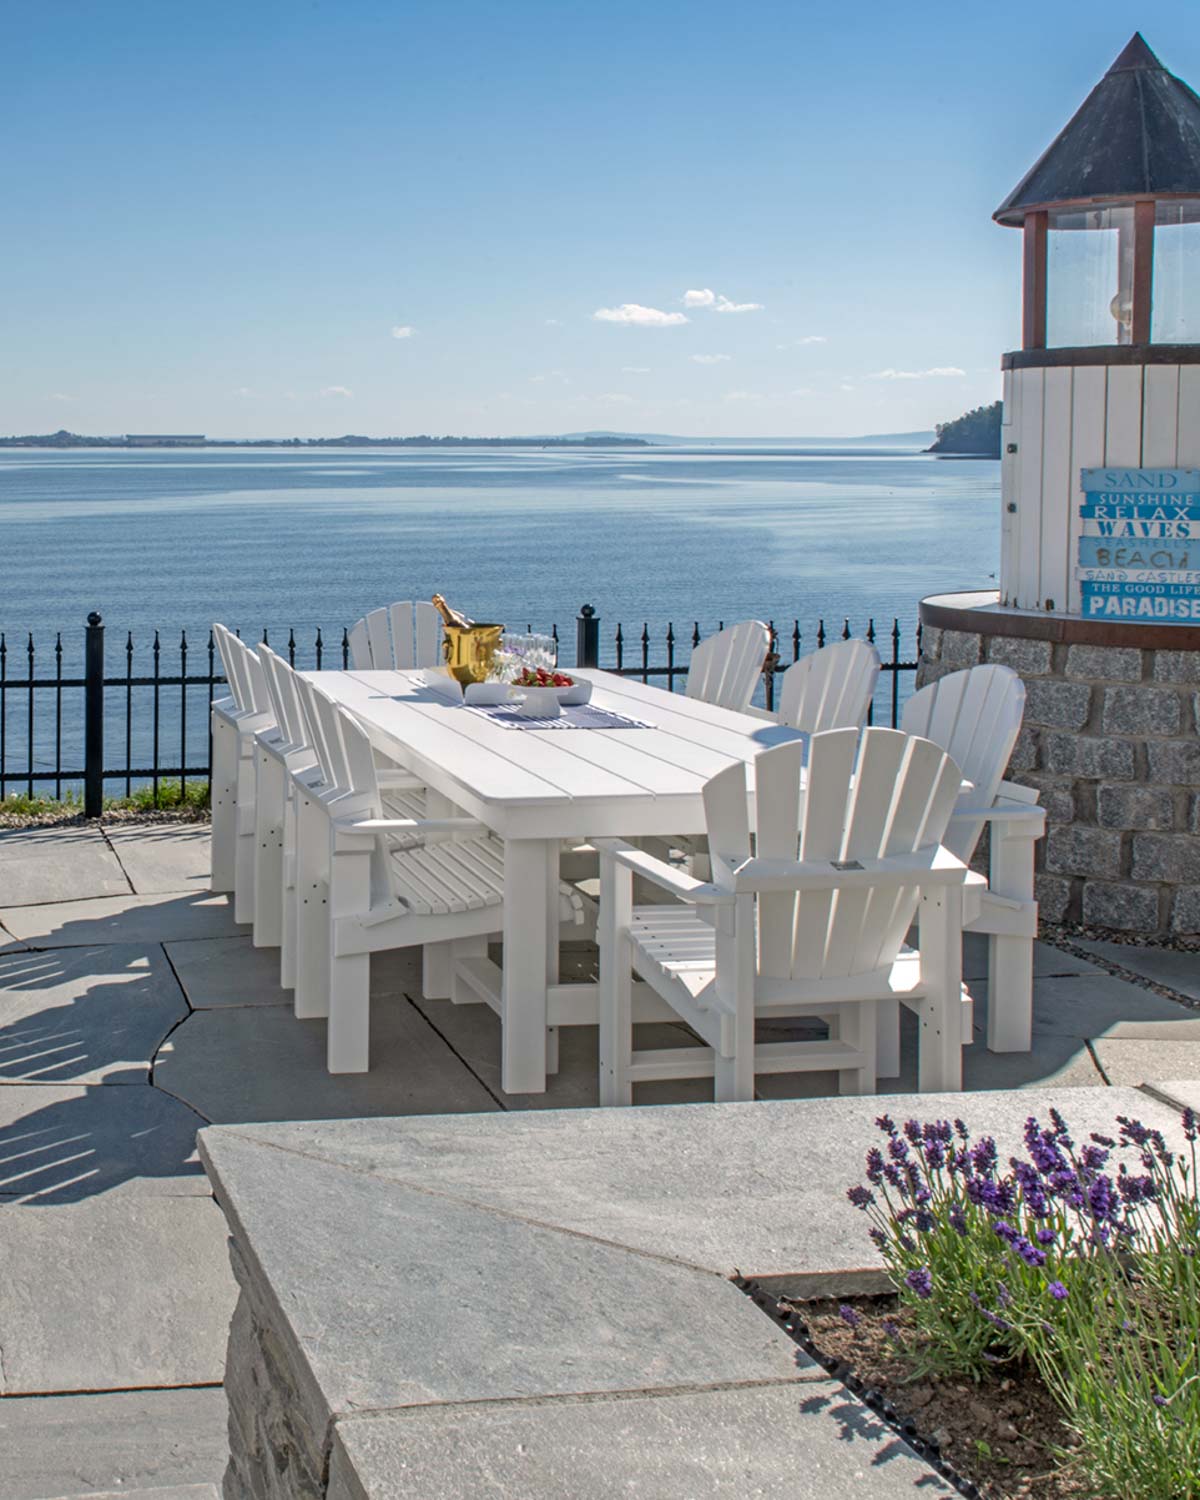
Then you’re ready to enjoy the good weather out on your flagstones. But watch out for jealous looks from your neighbours!


We are sorry, but you are using a version of Internet Explorer that is not supported on this site. The browser is no longer updated by Microsoft and may therefore pose a security risk. We recommend that you use a different browser. Welcome back!