Jump to main content Jump to navigation Jump to footer

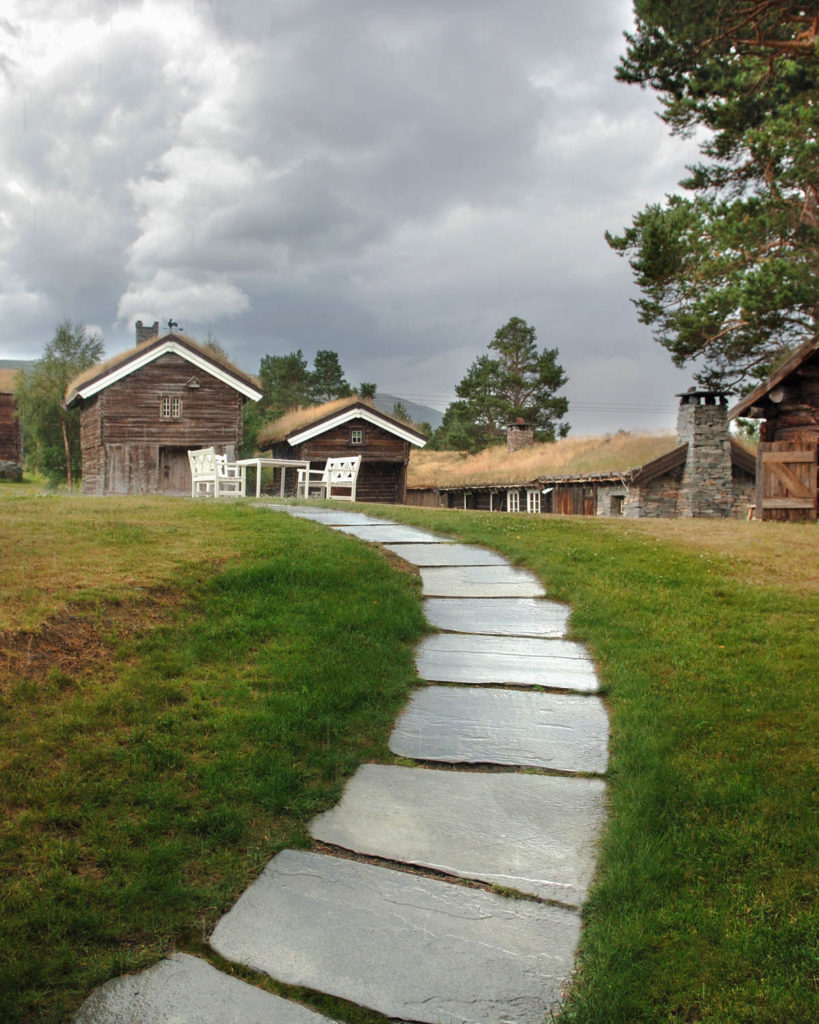
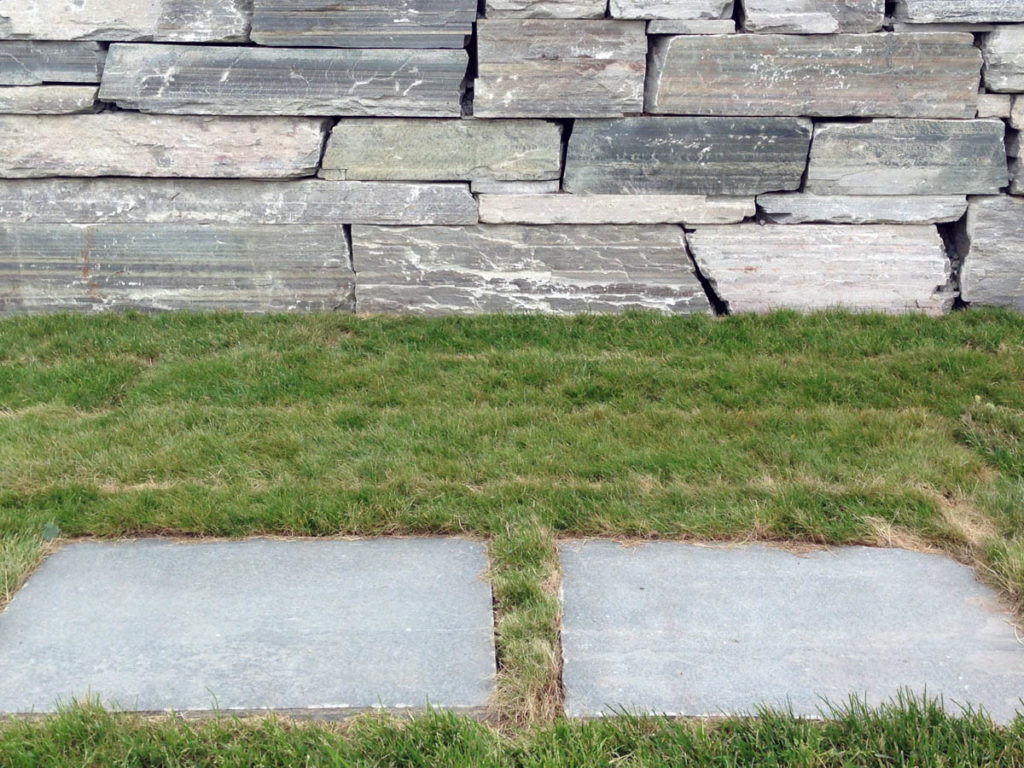
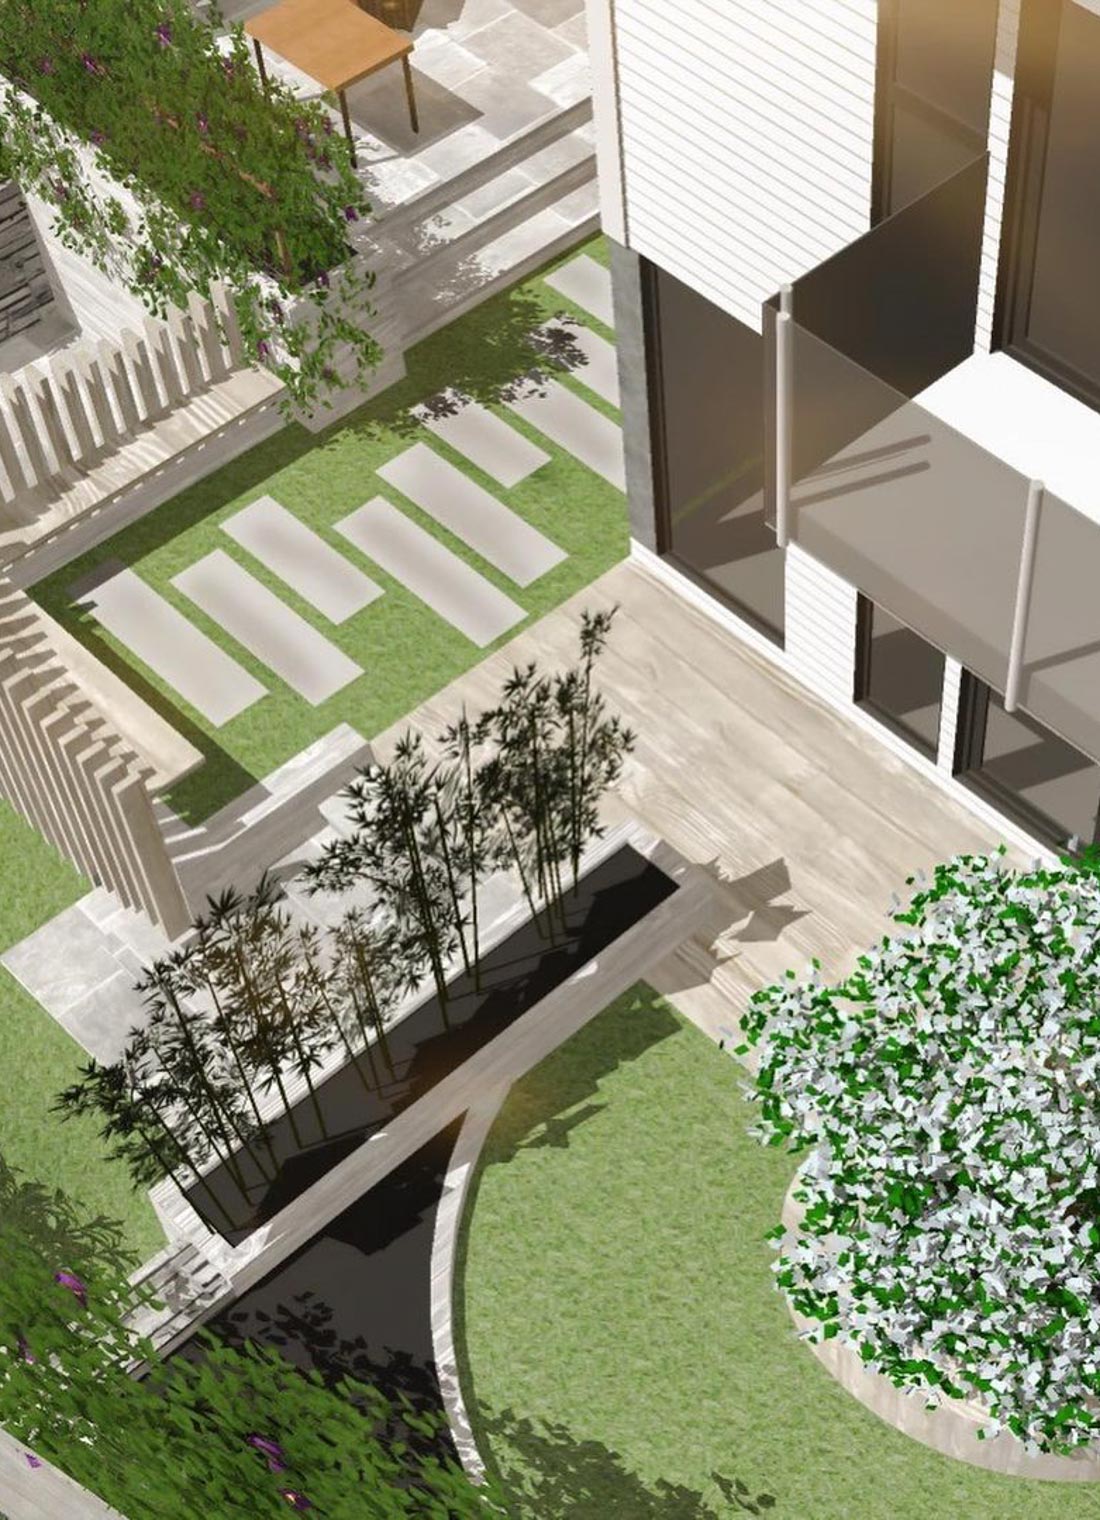
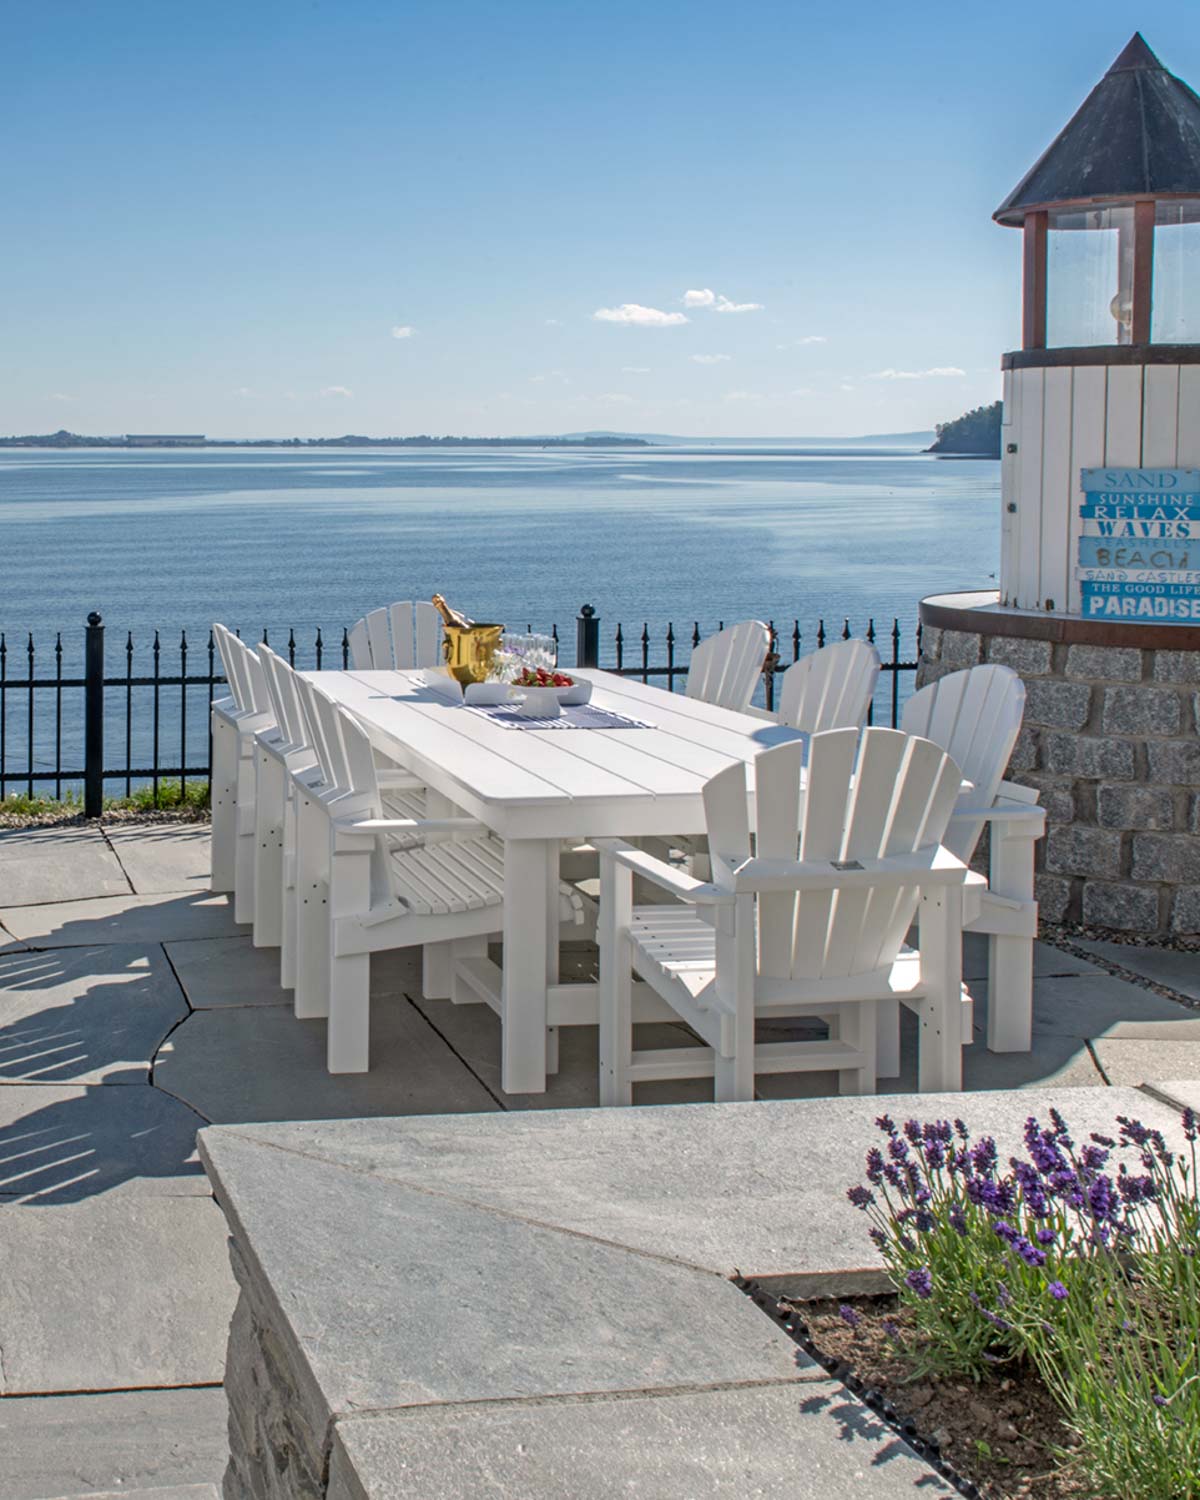
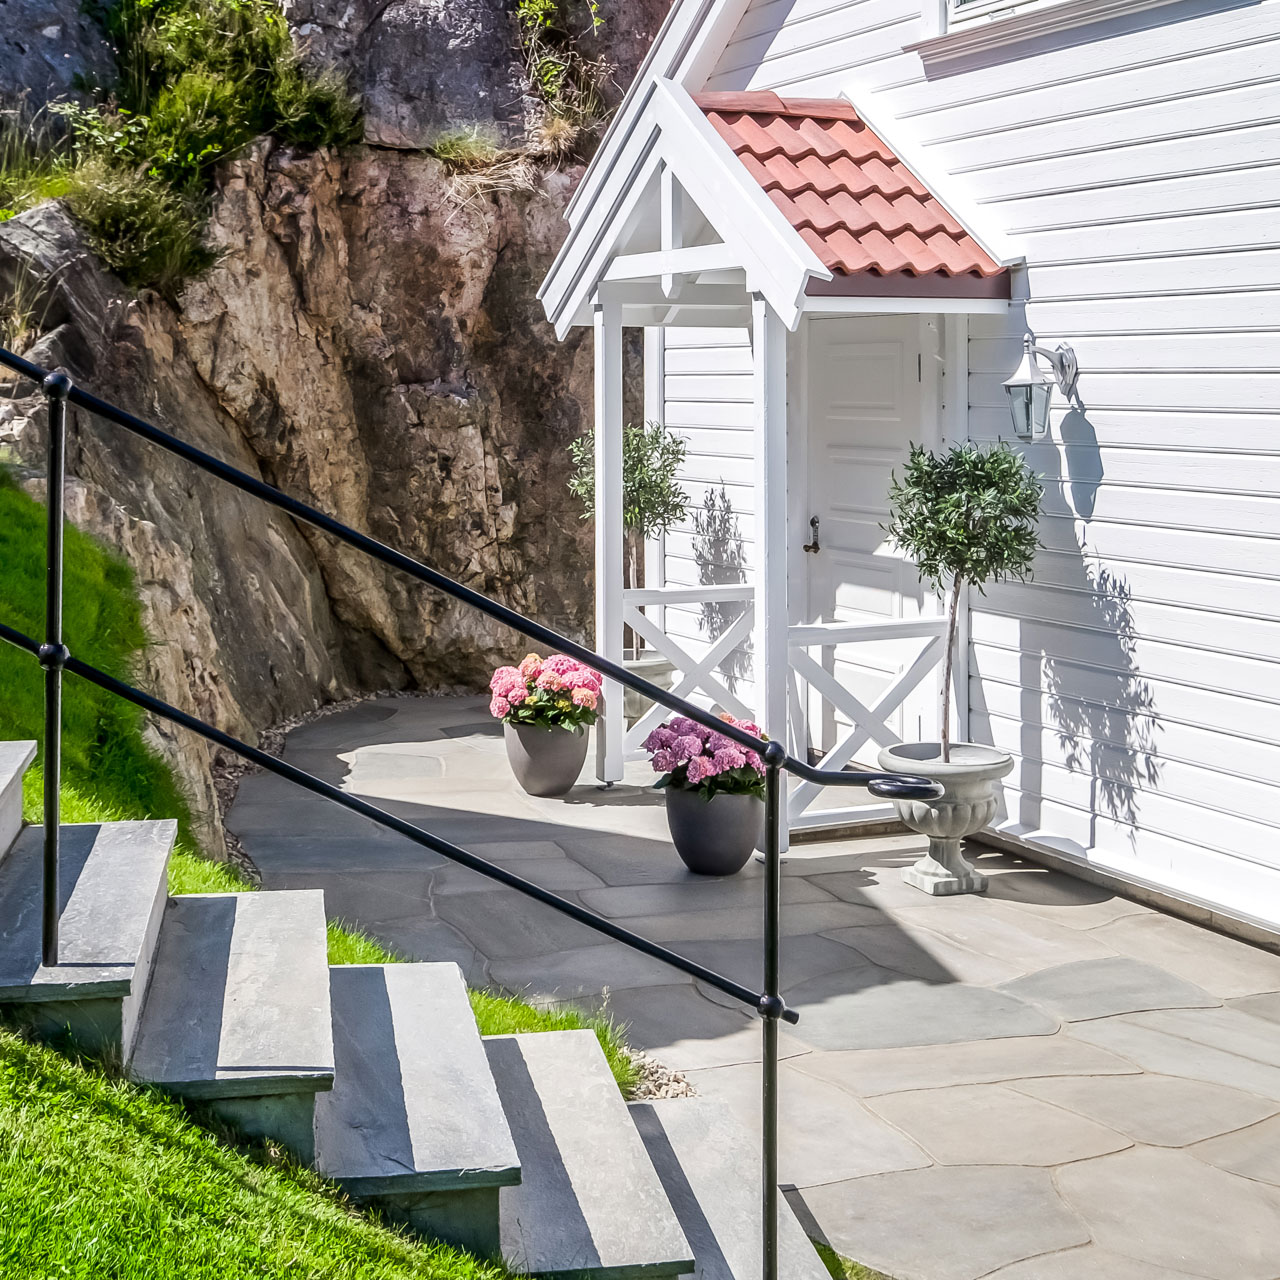
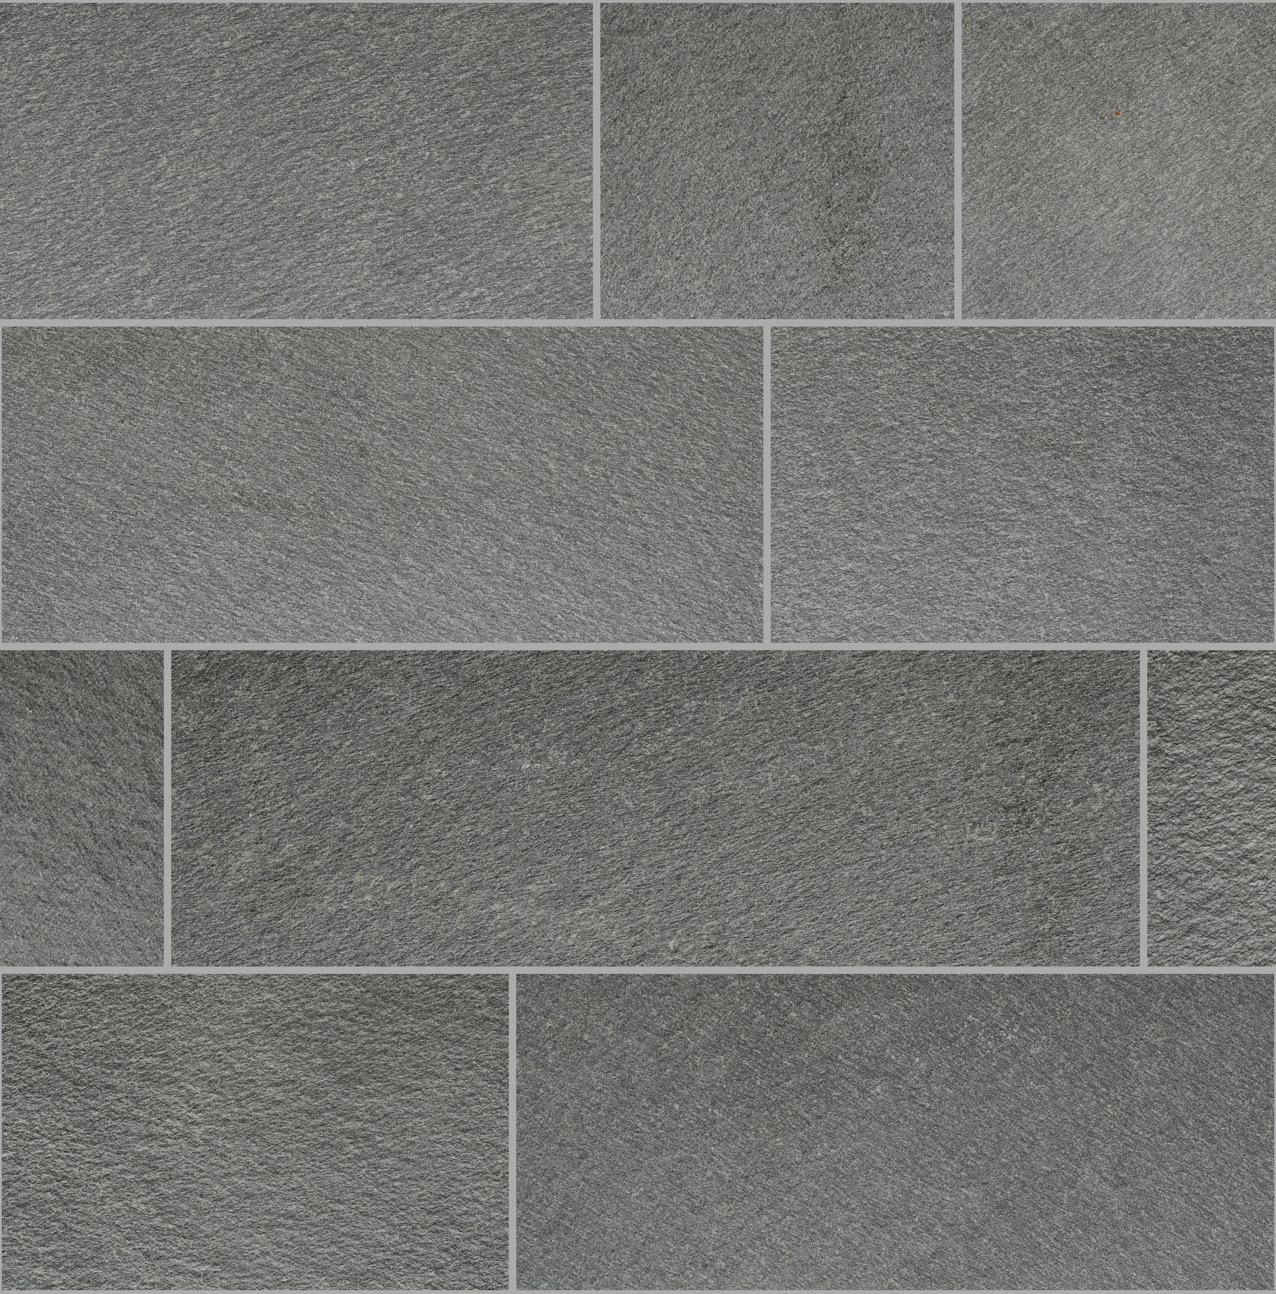
Lay a path in your garden? This is how to do it!

En sti av lys grå skifer tråkkheller  på en plen i en hage.
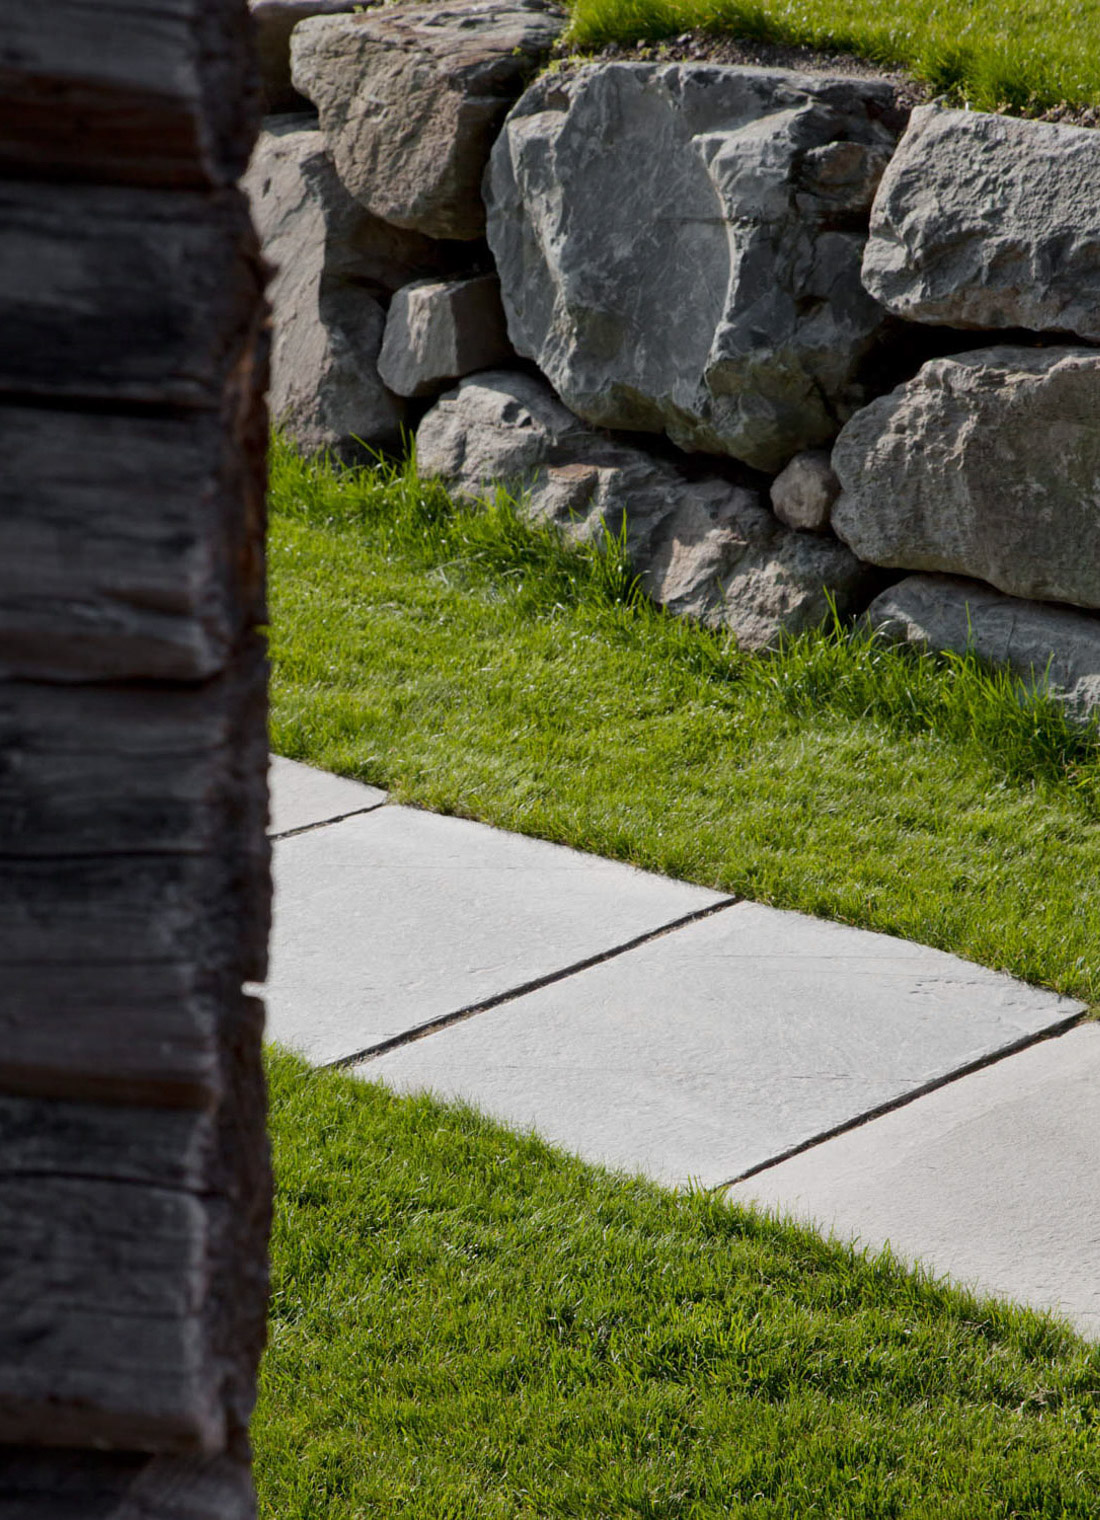
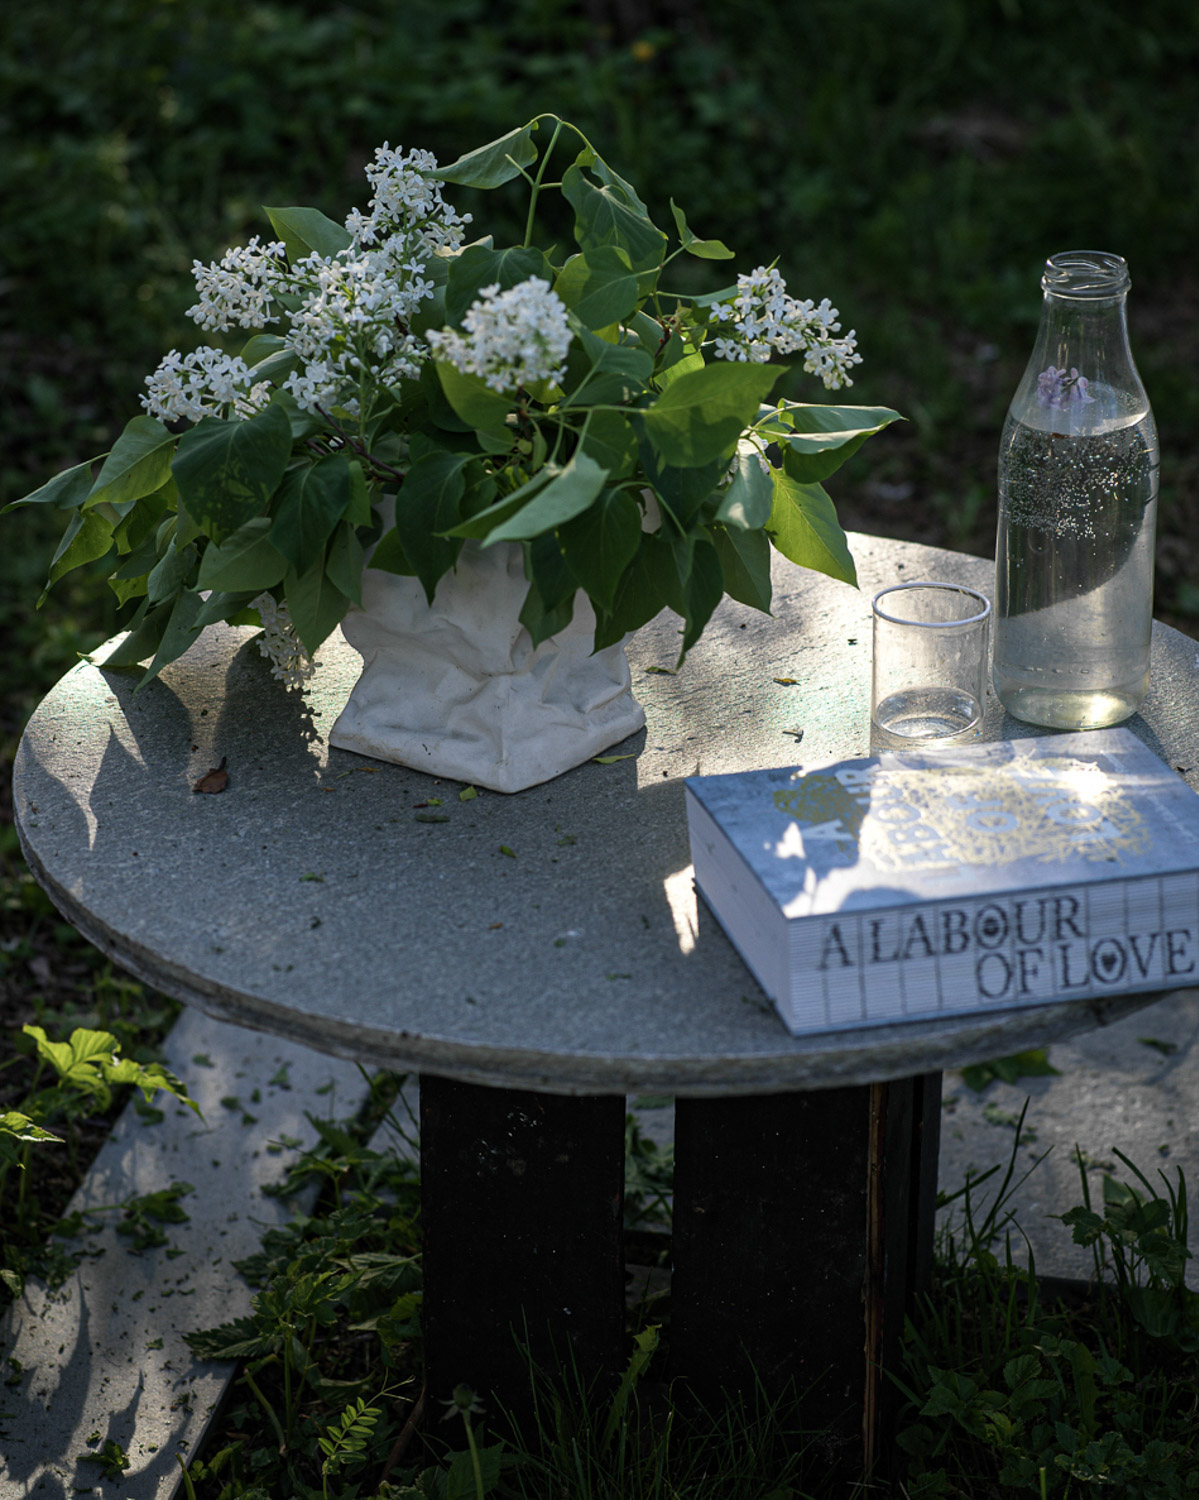
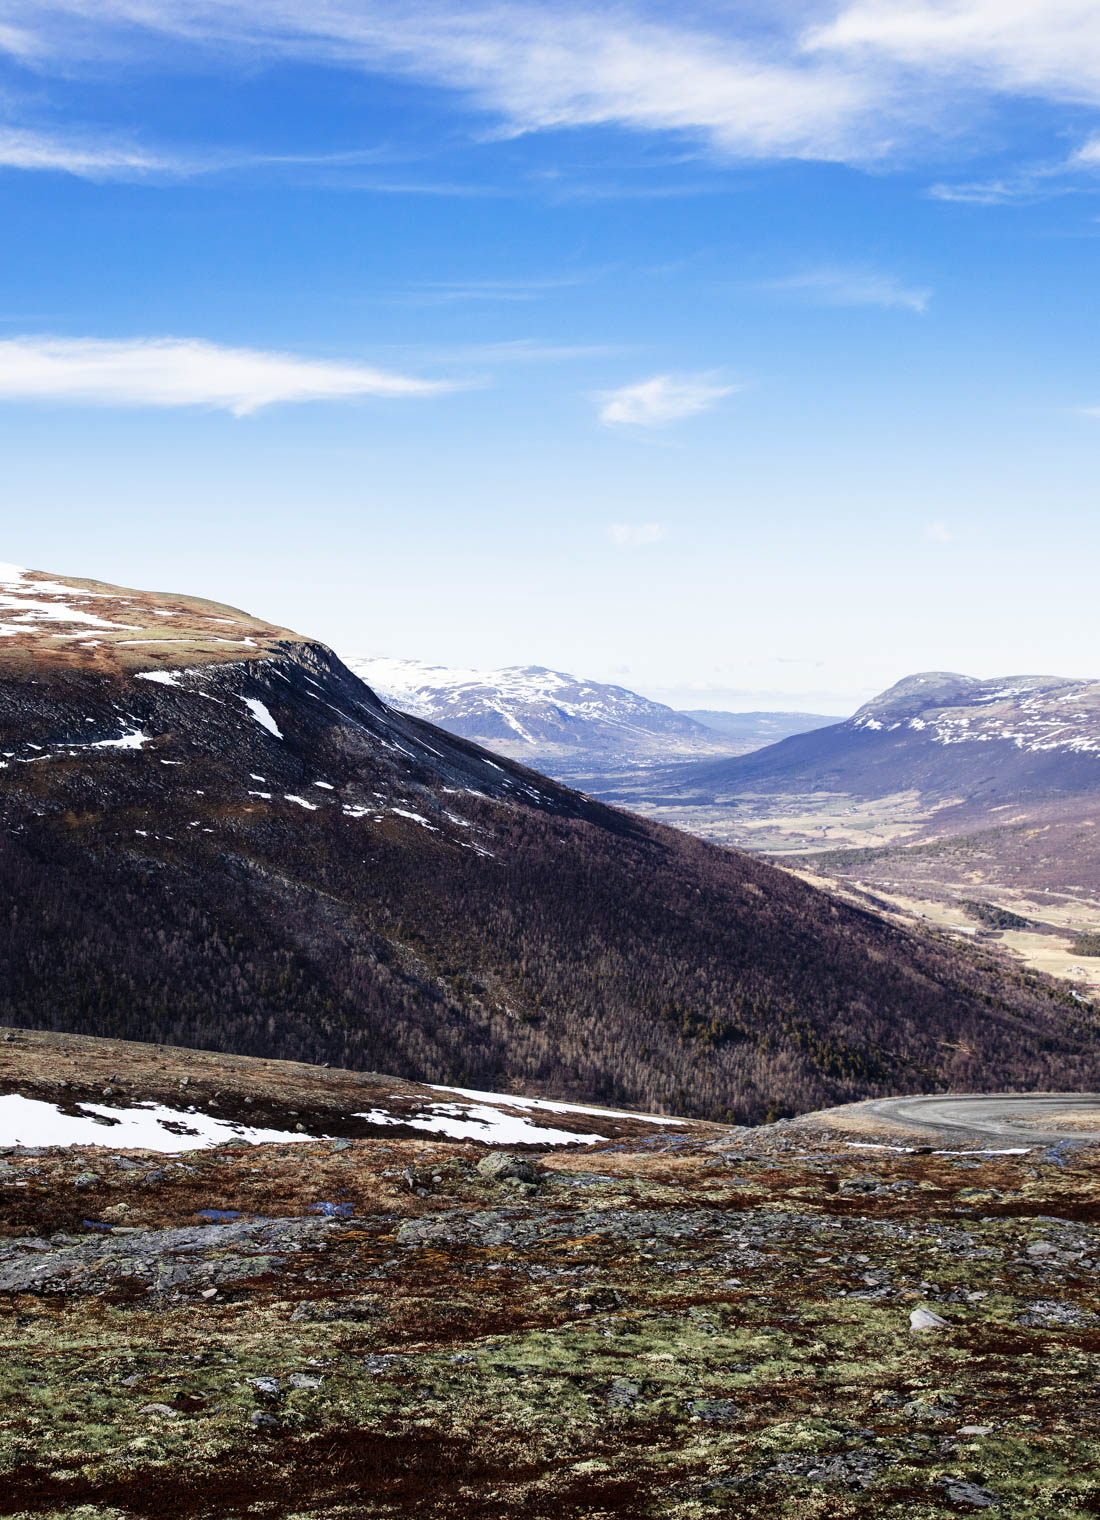
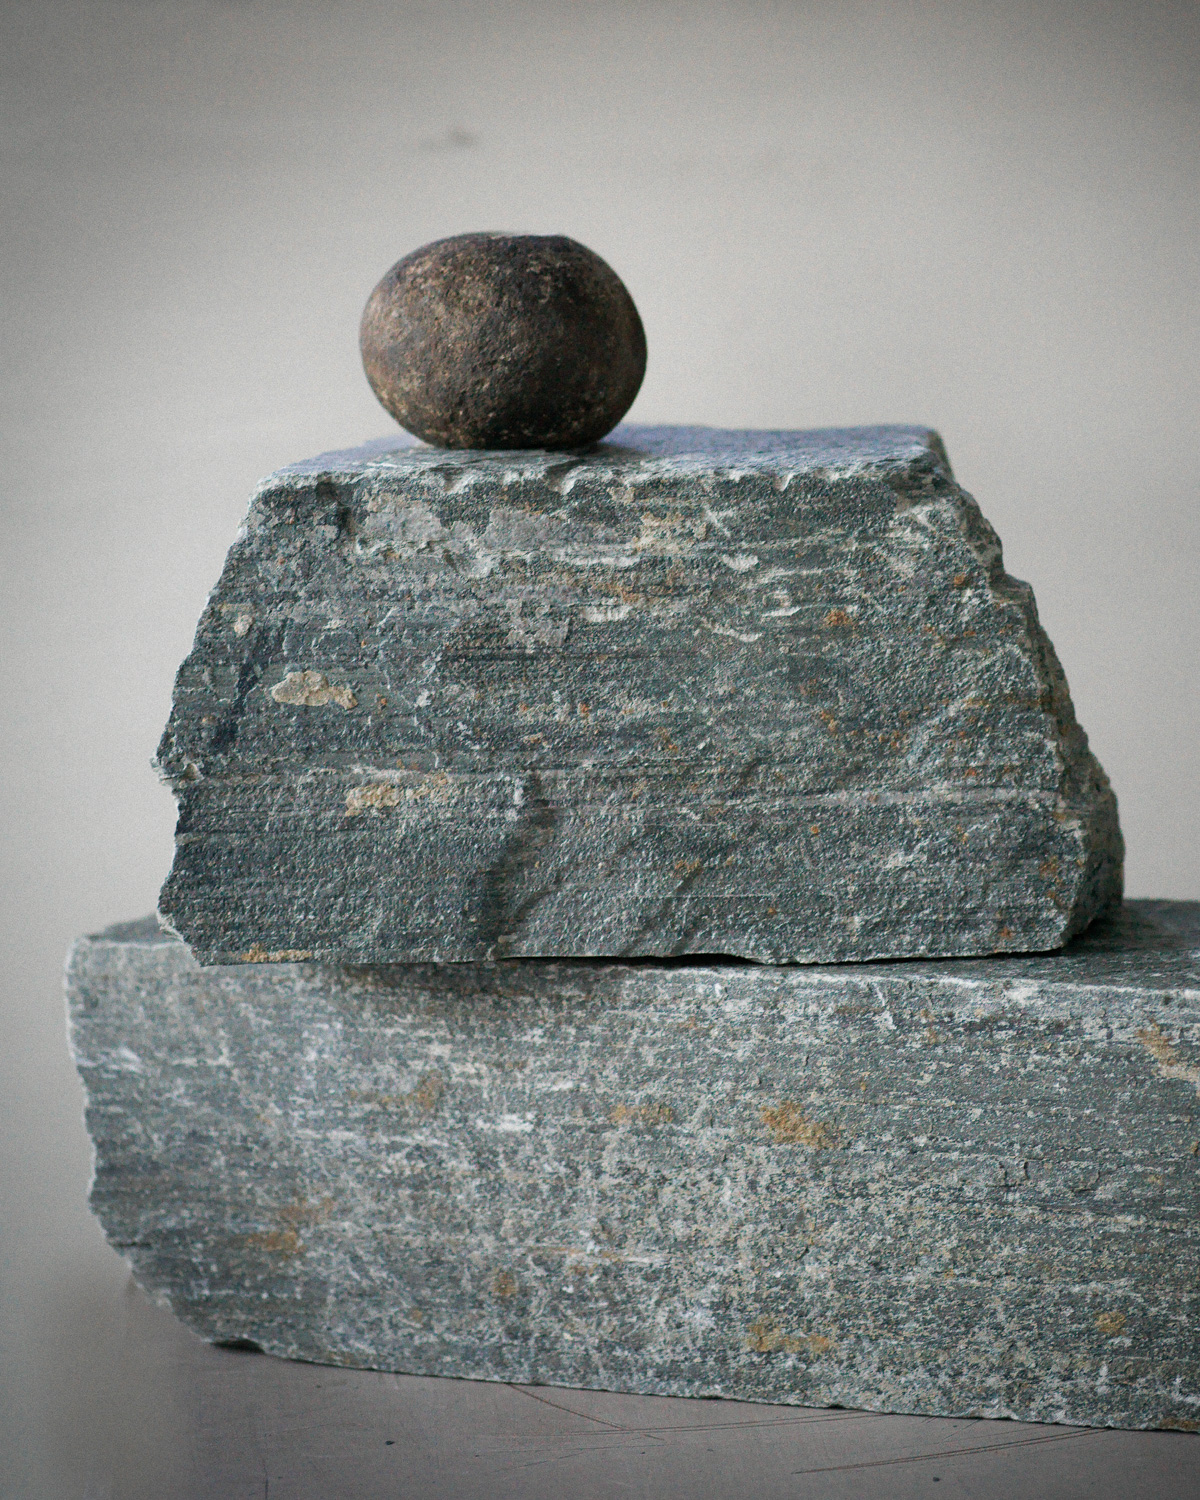
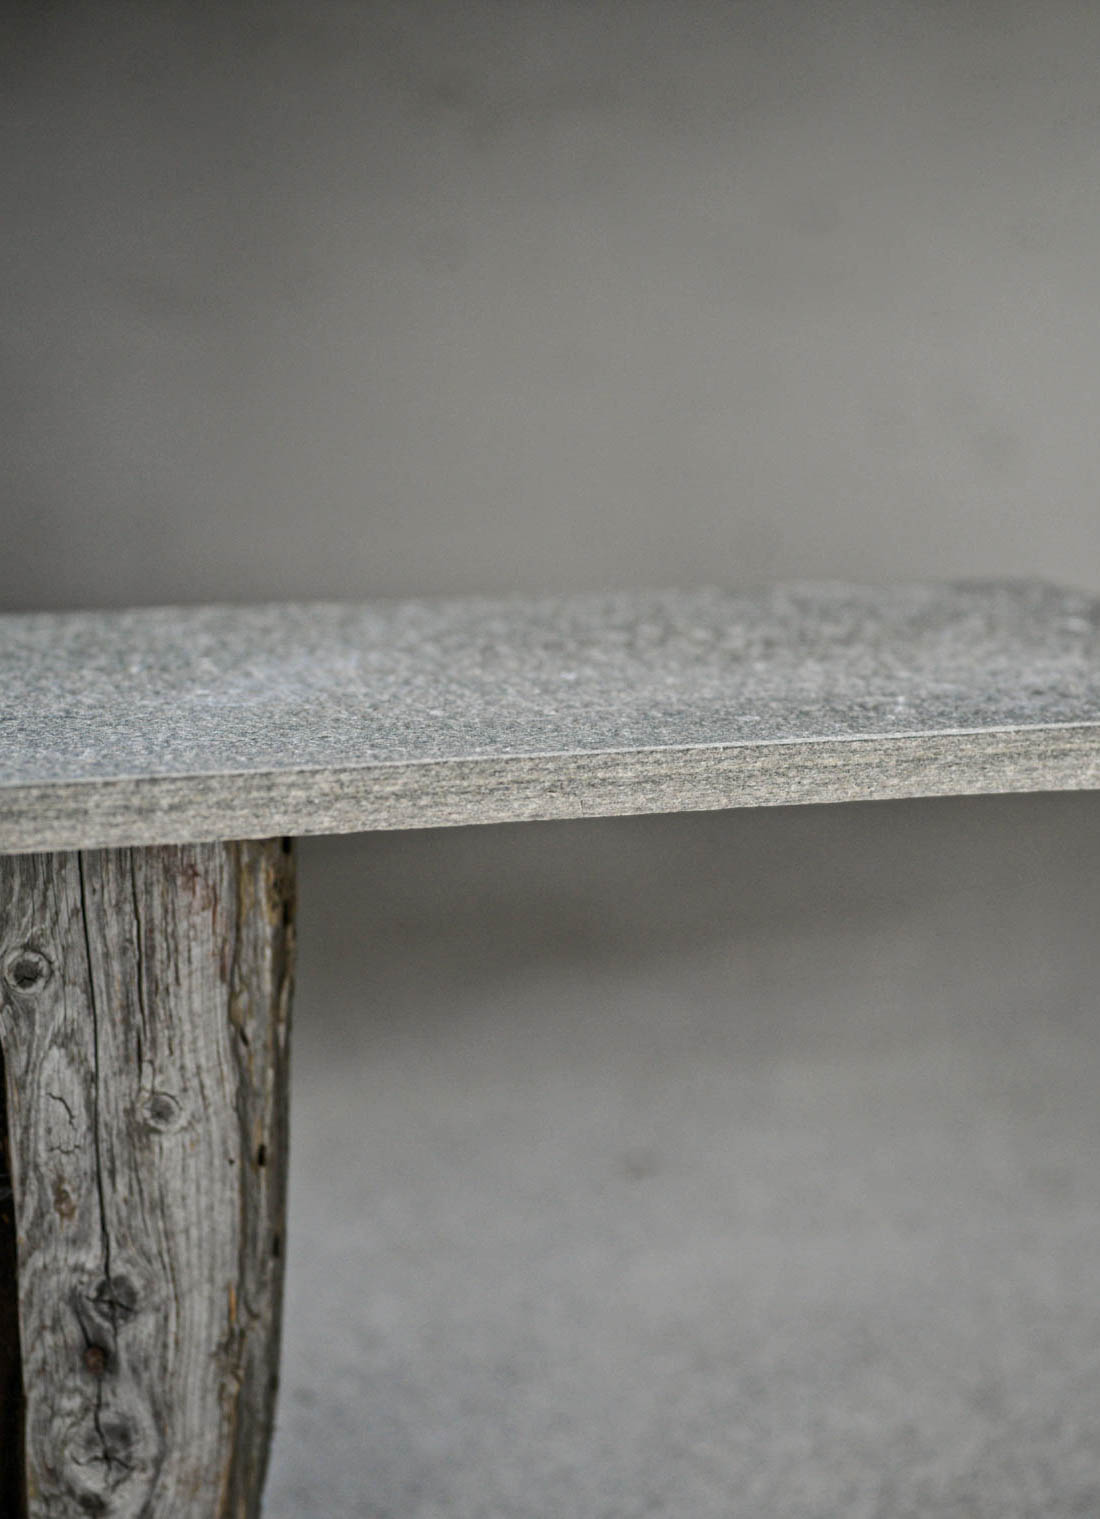
Small paths and walkways liven up the garden. The best landscape architect is nature herself, with her materials, forms, texture and colours. Nature suits nature, so why not let natural stone paths bind different areas of your garden together?

Maybe you stay away from large garden projects because they involve a lot of work, machines and craftspeople. But if your project is to lay a path or paving in front of an entrance or on a lawn, there’s a simple method you can use.

A modern cabin with large glass windows and a stone facade of slate bricks. A footpath of stepping stones is laid on the lawn.
Light Oppdal quartzite stepping stones and wallbricks

Stepping stones of Nordic slate are beautiful, practical and extremely hard wearing. So hard wearing, in fact, that if you already have slate paving that you want to move, it can easily be used in another area, even though it’s hundreds of years old.

Slate paving stones are frost-resistant, non-slip and local, with a classic look that harmonises with our own nature. And the best thing is that you can easily do the work yourself! No preparation is required, and the result will be wonderful, even if you’ve never done anything like it before.

– The choice of material in the garden is very important for the overall feeling. The stone you lay is more than just something you walk on. It is also something you look at – and something you feel. It is therefore important that it fits. If you choose imported stone, it can quickly give a feeling that you are not at home. You should therefore always try to choose natural materials from the same part of the world that you live in.

Cato Hetland, CEO Tegl og Betong AS
A path of stepping stones in slate laid along a house and with beautiful planting on the sides.
Light Oppdal quartzite stepping stones
A walkway of slate slabs in Oppdal slate that leads the way to several timber cabins.
Light Oppdal quartzite stepping stones
A detailed picture of a drywall made of slate bricks and with stepping stones laid on the grass in front.
Stepping stones of light Oppdal slate are genuine pieces of the Norwegian mountain, with infinite possibilities. Shape, edges and laying pattern give your garden a unique personality that will fit in perfectly, whether you want a classical garden or a more ordered and symmetrical one. Or perhaps it’s something for your cabin?

What you’ll need to lay a garden path:

  • Stepping stones
  • A spade
  • Sand or fine gravel
  • Your own weight … or a rubber mallet!

1. Find the right location

Lay the stones out on the grass where you want to place them. Check that they are the right distance apart by walking the length of the path (fun fact: the average adult step length is 63 cm).

If you have any bends, obstacles or gradients in your path, it’s a good idea to walk at a suitable tempo and mark out your footsteps along the way. And VOILÀ – you’ve found the best positions for your stones!

If you want a completely straight path, it’s a good idea to set some sticks at each end and stretch a length of string between them. Then you’ll know that you’re in complete control and that your paving stones will be straight.

2. Remove the turf

Use a spade to dig round the paving stone. Lift the stone off and roll back the turf.

Remove a little of the earth so you have a hole a few centimetres deeper than the thickness of the stone, to give room for a little stabilising sand or fine gravel.

It’s also a good idea to lay the stone so it’s a little higher than the surface of the grass, partly because it will settle more over time and also because the grass will grow up a little around it.

3. Fill a layer of sand or gravel

To make sure the paving stone is laid straight and solid and will stay that way, fill a layer of sand or gravel in the hole. Around three centimetres of sand or fine gravel with a particle size of 0-8 mm will be enough. Even it out so it’s about the same overall depth.

4. Lay the stepping stone

Lay the stone in place and hammer it down with a rubber mallet. Jumping on it achieves the same result and is probably more fun!

You can lay a nice path in an afternoon. It’s a great feeling to get such an immediate result and to also have created something so aesthetically pleasing. And what’s more, you did it yourself.

A garden path is easy to care for. If the grass between the paving stones grows too high, you can just run over it with the lawn mower.

Paving stones are also a great alternative to a paved area on the lawn, or laid in front of an entrance door. Just use the same method, but lay the stones closer together.

Now, it’s just a question of getting going on the year’s best DIY project! Good luck!

We are sorry, but you are using a version of Internet Explorer that is not supported on this site. The browser is no longer updated by Microsoft and may therefore pose a security risk. We recommend that you use a different browser. Welcome back!