


Five steps to create your own slate flowerbed

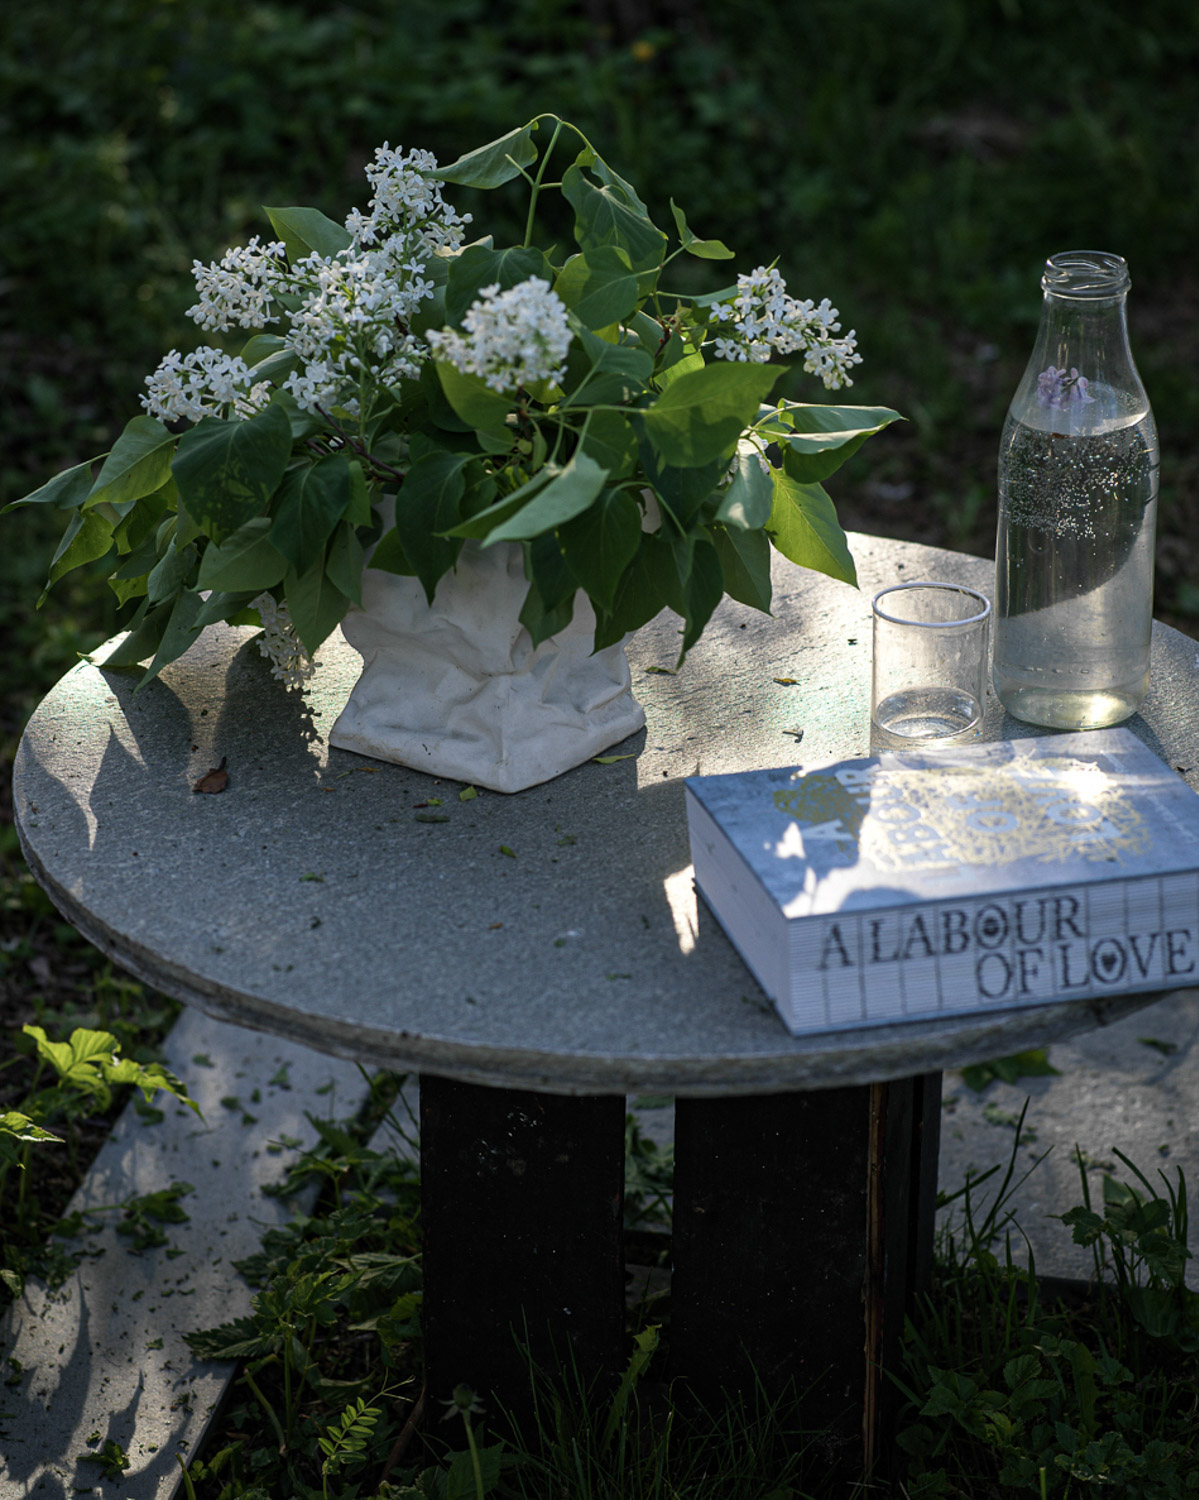
Would you love a garden that’s as natural as it is stylish? A flowerbed created with slate is beautiful to look at, low-maintenance and something that you can do yourself.
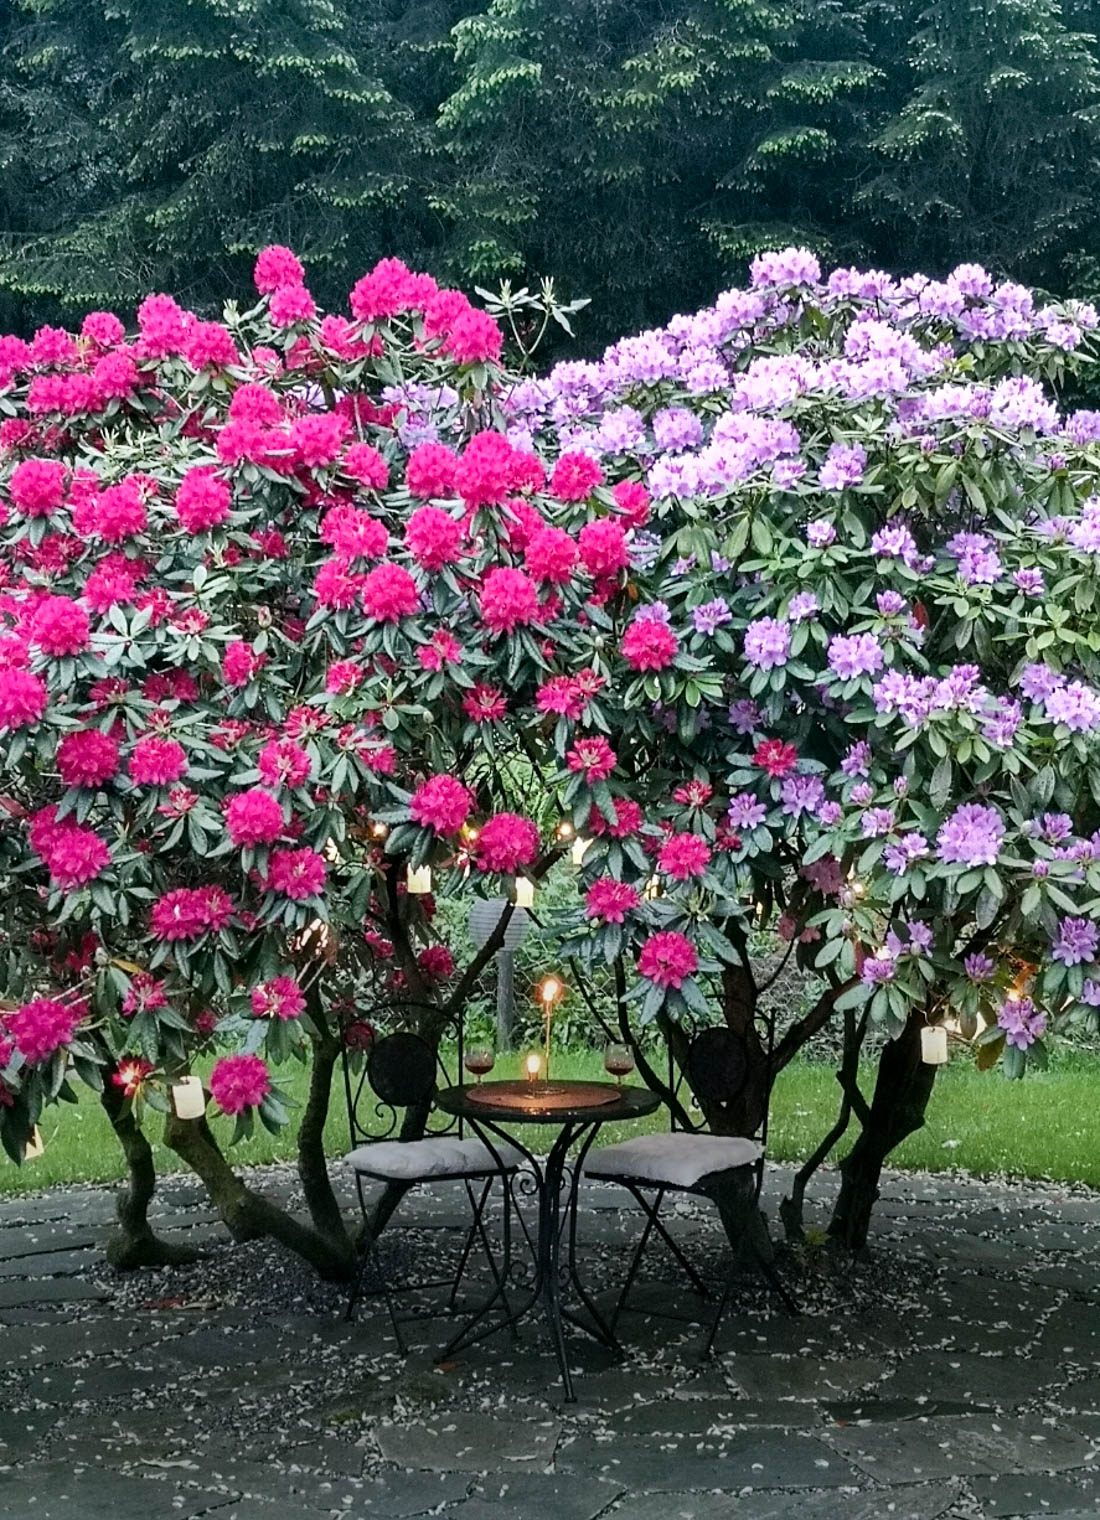
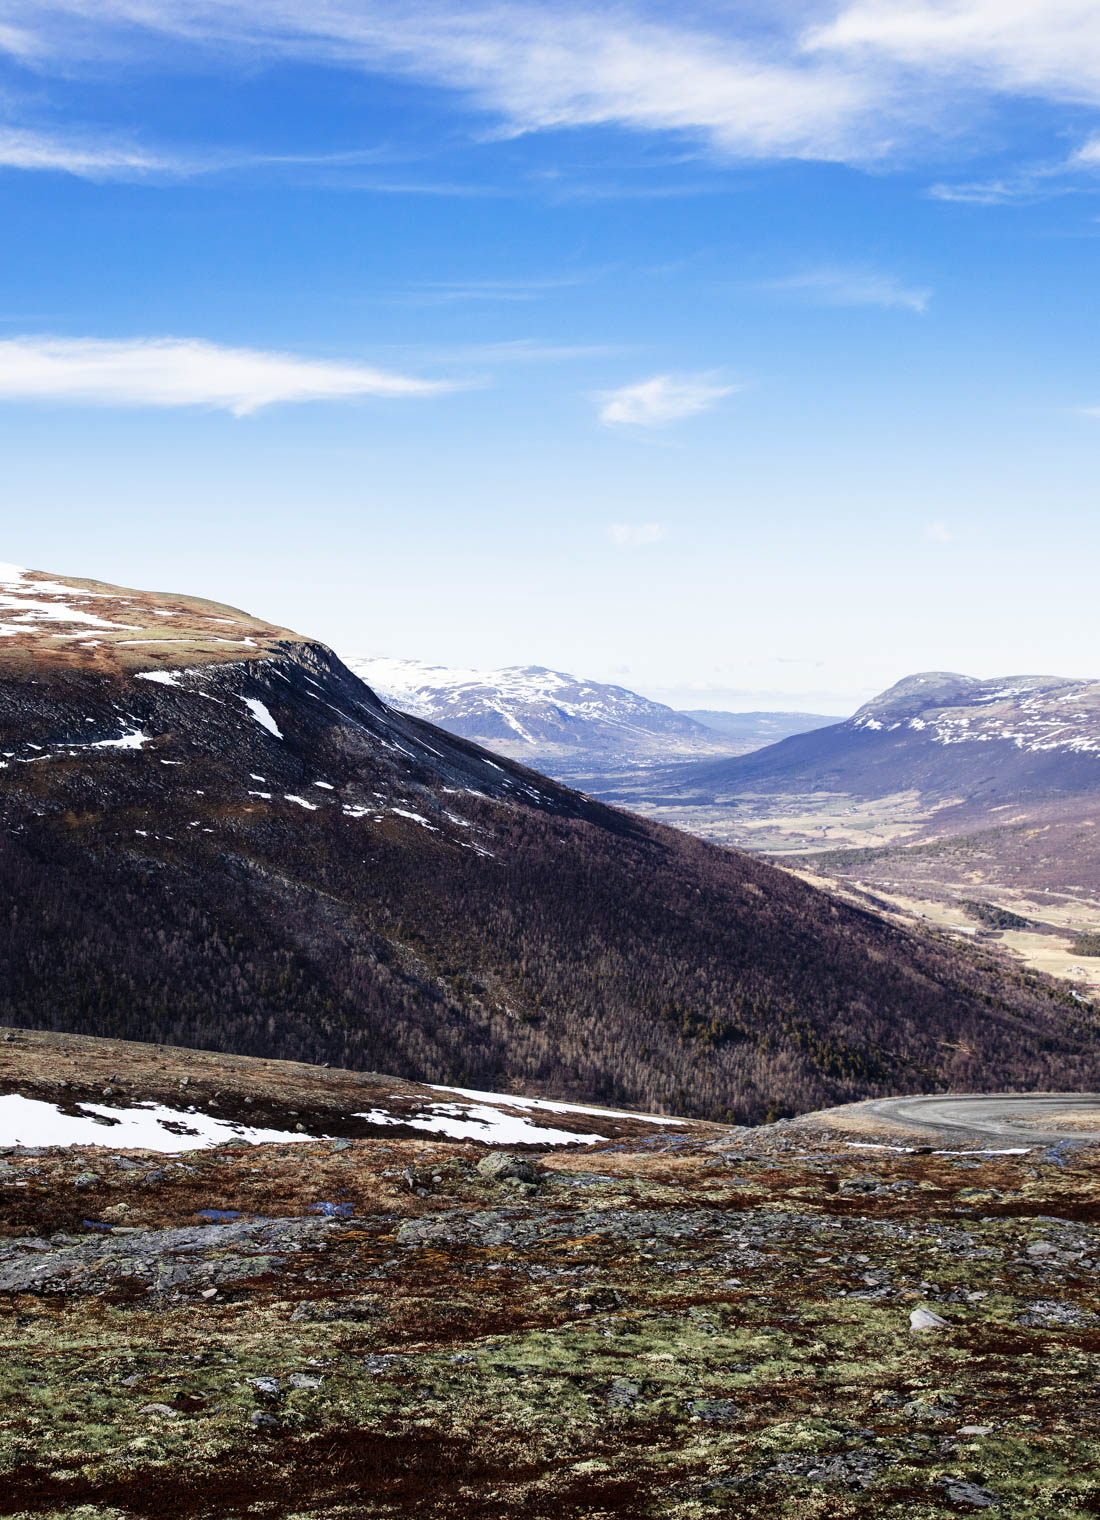
Have you noticed how wonderful it is when all the colours and plants in nature blend together – despite their differences? Your own garden can look like this, too. The secret is to use elements – plants and materials – that belong together.
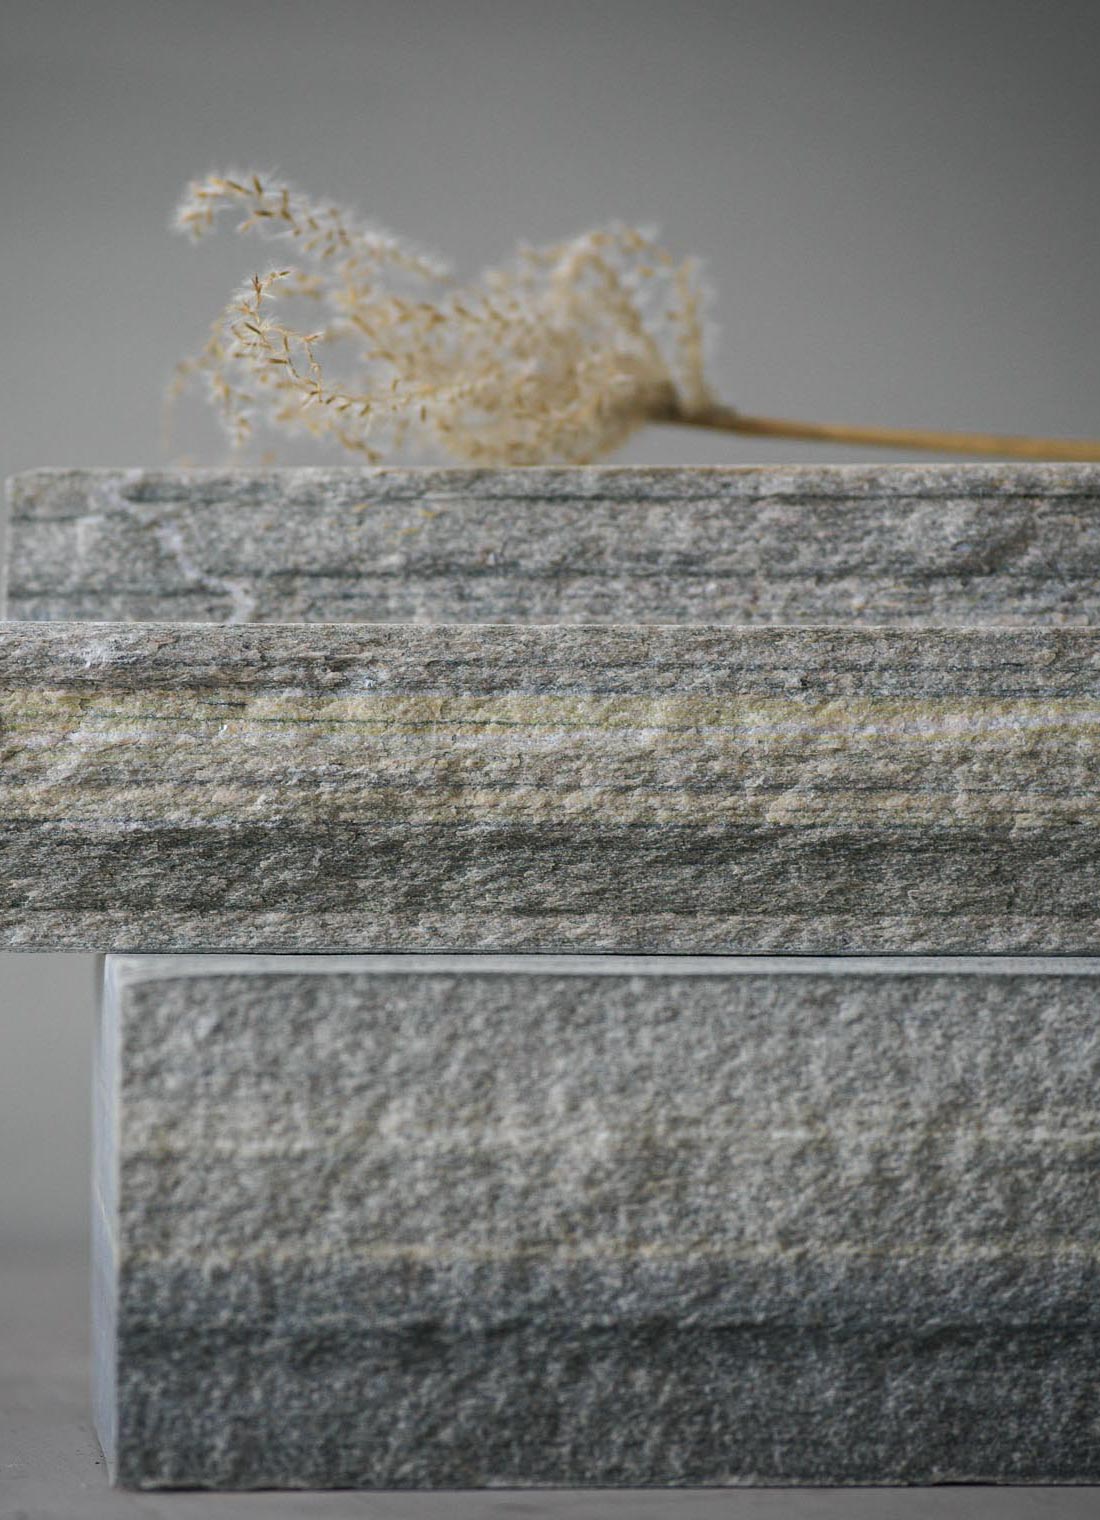
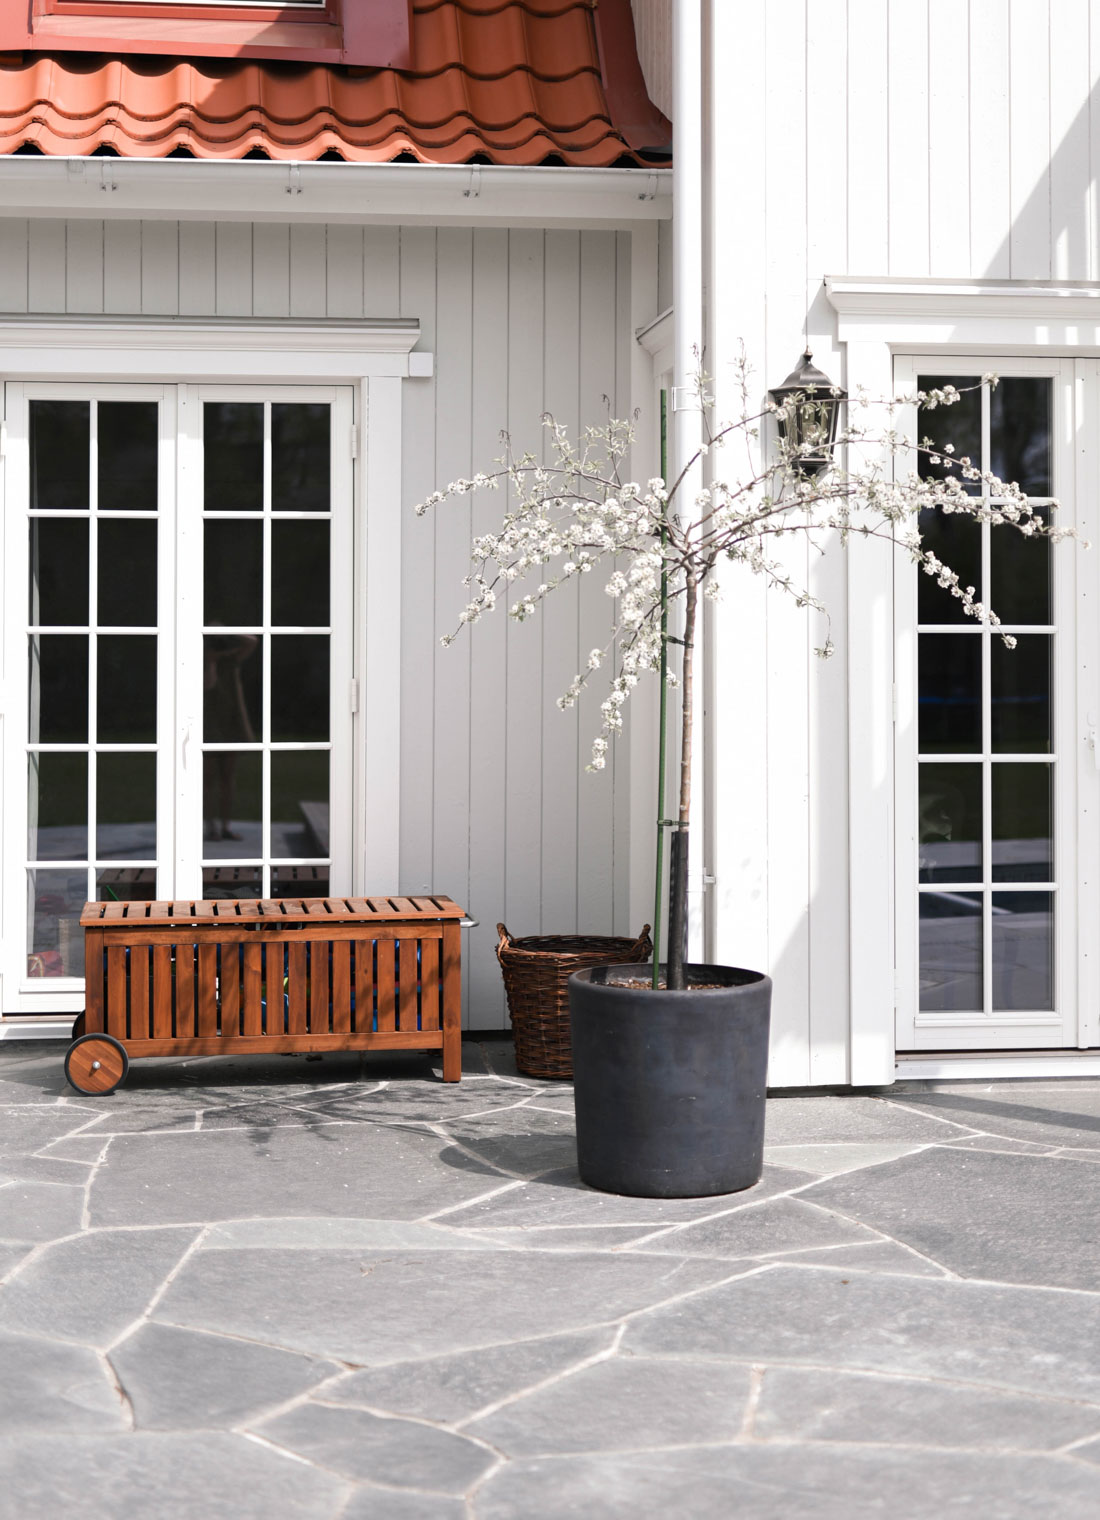
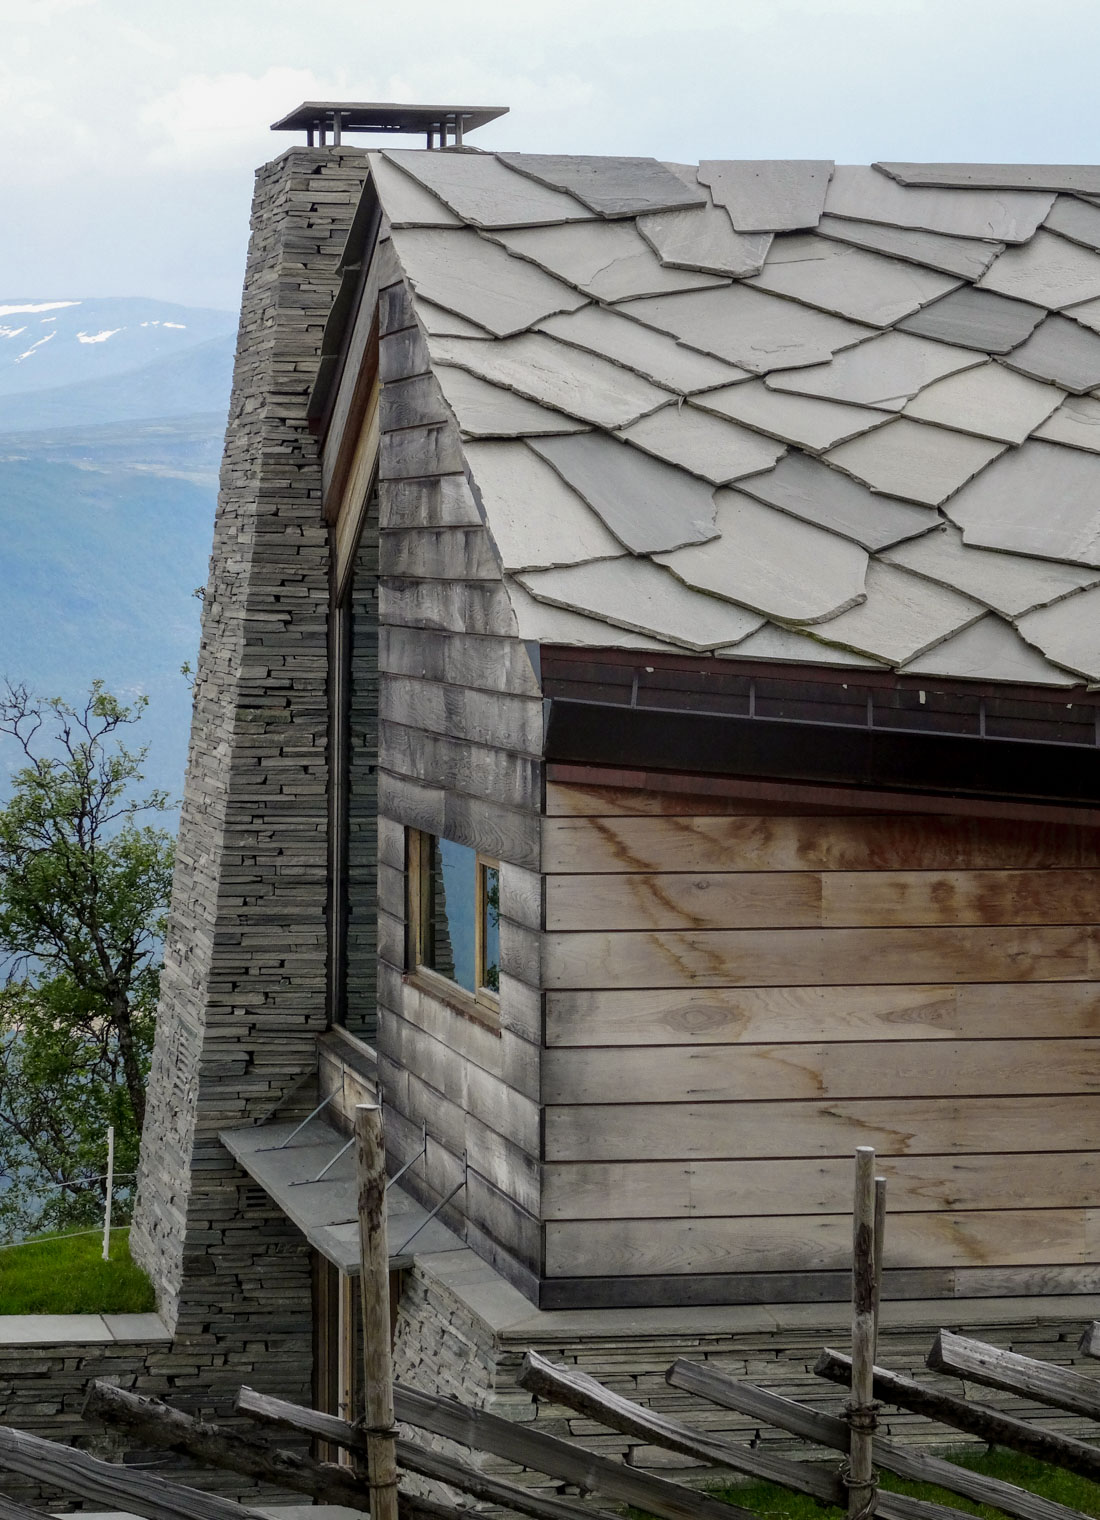
Norway has rich traditions for quarrying slate and other natural stone, and these materials are a suitable – and natural – choice for your flowerbeds.
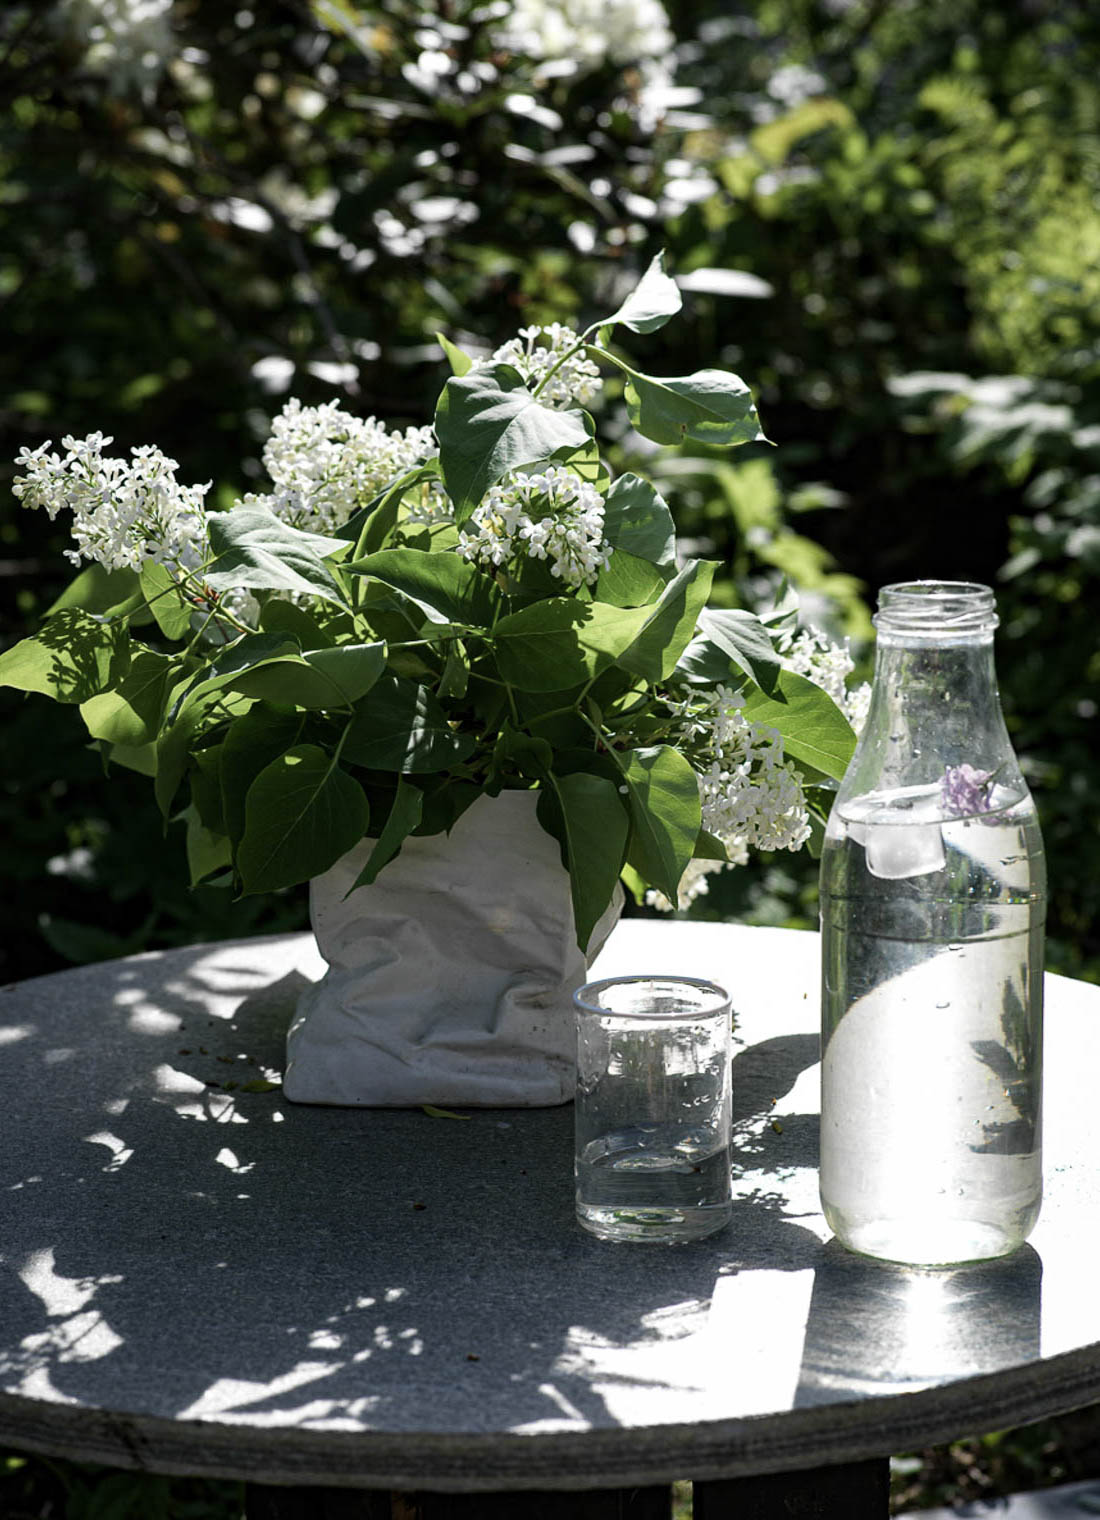
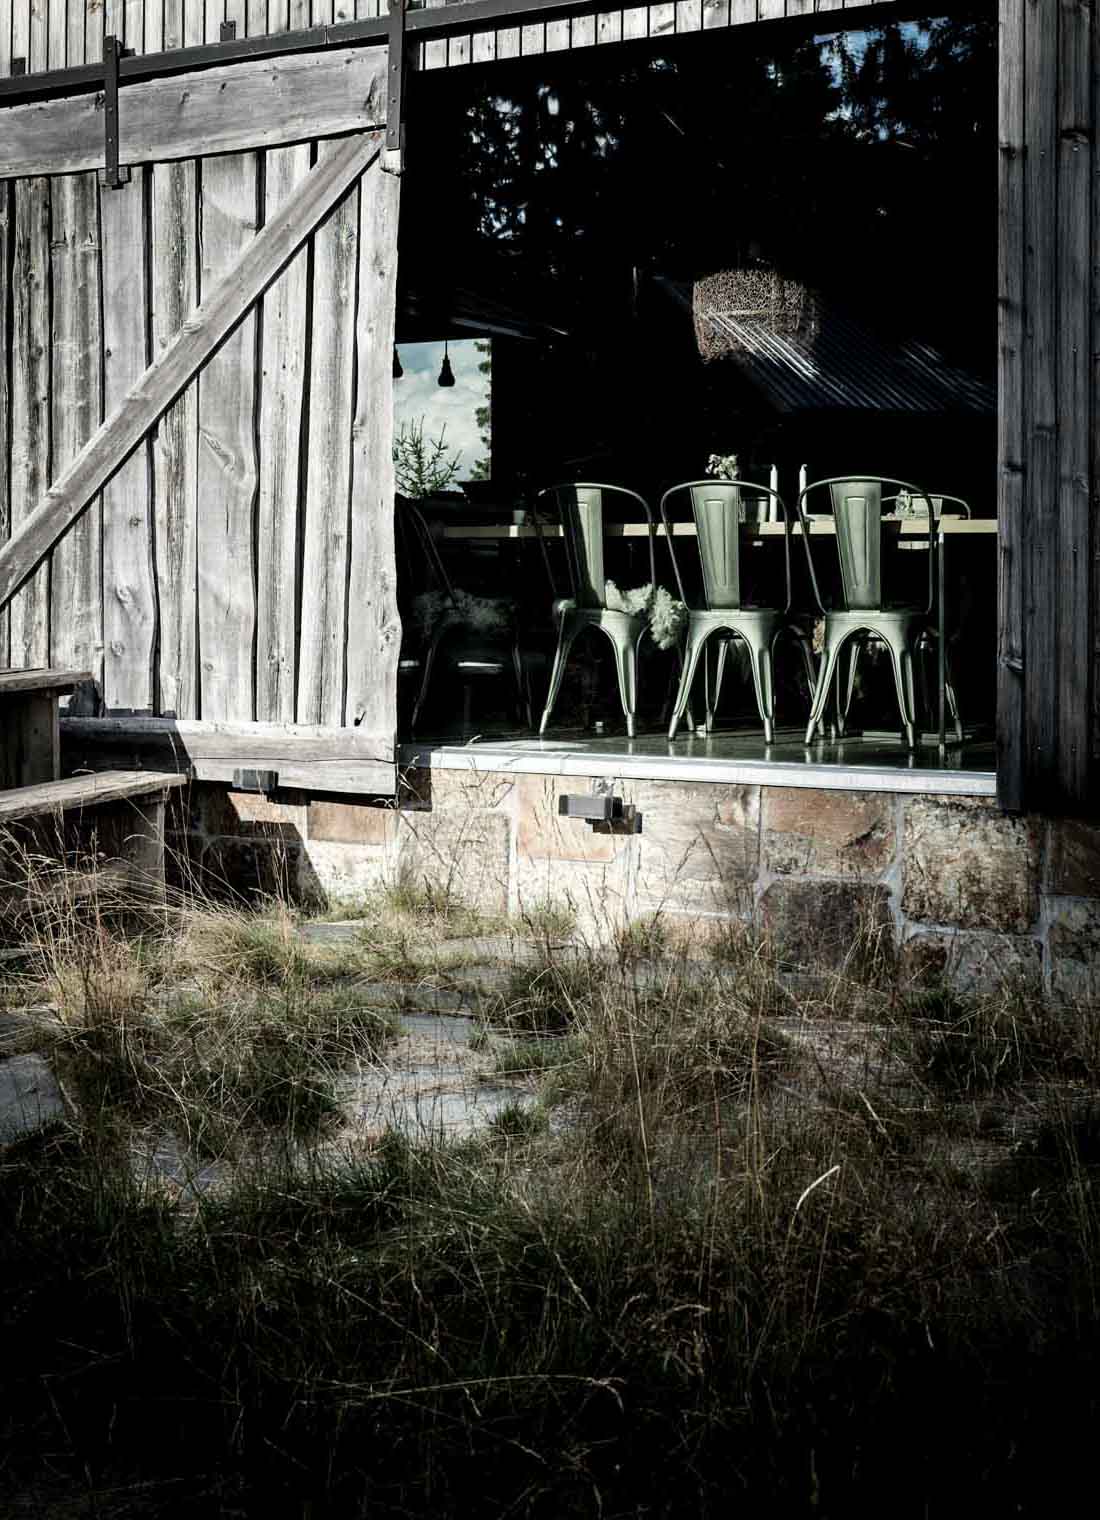
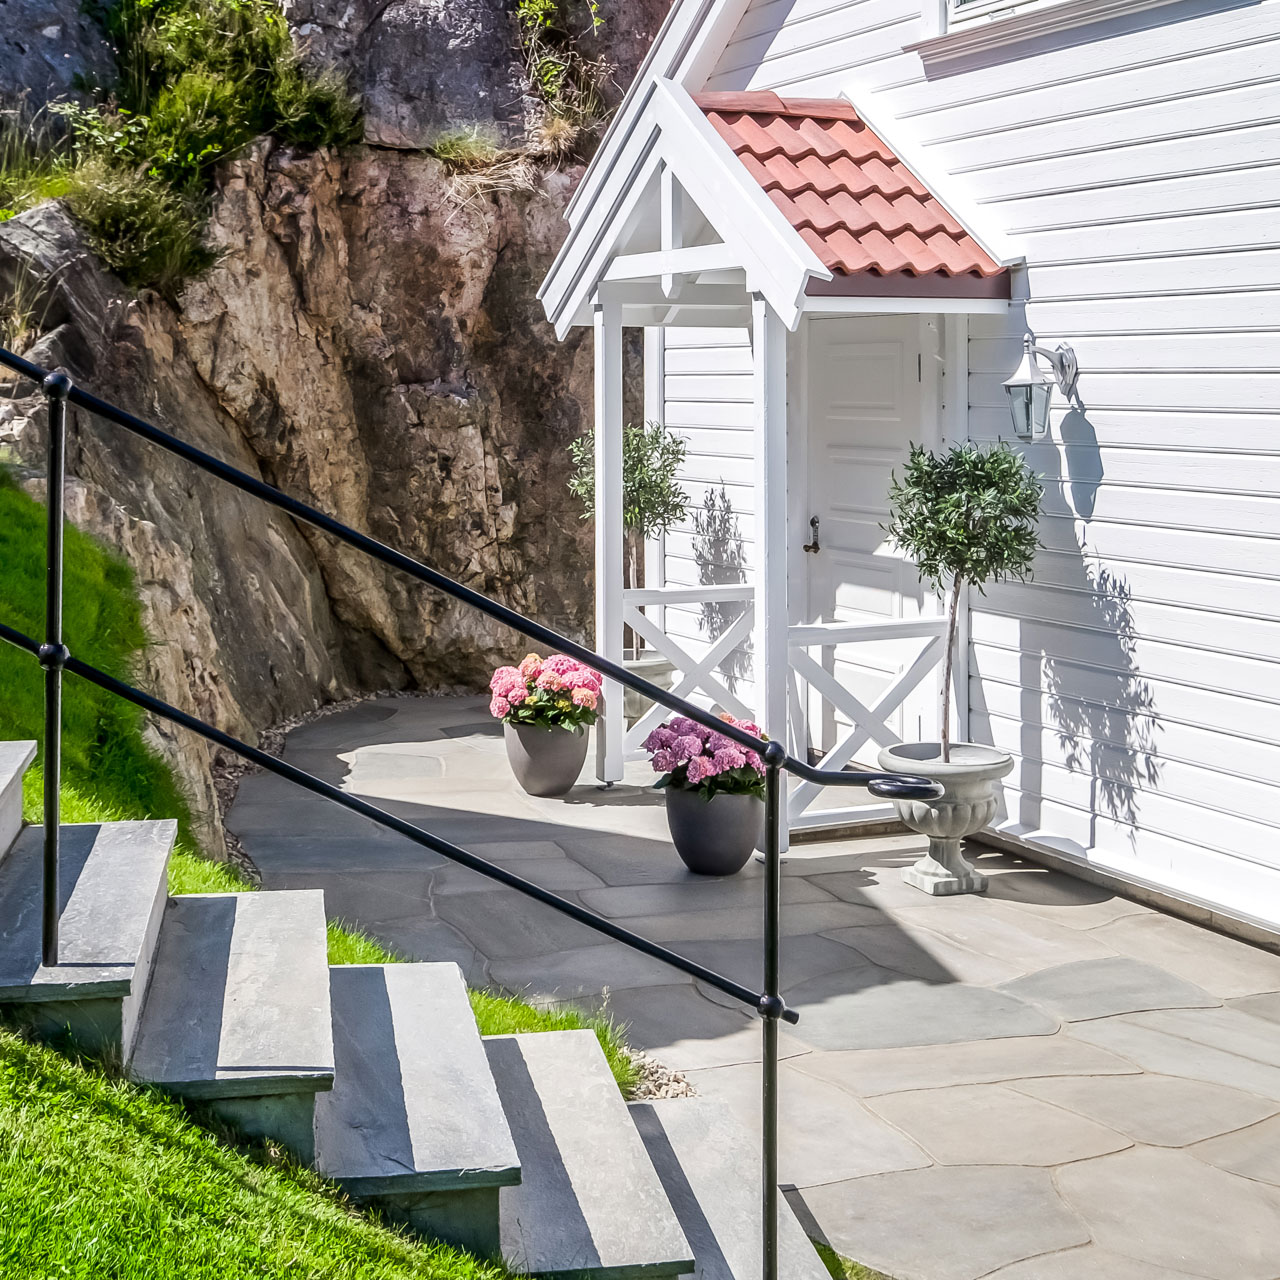
Using natural stone to frame a flowerbed will also give your flowers and plants the attention they deserve.
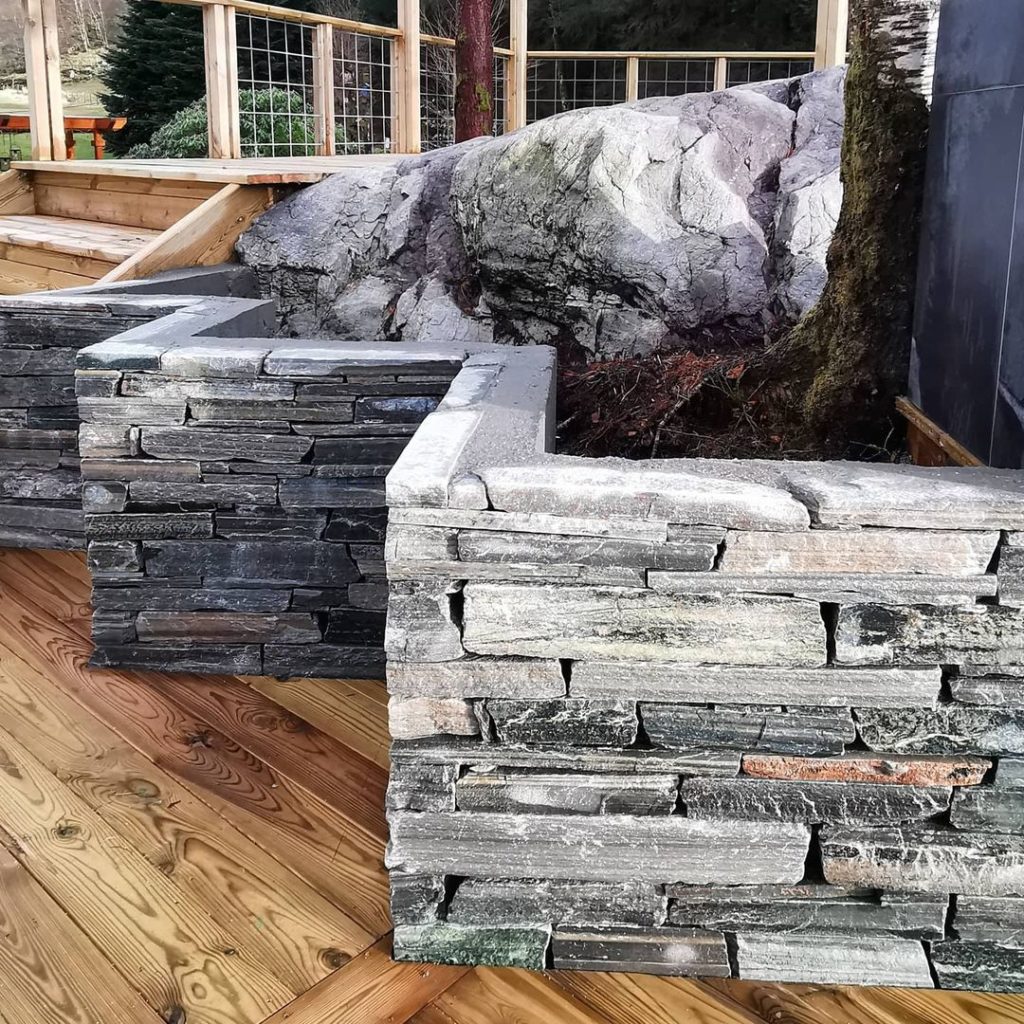
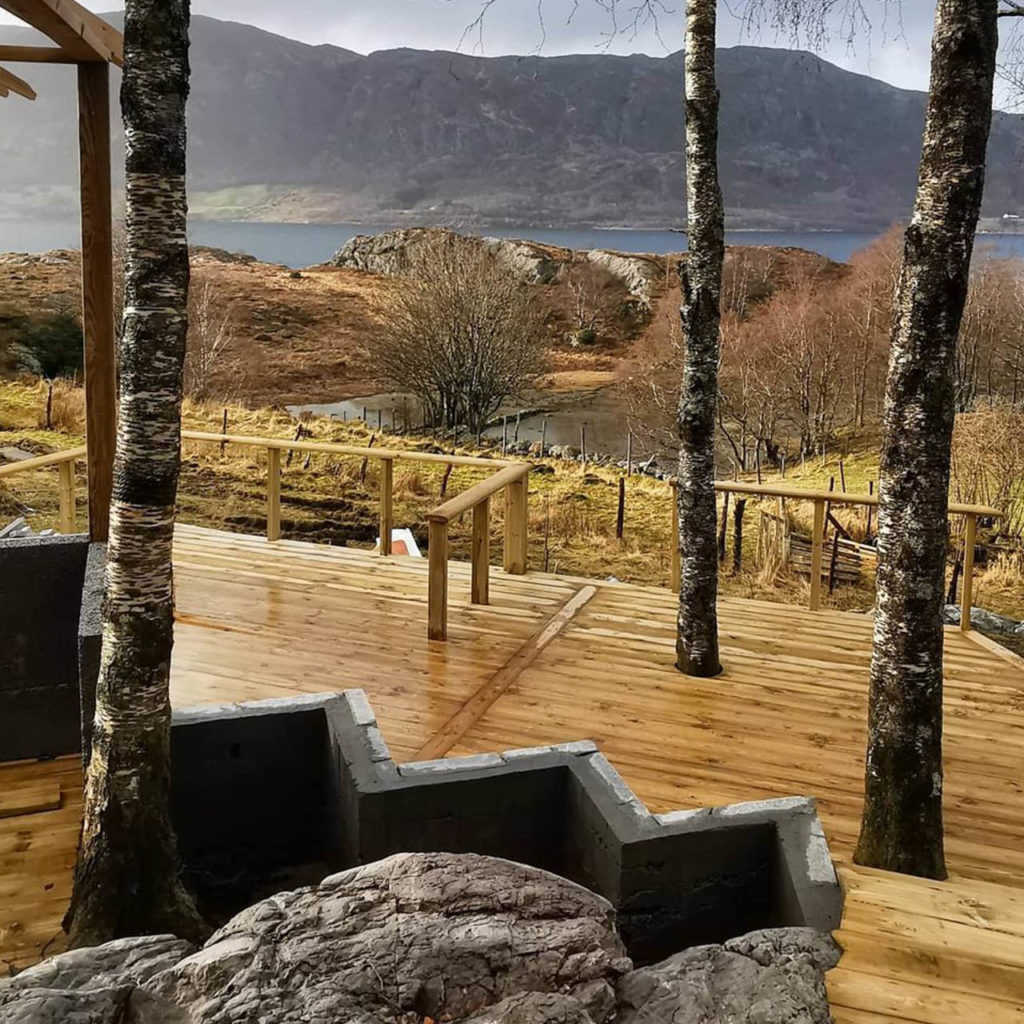
The flower bed above is made by Synne Lindgren Helle and her husband. They had no previous experience with masonry with bricks of slate. With a good deal of courage and help with this description and the video from the Minera School of Slate, they got an impressive result!
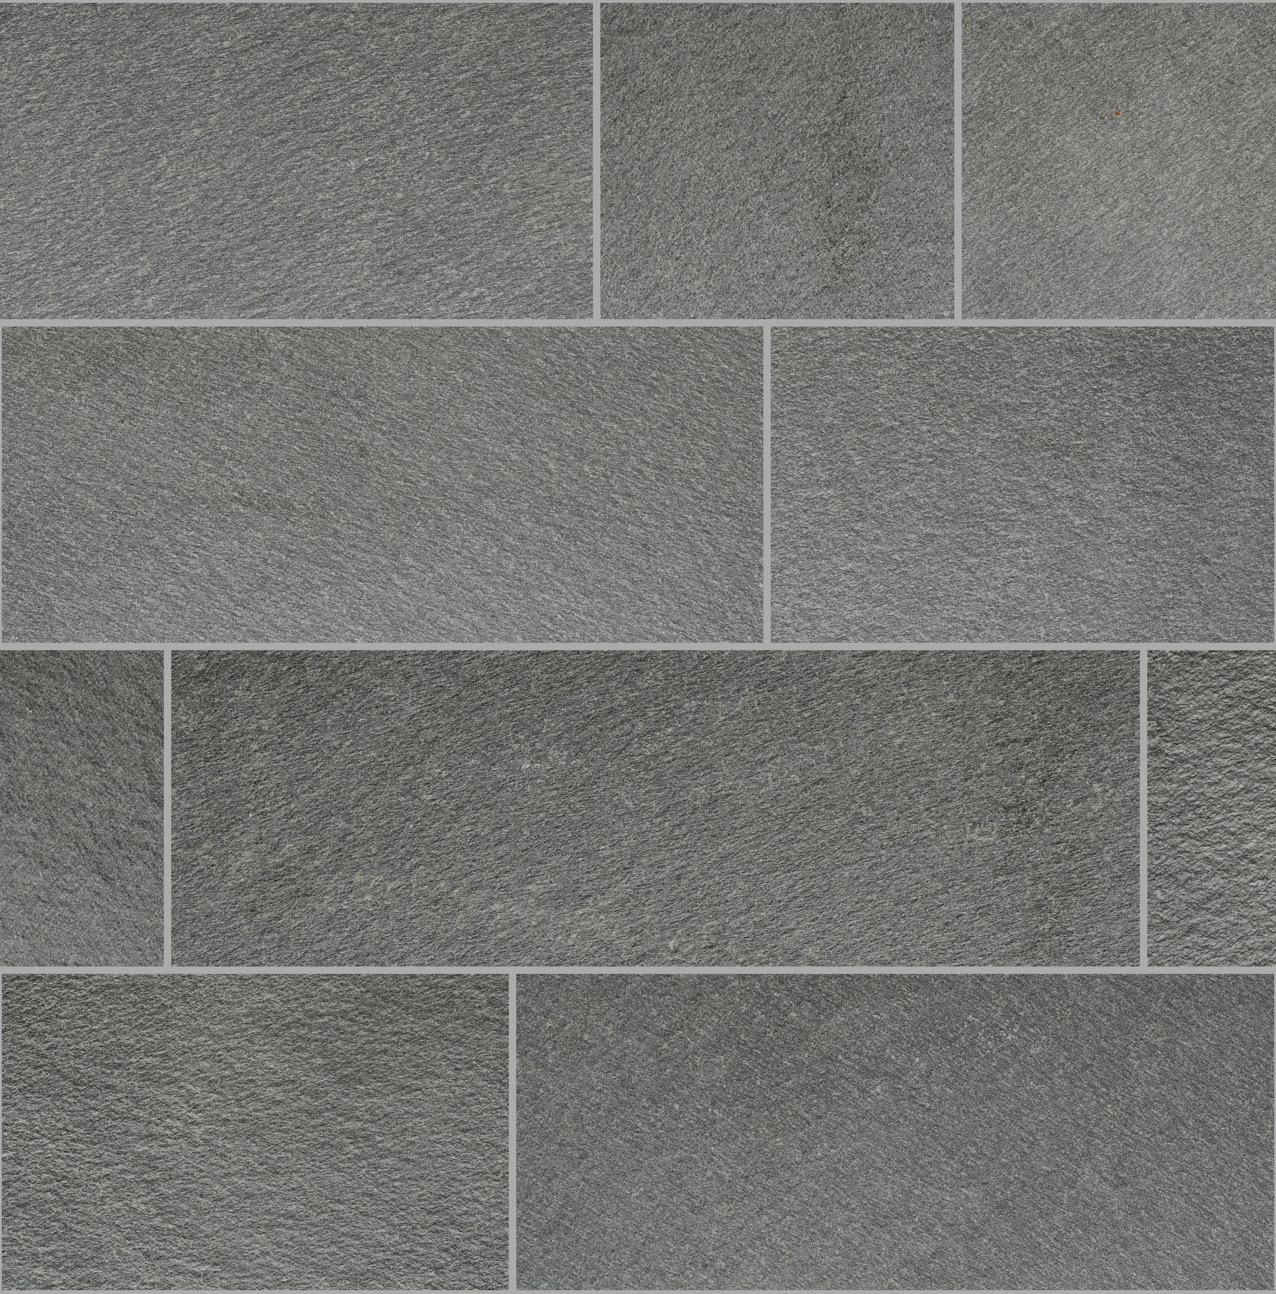
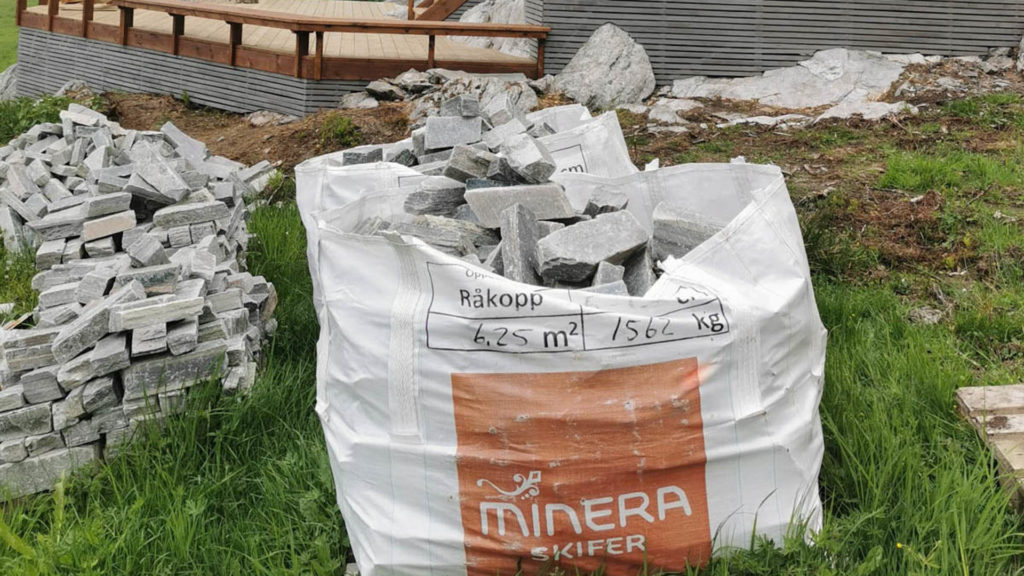
– If you, like us, want to make a flower bed of stone, but have little or no experience, we can safely recommend you to use Light Oppdal 5-12 cm bricks. It is beautiful and easy to handle and adapt.
Synne Lindgren Helle
The first thing to do before you start is to make sure you have all things you need. You should also draw up a good garden plan. Read how to make a great garden plan here.
Place marker pins and measuring tape to mark out the area you’re building on. Check the measuring tape as you go. This keeps you in control and makes sure the build doesn’t become crooked.
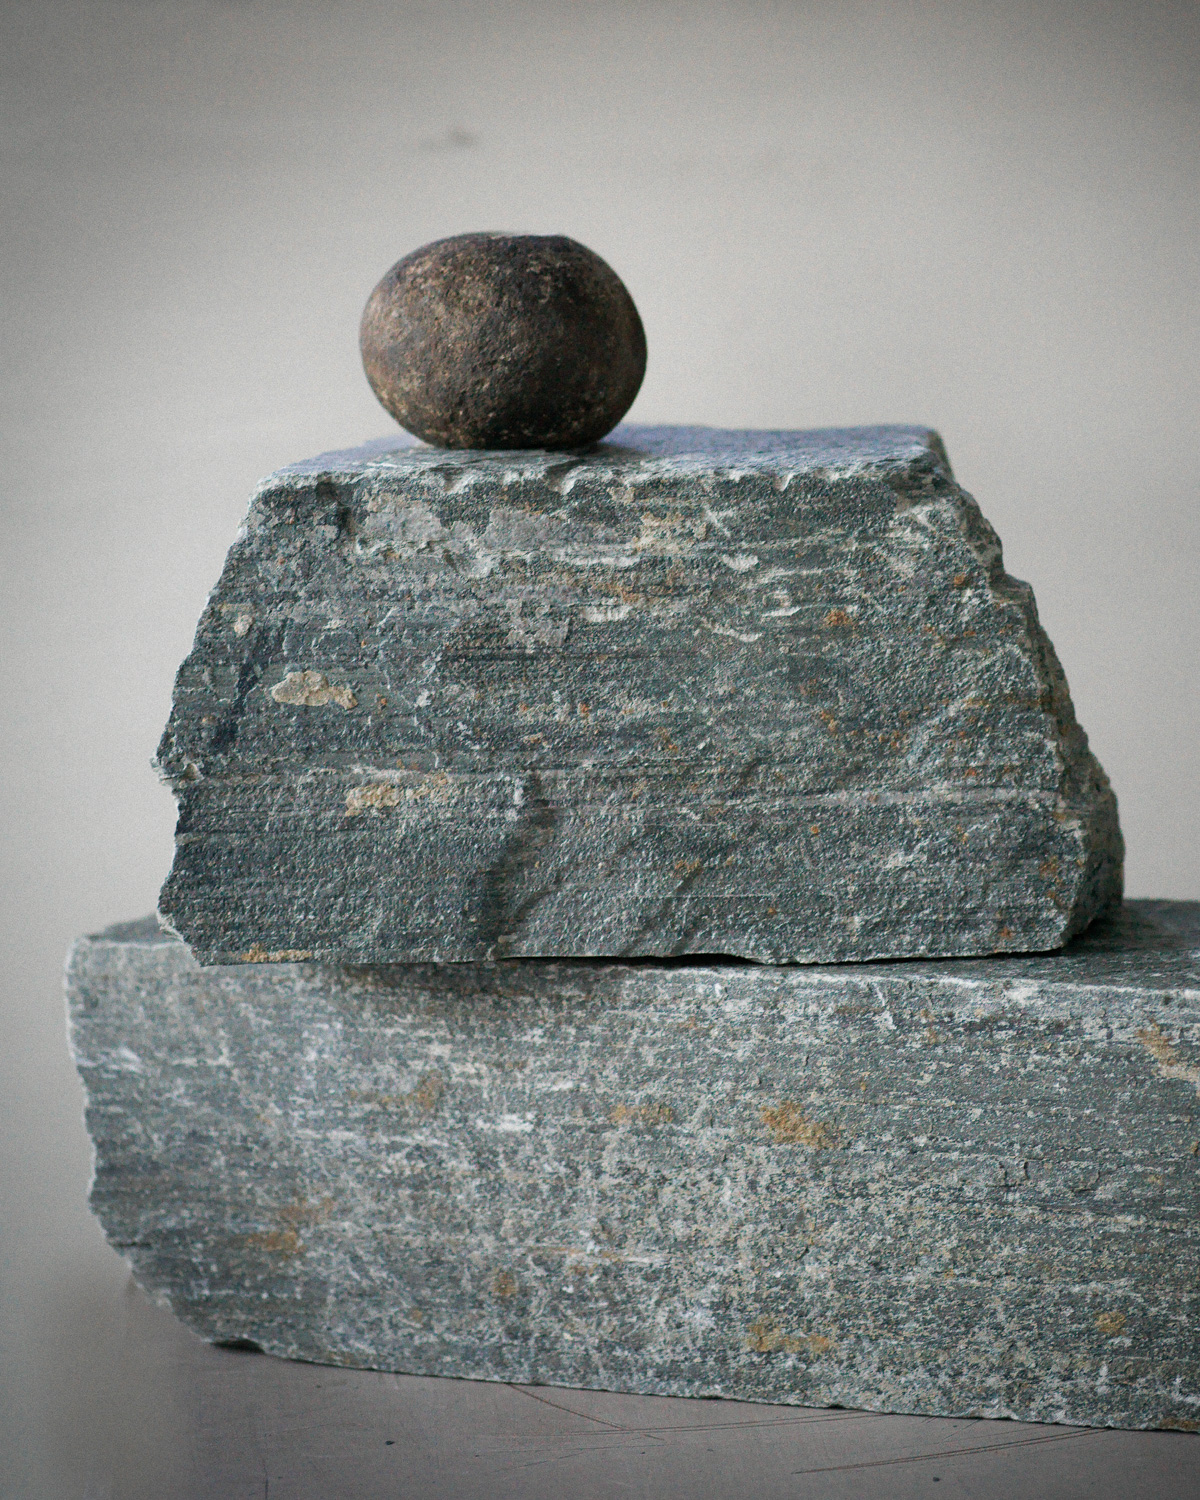
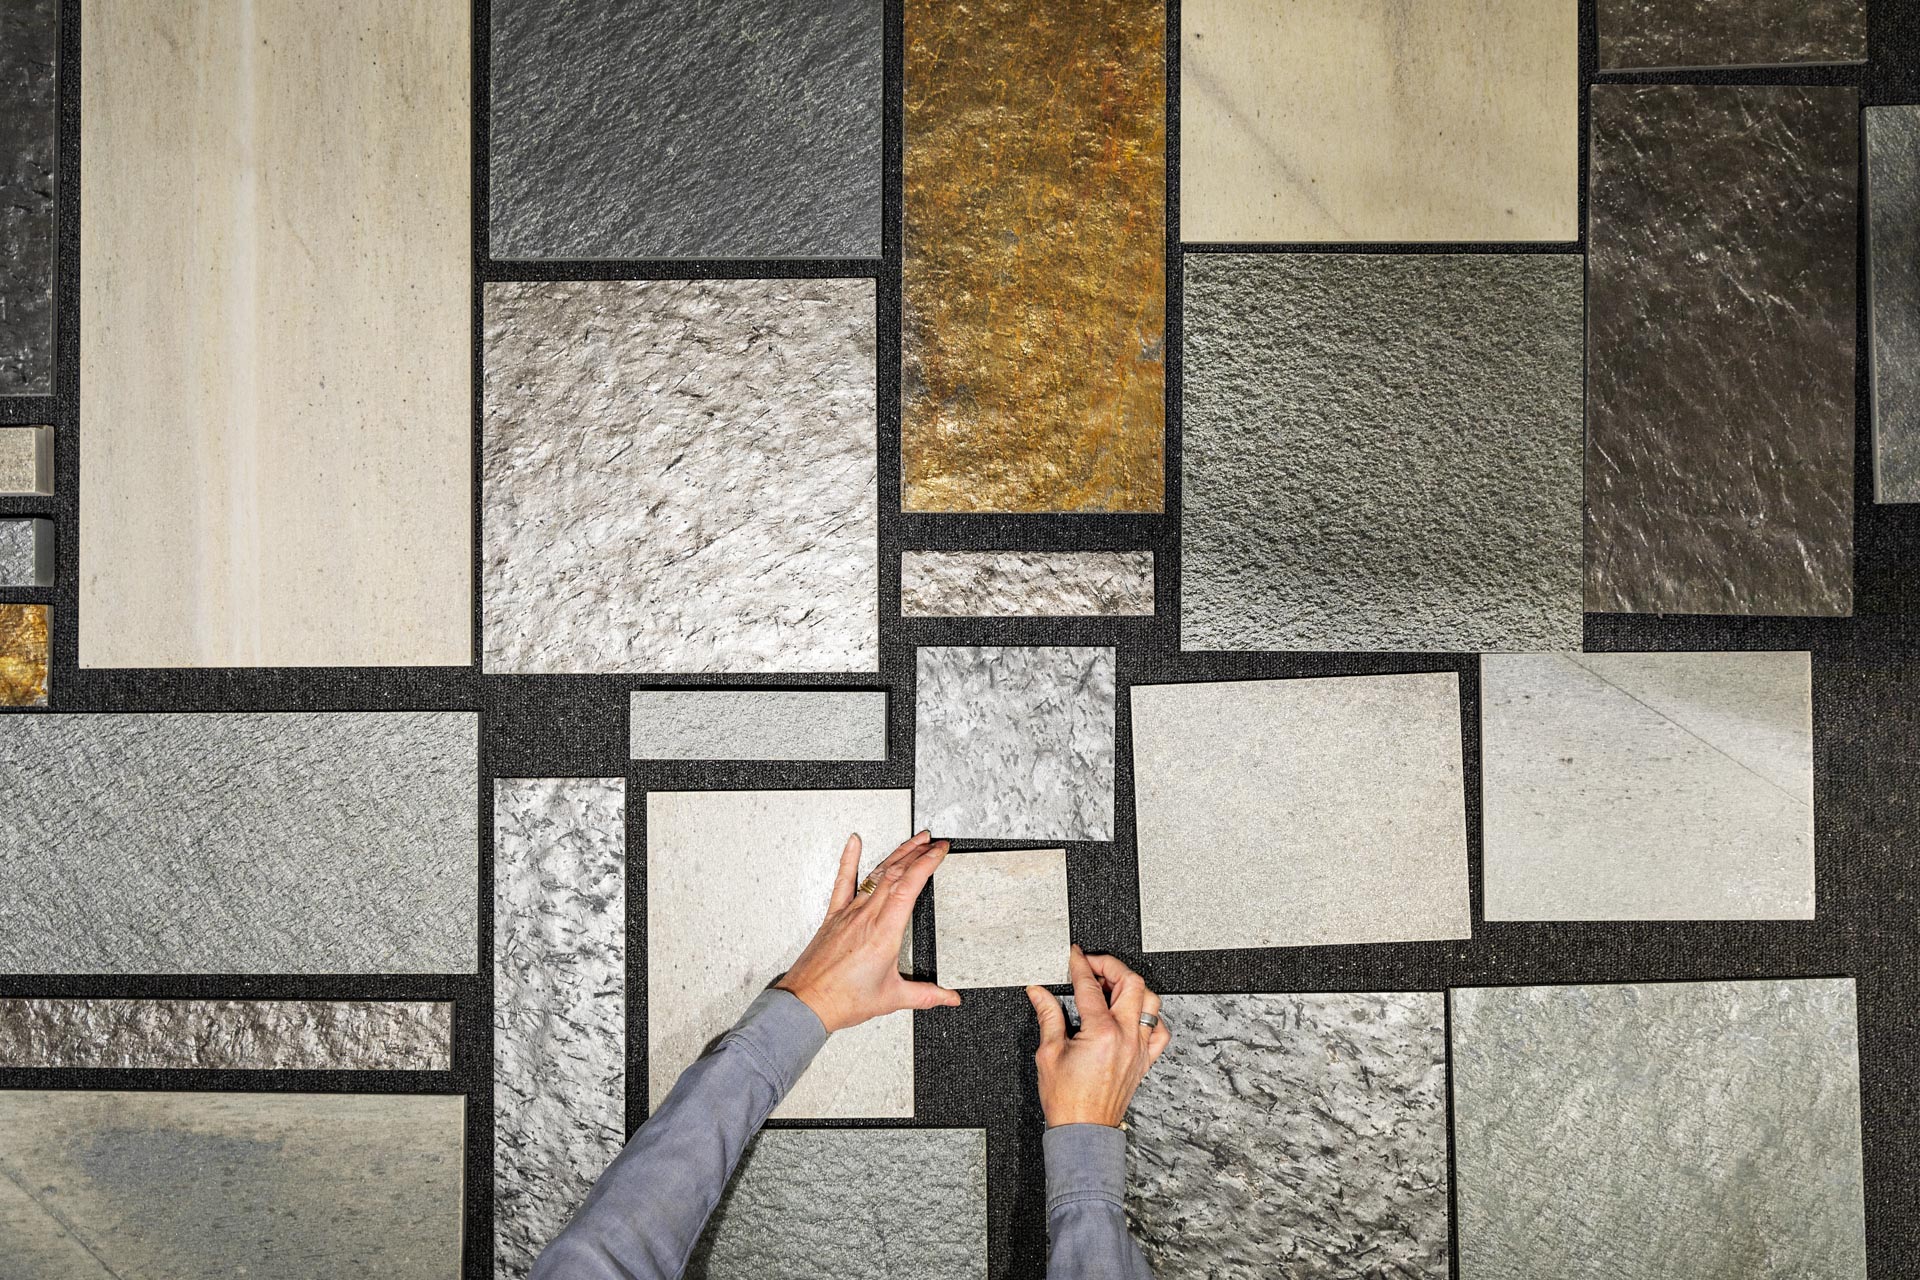
For the best possible result, you should lay the deepest stones first, so they form a foundation as you build upwards. So always sort your stones according to depth.
You should also sort them according to thickness, even though this isn’t quite as important.
While you’re sorting your stones, you should also find some suitable cornerstones with nice straight edges.
Once you’ve got your stones organised, it’s time to fire up the mortar blender. Mix the dry concrete with water in a separate container, such as a large bucket.
As noted in section 2, always begin by laying the deepest stones at the bottom. Lay the stones as alternate layers of stone and concrete, but try to make sure the dry concrete isn’t too visible.
You’ll achieve the best effect if you lay the stones unevenly, both vertically and horizontally. This gives a dynamic appearance and enhances the natural effect slate brings to your garden.
If the visible part of the stone slopes a bit, it’s best to lay the widest part lowest.
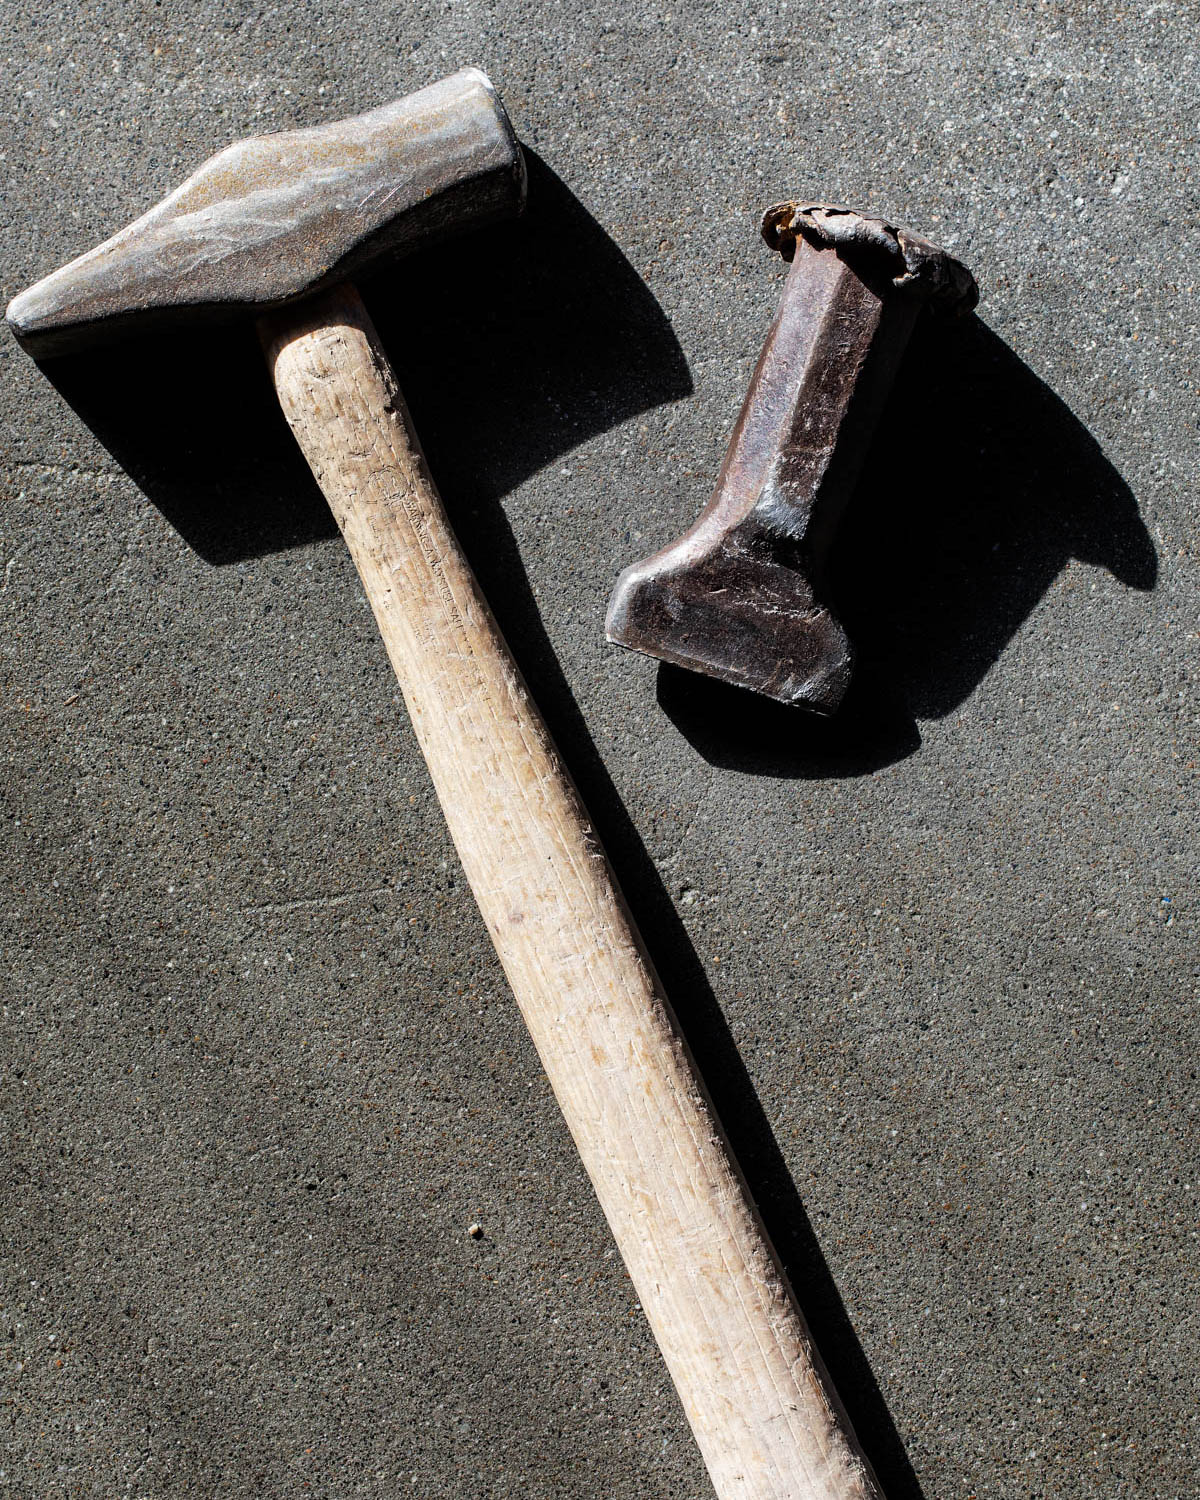
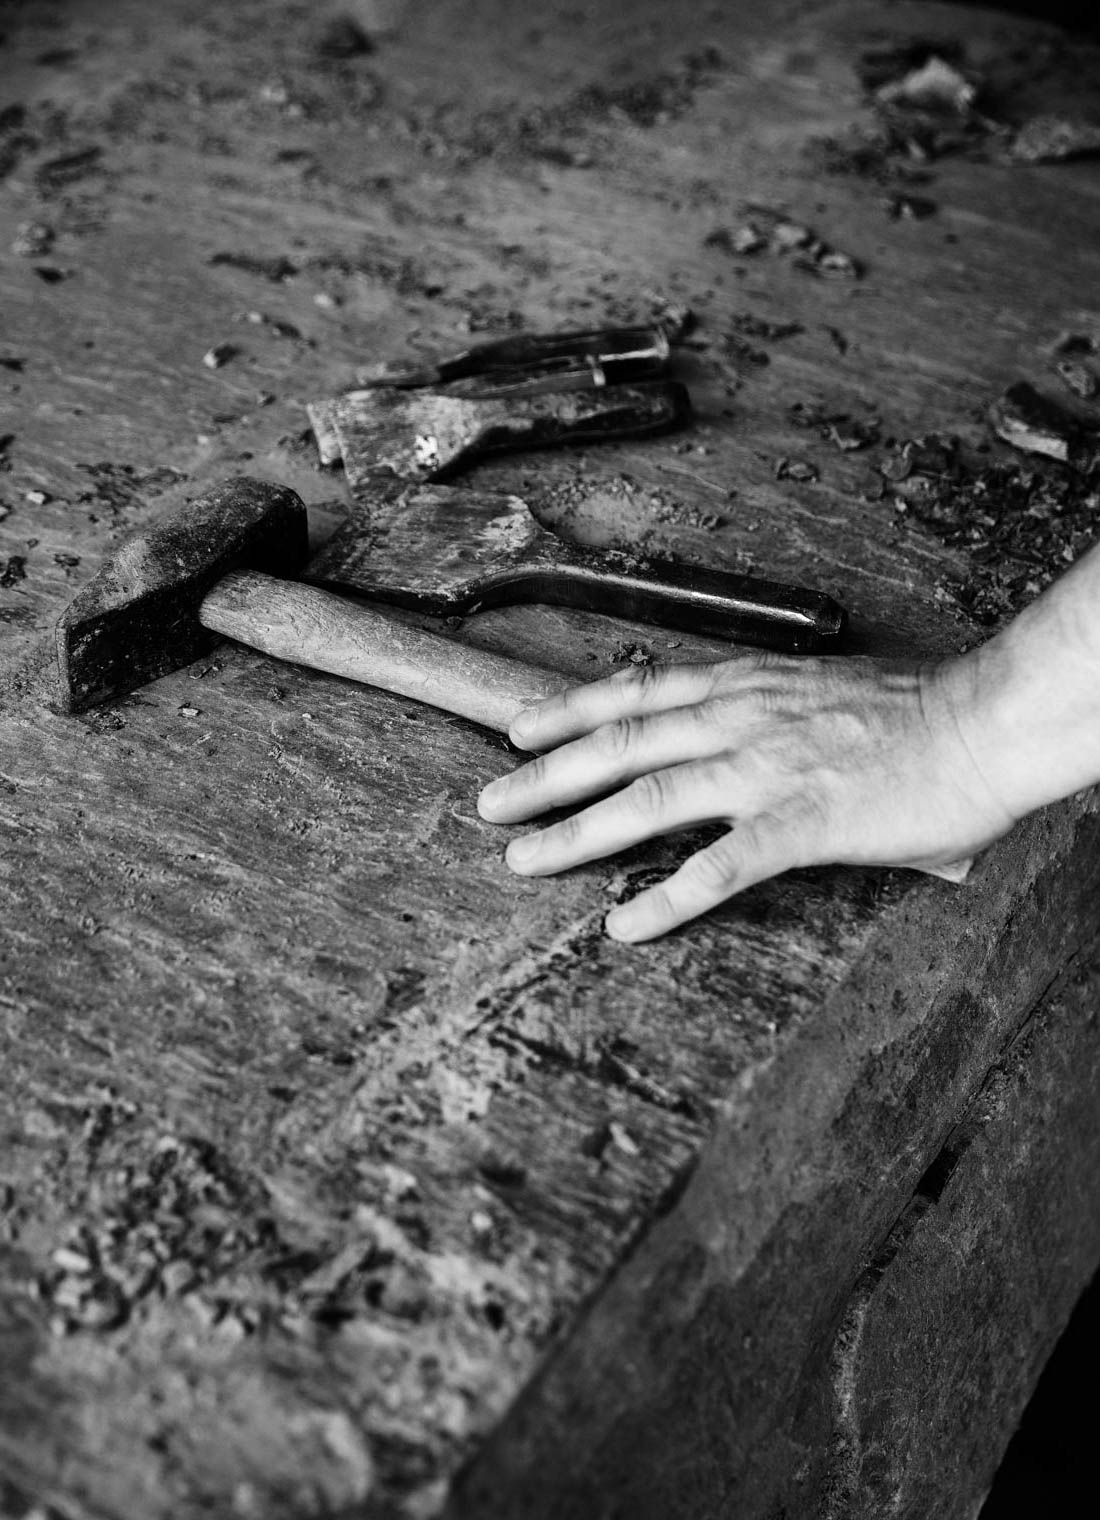
Some of the stones may be thick and uneven and you should always try and split them into thinner slates You can usually do this yourself with a hammer and chisel.
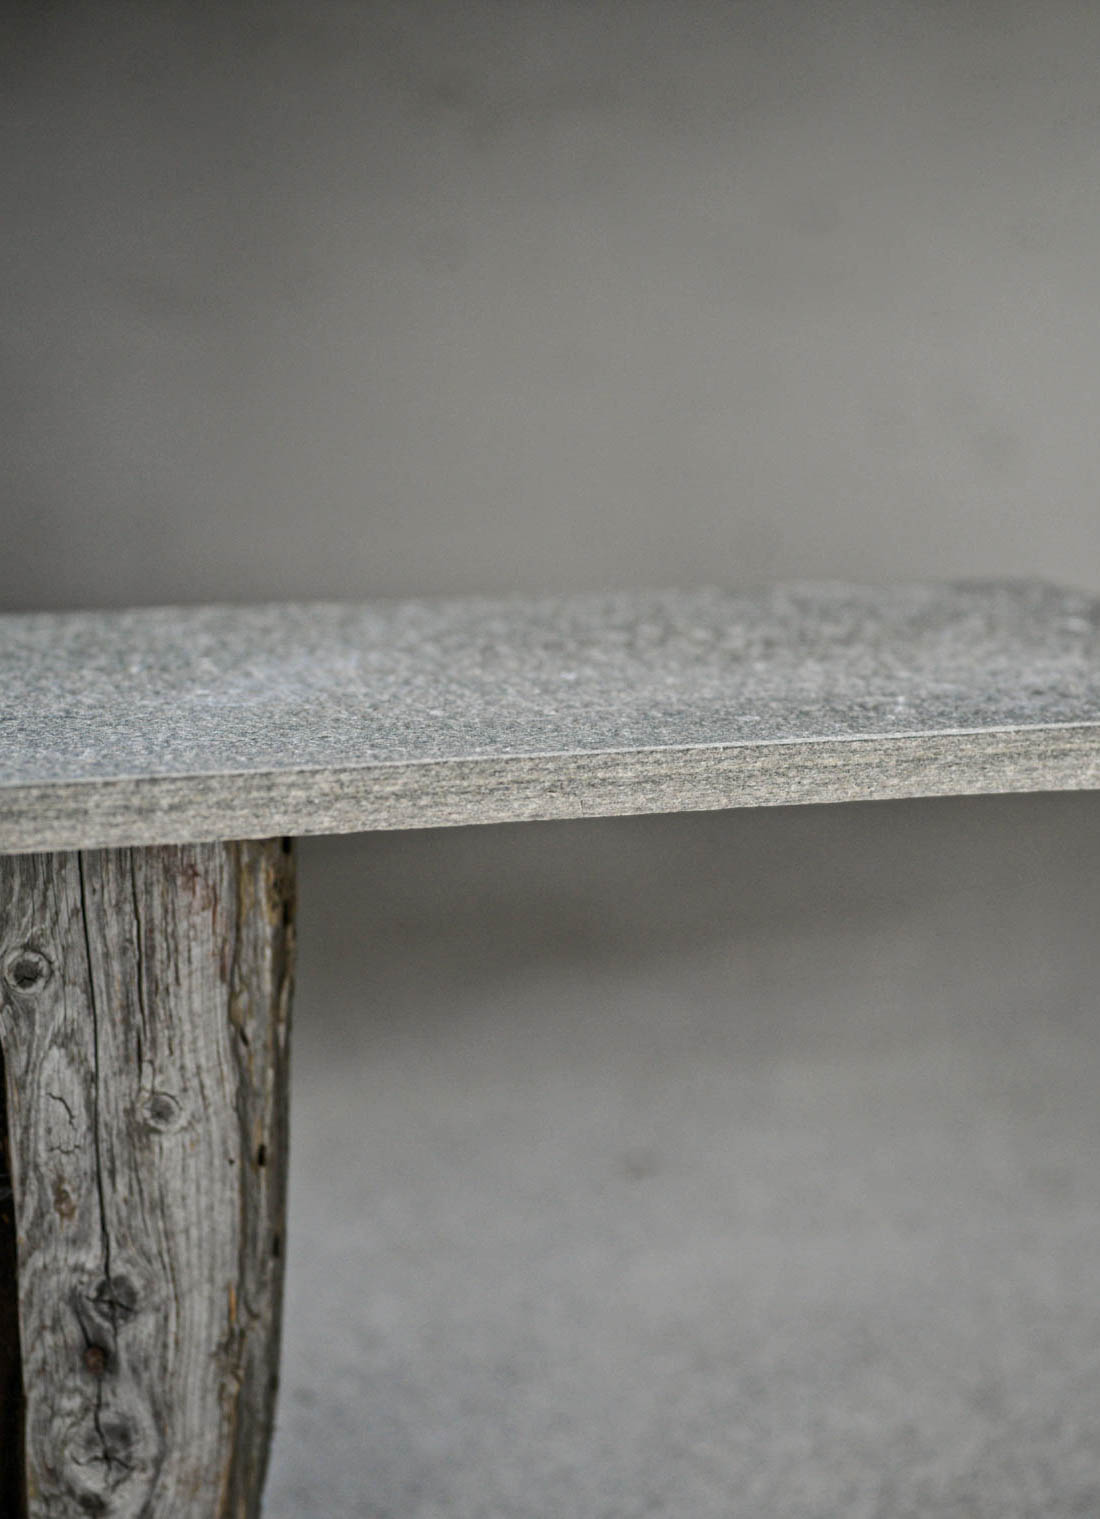
Finally, lay the capstones, which is the top part of your stone bed from which your flowers will peep. It’s important that this is as straight as possible, so make sure you use plenty of slate adhesive and smooth it out. Then place the capstones on top and voilà! The rest is up to you and your green fingers.
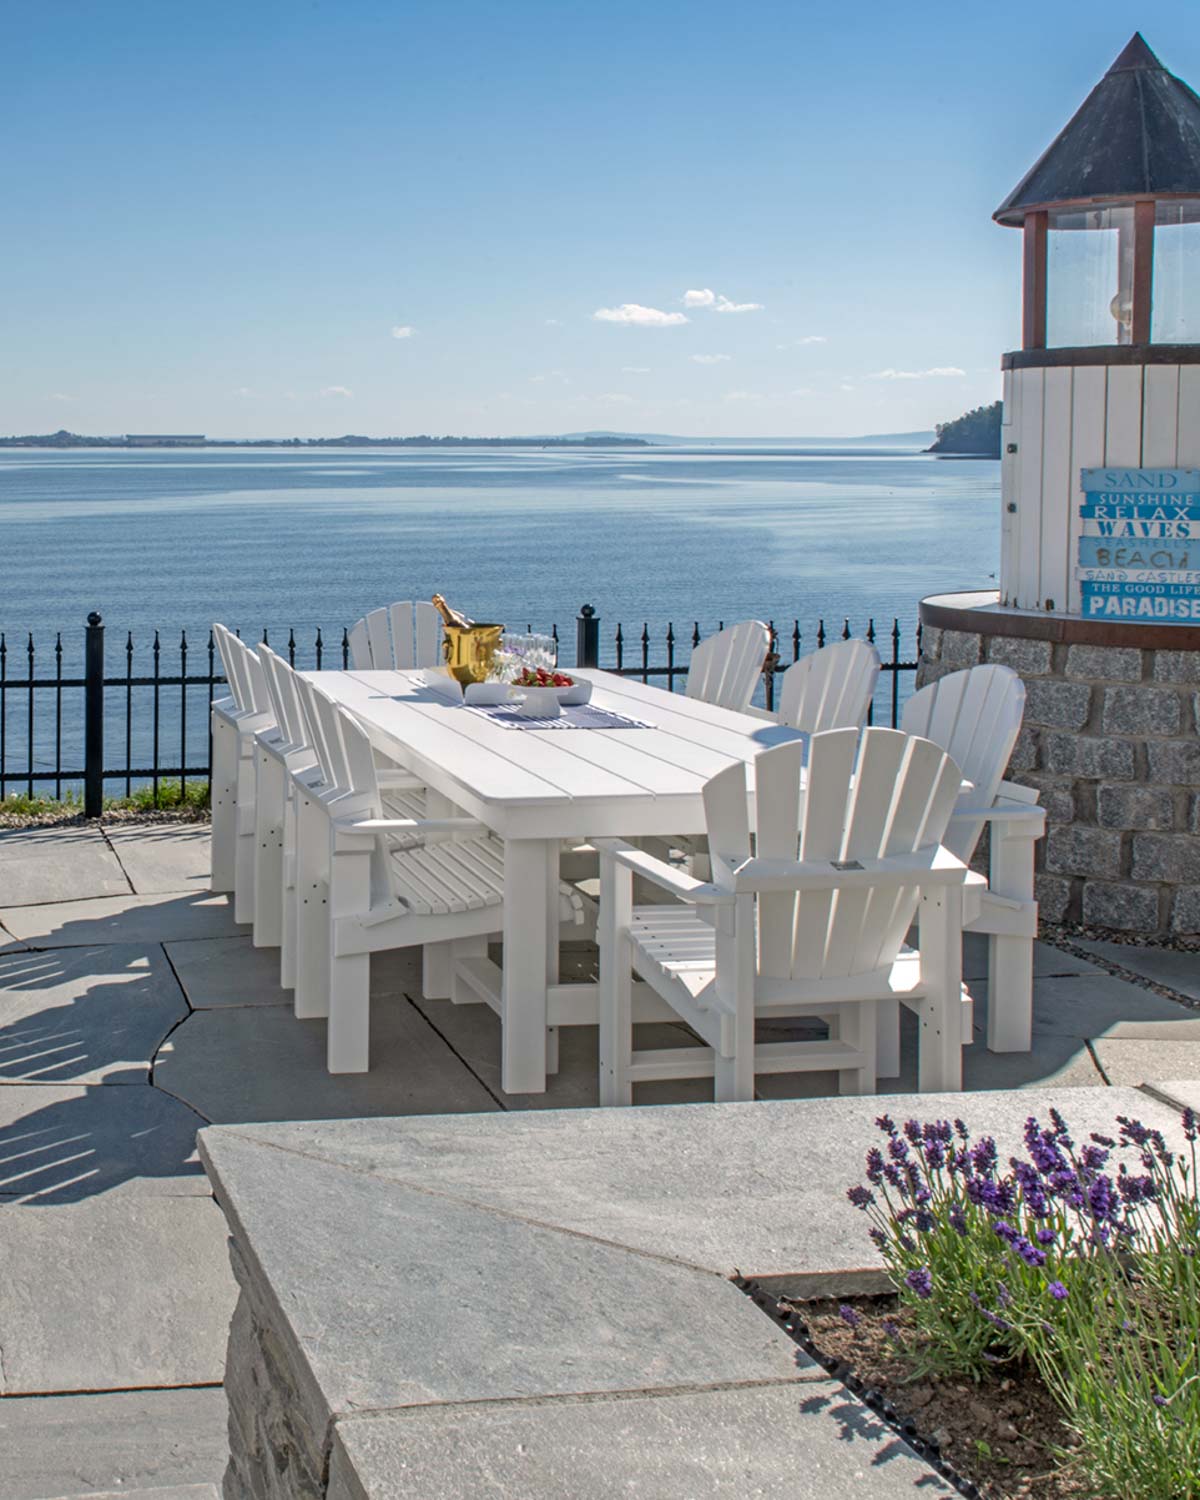
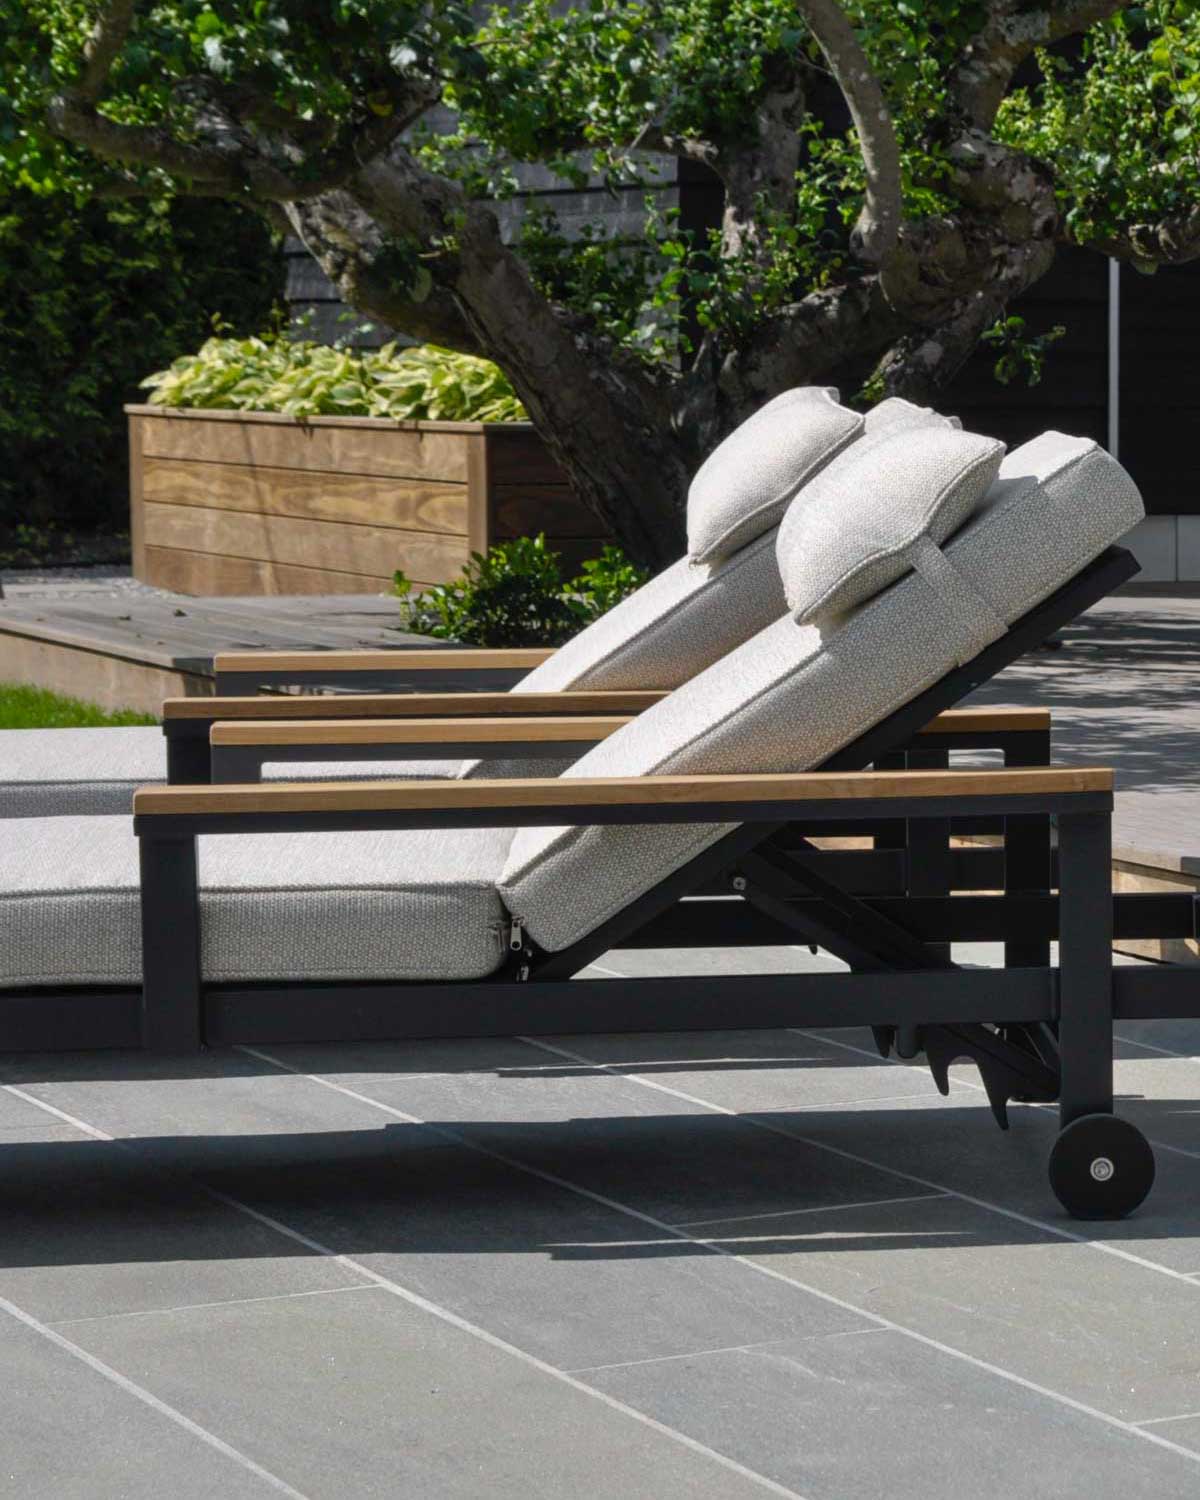
Create warm zones in your garden and on your terrace
11 tips!


We are sorry, but you are using a version of Internet Explorer that is not supported on this site. The browser is no longer updated by Microsoft and may therefore pose a security risk. We recommend that you use a different browser. Welcome back!