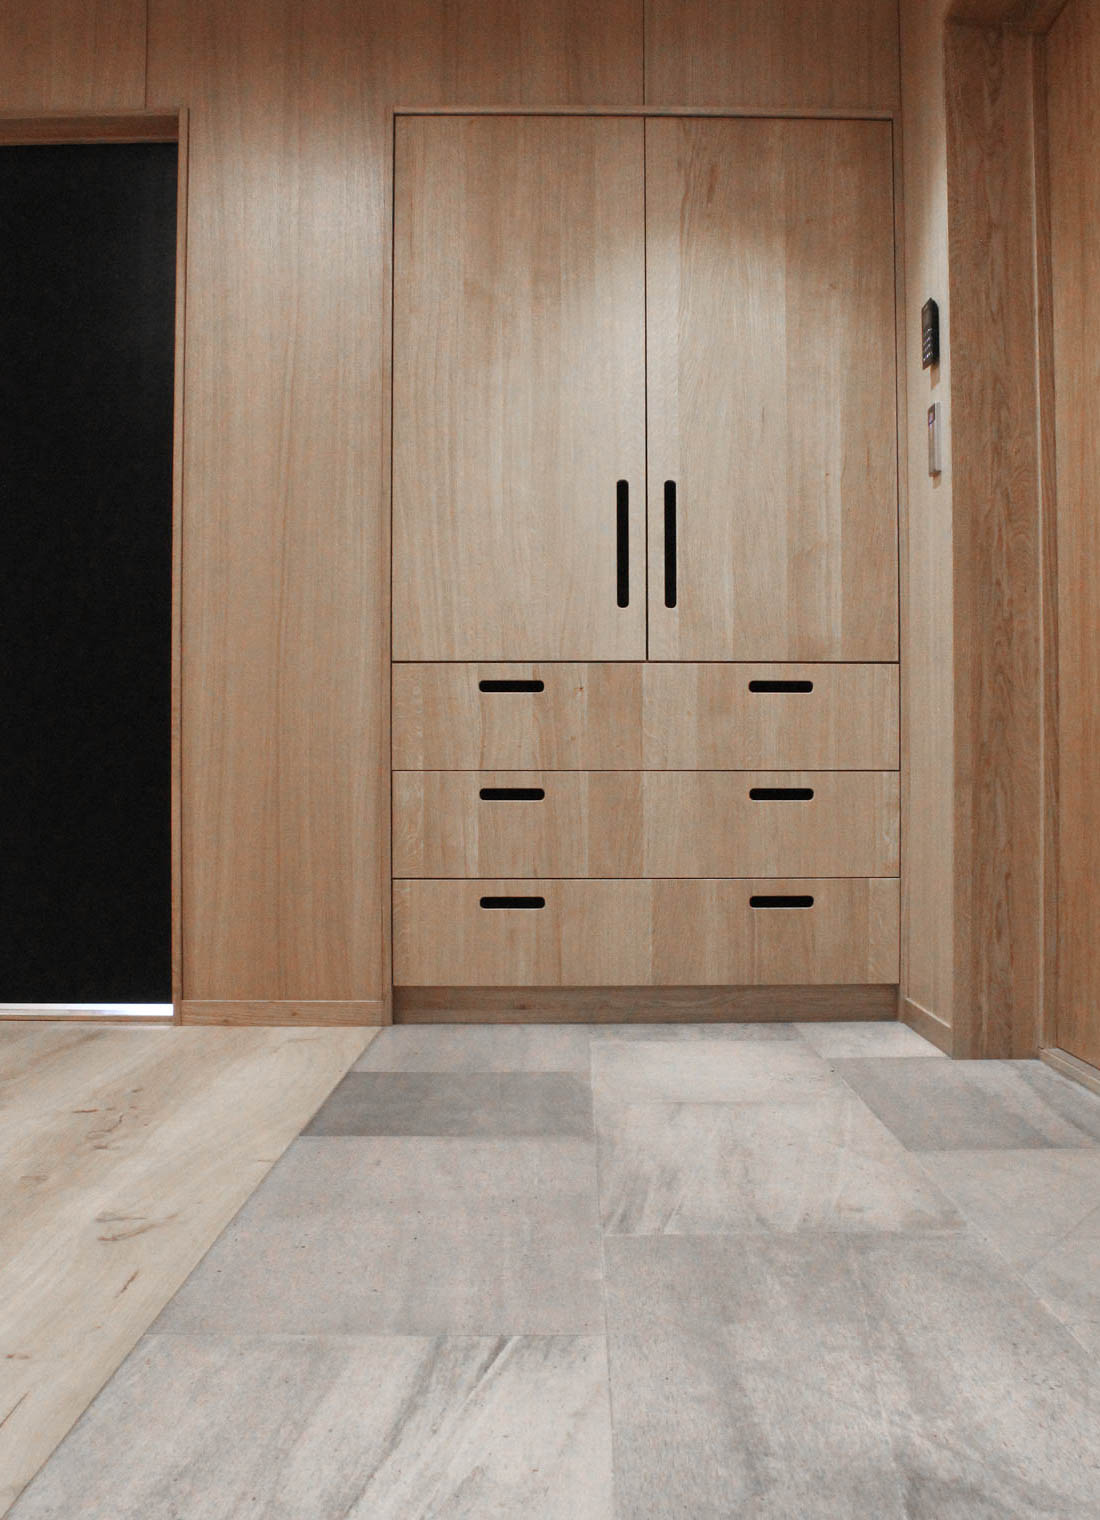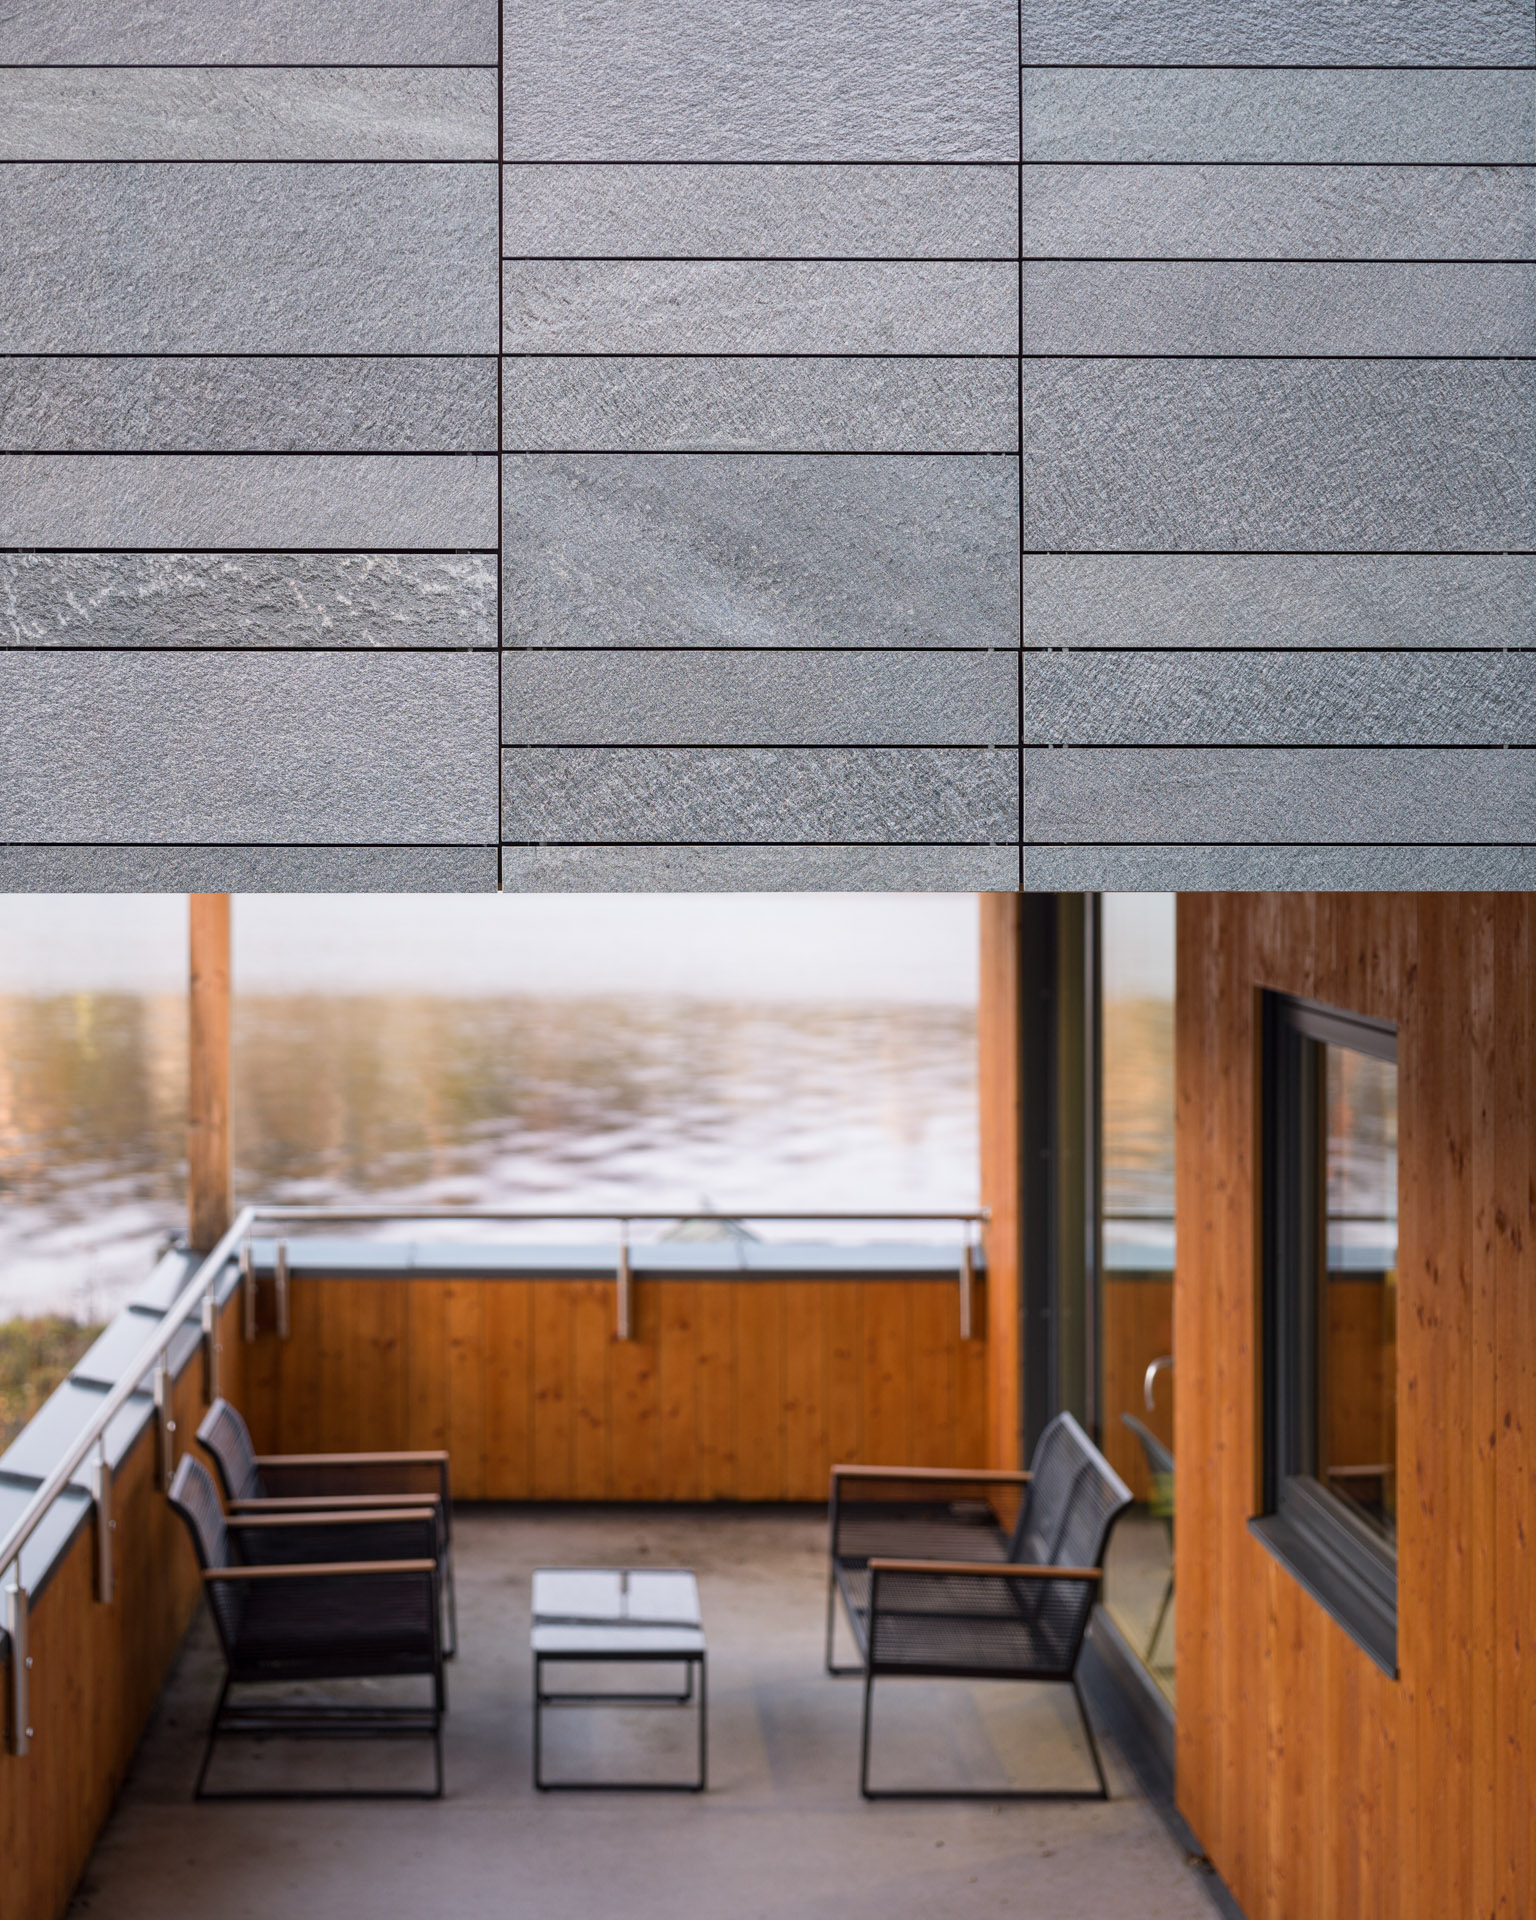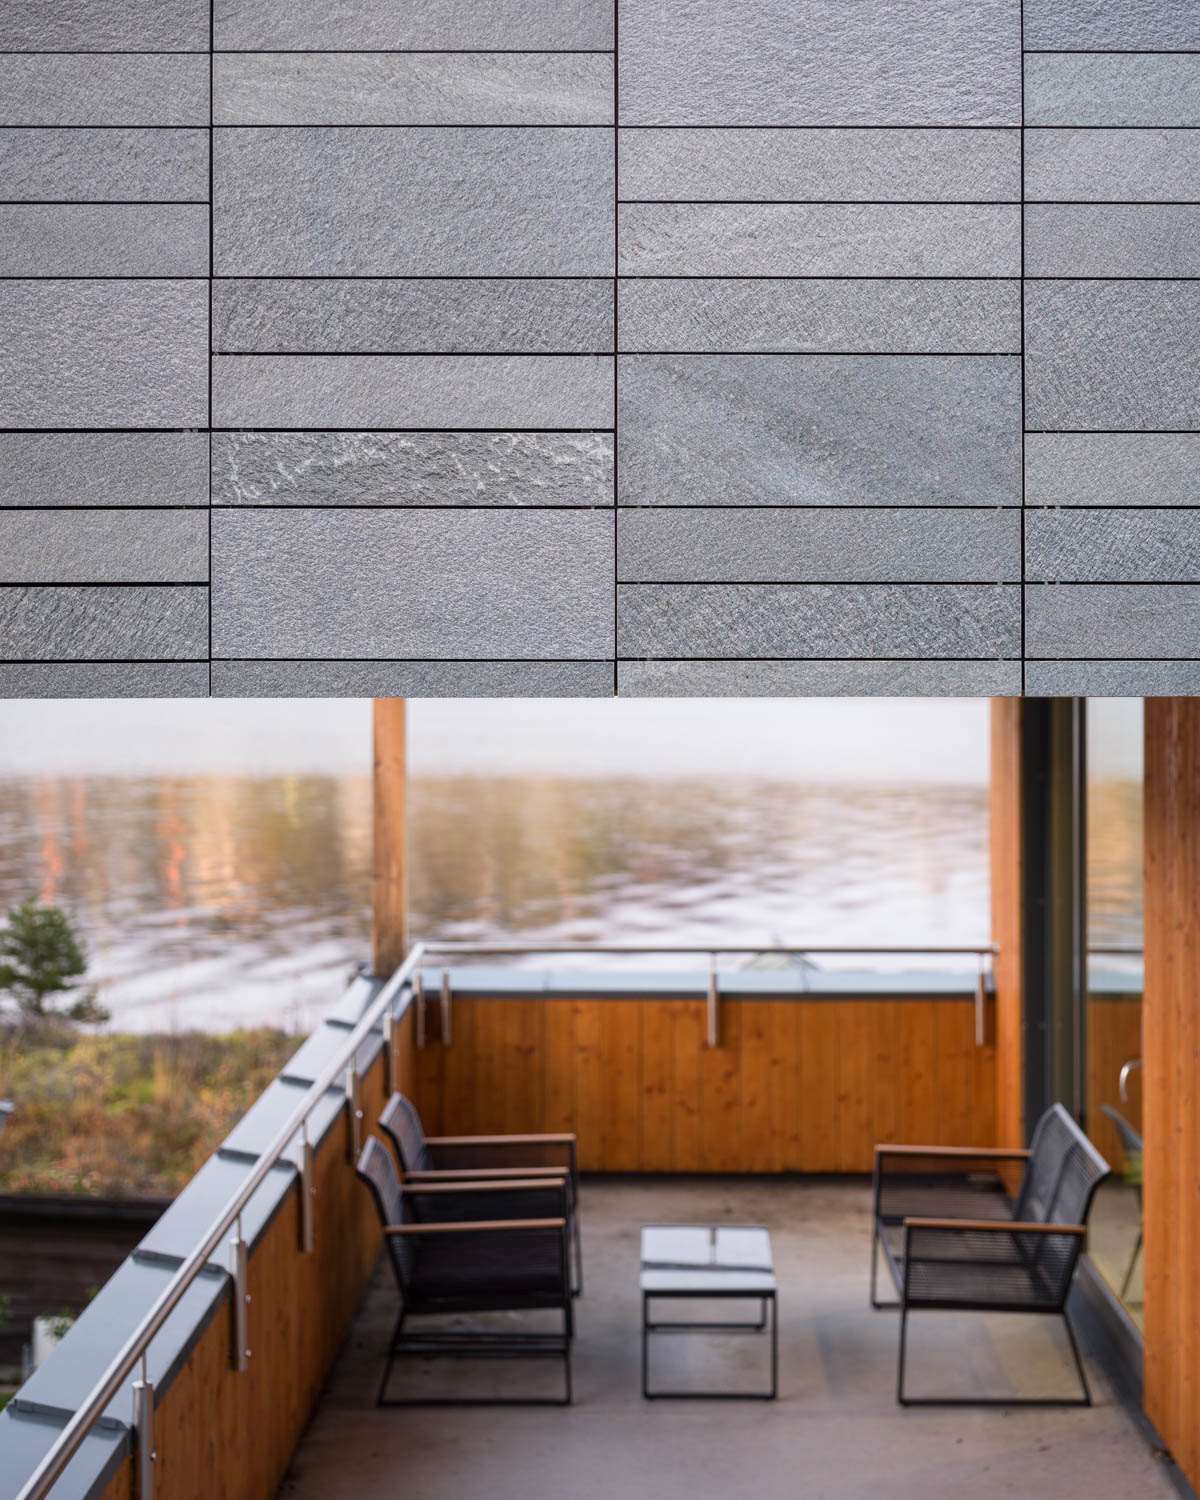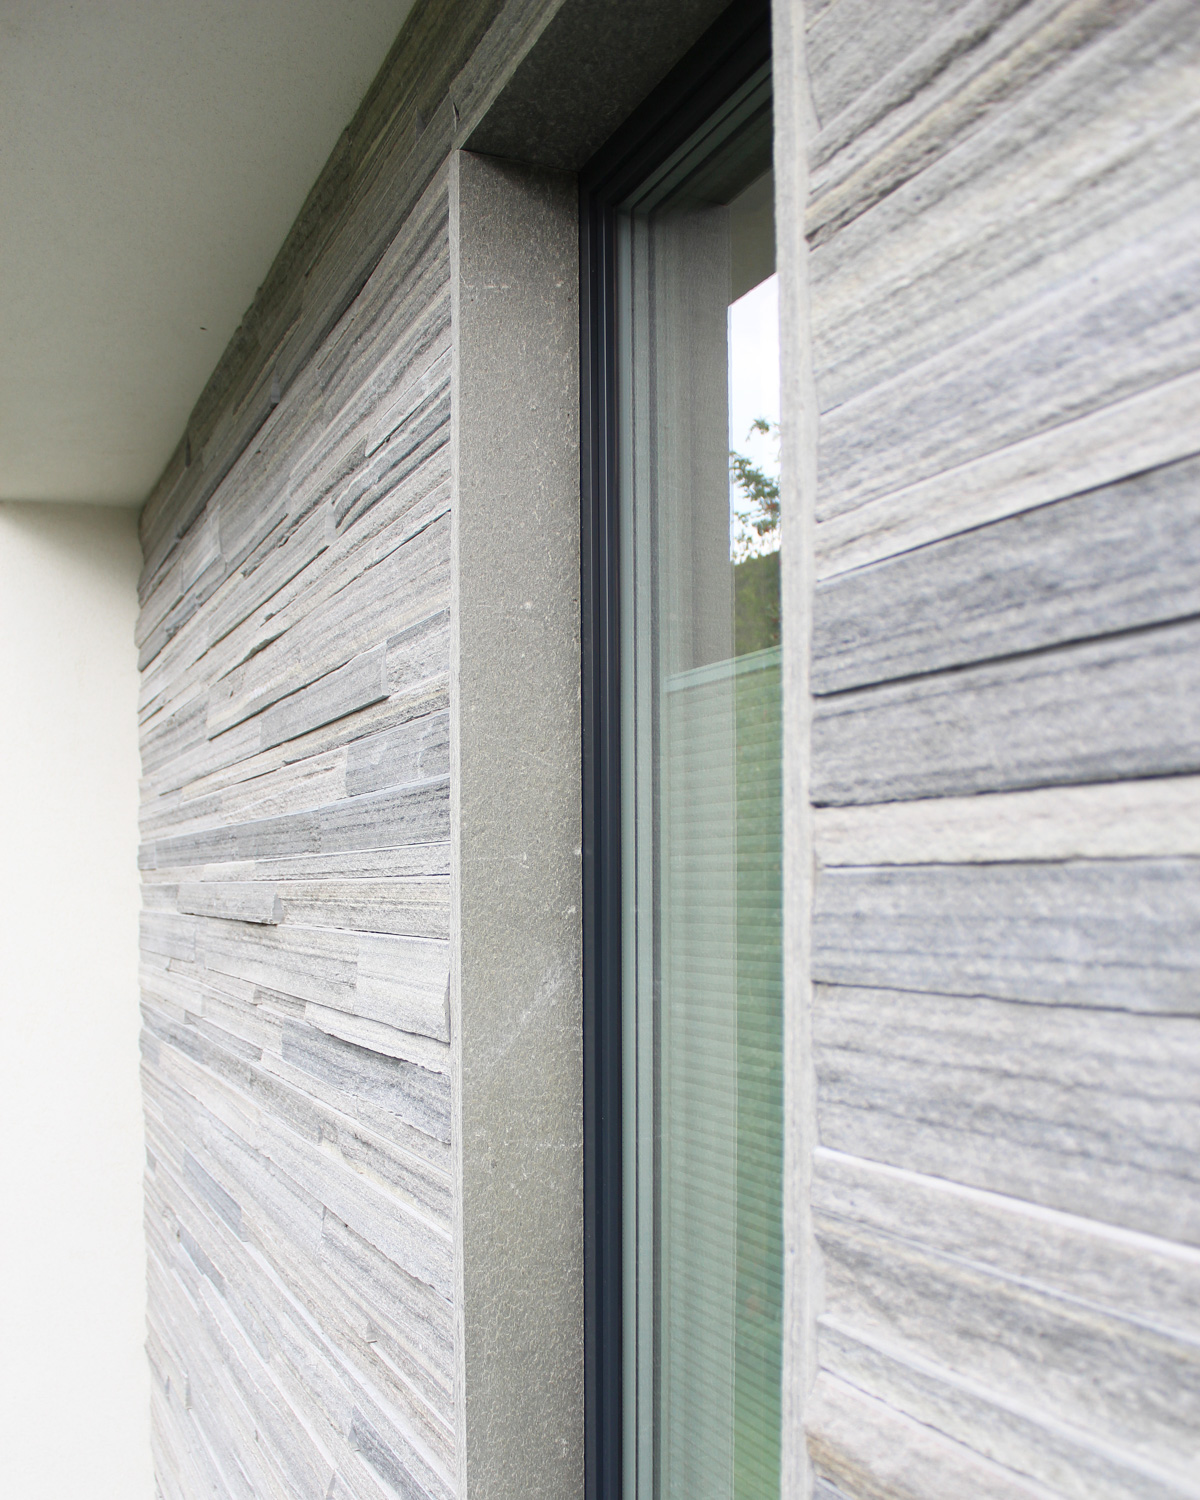
FAÇADE

ROOFING

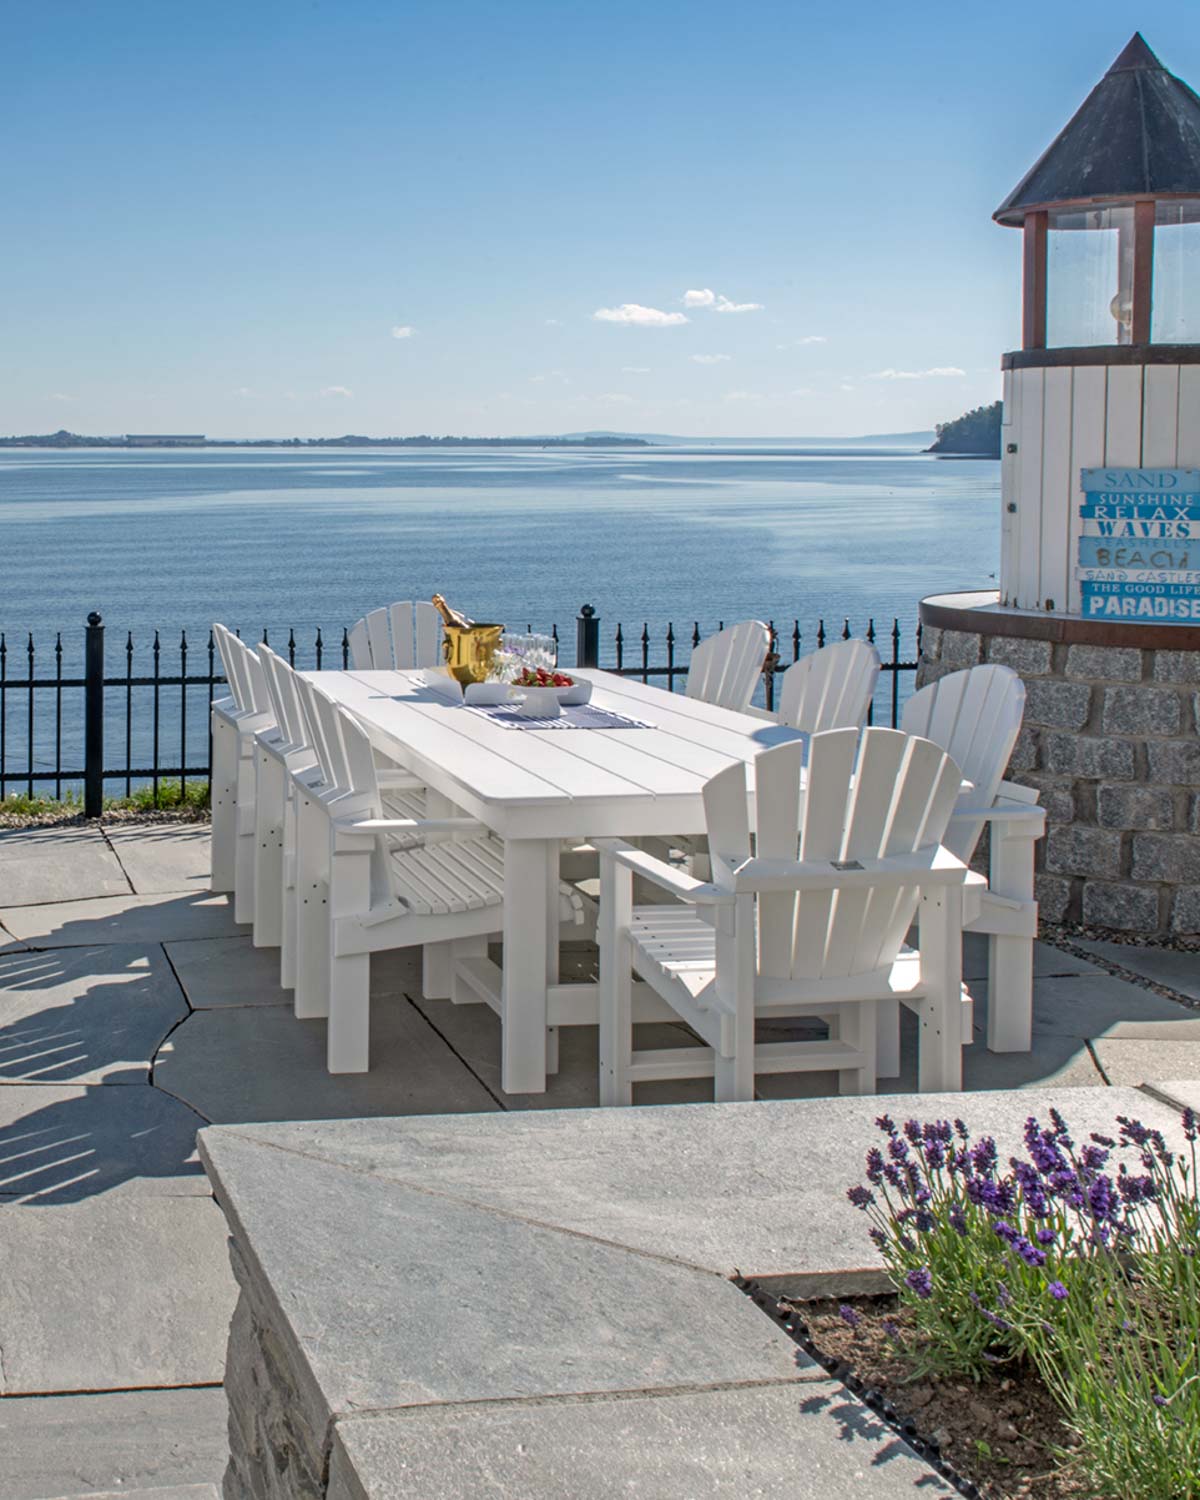
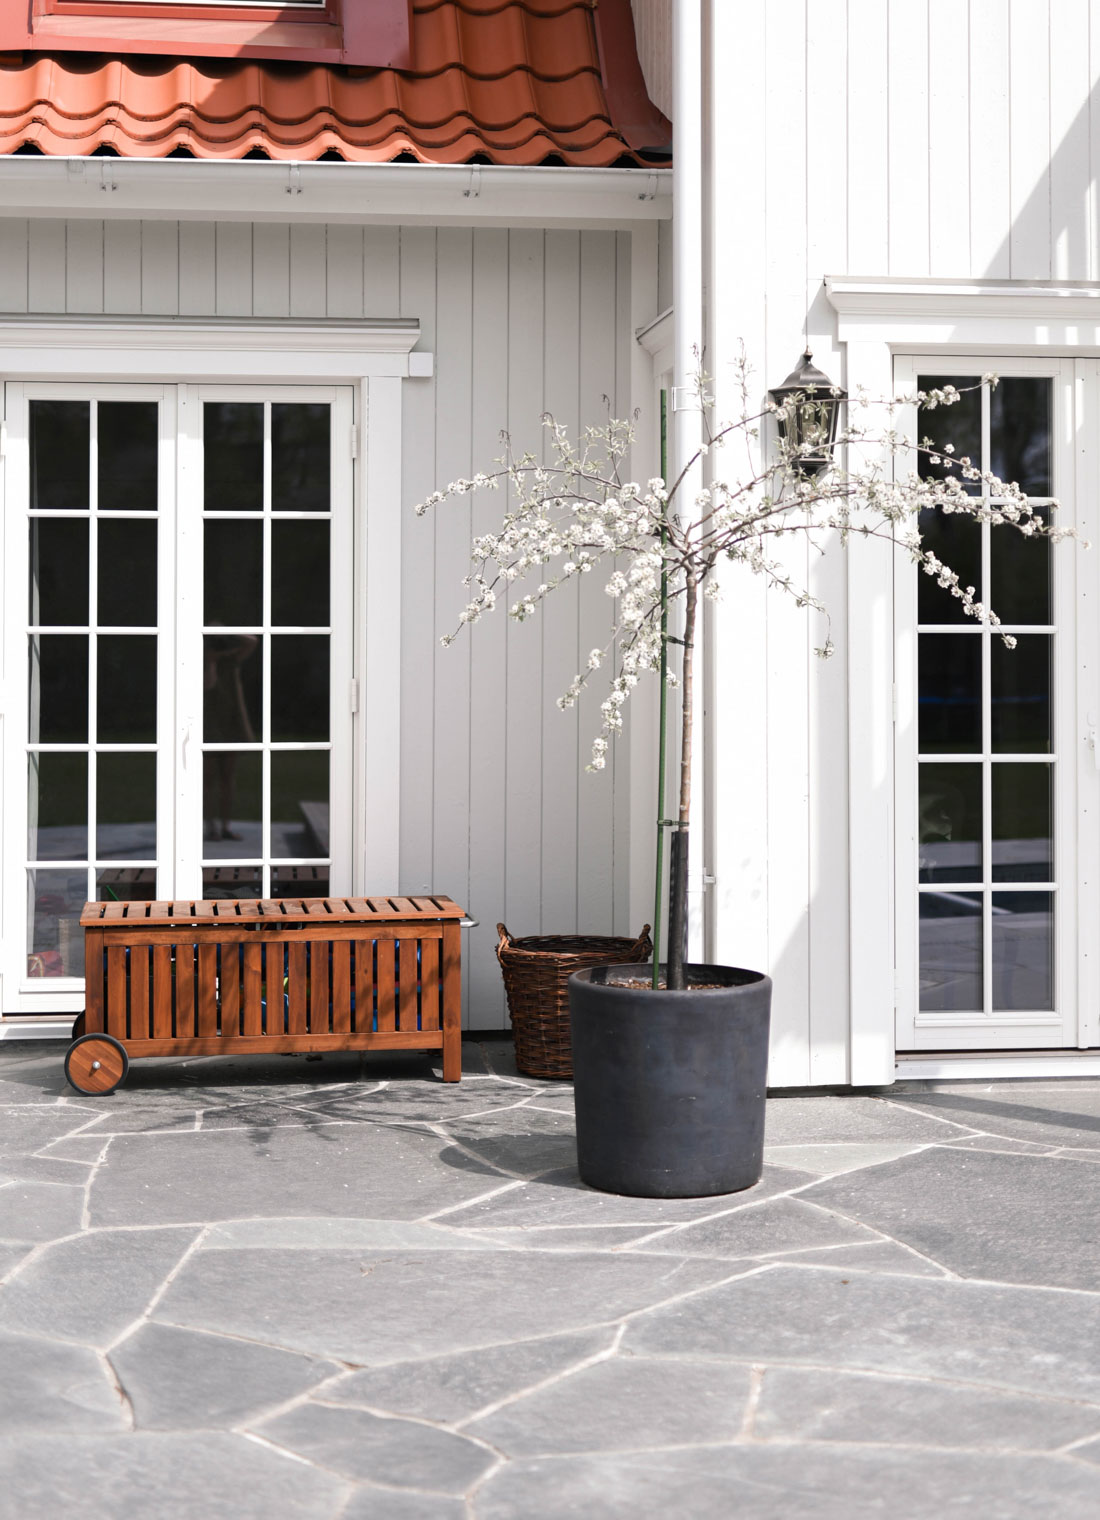
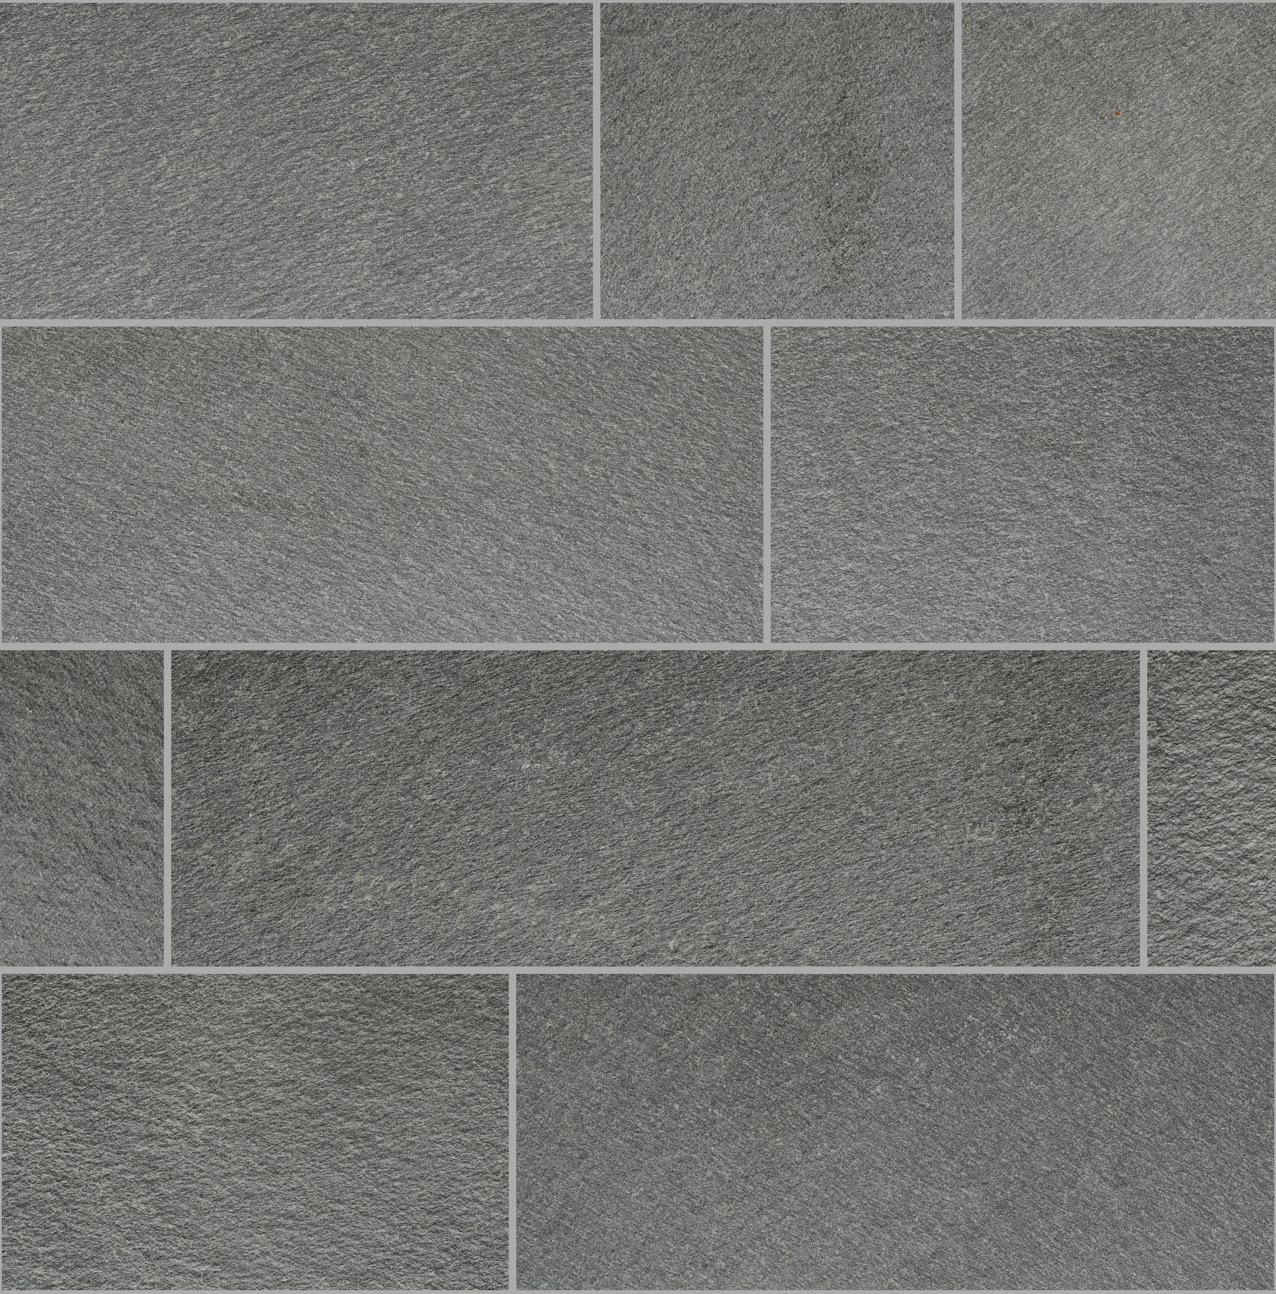
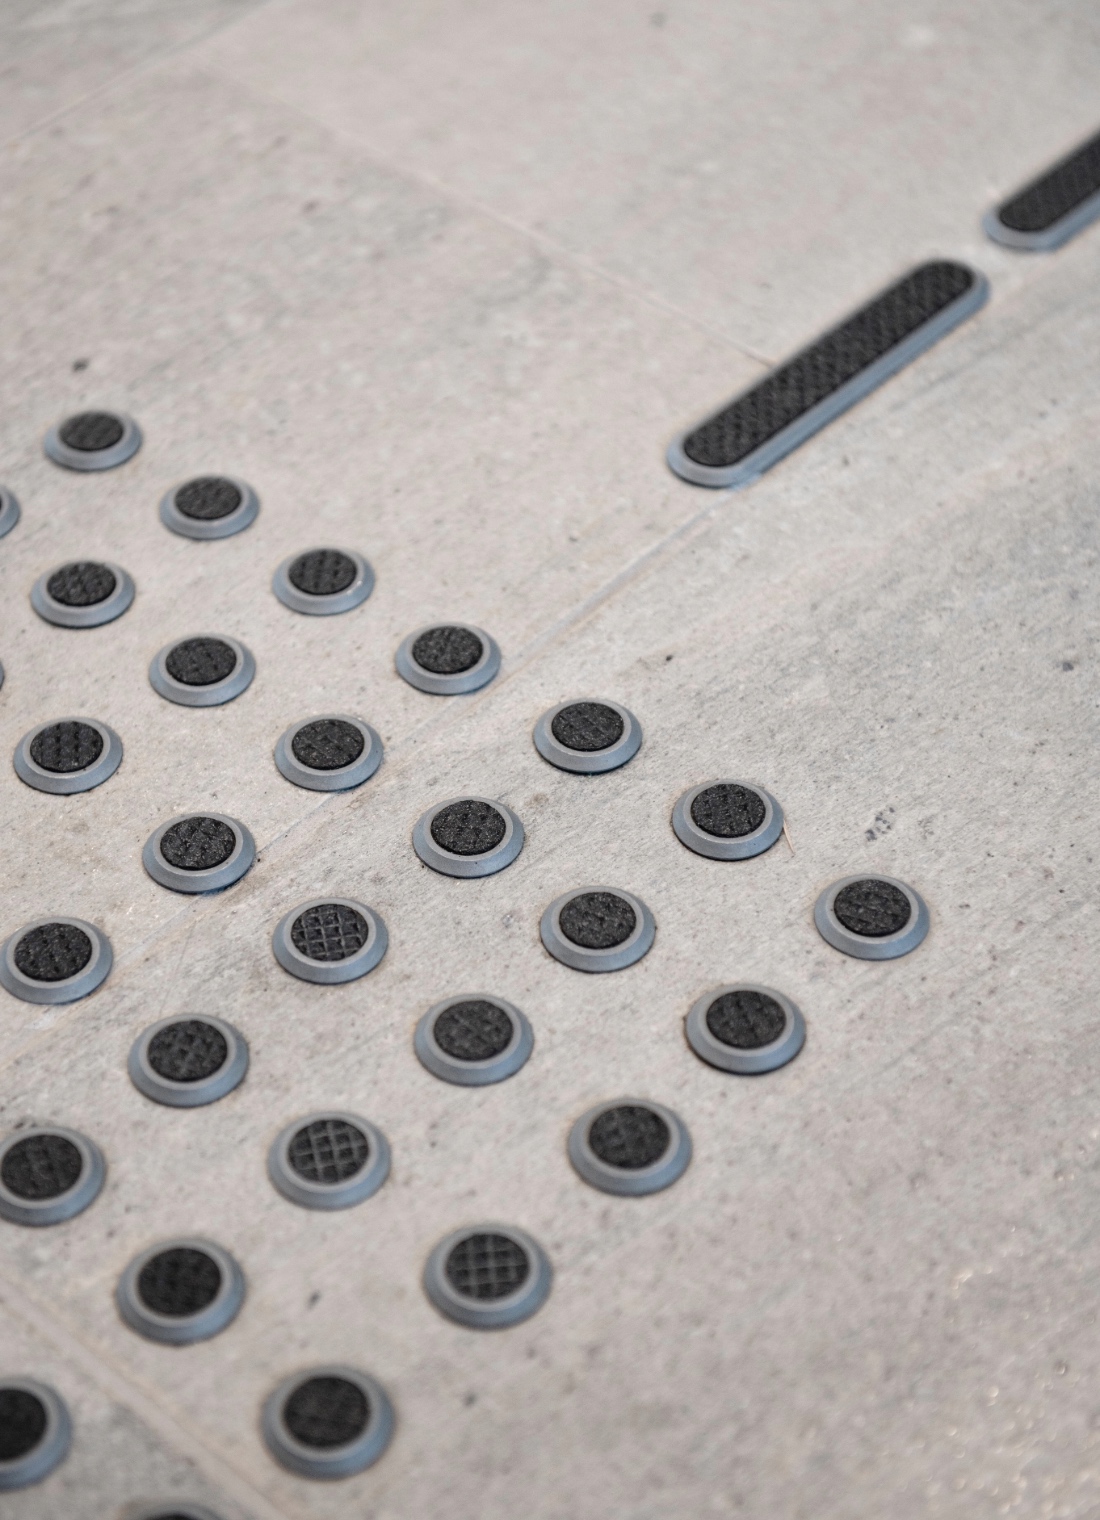
OUTDOOR PAVING
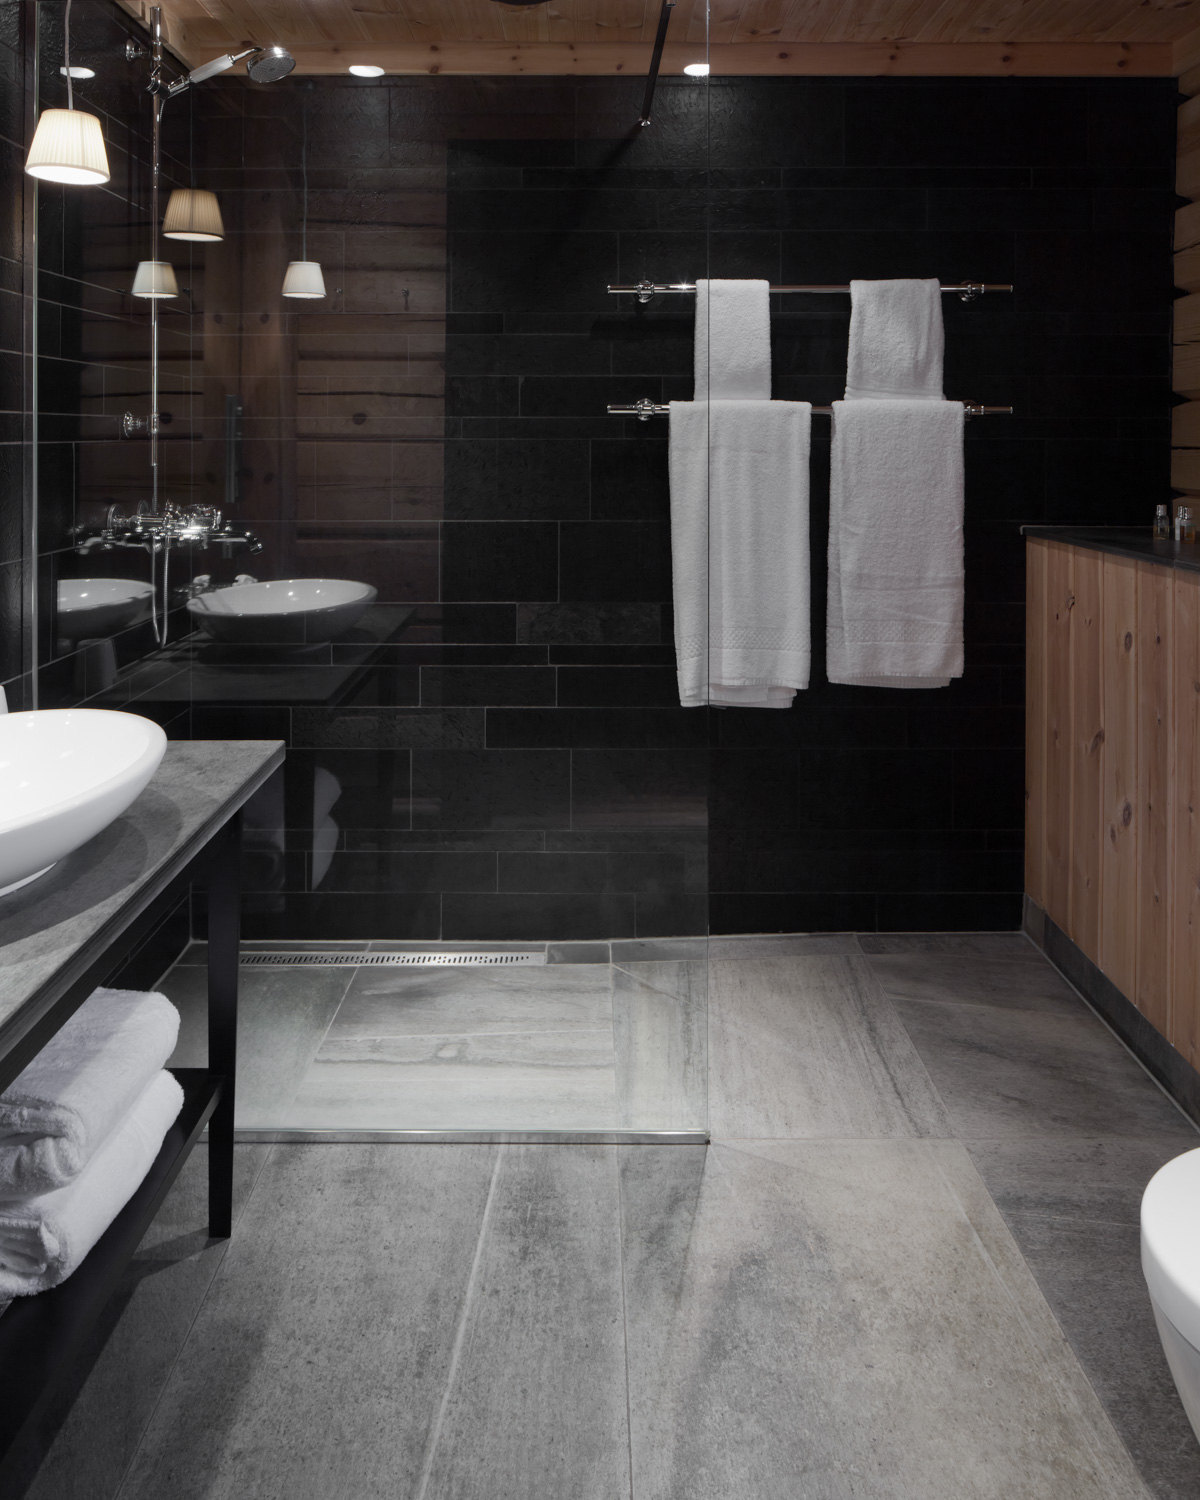
WALLS

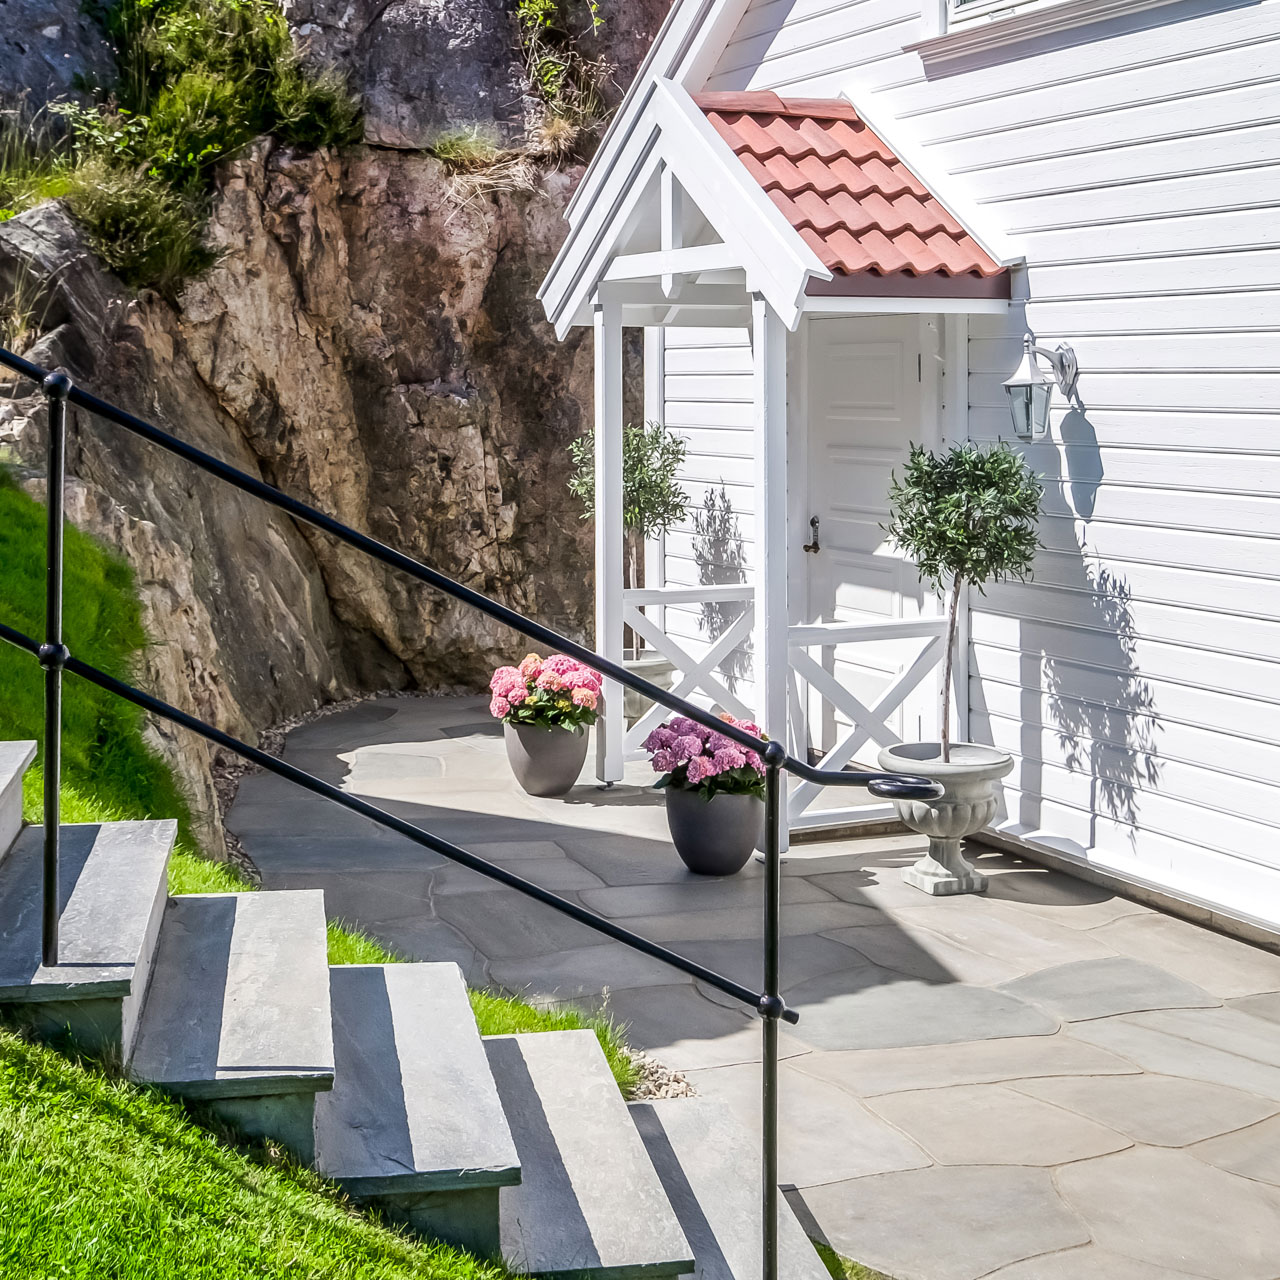
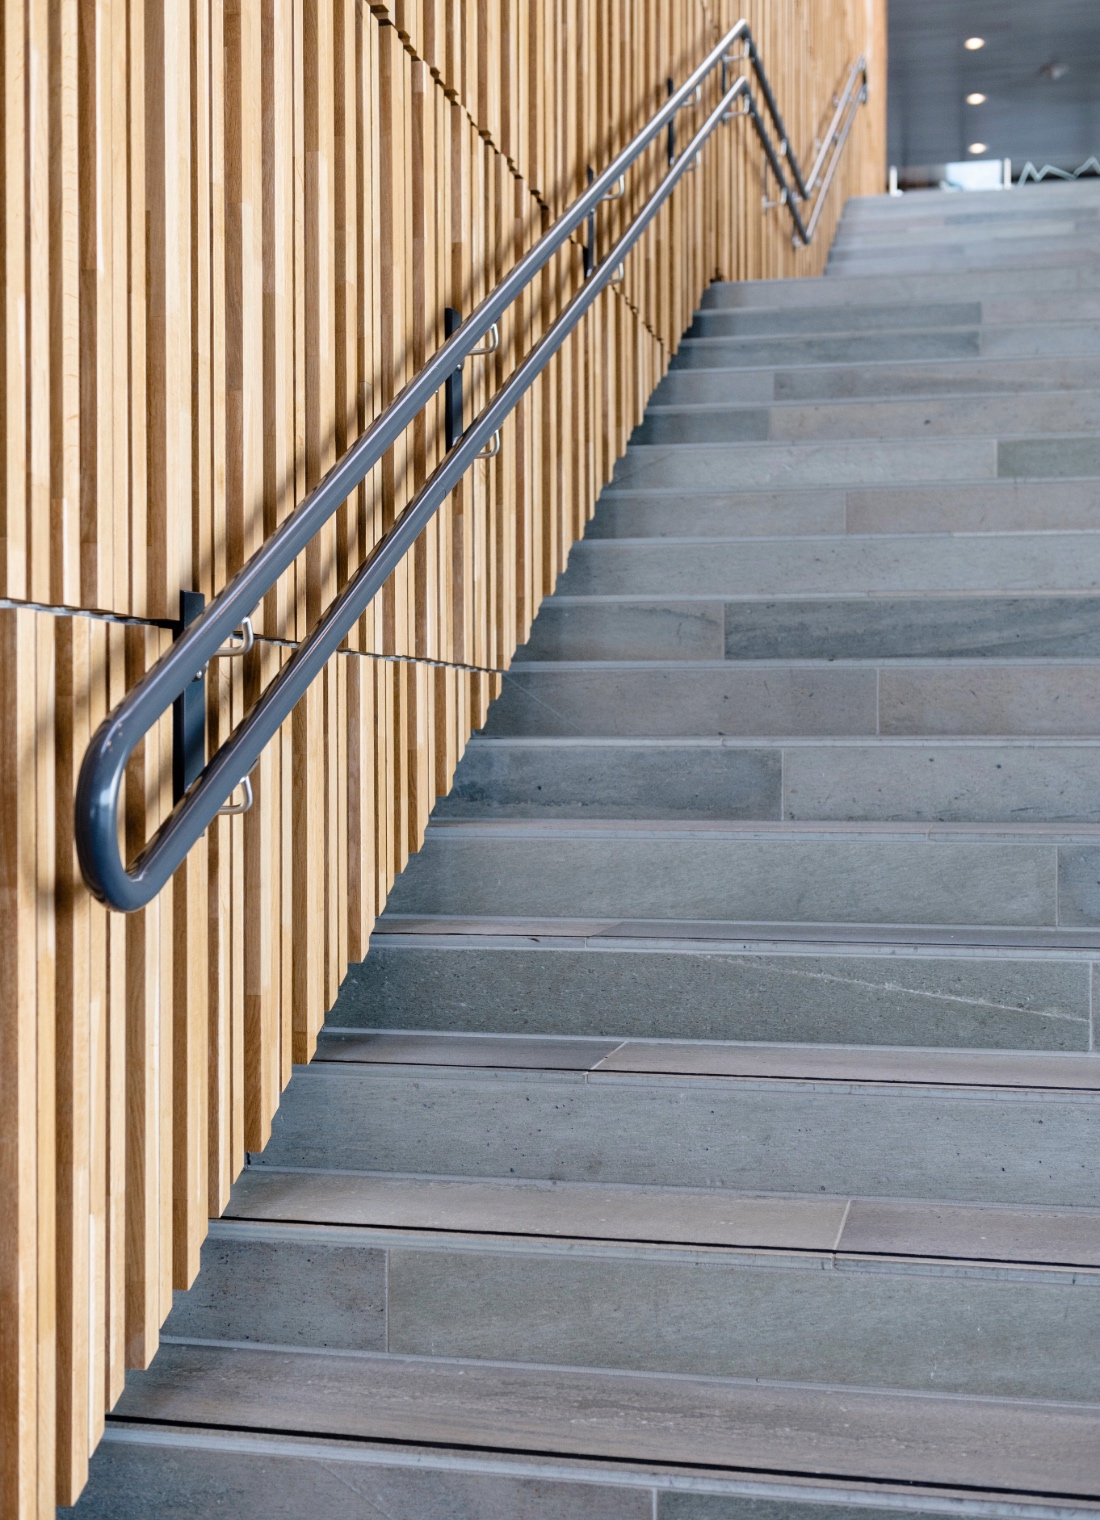
STAIRS

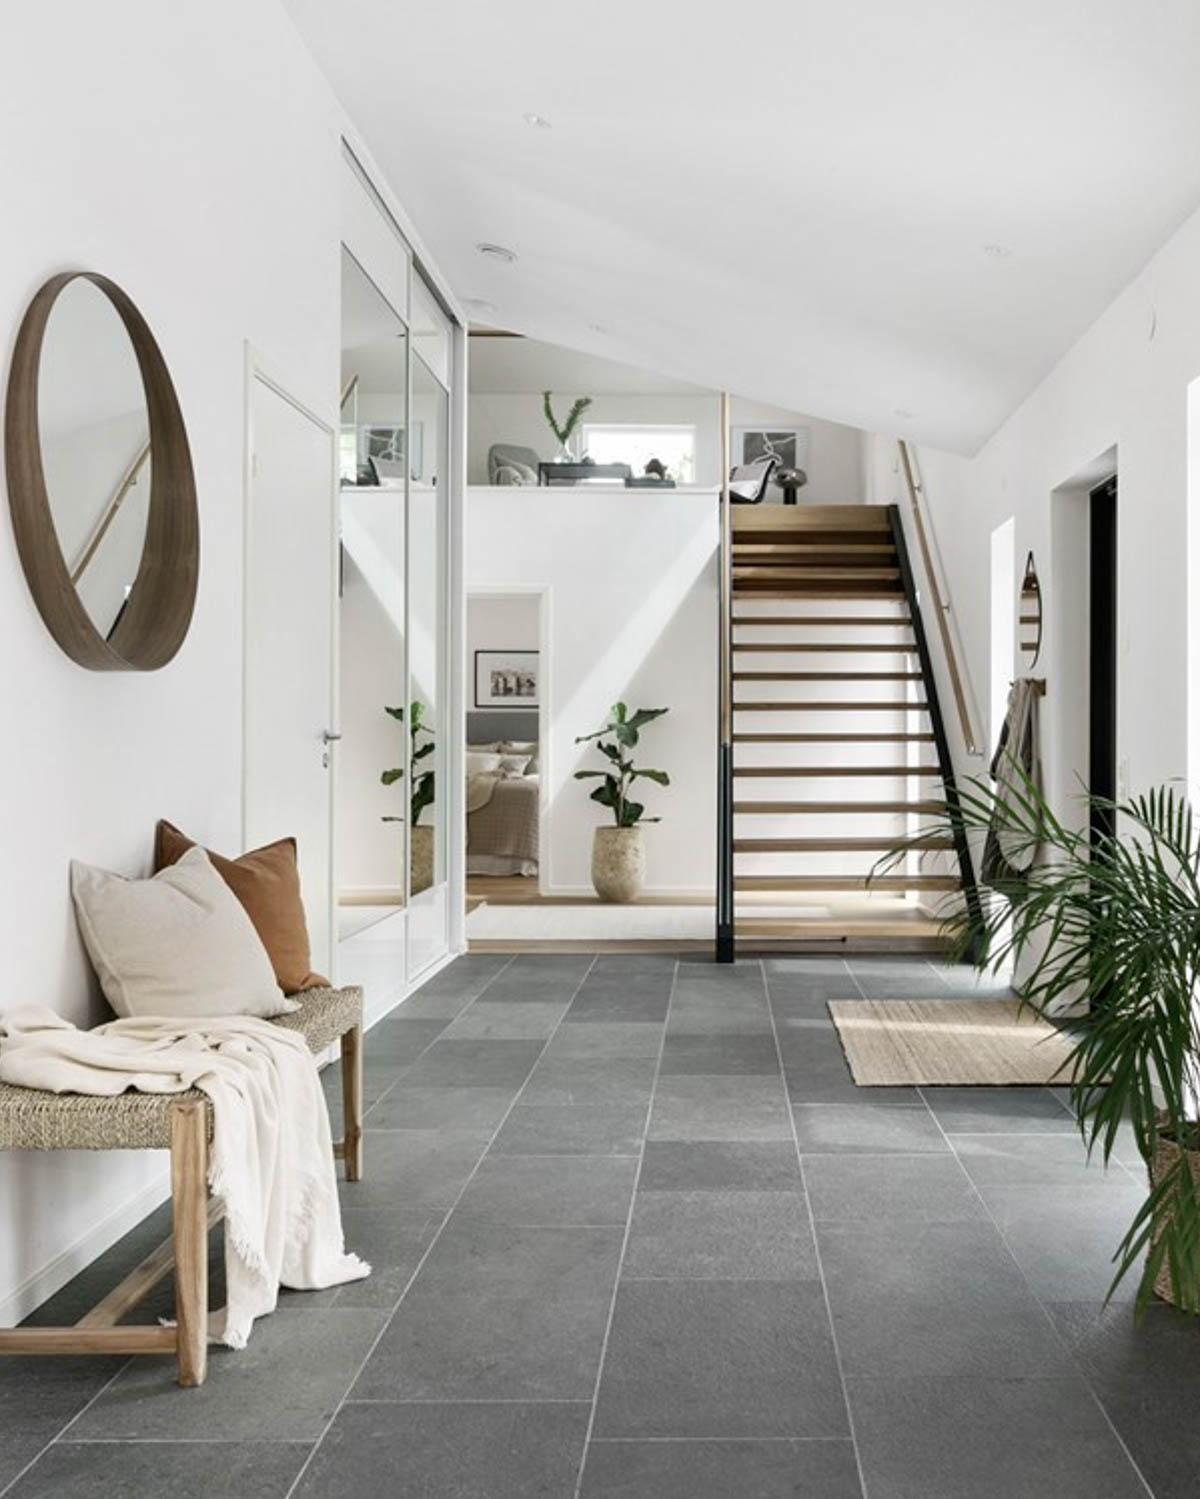
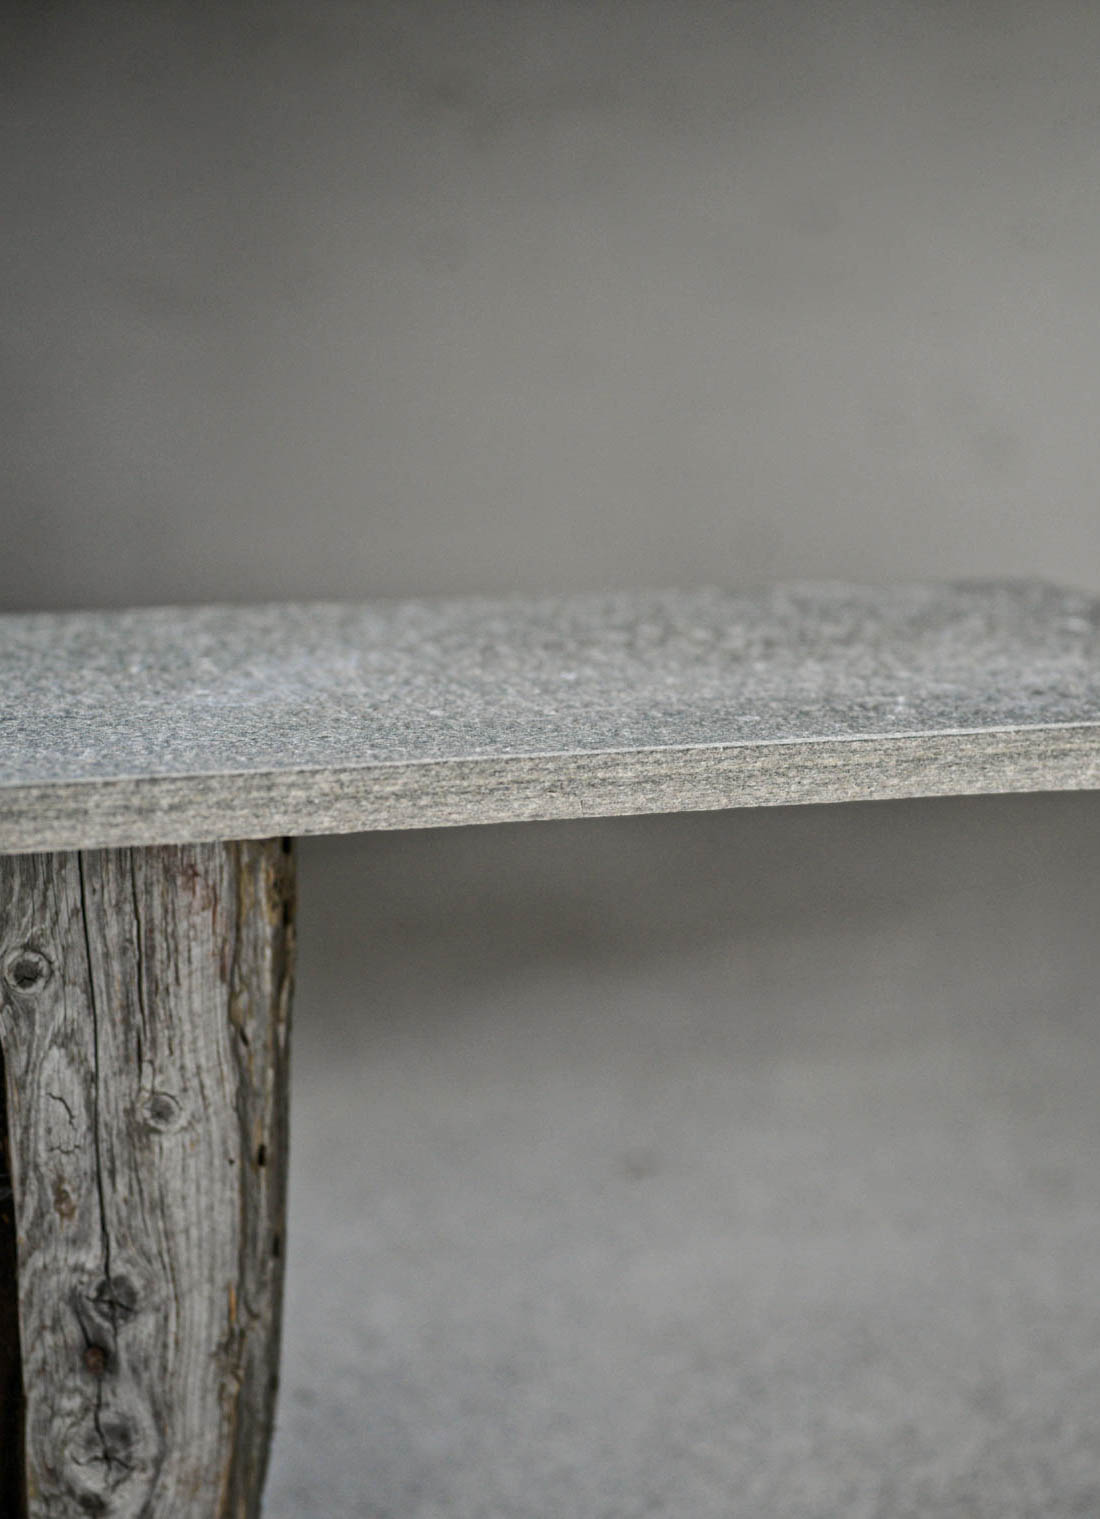
SLABS
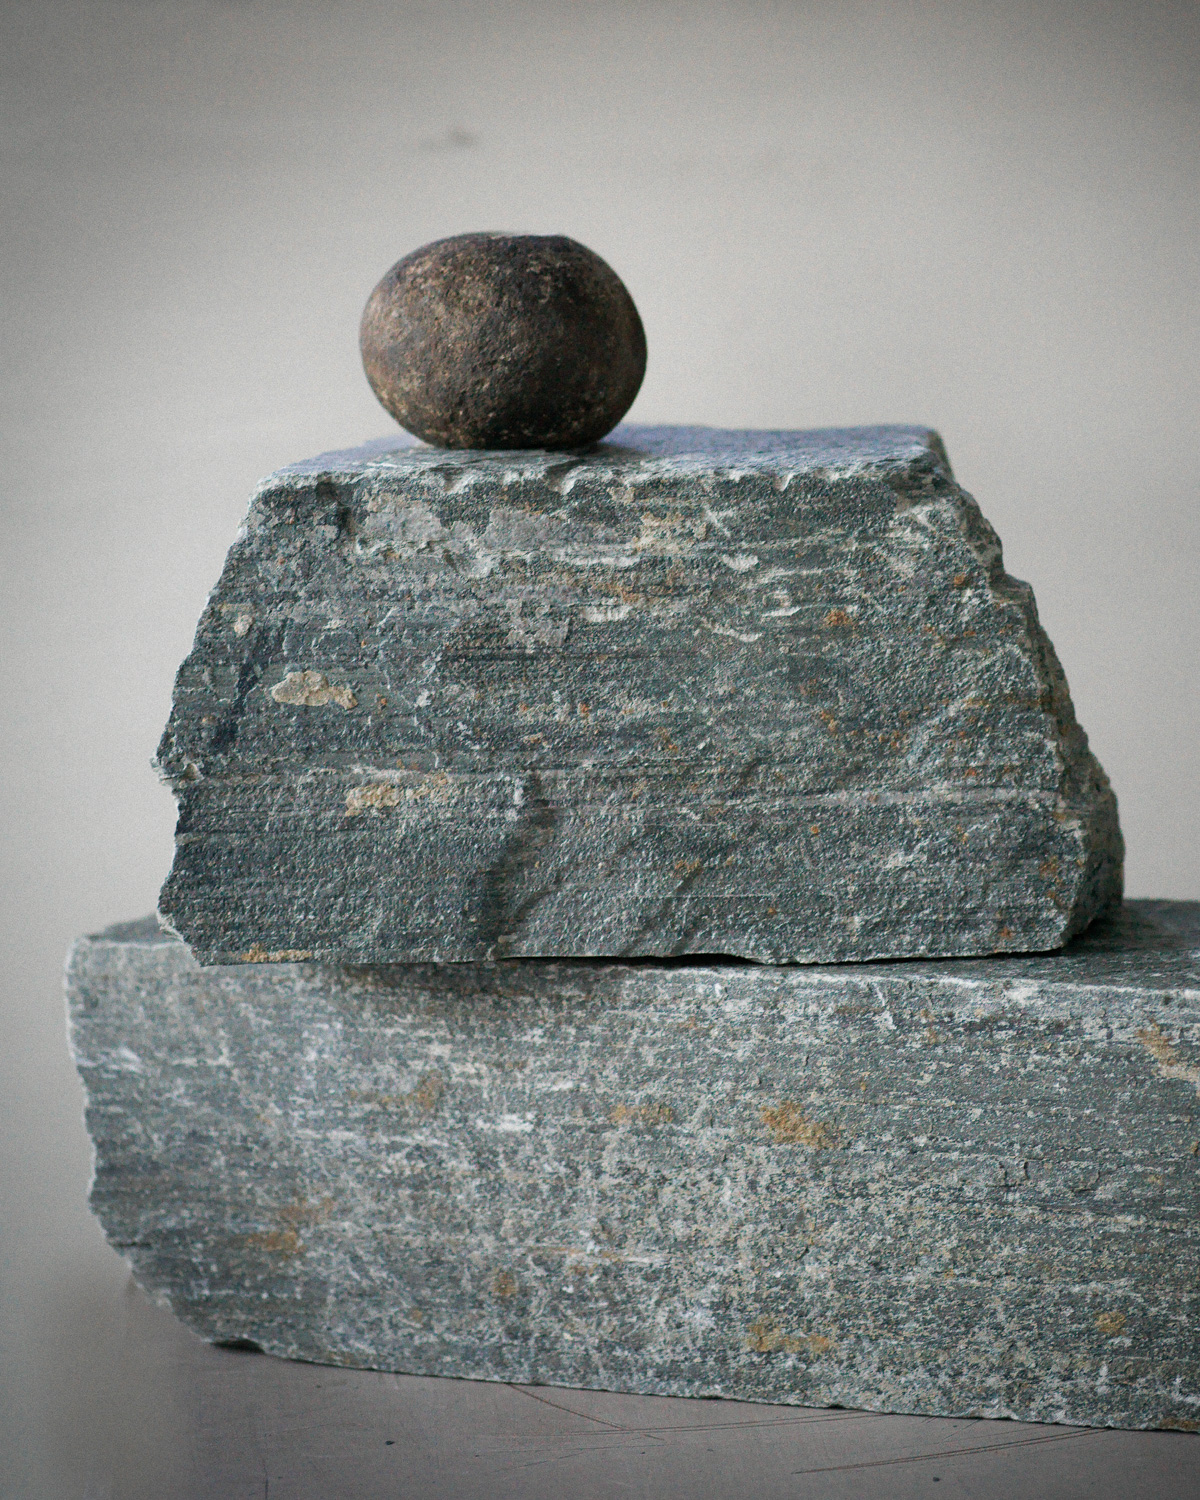
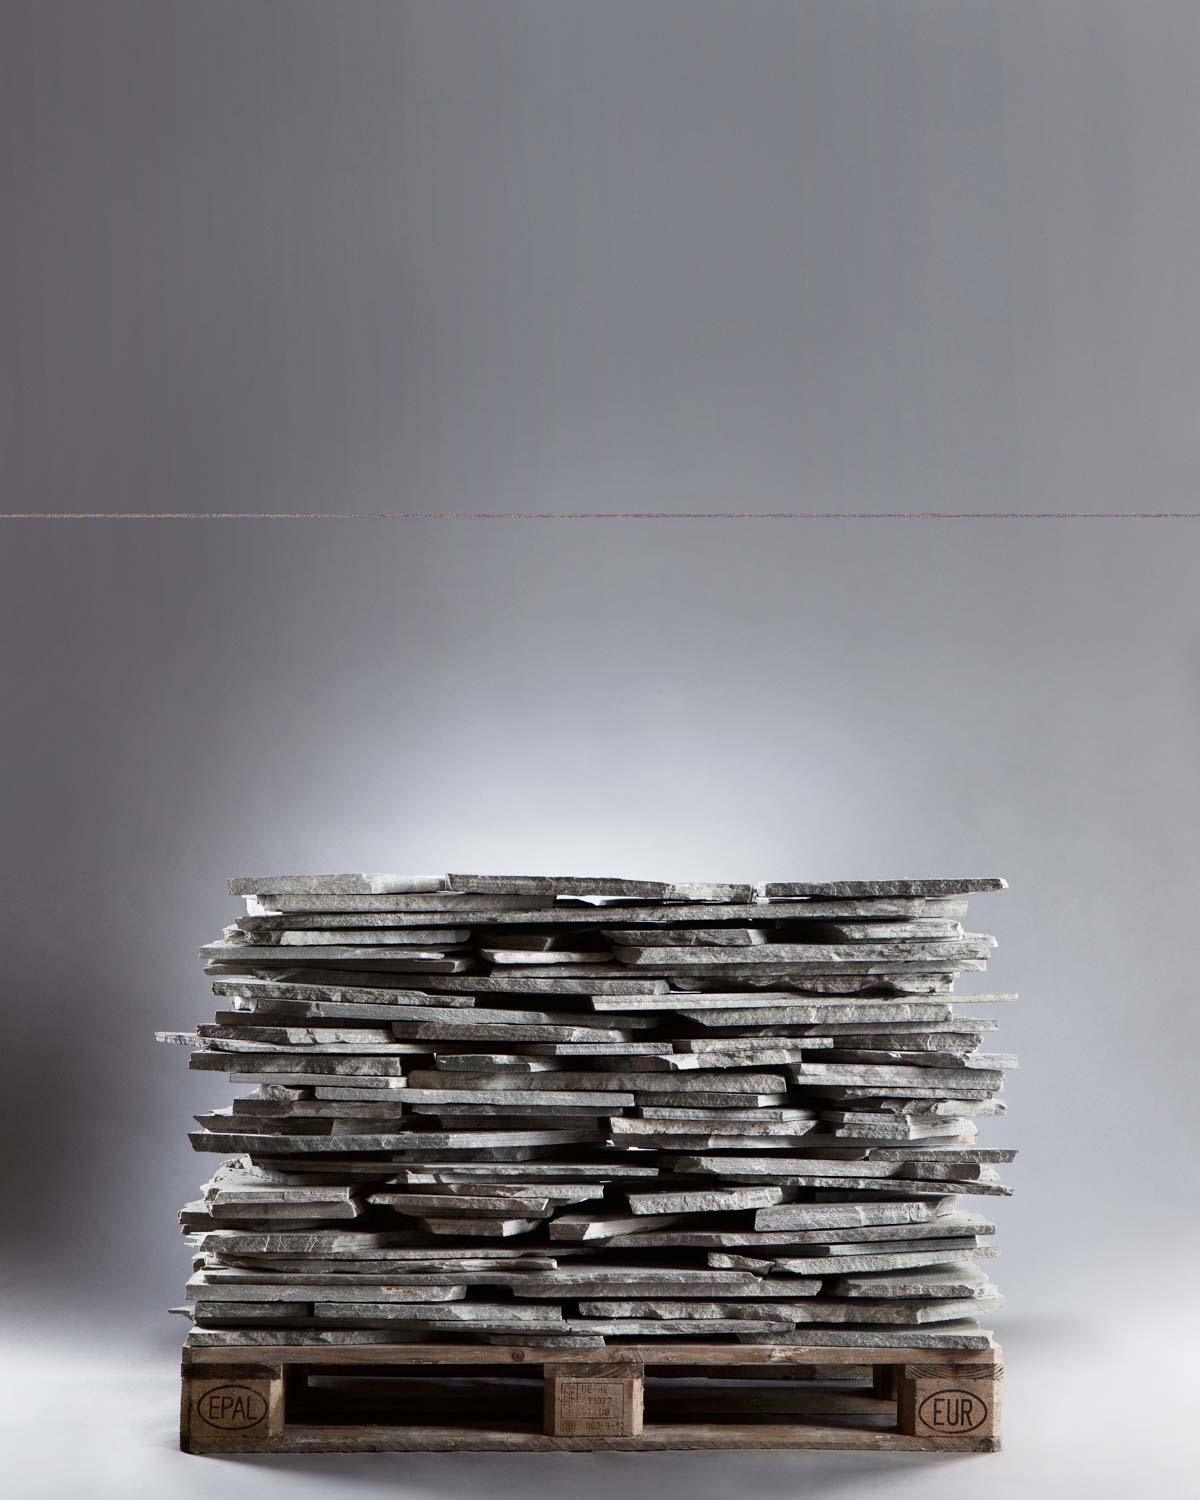
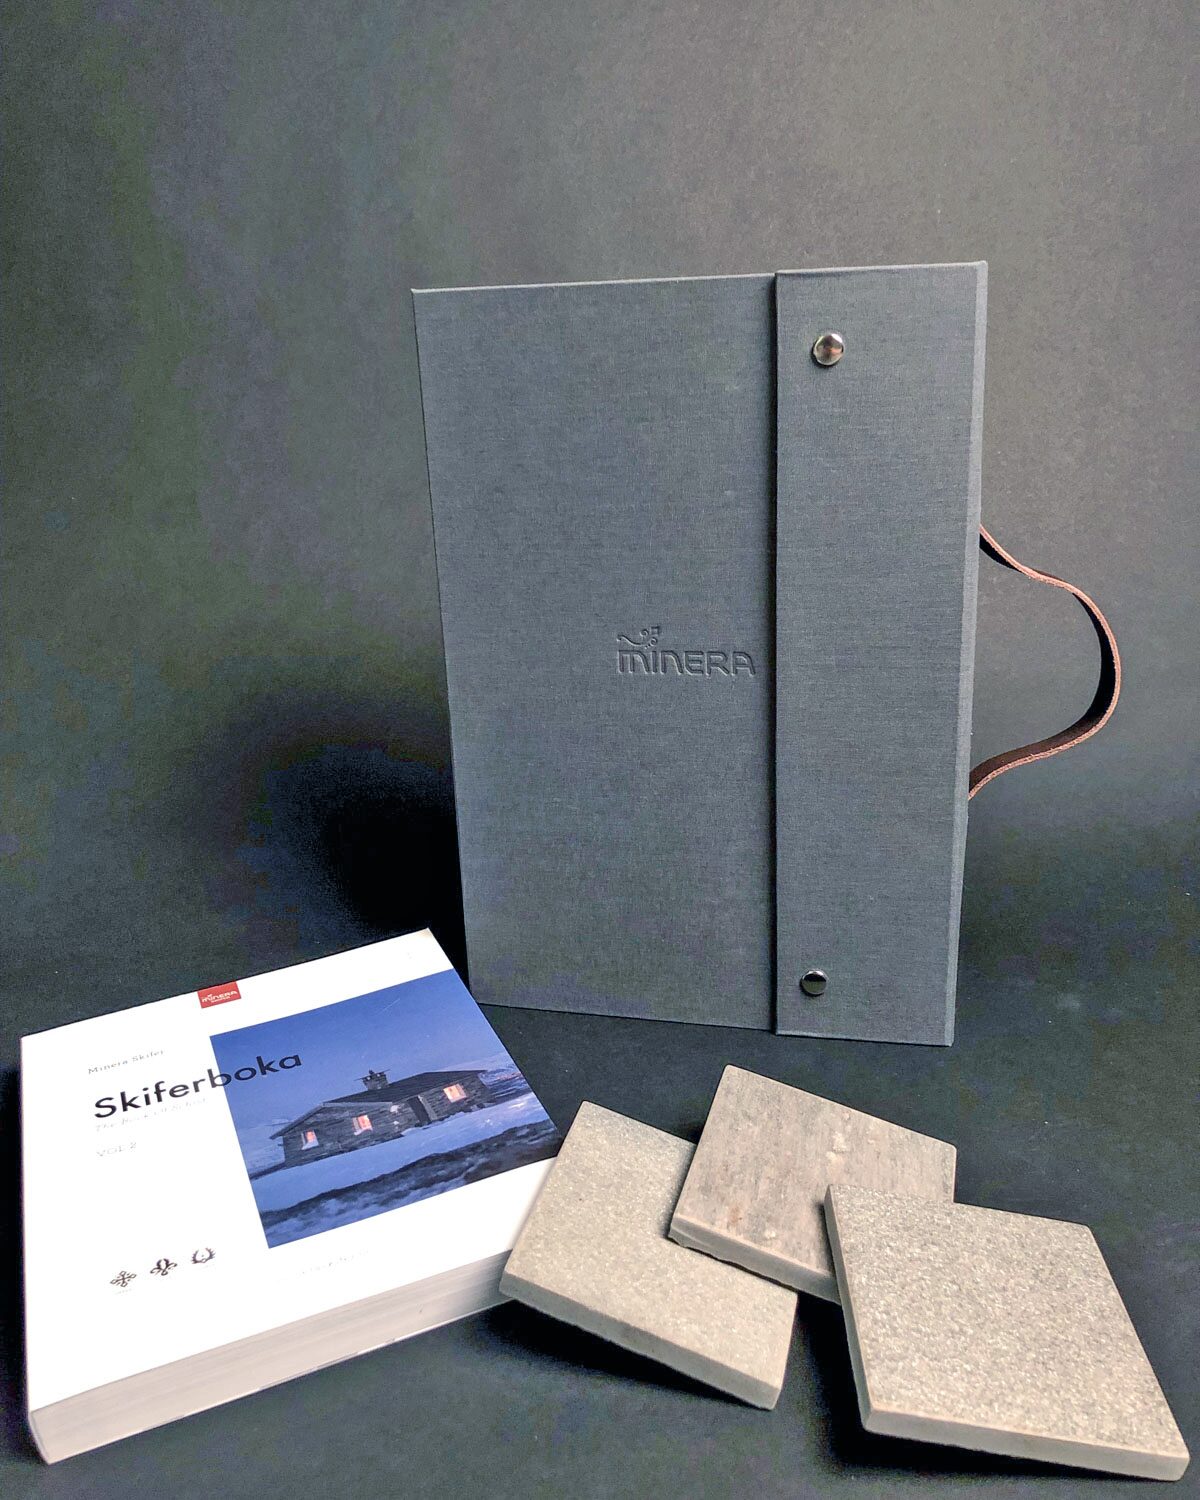
The natural durability of slate makes it particularly well suited for reuse in new projects. Provided an appropriate mounting method is used, the stone can be dismantled, cleaned, and reused with unchanged function and quality – often for generations.
This page presents mounting solutions developed for full disassembly and reuse (≅100 %), applicable to façades, paving, roofs, stairs, walls, and slab installation. Each method is described with both mounting principles and recommended procedures for disassembly, cleaning, and storage.
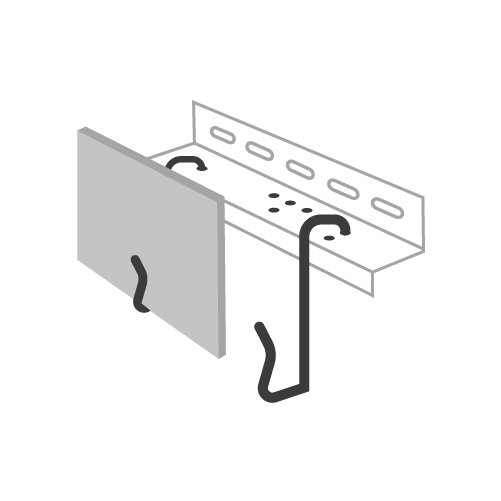
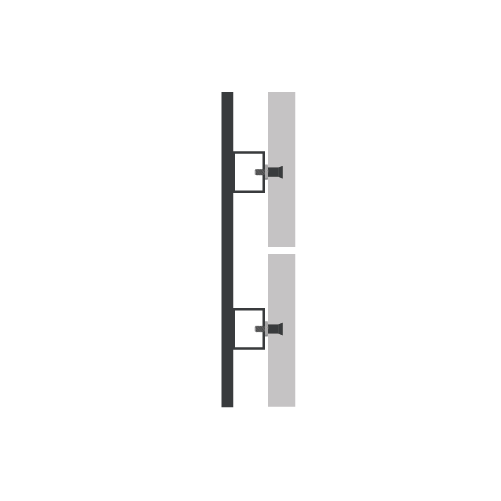
Mounting principle:
Slate panels are hung on hooks attached to perforated battens on the load-bearing wall, ensuring rear ventilation. Custom hooks make installation easy. The system has a depth of only 57 mm and weighs approx. 39 kg/m² using panels 300 mm wide, a fixed thickness above 12 mm that fits the hook solution, with 20% overlap. Suitable for both new and existing buildings. See technical guide for Horizontal Mounting with Hook.
Disassembly and storage:
Start at the top. Lift panels straight up from the hooks. Clean as needed using coarse cleaning agent, scrub with a brush, and rinse with water. Store the slate on pallets with spacers or vertically against a stable surface. Cover if storing outdoors for extended periods.
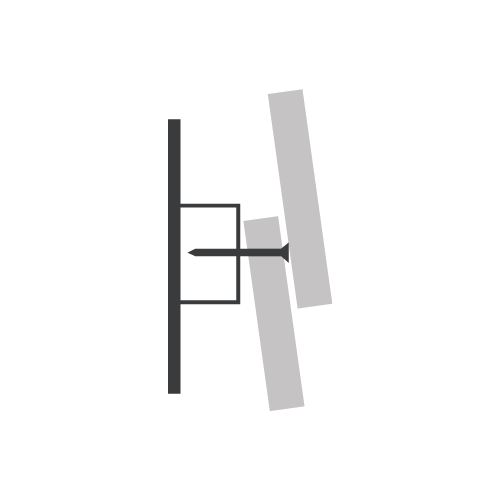
Mounting principle:
Panels are fastened with two acid-resistant screws (6 mm) in predrilled holes at the top. Mounted from the bottom up with a minimum 50 mm overlap to conceal screws. A 2–3 mm vertical gap allows for expansion and drainage. If needed, use metal flashing or waterproofing behind the slate to prevent water ingress at joints, and optionally reinforce the lower edge against high wind loads. See technical guides for Horizontal Mounting with Screws and Vertical Mounting with Screws.
Disassembly and storage:
Unscrew from the top. Lift down panels. Clean as needed using coarse cleaning agent, scrub with a brush, and rinse with water. Store on pallets with spacers or vertically. Cover if storing outdoors for extended periods.
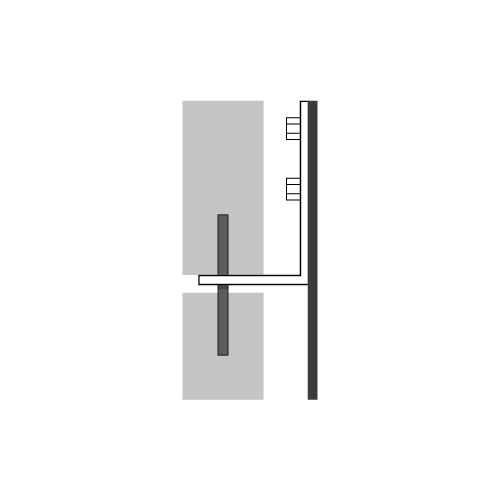
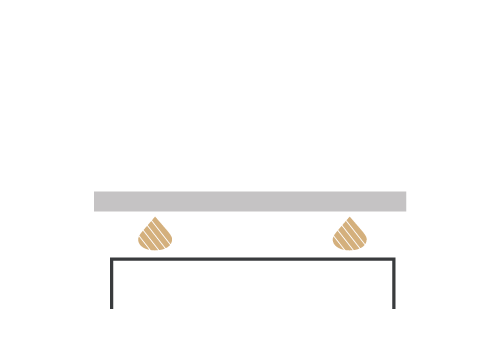
Mounting principle:
Panels have holes for dowels (steel or titanium bolts) anchored into a backing load-bearing structure. Provides concealed mounting and accommodates thermal movement.
Disassembly and storage:
Dowels are cut in the joints with an angle grinder using a steel cutting disc, and the panels are lifted down. If installed with looser tolerances, the dowels can be pulled out. Clean as needed using coarse cleaning agent, scrub with a brush, and rinse with water. Store flat or vertically with spacers. Cover if storing outdoors for extended periods.
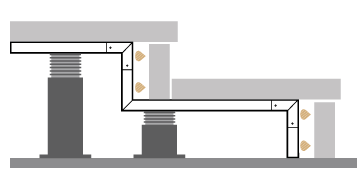
Mounting principle:
A conical undercut hole is drilled on the back side of the slate panel to create a mechanical lock. An undercut anchor is inserted and tightened using a special tool. Panels are mounted to a substructure in aluminium using the anchors, which allows for adjustment and flexibility for thermal movement. This solution offers a strong, concealed mounting and is well suited for ventilated façades where both aesthetics and structural integrity are essential.
Disassembly and storage:
The screws that fasten the anchors to the aluminium profile are easily removed. The anchor usually remains in the stone but can often be extracted using a special tool. If not removed, the panel can still be reused with new anchors in a different project. Clean panels as needed using a coarse cleaning agent for natural stone – brush and rinse thoroughly with water. Store flat or vertically with spacers. Cover if storing outdoors for extended periods.
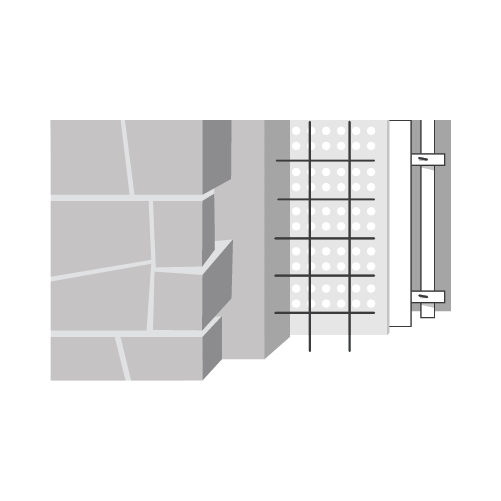
Installation method:
The slate is built as a wall cladding against an existing structure. The system is constructed with a wind barrier, battens, and OSB boards, which create an air gap for drainage. A moisture barrier (foundation plastic) protects from moisture on the backside. The slate is laid in a bond pattern – with or without joints (dry wall) – and backfilled with mortar. For added strength, reinforcement mesh and wall ties are used, and reinforcement mats provide increased stability. The solution results in a solid, moisture-protected, and durable construction. See installation guide for dry wall cladding with slate.
Dismantling and storage:
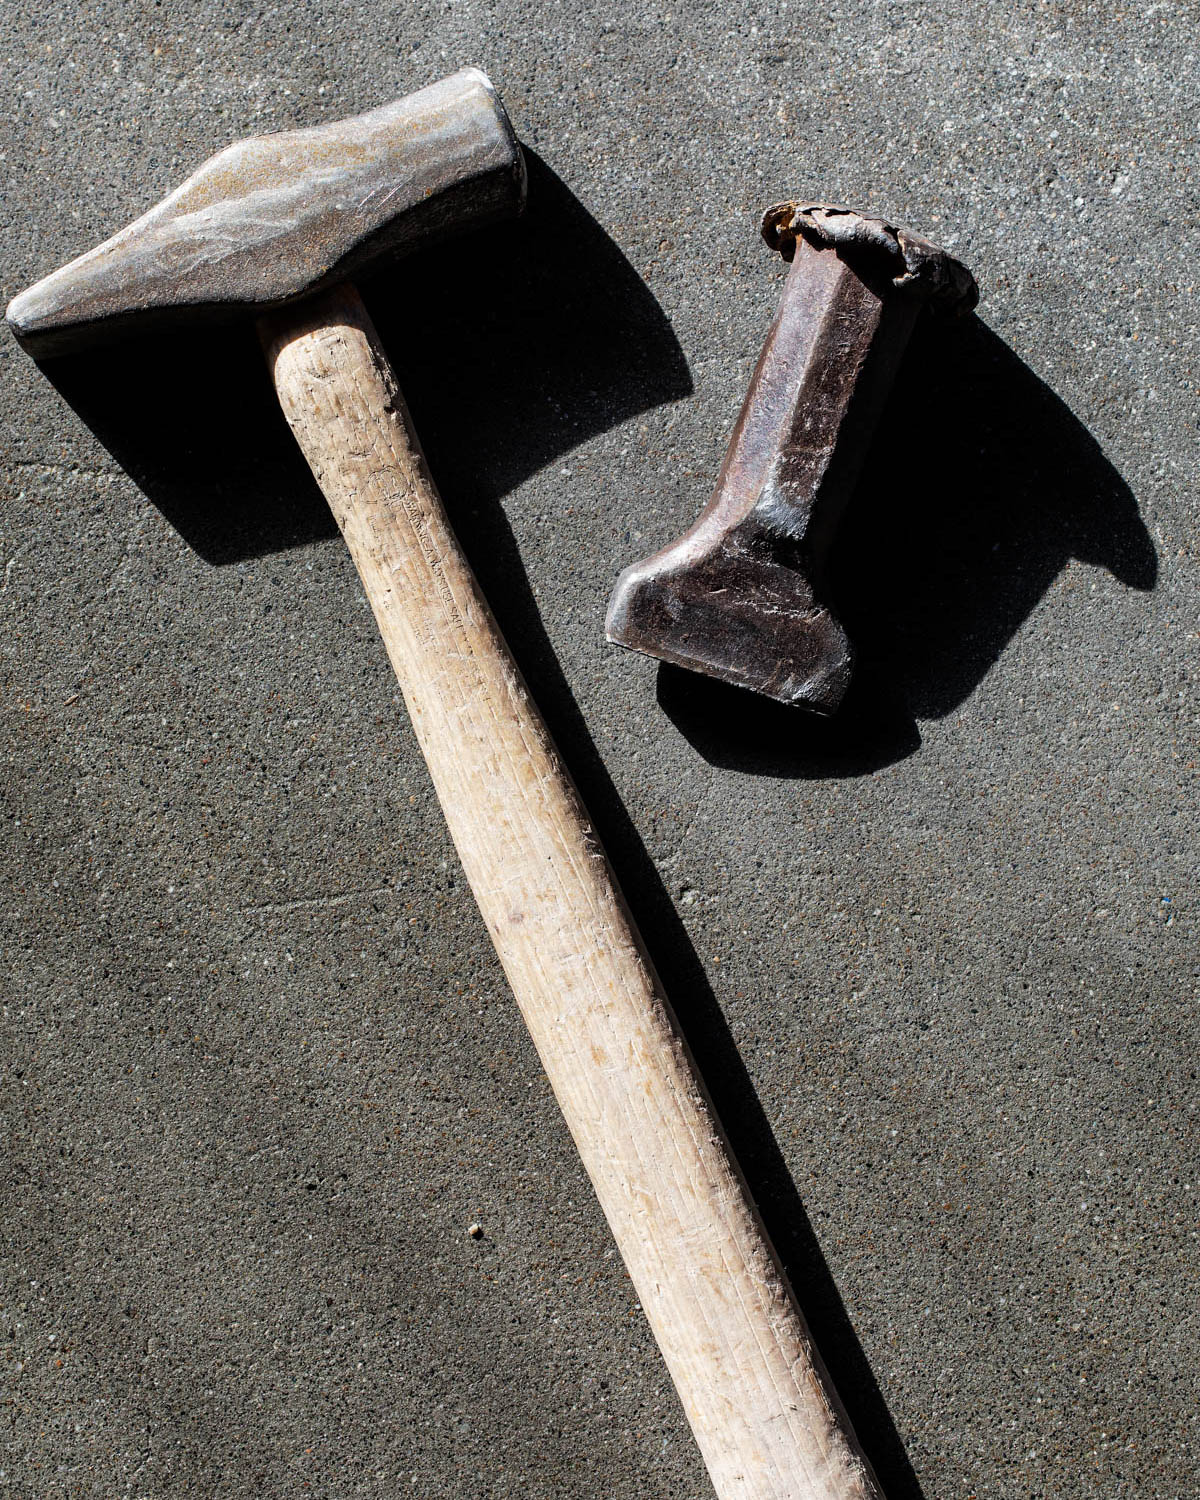
Dismantling starts from the top. The top course is loosened with a hammer and chisel. The stones are then taken down by hand. Jointed stones often need to be cleaned of mortar, either manually with a scraper or with a chisel hammer. The slabs are cleaned with heavy-duty cleaner, a brush, and water as needed. For storage, the slate can be stacked on pallets, placed in pallet boxes, or in big bags, and should be covered during long-term outdoor storage.

Installation method:
The base is built up with draining materials such as gravel or sand, which are compacted for stability. The slate is laid directly on the base and the height is adjusted by adapting the material under each stone. Joints can be filled with sand, soil, fine gravel, sedum, or hard joint filler – depending on the desired appearance and function. This method provides flexibility and good drainage.
Dismantling and storage:
The stones are lifted by hand or with a spade/crowbar. Stuck materials should be brushed or rinsed off. The slate is stored on pallets with spacers or vertically against a stable support. For long-term outdoor storage, covering is recommended to protect against dirt and moisture.

Installation method:
Slate slabs are mounted on adjustable pedestals without casting or grouting. The pedestals are placed on a stable surface and adjusted in height to ensure an even surface and good drainage. Each slab is supported at the corners, so that four pedestals carry one slab. The system is well-suited for roof terraces, balconies, and other areas where drainage and flexibility are important.
Dismantling and storage:
The slabs are lifted manually or using a suction tool. The pedestals are dismantled and can be reused. Cleaning is done with coarse cleaning agent, brush, and water. The slabs are stored on pallets with spacers and should be covered during long-term outdoor storage.
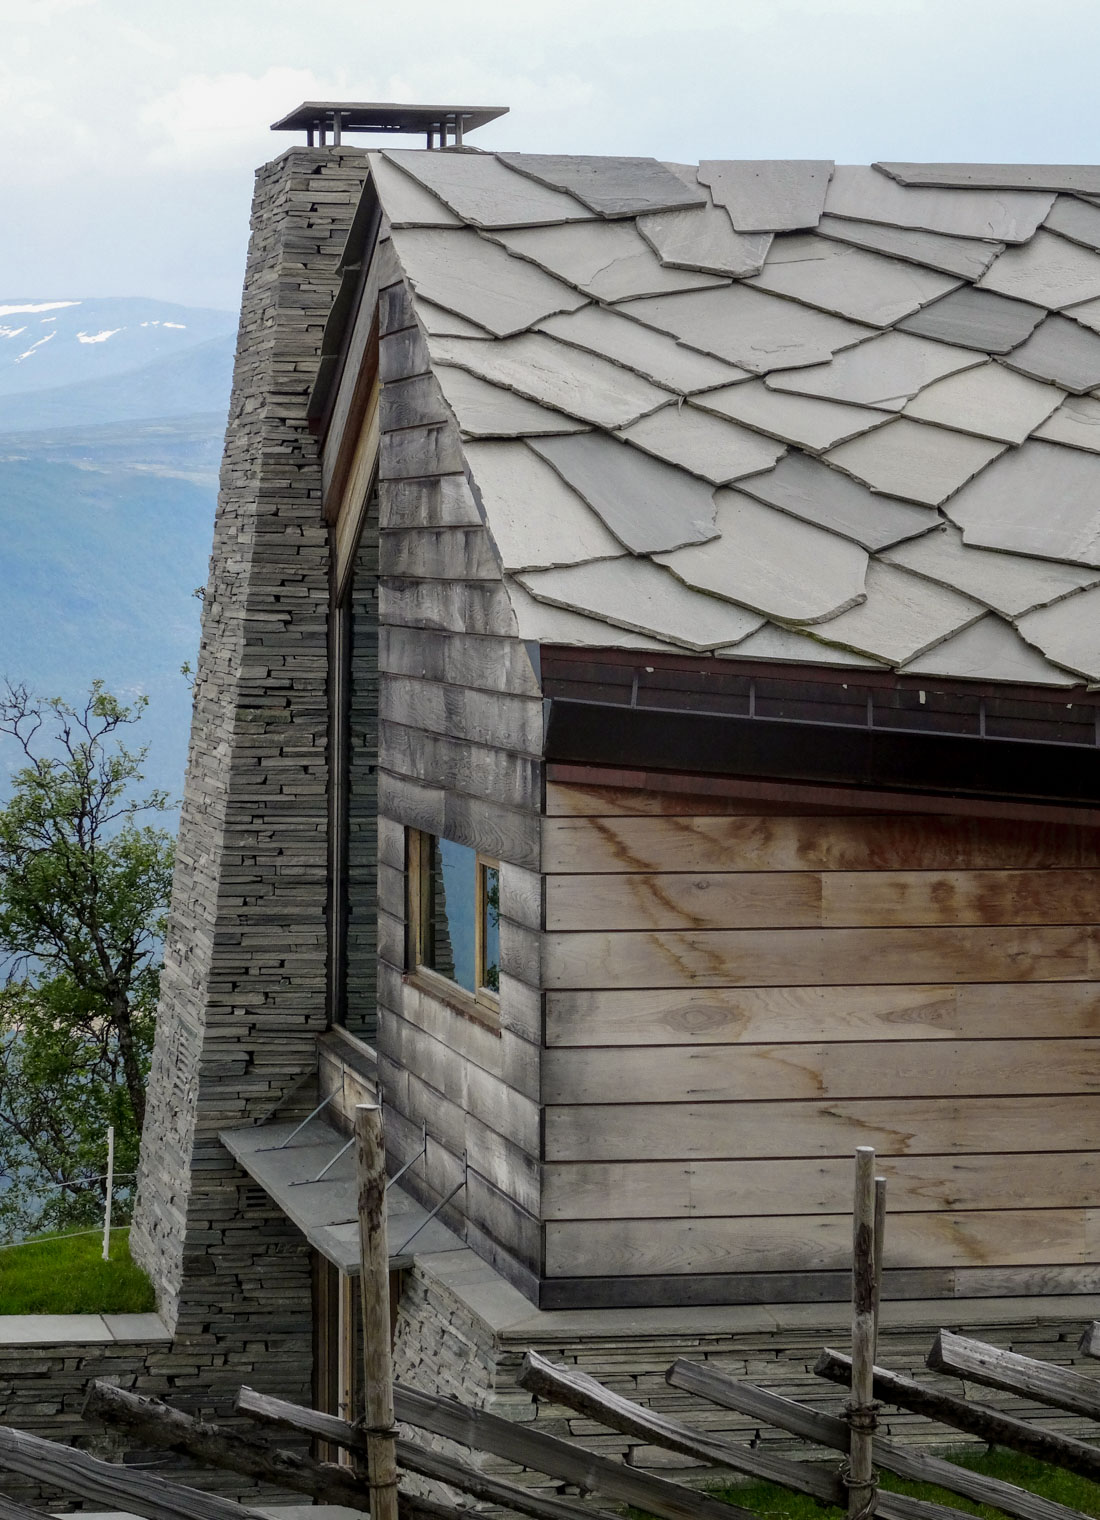
Irregular slate roofing
Installation method:
Irregular slate roofing is mounted on sub-roofing with battens and counter-battens to ensure good ventilation and drainage. The counter-battens are nailed to the rafters, and the battens are placed closely together to allow easy and secure fastening of the slate. The slate slabs are shaped as needed and fastened with acid-resistant screws directly into the battens, with overlaps that hide the fastening. Holes are usually drilled below the fastening point. The roof is finished with ridge tiles or flashings for a solid and durable execution. See the guide for installing irregular slate roofs.
Dismantling and storage:
First remove flashings, snow guards, and other roof details. The screws are loosened, and the slate slabs are removed from top to bottom, row by row. Clean the slabs if needed with coarse natural stone cleaner, brush, and plenty of water. Assess the cleaning needs based on the level of dirt. The slate should be stored flat and stable, preferably on pallets with spacers for ventilation, and covered for long-term storage.
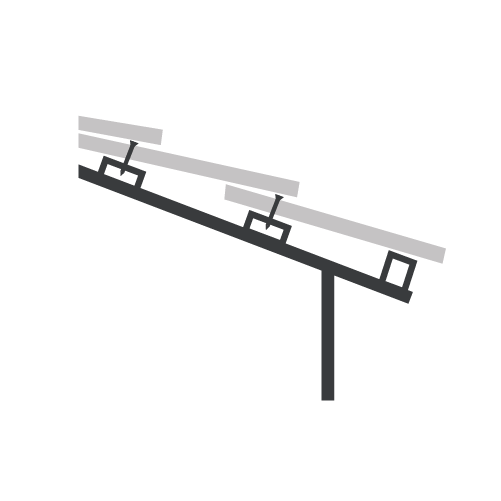
Installation method:
The roof pitch should be at least 22° to ensure good drainage. The slate is installed diagonally on battens that are mounted horizontally on counter-battens over the sub-roof, which is covered with roofing felt. This provides good drainage and ventilation. The slabs are fastened with galvanized or acid-resistant nails/screws in predrilled holes or notches. The batten spacing is adjusted to the slate format, and the bottom batten is raised according to the slab thickness. Installation starts with a “starter slate” at the bottom, which can be shaped on site or delivered ready-made by the producer – similarly for special slabs along eaves and ridges.
Dismantling and storage:
Remove ridge flashing or ridge tile by loosening screws or nails. The slabs are dismantled row by row from top to bottom. Use, for example, a chute to gently transport the slabs down, and ensure a safe receiving area on the ground. To remove dirt or moss, use a brush and water, or coarse cleaning agent and moss remover as needed. Store the slabs flat and steady on a pallet with spacers and cover for long-term outdoor storage.

Installation method:
Machine-built walls are constructed using large, irregular slate blocks stacked against terrain or soil with a machine – usually an excavator with clamp or lifting hook. The stone is adjusted and laid in layers to ensure stability, where friction and weight hold the structure in place. No mortar or fastening is used, providing a flexible and efficient building process.
Dismantling and storage:
The stones are lifted out one by one using the excavator’s clamp or hook. The slate is brushed clean and stored on pallets, in stacking boxes, or on flat ground, ready for reuse.
Installation method:
The wall is built with two parallel layers of slate wall bricks, with or without mortar joints. The gap between them is filled either with concrete (mortar) for increased stability and binding, or with gravel if the stone is 15–30 cm deep. This provides a stable structure with good drainage and strength.
Dismantling and storage:
Start from the top and loosen the top course with crowbar, hammer, and wedge. The stones are then taken down by hand. Mortared stones often need to be cleaned of mortar – either manually with a scraper or using a chisel hammer. Clean as needed with coarse cleaning agent, brush, and water. Store securely on pallets, in pallet boxes, or big bags. For long-term outdoor storage, they should be covered.
Installation method:
Massive slate steps (natural steps) are laid directly in stable loose materials such as sand or gravel. The steps are placed using a machine and adjusted for height, inclination, and stability.
Dismantling and storage:
The steps are lifted in reverse order using an excavator or crane truck. The steps are brushed clean and stacked on pallets for further storage.
Installation method:
A stable base is prepared, preferably with gravel or sand. Adjustable pedestals are placed and adapted to the slope of the stairs. Aluminum rails are mounted on the pedestals, and the slate steps are laid on top. Each pedestal allows millimeter adjustment for precise placement. The system is flexible and easy to adapt to various heights and bases.
Dismantling and storage:
The steps are lifted off the rails manually or with a vacuum lifter. The pedestals can be removed after the steps are taken off. The components are cleaned with water and a brush. The steps are stacked on pallets with spacers and covered for long-term outdoor storage.
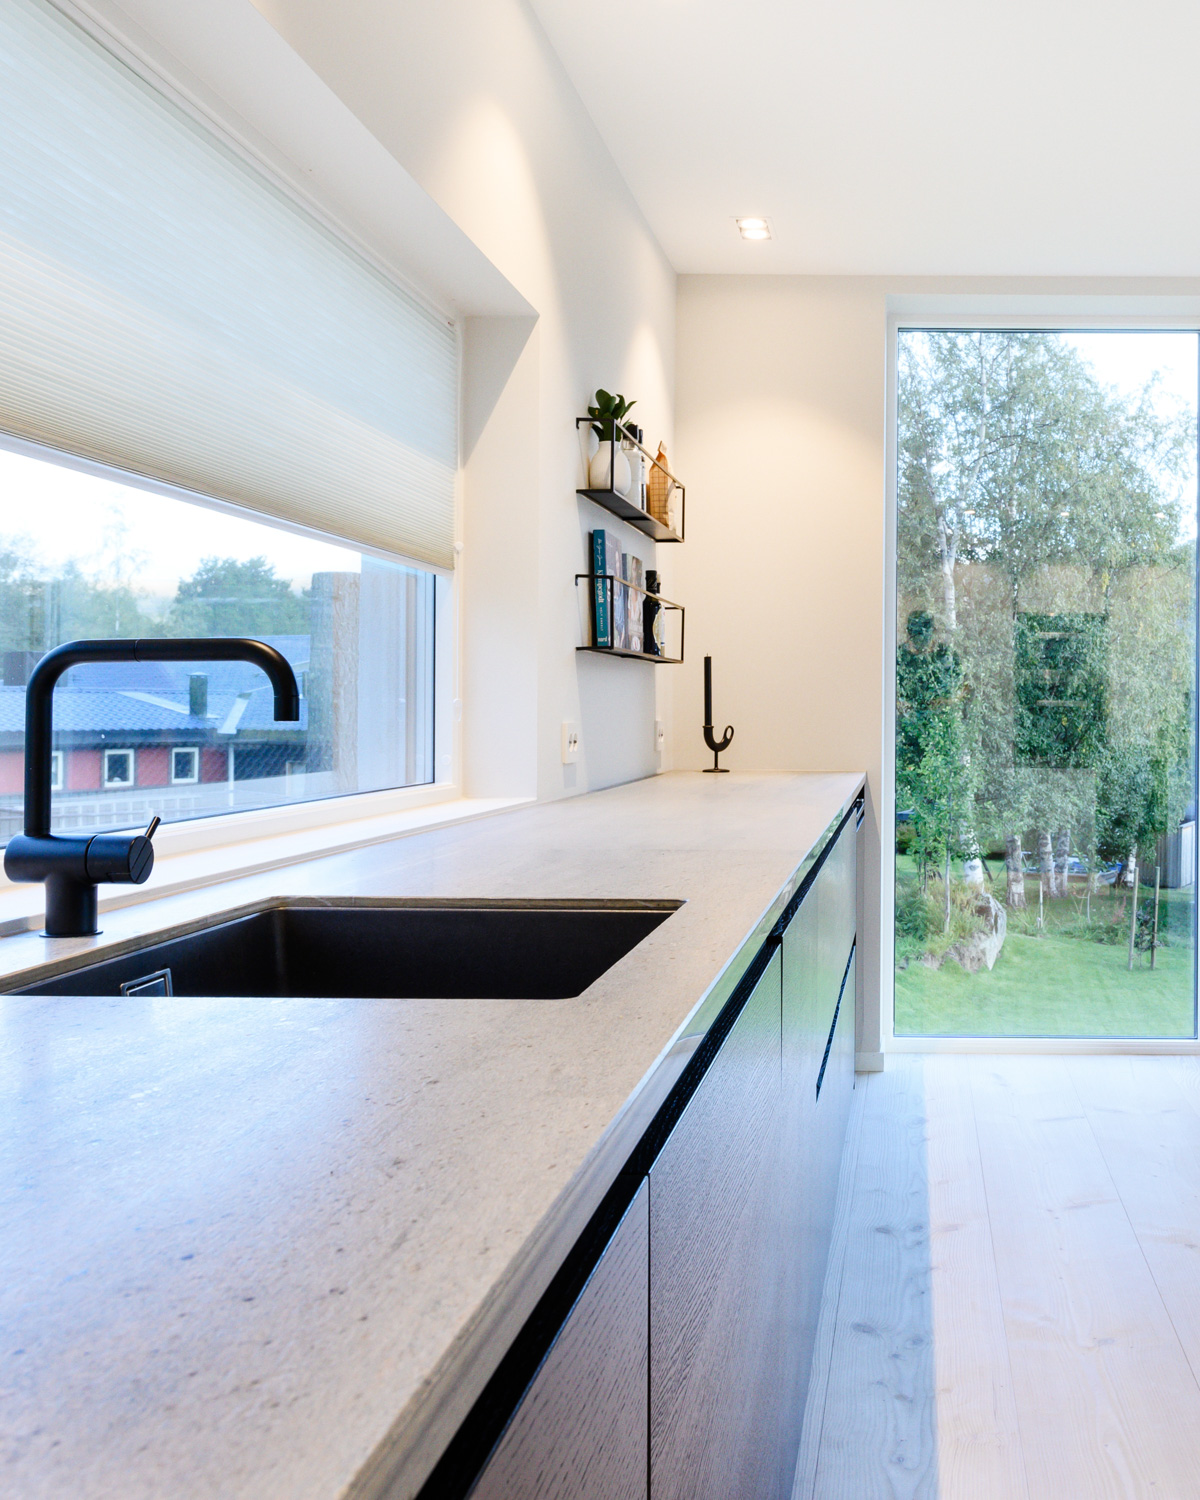
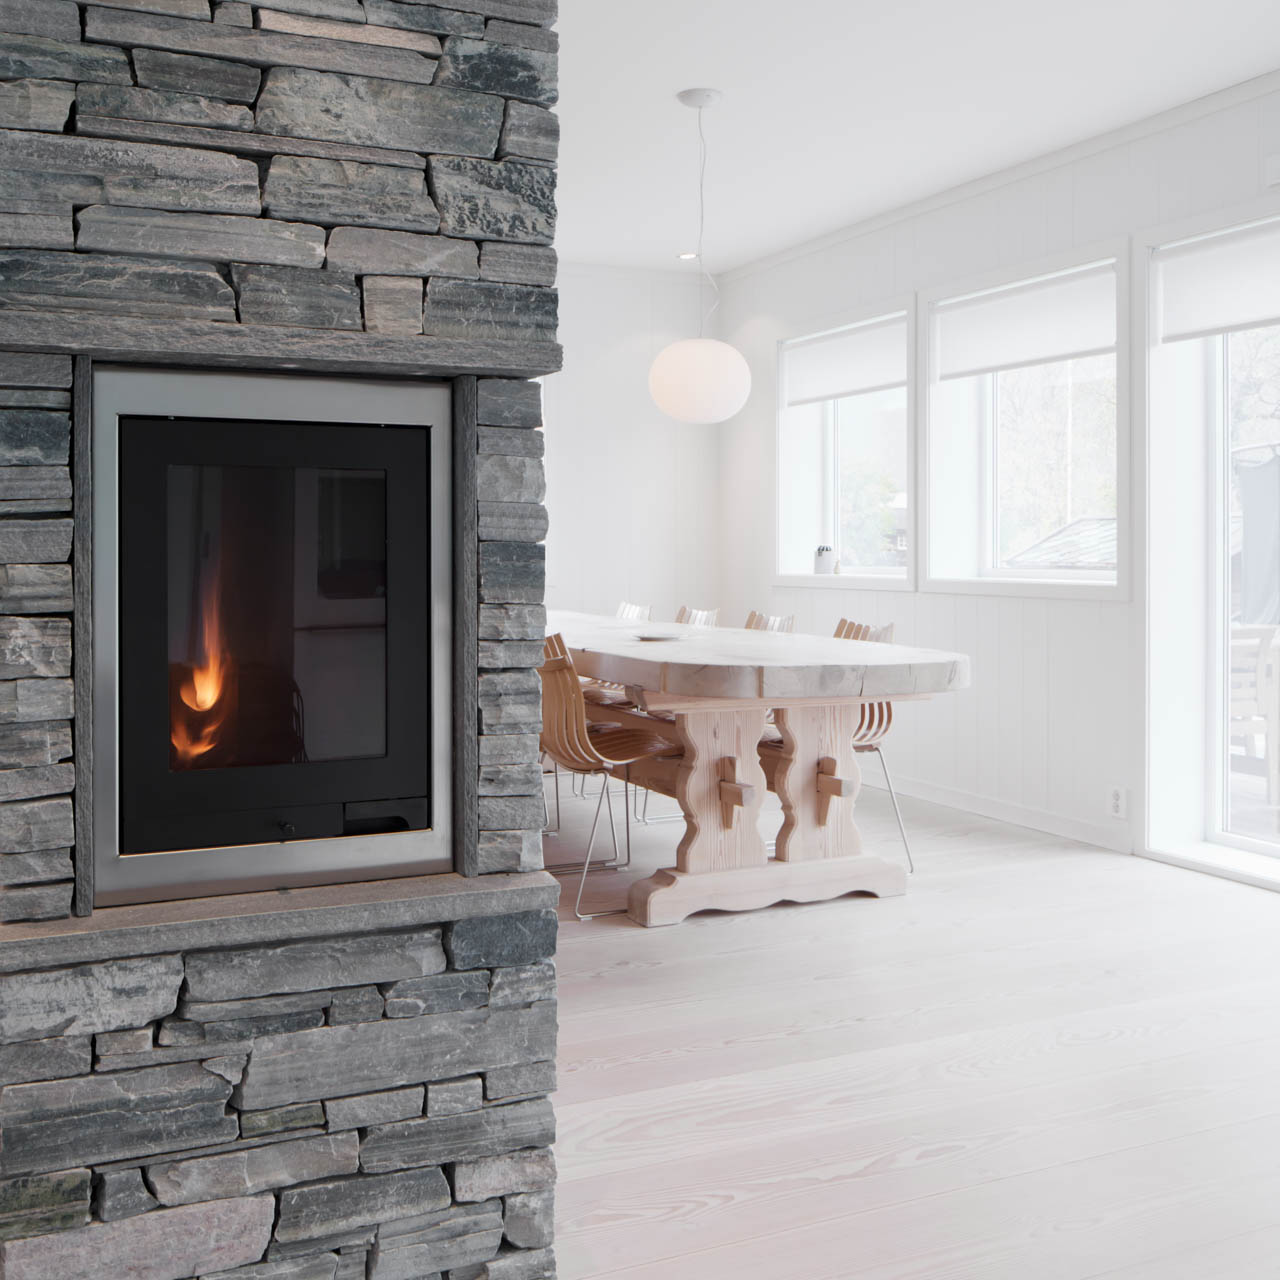
Installation method:
Slate slabs such as countertops, fireplace plates, or windowsills are mounted on a stable base. Fastening is done either by the weight of the slab or by spot gluing with special adhesive, depending on the need and placement.
Dismantling and storage:
The slabs are lifted off the base. Spot-glued slabs are loosened carefully with wedges and/or crowbars. It is important to avoid damage during dismantling. Clean the slabs if needed and store dry and stable, preferably on pallets with spacers between each slab.
The high durability and timeless appearance of slate make it ideal for circular construction. By choosing solutions that allow for dismantling, the slate can be reused with minimal intervention – in new buildings, new contexts, and for new generations.
This overview shows that reuse does not have to be complicated, as long as material selection and fastening methods are well planned from the start. We hope the methods and recommendations presented here offer inspiration and practical support in projects aiming for lower resource use and longer material life.
Contact us if you need technical guidance on fastening methods, dismantling, or storing slate for reuse.
Per-Kjetil can be reached by phone at +47 480 40 520 or by email at pk@mineraskifer.no.
See full contact overview at Minera Skifer


We are sorry, but you are using a version of Internet Explorer that is not supported on this site. The browser is no longer updated by Microsoft and may therefore pose a security risk. We recommend that you use a different browser. Welcome back!