Jump to main content Jump to navigation Jump to footer

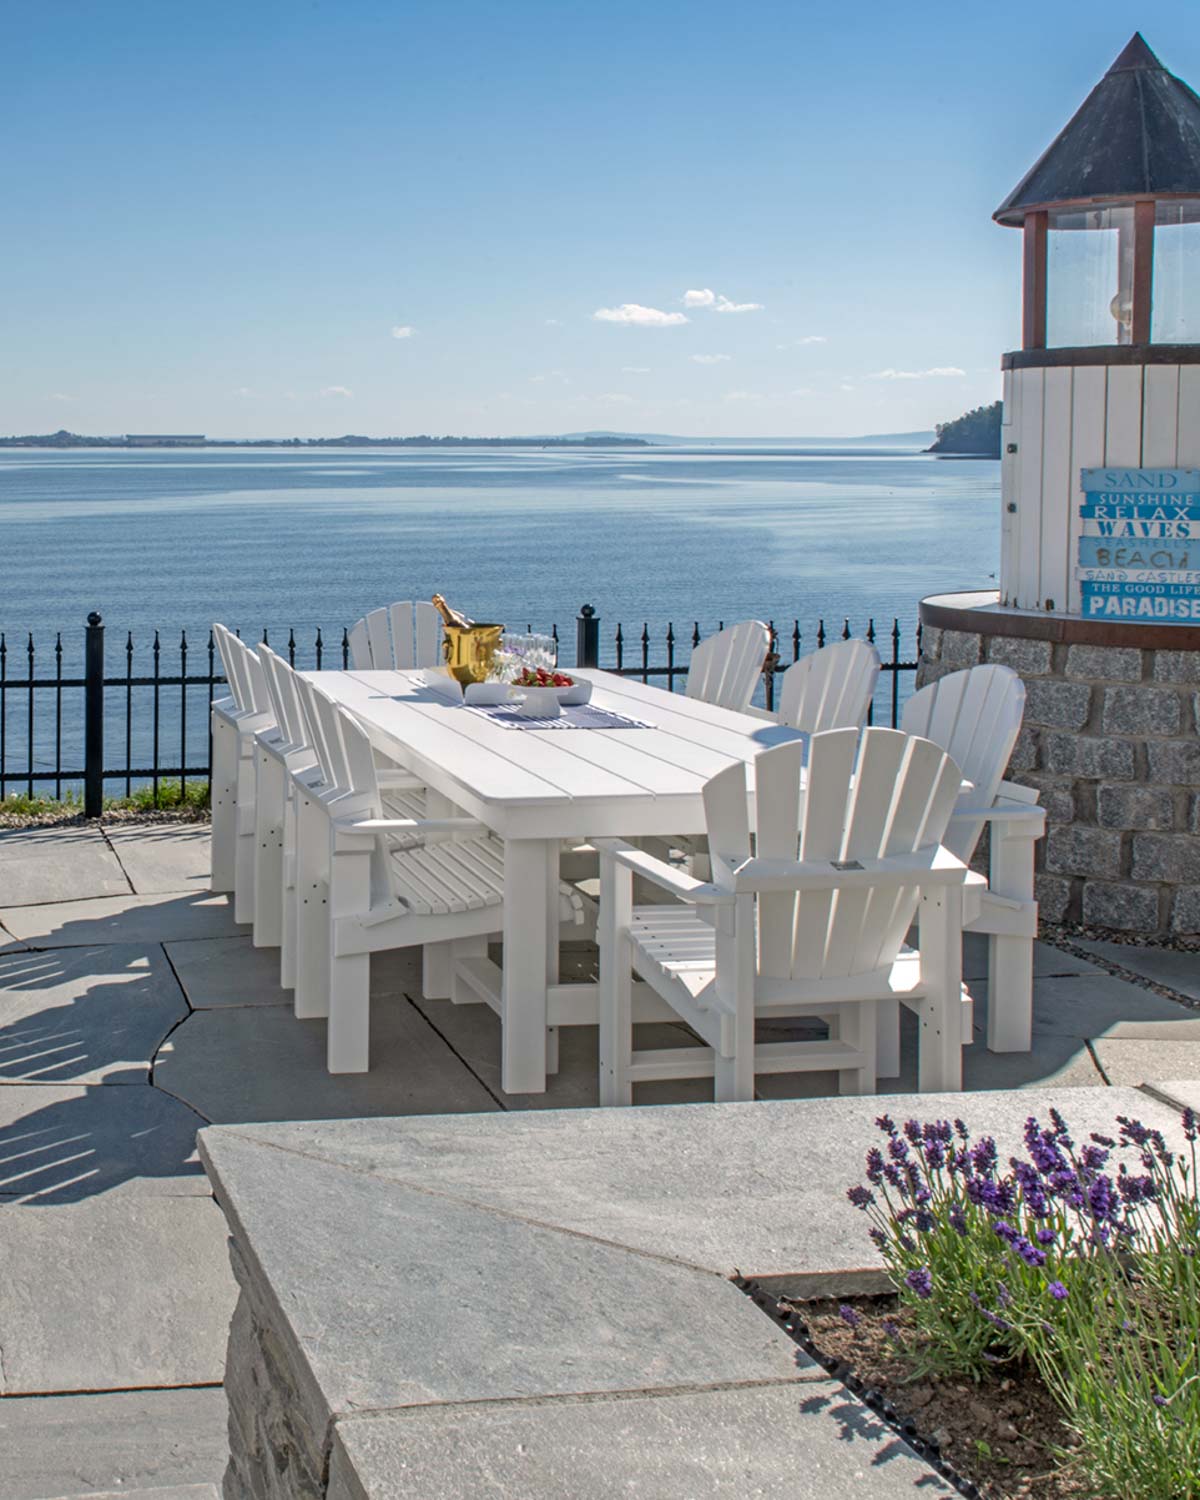
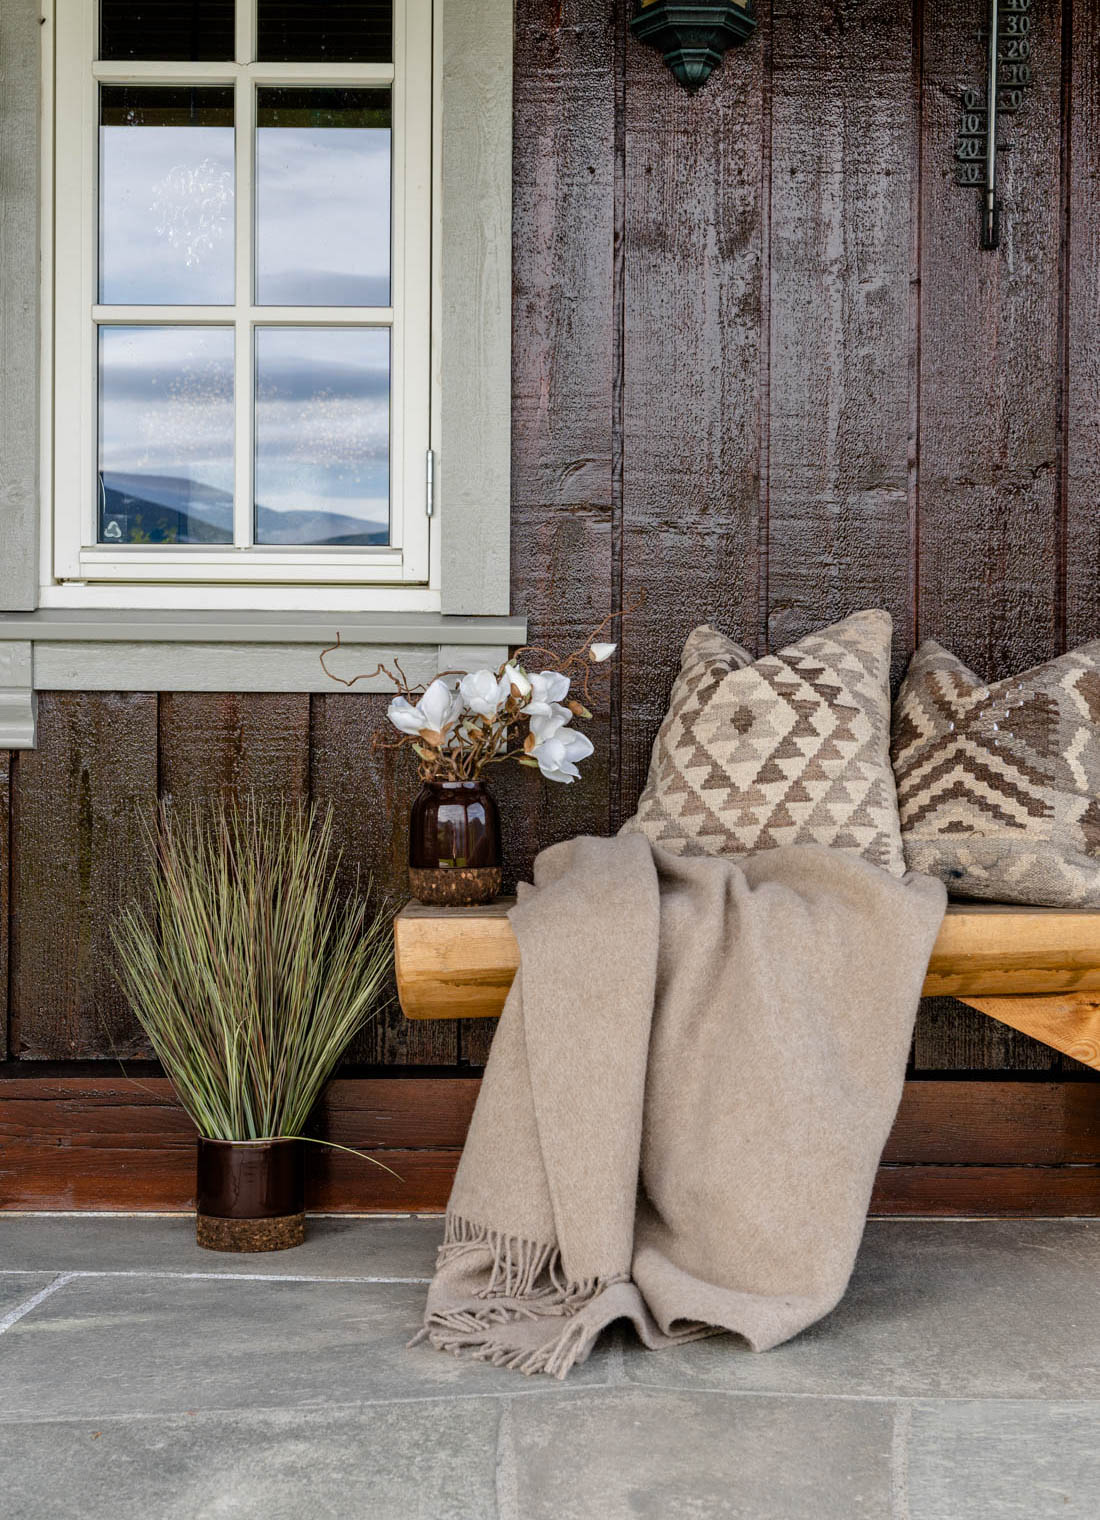
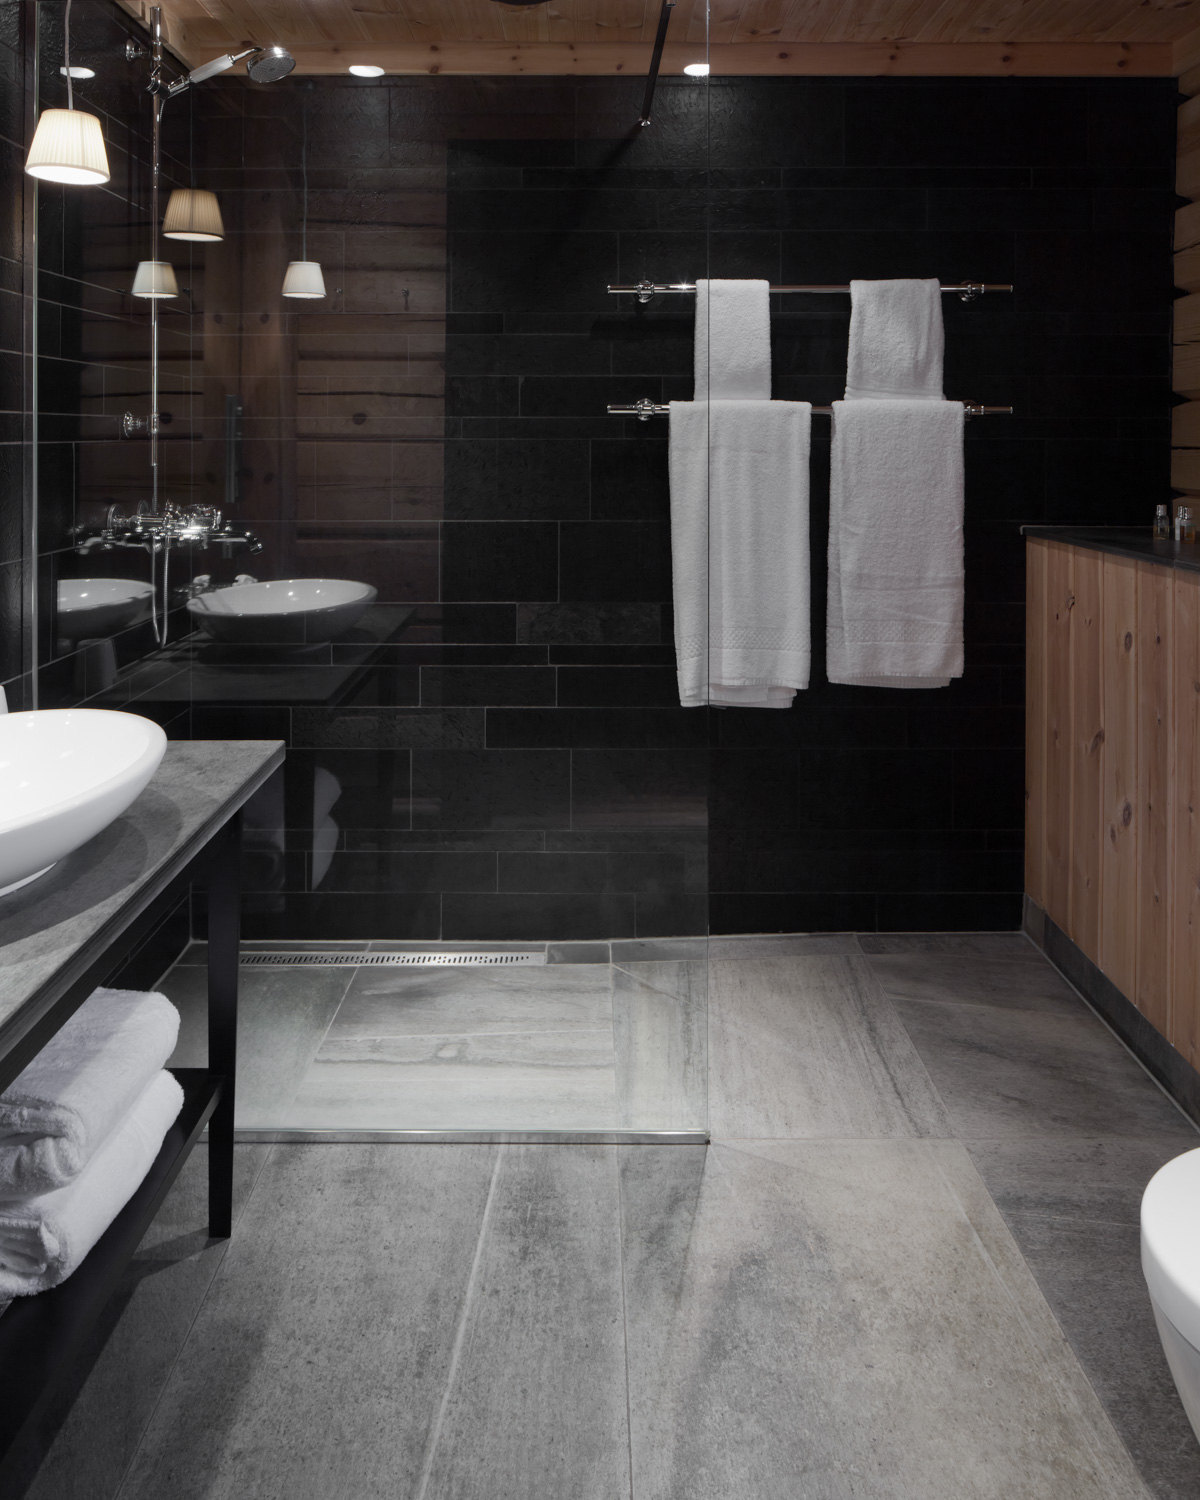
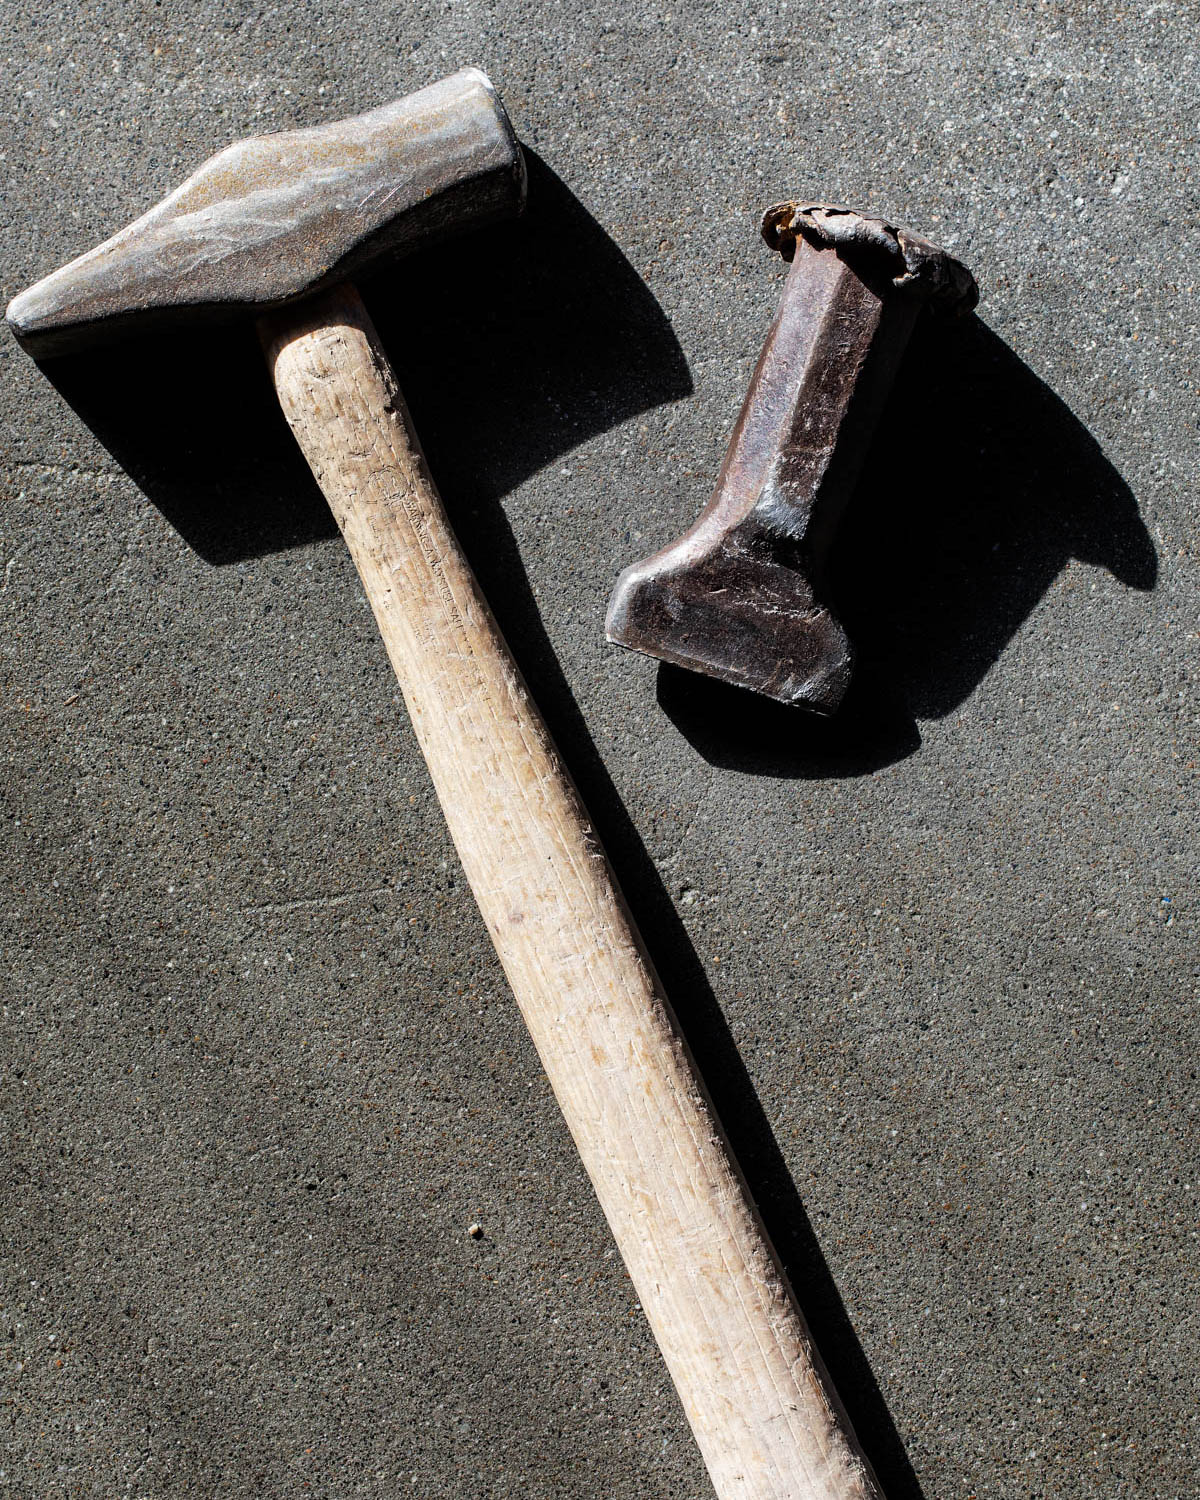
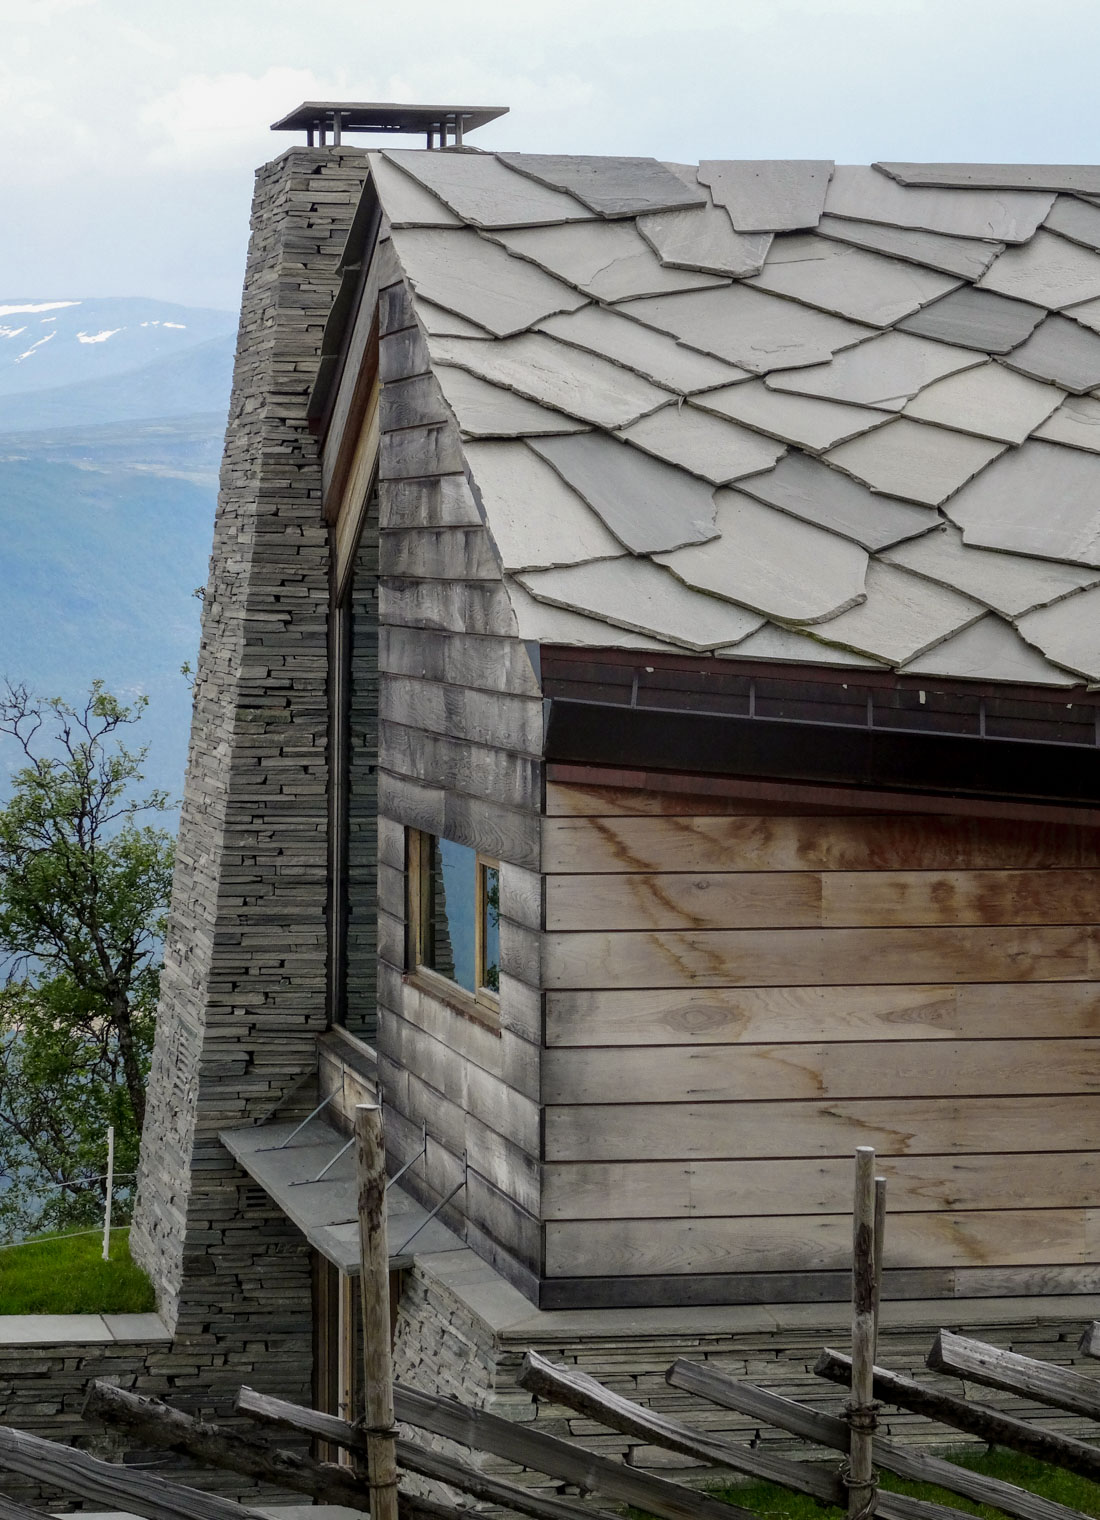
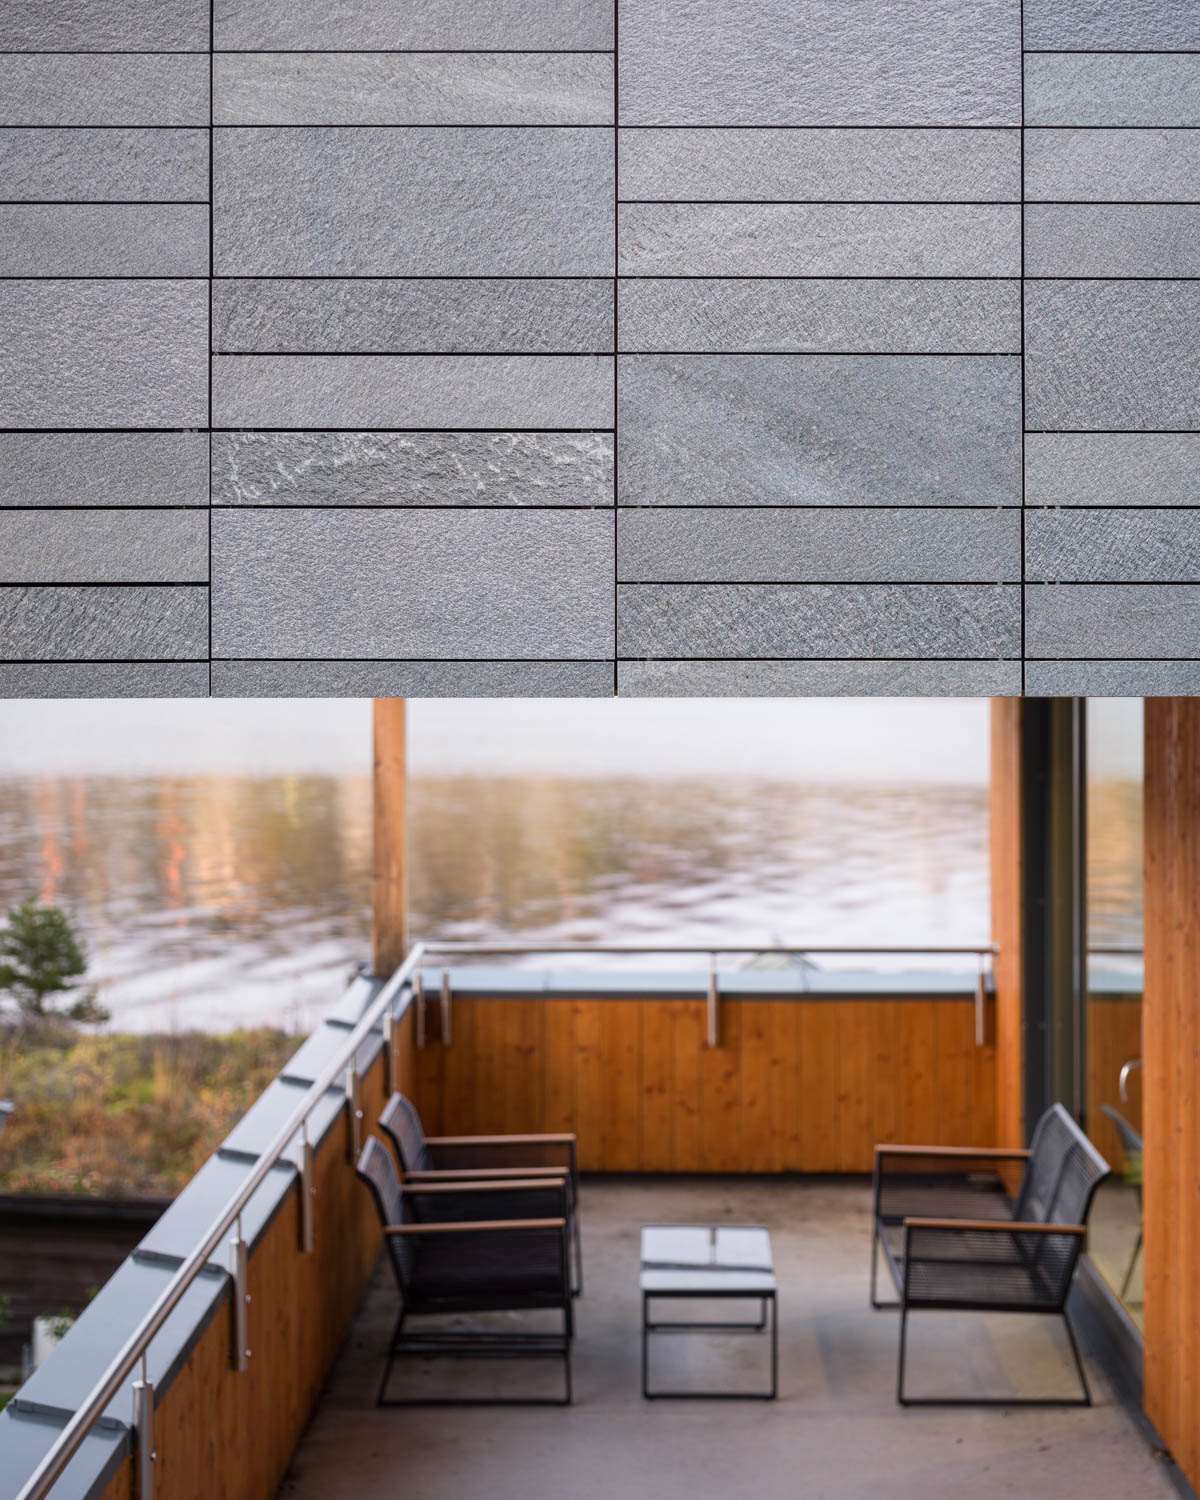
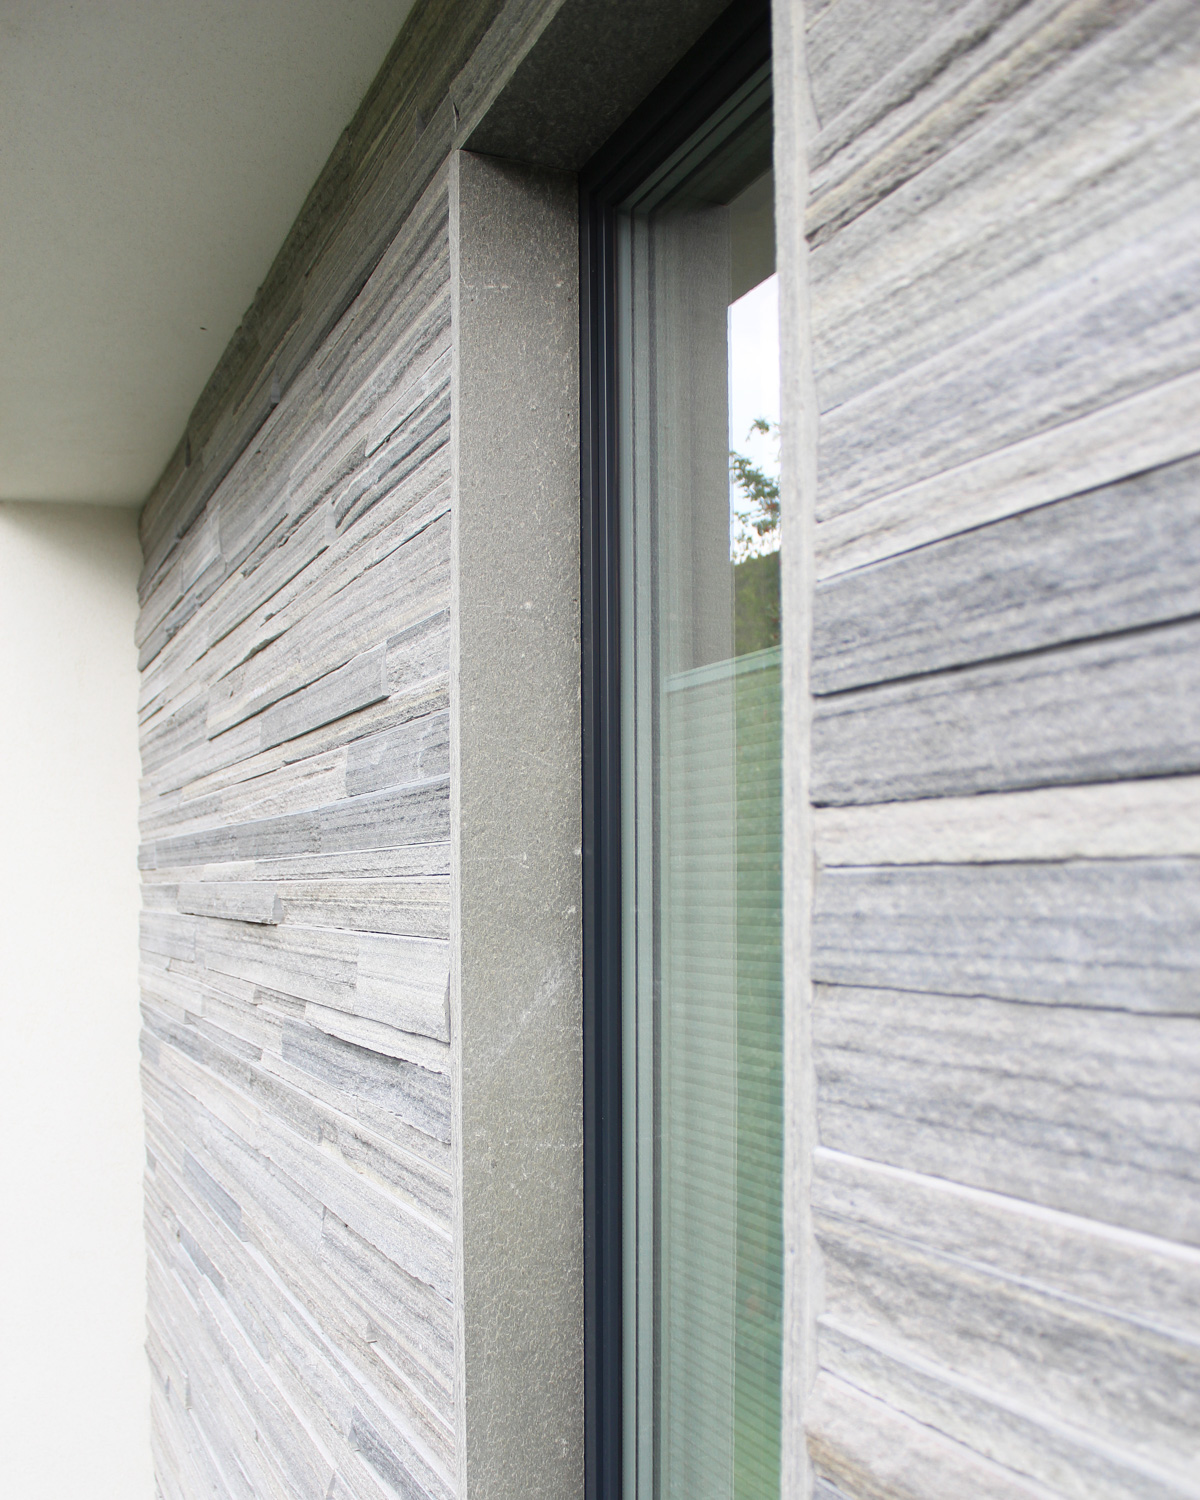
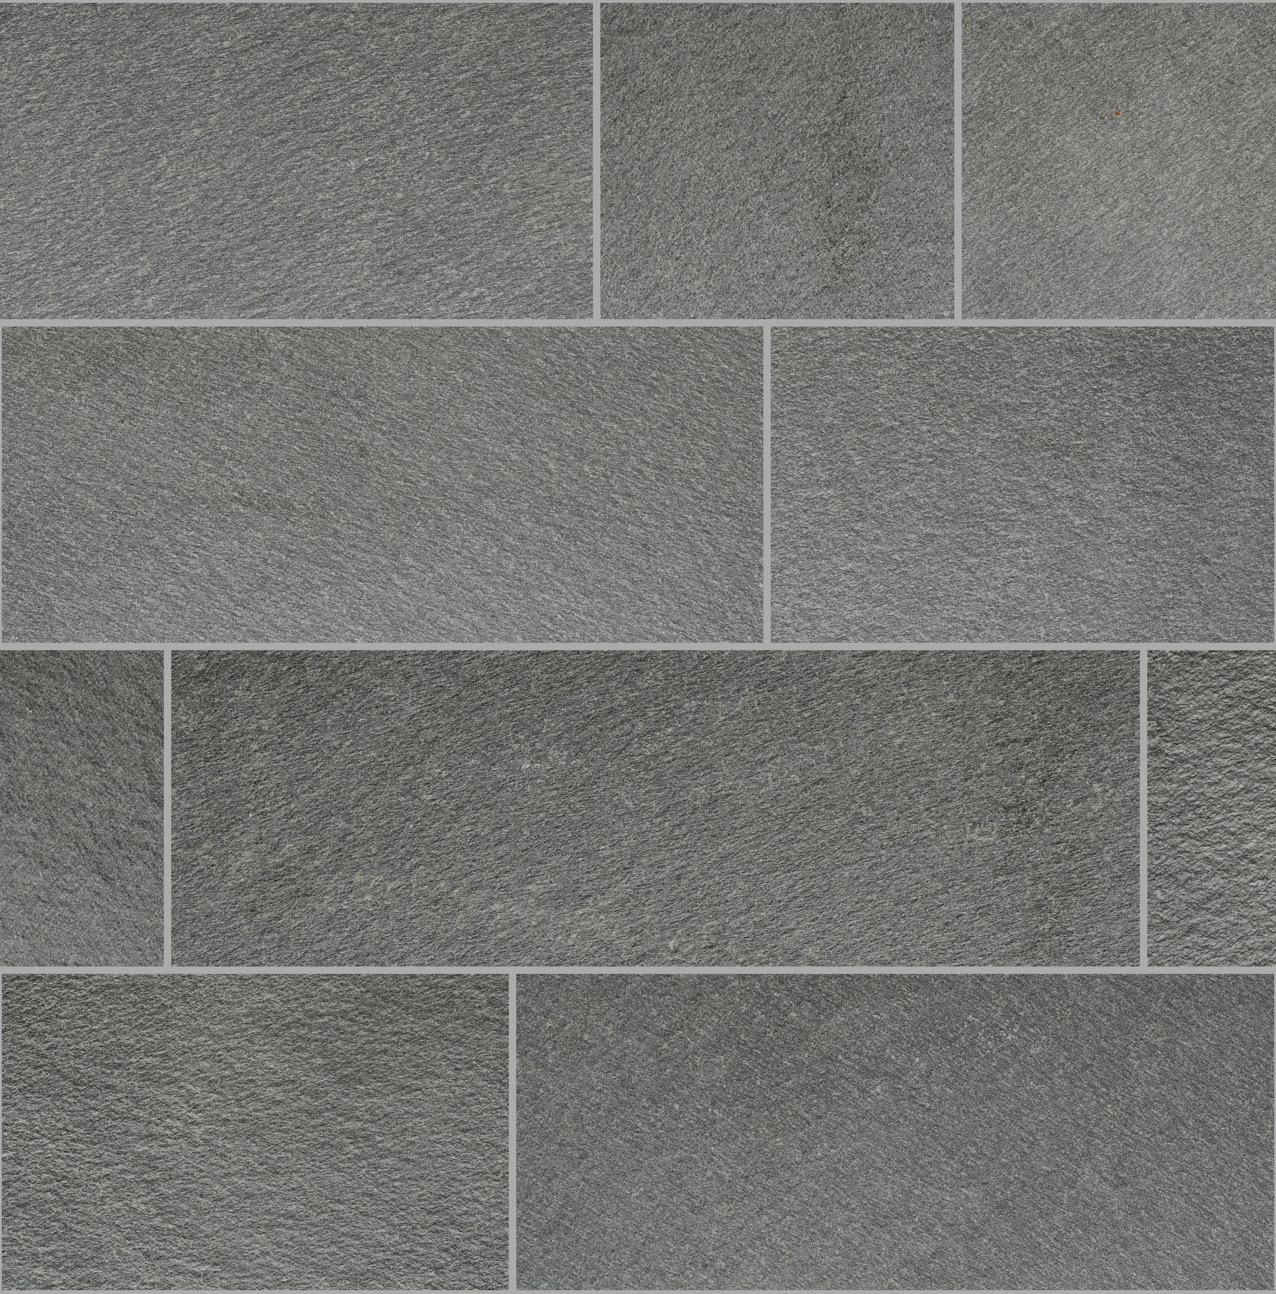
How to glue flagstones of slate

En pall fylt med bruddskifer i lys Oppdalskifer

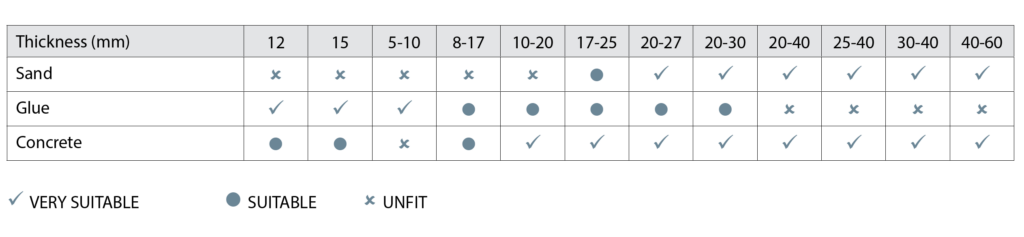
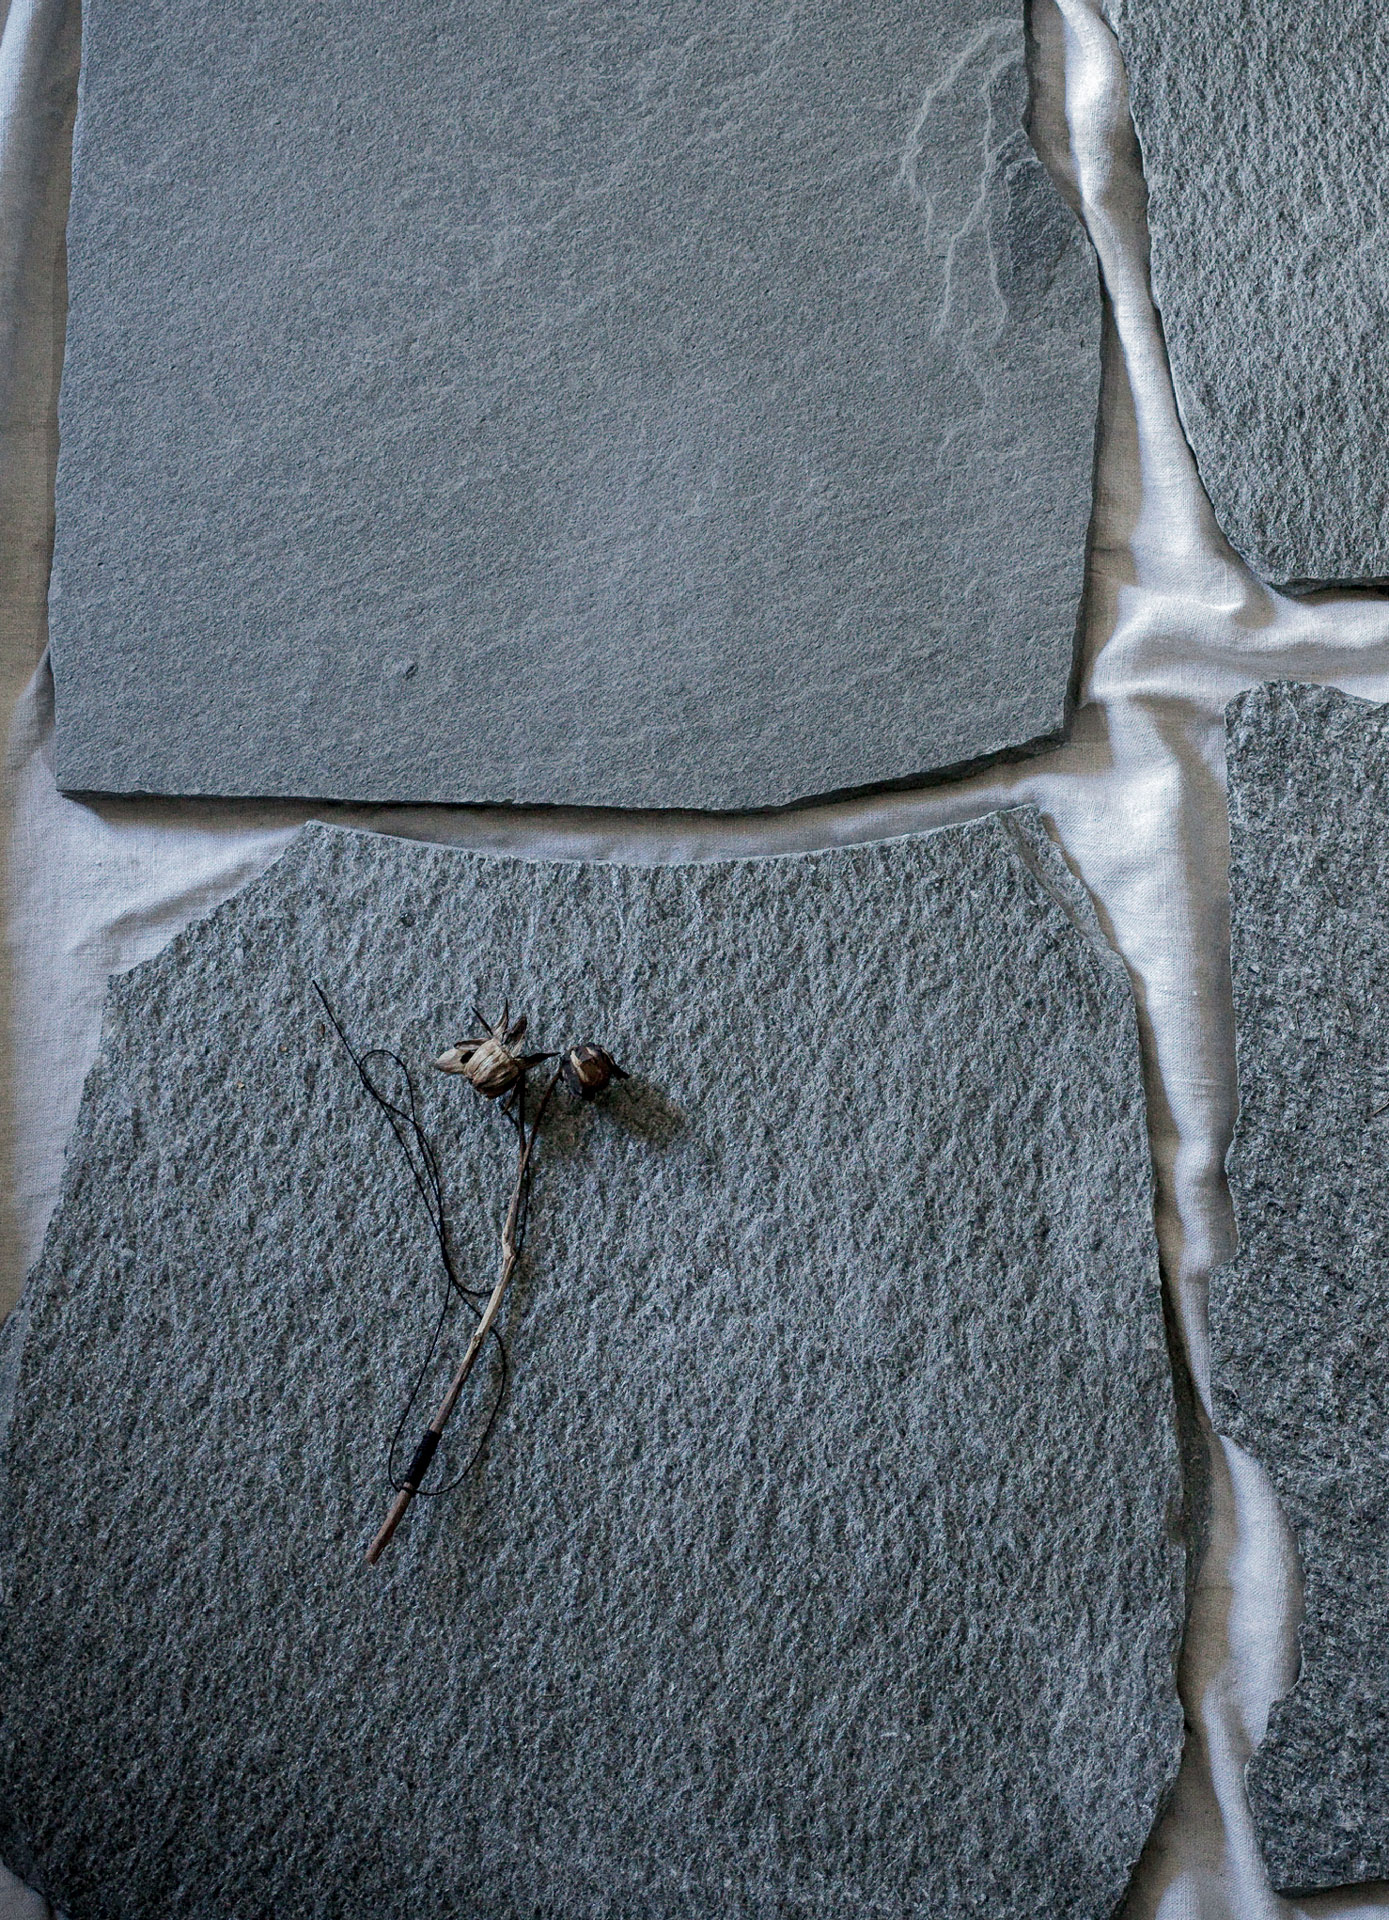
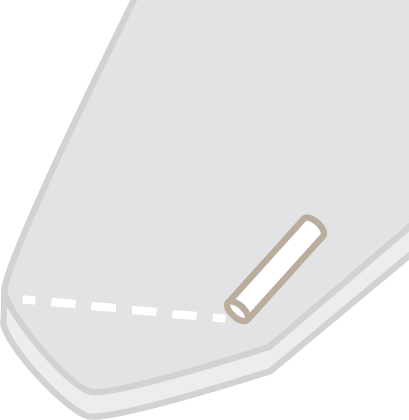
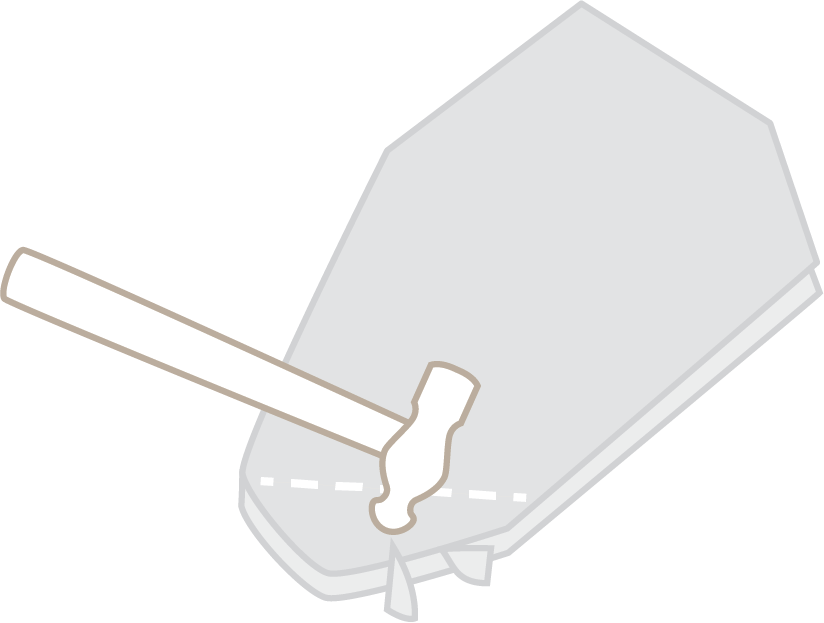
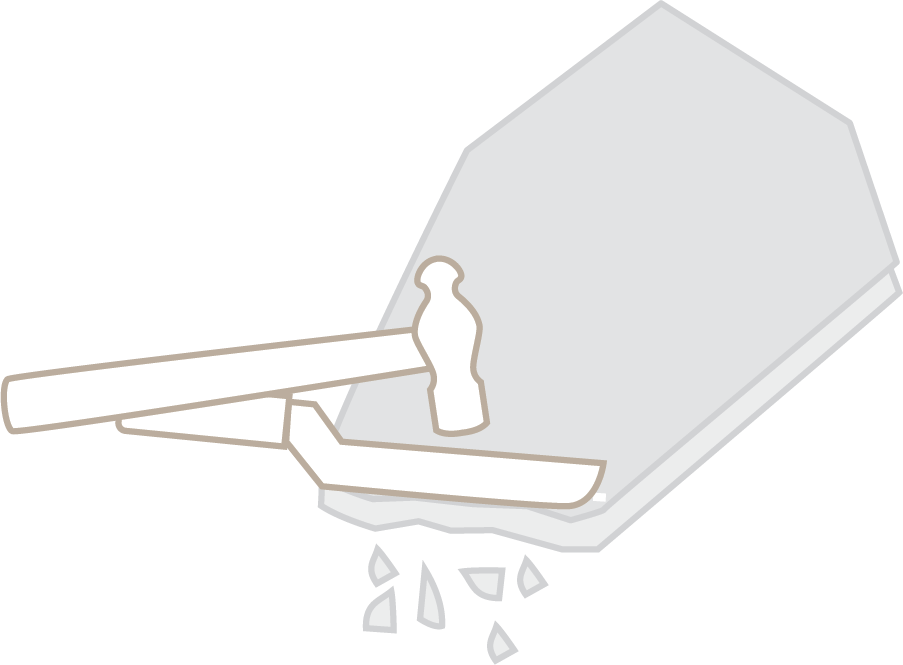
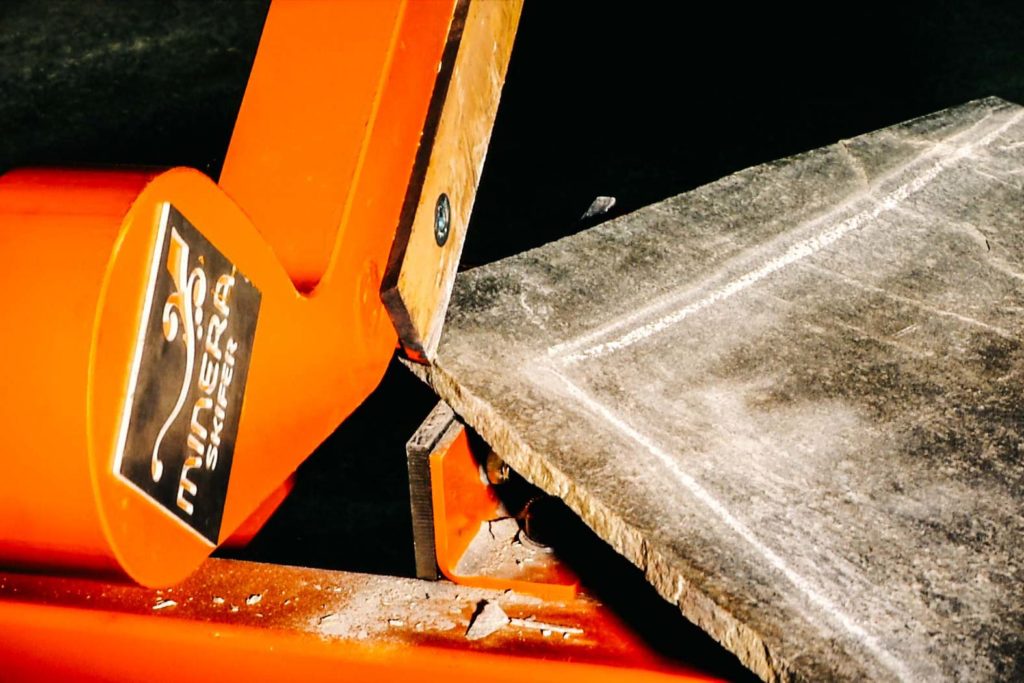
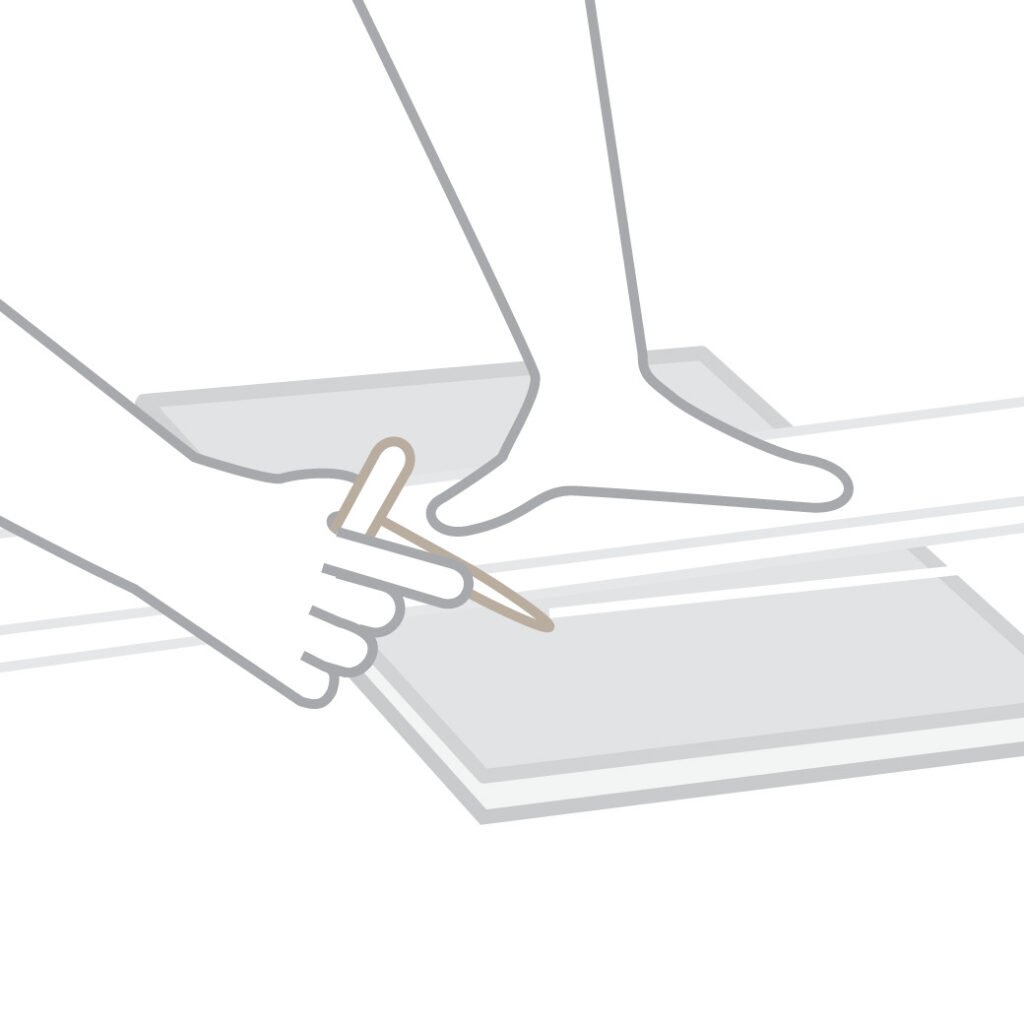
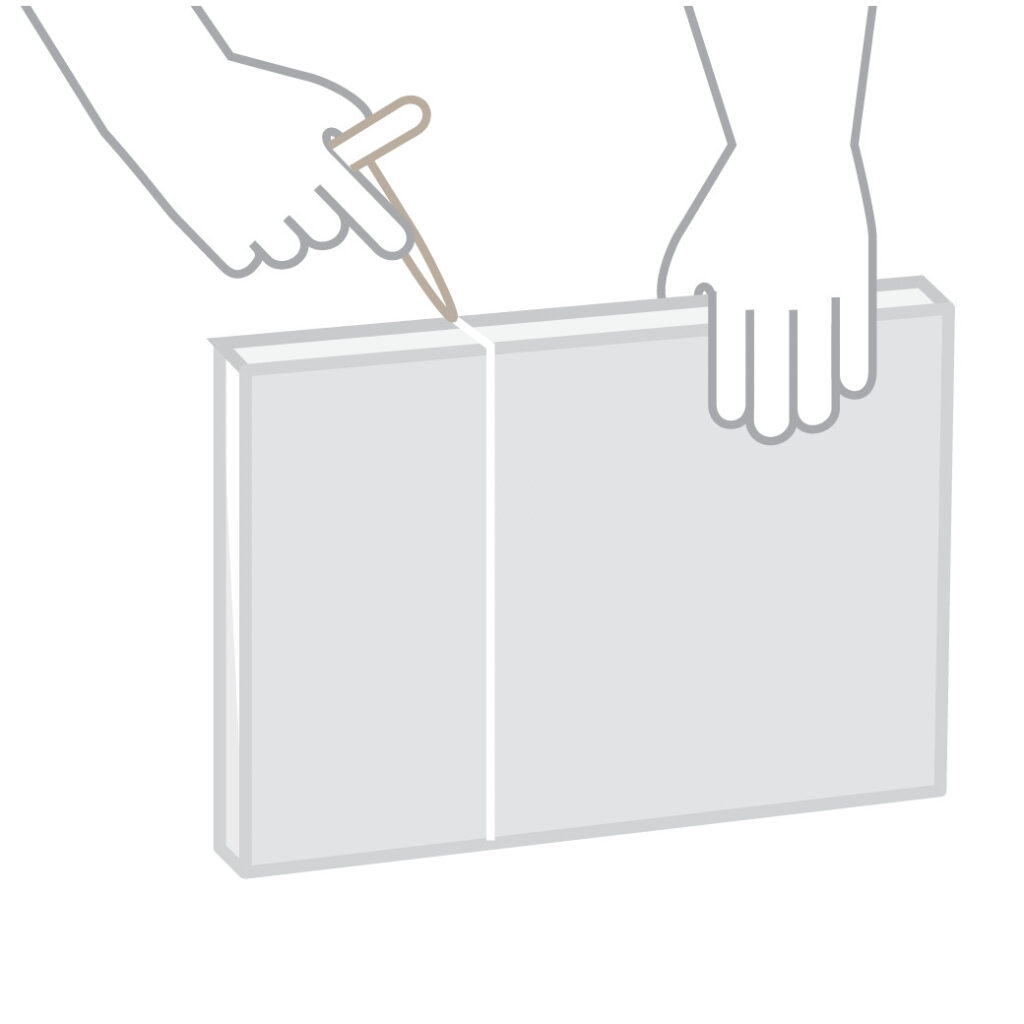
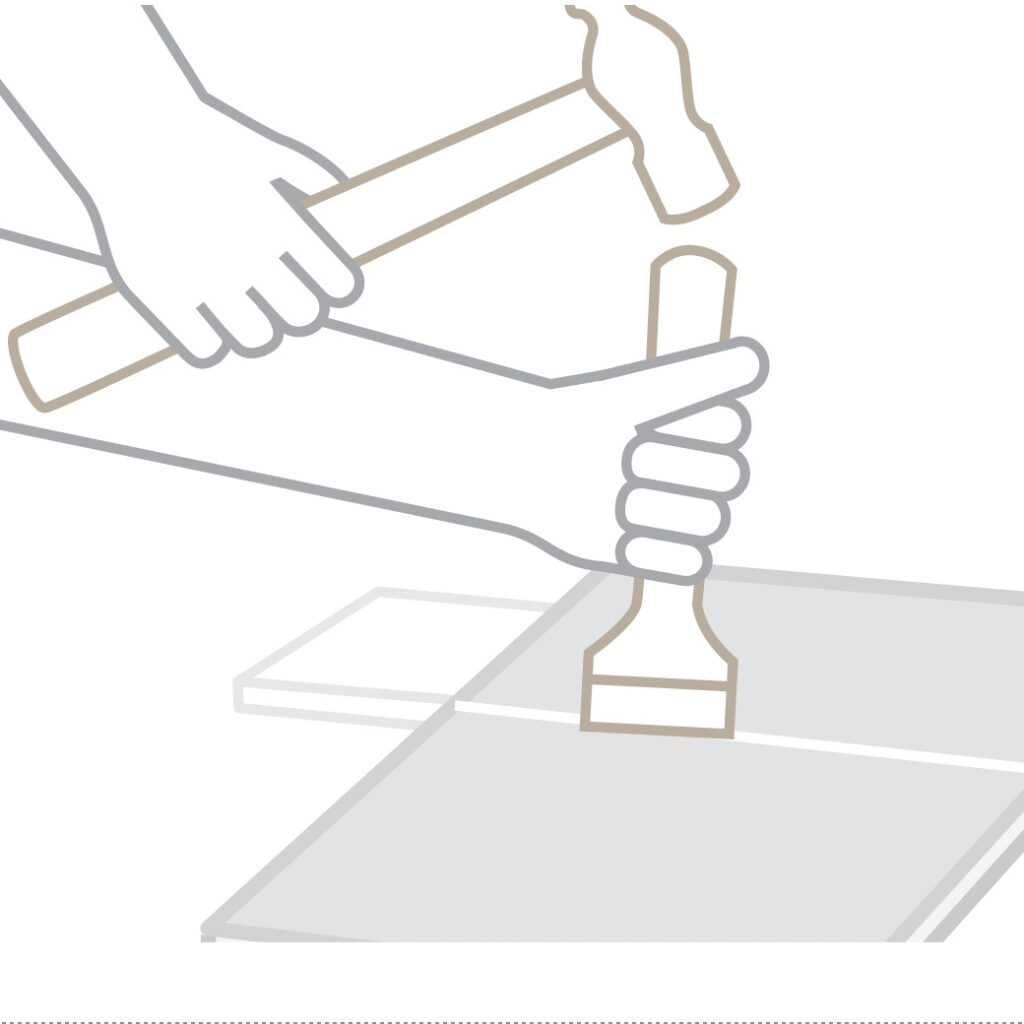
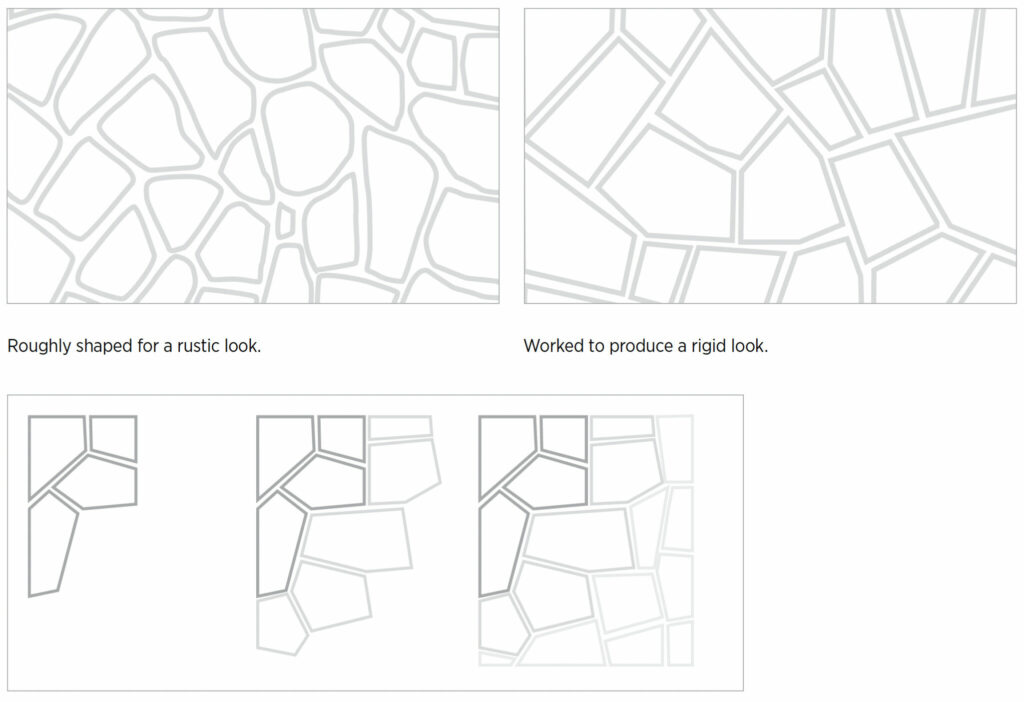
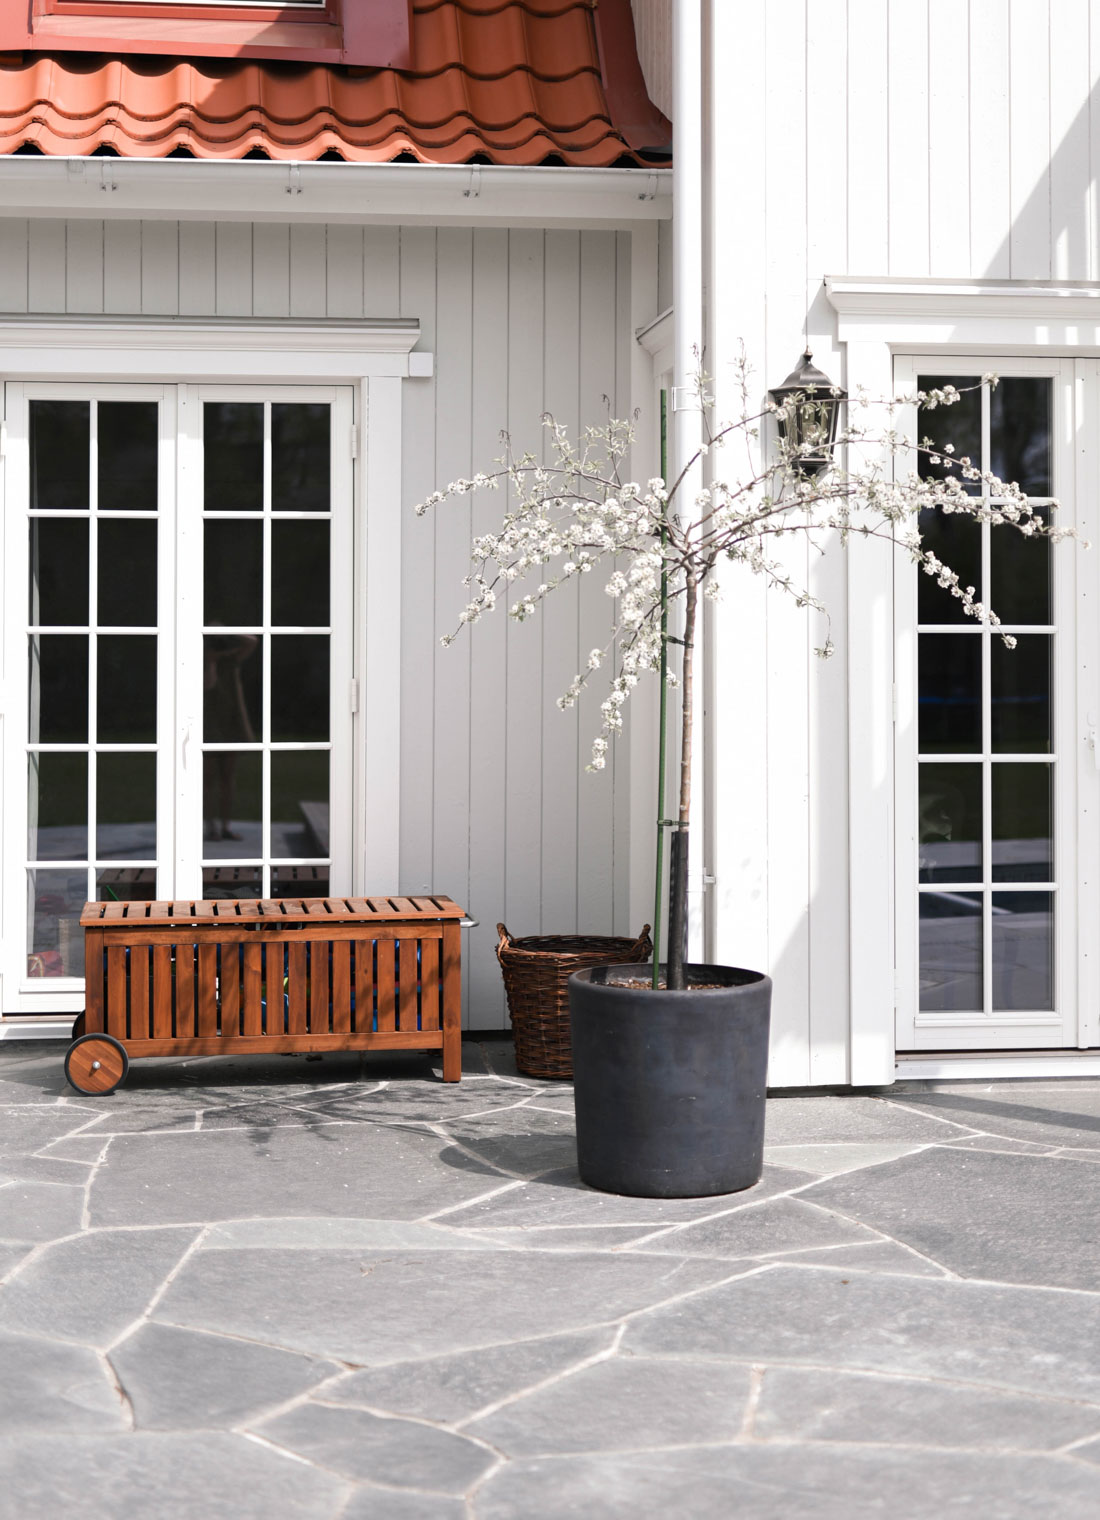
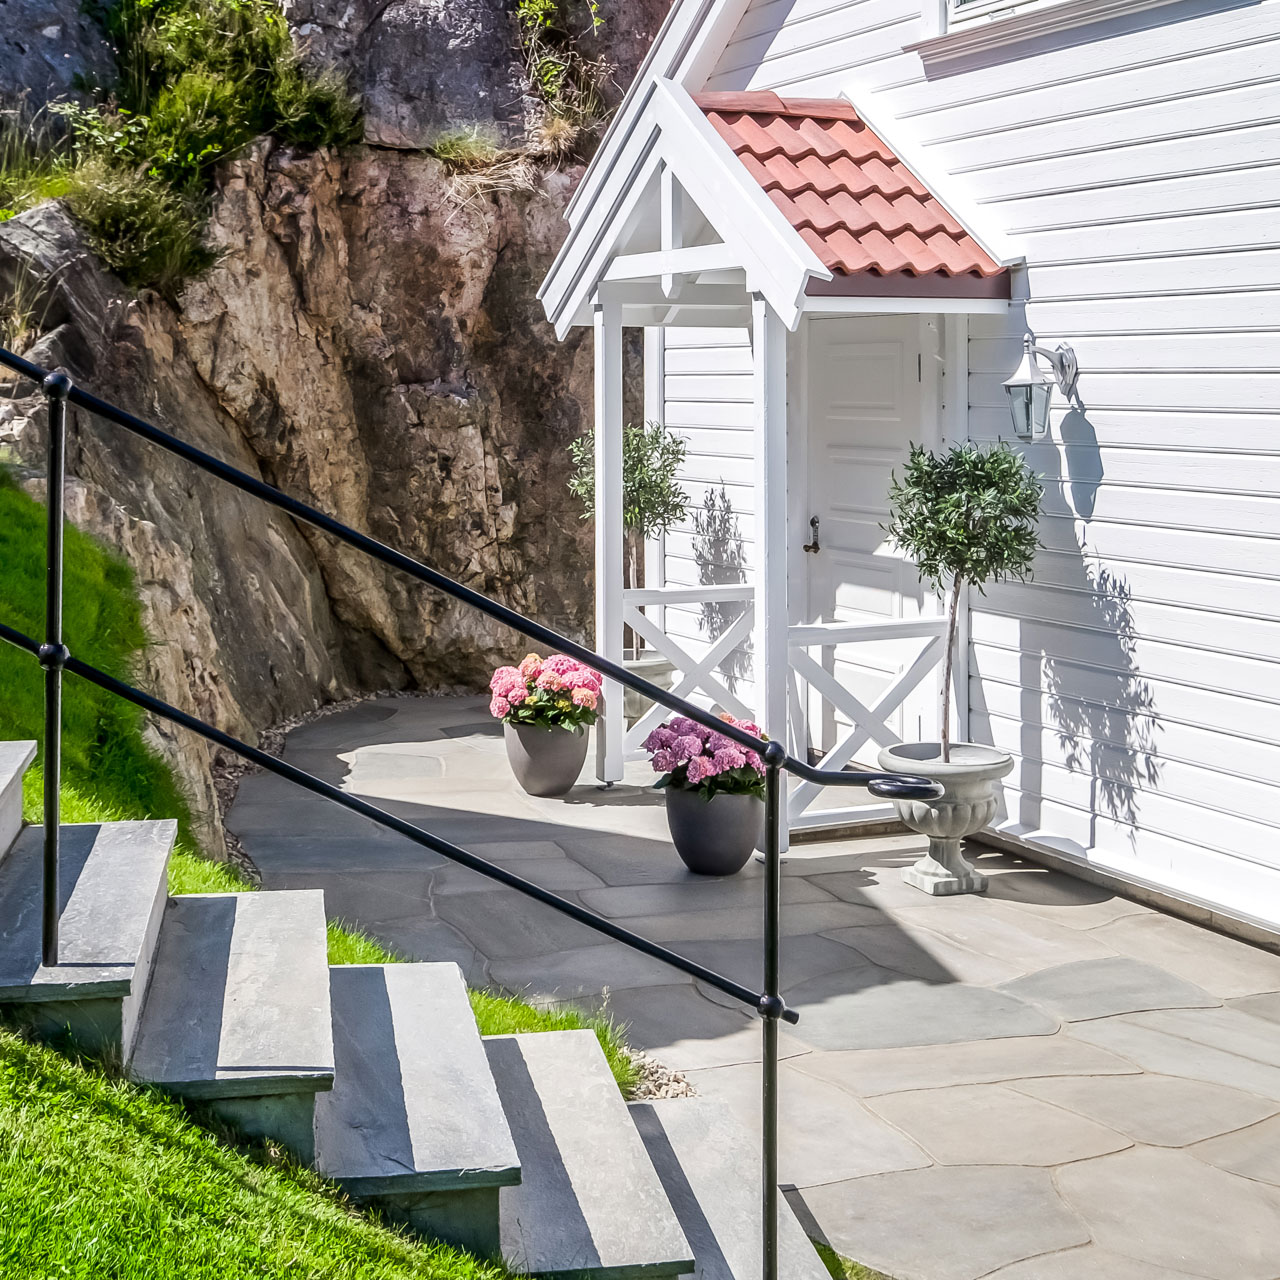
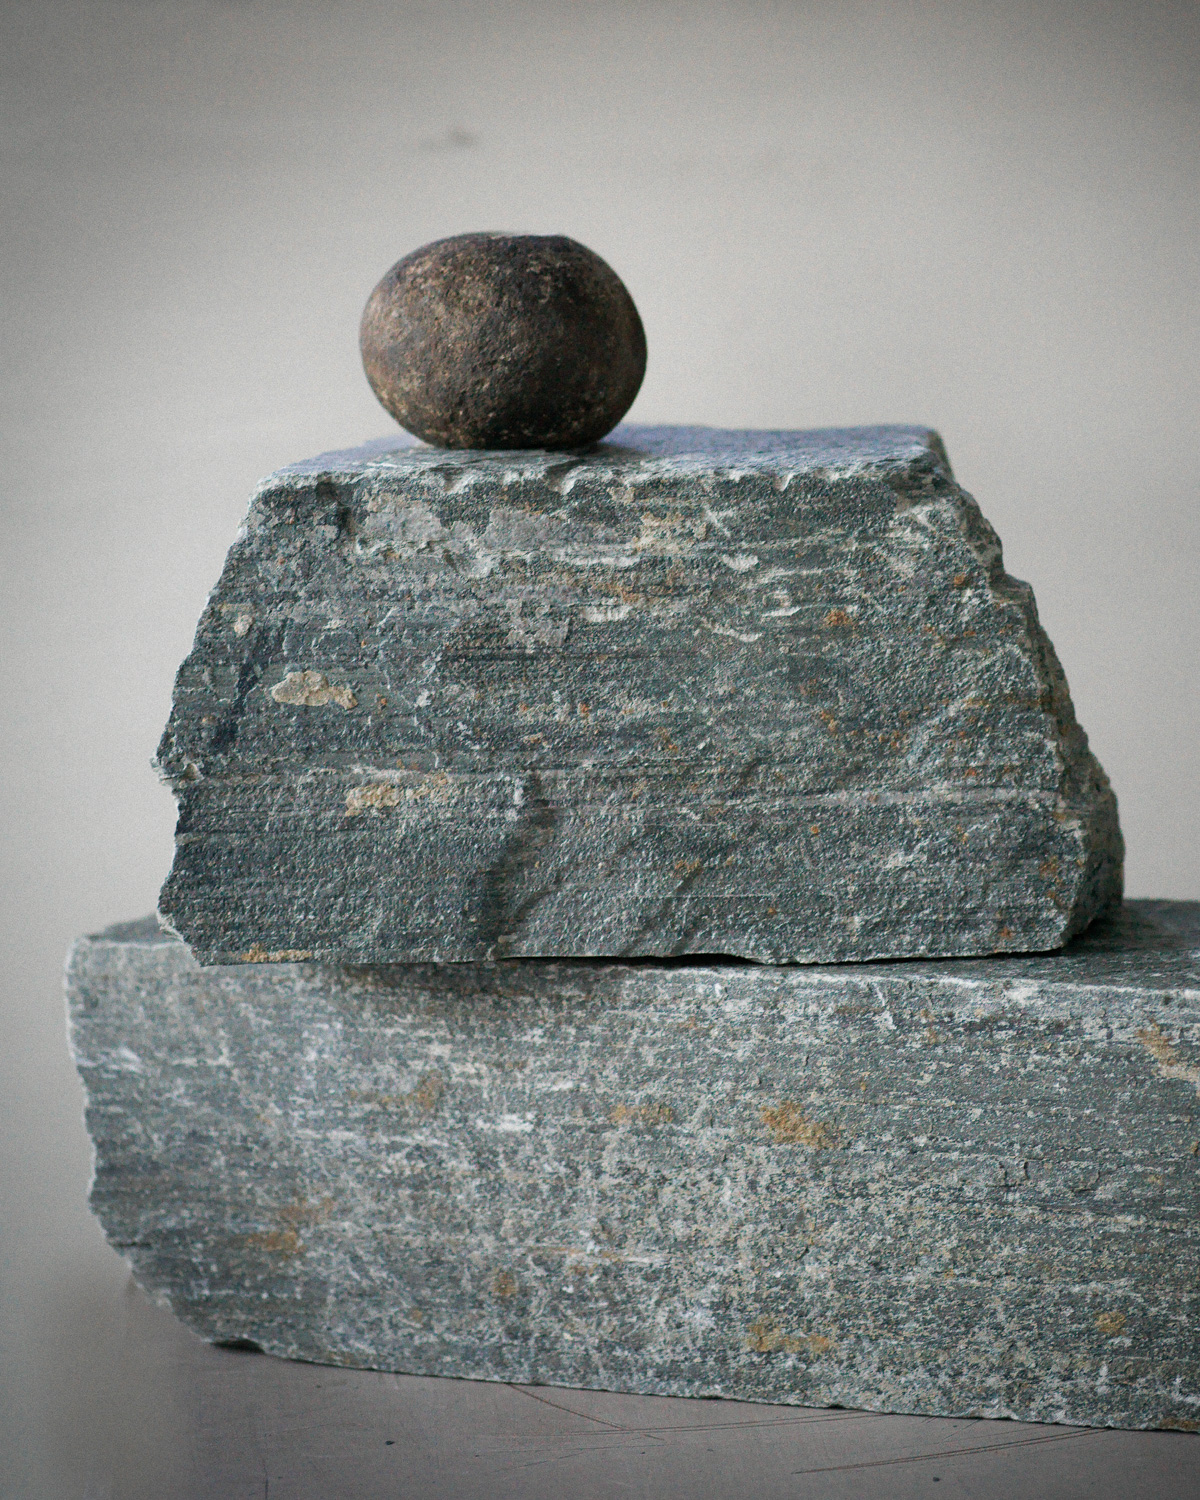
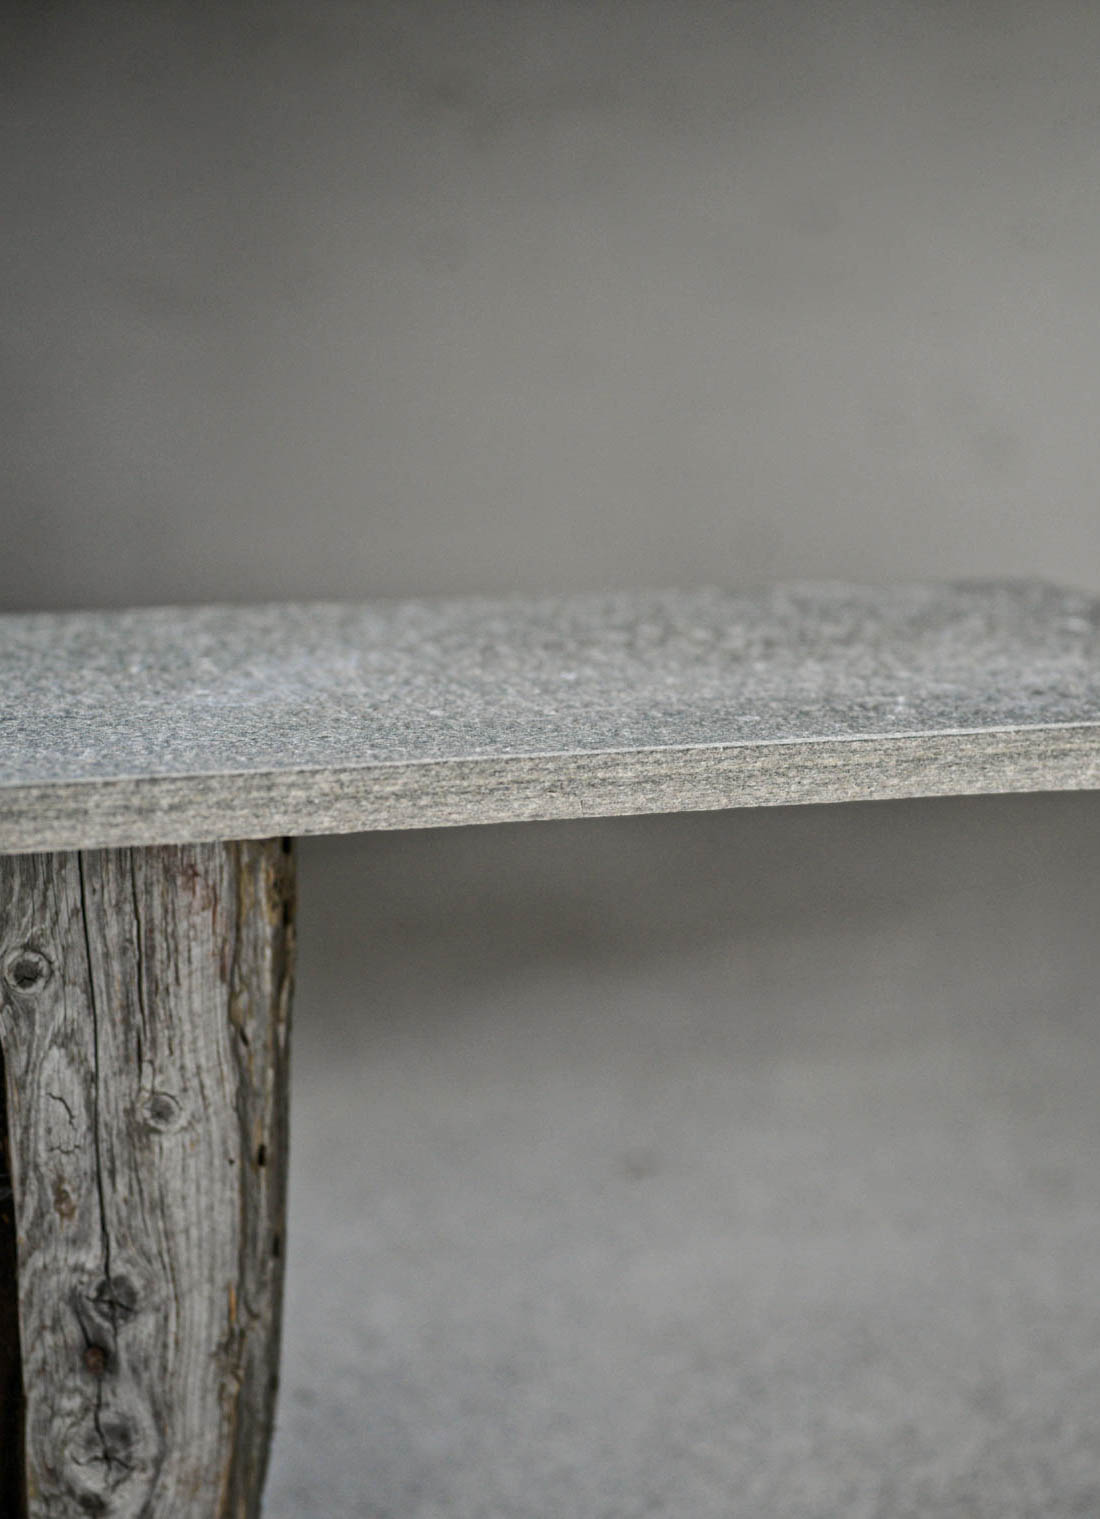
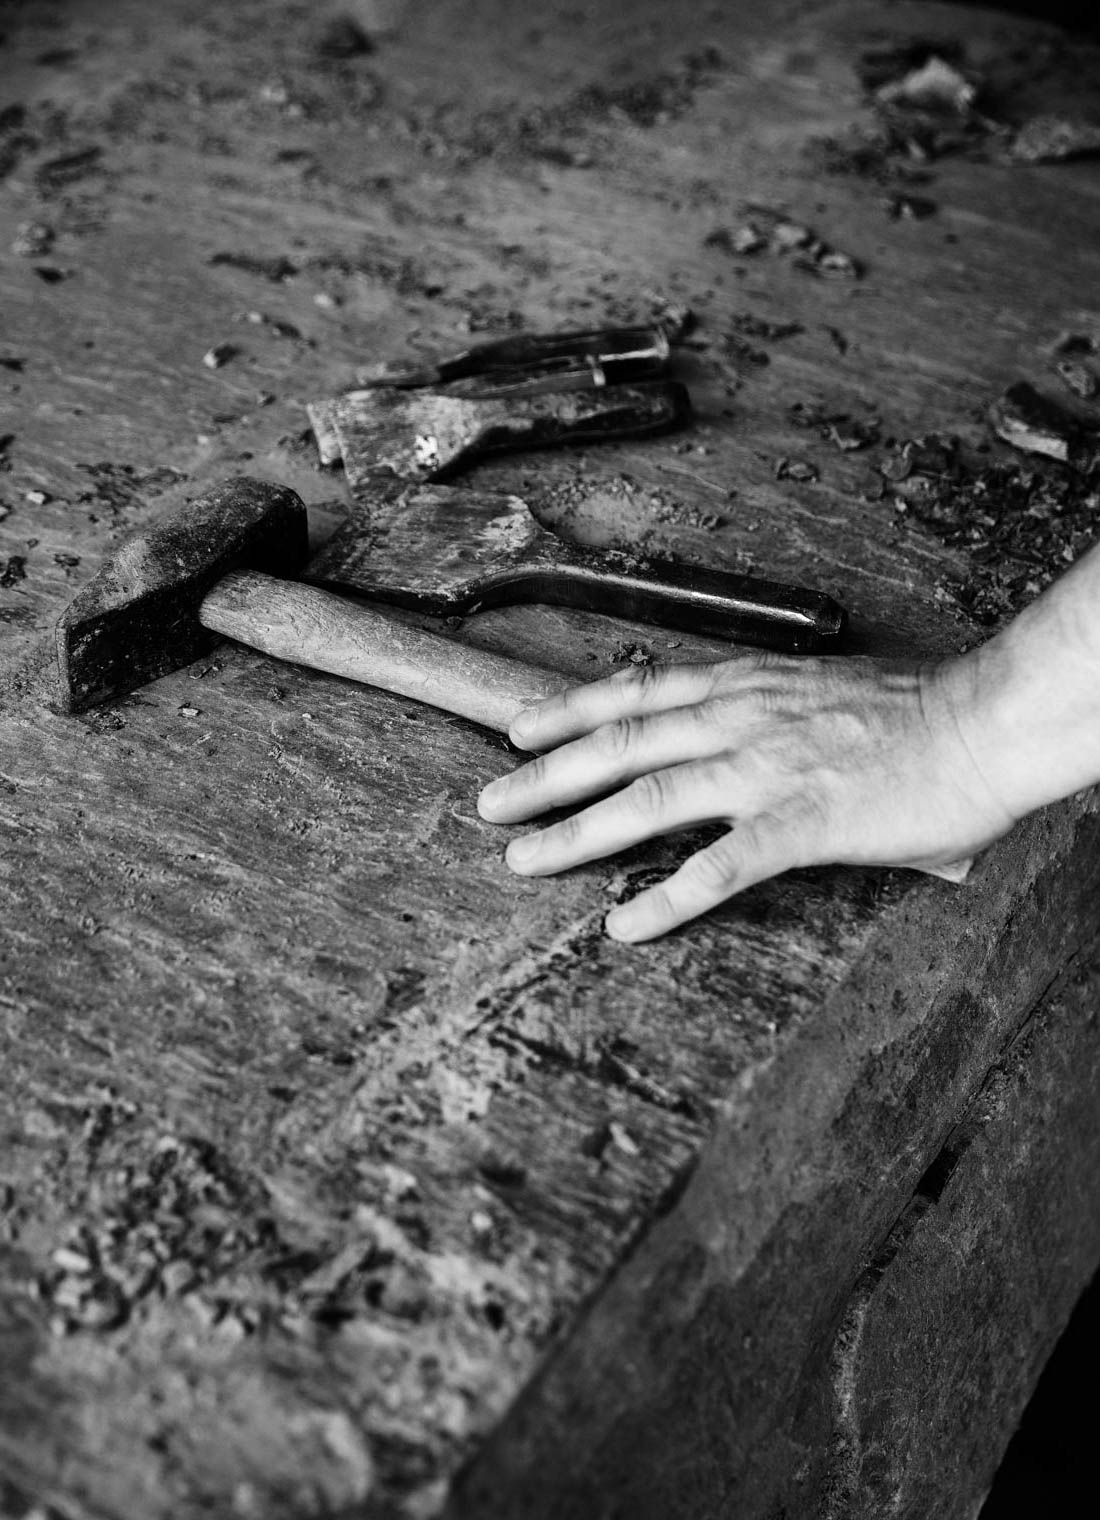
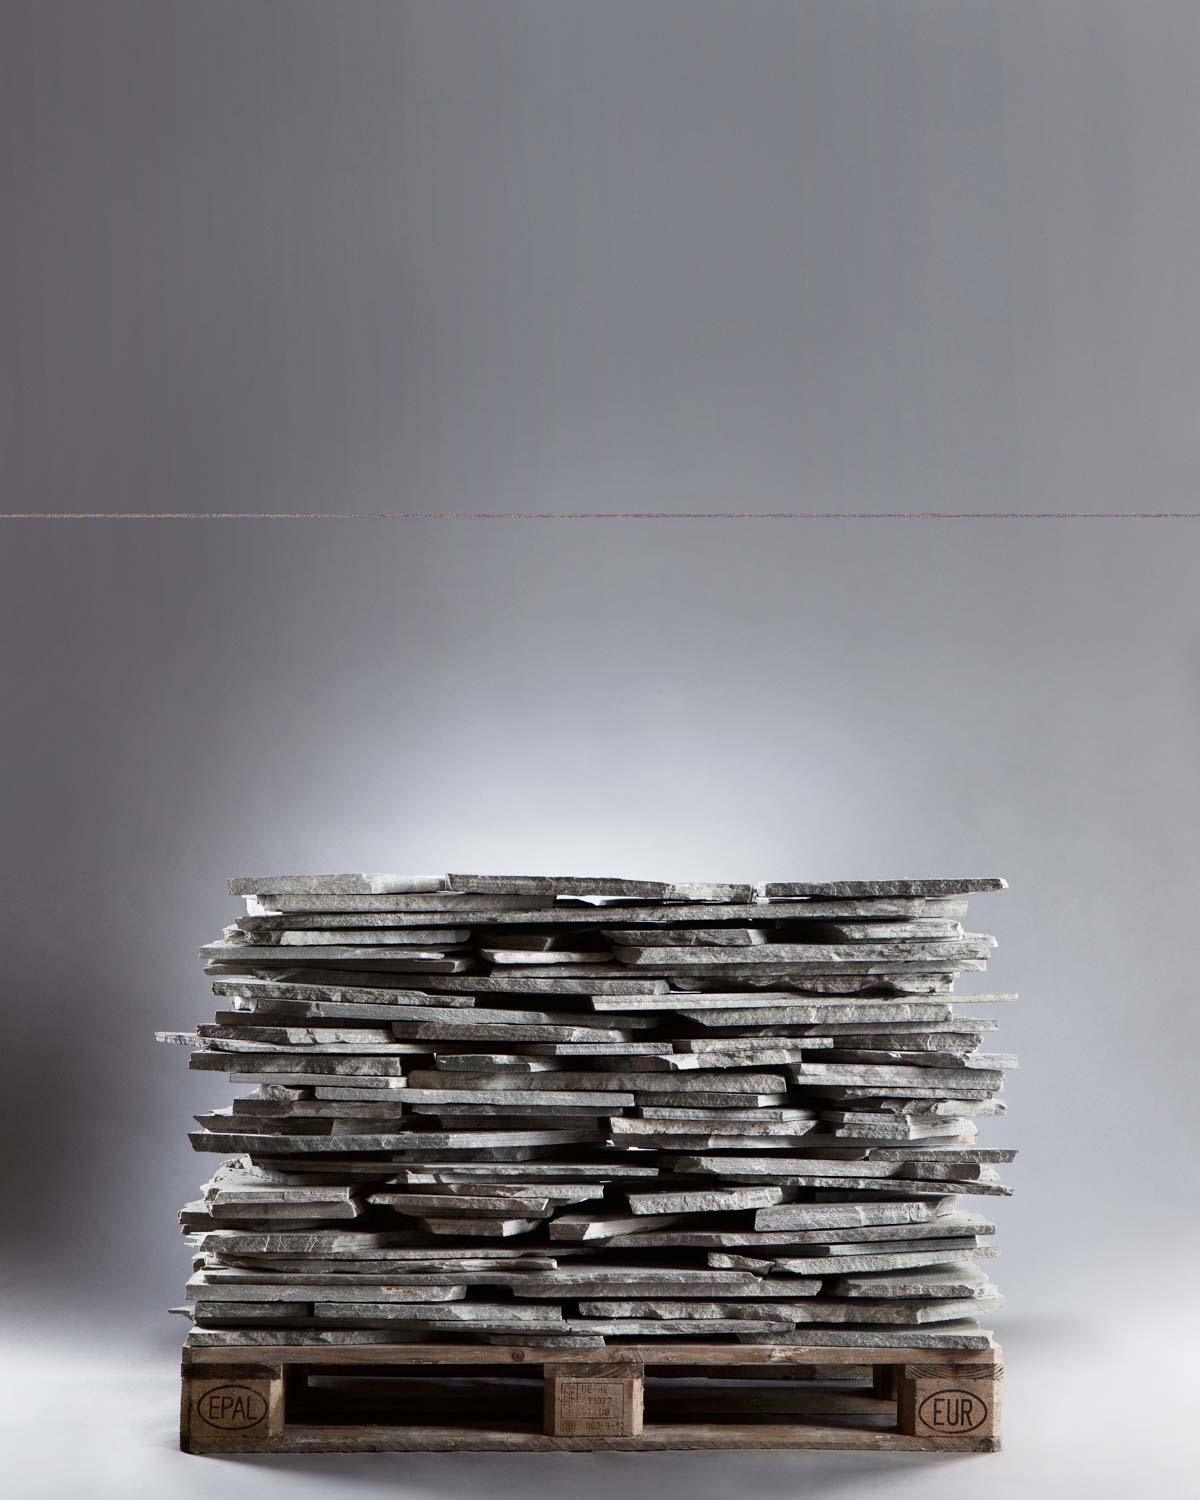
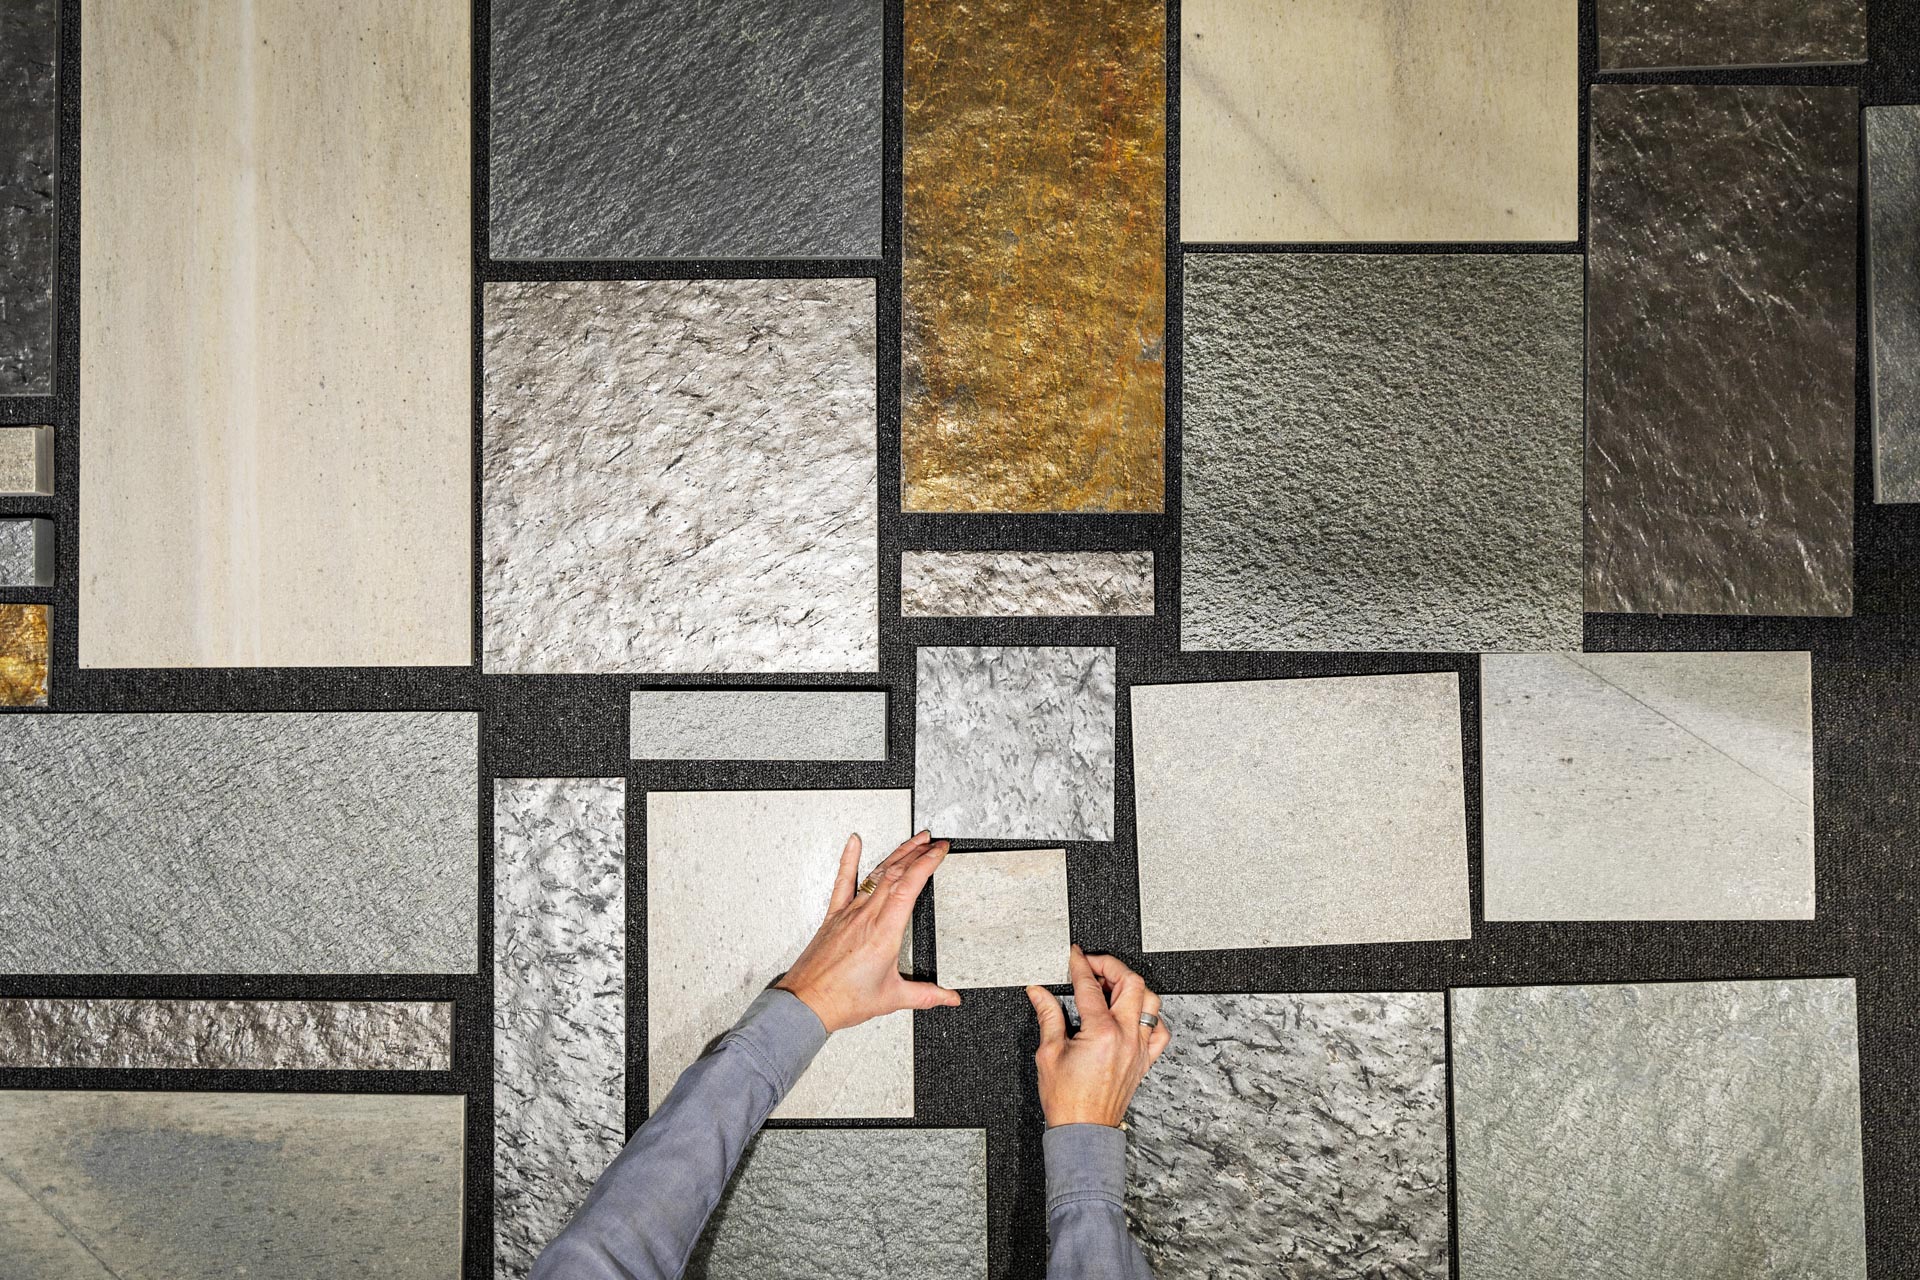
Choose the type of slate and tile dimensions according to how you want the final look to be, and then the thickness according to the load to which you expect the tiles to be exposed. Then you can shape the slate tiles by cutting/shearing/slicing corners and edges. NB: Don't throw away the left-overs! They are great to use as decorative stones, either in plant pots or flower beds.

Here is everything you need to know from the first preparations to the final grouted and sealed slate flagstones.

Choosing size and thickness

A flagstone is a slate slab with an irregular shape and natural surface and edges. They are sorted in different sizes, from small to extra large, and in different thicknesses, from thin slabs to glue on a wall to slabs you can have in your driveway and drive a car on.

For vertical surfaces, such as covering pipes or walls, tiles down to a thickness of 5 mm can be used. For walkways, a thickness of 10 cm or more is sufficient. If you intend to drive a car on the drive, the thickness should be at least 40 cm.

Here is a guideline for suitable thickness in relation to the installation method:

Good groundwork

The underlay to which the slate tiles are to be glued should be stable and level, with good attachment.

Concrete and cement products must have hardened sufficiently (a rule of thumb is one week per centimetre of concrete, depending on the temperature). The finished slate surface must have a drop so that water cannot collect on it.

A cement-based membrane will protect from water penetration of the underlay structure and from salt and limescale deposits. It will prevent moisture being drawn up from the underlay, which is one of the most common reasons for limescale deposits. A membrane is also flexible and contributes to evening-out shrinkage and temperature changes between the slate and the underlay.

Follow the manufacturer’s instructions for using a membrane, glue, grouting and sealing.

Even though slate is technically one of the most durable materials that exist, like any other material, it can be affected by water, which can wash soil and dirt from the surface as well as the underlay.

Preparation

First empty the pallet and spread the tiles out so that you have an idea of how they will look.

Plan so as to use the thickness of the tiles to give the drop you require: use the thickest tiles at the lowest point so you don’t need to build up with glue or mortar more than is necessary.

Find the tiles that fit best together before you begin shaping.

Shaping

Method 1 – Ball hammer and chisel / slate knife

1. Use chalk to mark the part to be hammered away.

Ensure that the stone is stable, for example by placing it on sand.
2. Use a ball-peen hammer and hit the stone diagonally against the underside of the stone.

Do not take off too much at once, but move gradually inwards along the edge.
3. If a more even edge is required, the edge can be easily adjusted with the back side of the ball peen hammer (butt end).

For an more even edge, use a schist knife/chisel.

Method 2 – cutting with slate scissors

Many distributors have Minera slate scissors for loan or hire. The cutters can be dismantled and are easy to transport. Watch the film and learn how to use slate scissors.

  1. Place the paving stone you wish to cut a little below the neighbouring paving stone and mark along the paving stone using chalk.
  2. Cut along the mark using the inner side of the cutters.
  3. Push the paving stone inwards as you cut.
A close-up of a Minera Slate Scissors cutting a flagstone of Oppdal slate.

Method 3 – score and break (only applies to Light Oppdal)

Light Oppdal quartzite slate has the distinctive characteristic that it can be scored and broken in the same way as glass, producing a straight edge (broken) that looks more natural compared with a cut edge.

1. Score a line where the stone is to be broken approx. 1-2mm into the surface on the side of the stone that will be facing upwards. Use a scoring knife or similar.

The score line should be some way in from the edge, equivalent to twice the thickness of the stone. E.g.: if the stone is 30mm thick, the score line should be at least 60mm in from the edge.
2. Transfer the score line to the underside of the stone. It is important to do this accurately so that the lines end up directly opposite each other. You do not need to make the score line very deep – you only need to make a mark.
3. Using a hammer and a bolster chisel, strike repeatedly (gently but firmly) along the score line until it breaks off.

Method 4 Angle grinder

An angle grinder with a diamond blade is an alternative when slate slabs are to be split. This method is noisy and dusty and gives a less precise result. The two methods described above are not difficult to master, so we recommend not to use an angle grinder if you can avoid this.

It’s not necessary to cut through the entire paving stone. It’s enough to just score a line about halfway through the paving stone and then snap it.

A terrace with jacuzzi and dining table. It is paved with Light Oppdal flagstones.
The lovely garden of @jannevedvannet with Light Oppdal flagstones glued to the terrace deck.

The unwritten “rules”

Paving stones can vary in appearance depending on how they are shaped, the grouting (both width and what they are filled with), and the pattern in which they are laid.

Luckily, there are no hard and fast rules about what is good or correct. So you can decide for yourself how you want your slate paving to look.

Avoid “intersecting” joints with four tiles meeting to form a cross.

Angels at corners should be grater that 45 degrees.

Avoid ressing one tile into another.

Avoid long narrow tiles.

No continious joints (they should be interrupted after three to four slabs as shown here).

Each slab should have minimum 5 sides. Each side should be minimum 10 cm.

Lay according to taste!

Begin laying the paving stones from a corner and then fan outwards.

Laying

1. Preparation

Slate flagstones can be delivered with an already shaped and even thickness. But if you use tiles of varying thickness, e.g. 1-2 cm, it’s important to use a glue that is designed for varying thicknesses of the glue layer.

It’s also important to begin by gluing the thickest slab first. This gives the greatest chance of avoiding too little space for the glue under the tiles, which may happen if you start with the thinnest.

Don’t begin to glue until you are sure the underlay has hardened sufficiently.

To get the best result, make sure that the underlay and the reverse side of the slate are both clean and free of dust and dirt.

When tiling larger areas, it’s a good idea to shape and glue in several stages. A small area should be shaped first, marking up and numbering the flagstones before they are removed, the underlay is cleaned and the tiles are glued on.

2. Gluing

Begin laying from one corner and fan out from the corner.

The glue should be applied with a bricklayer’s trowel or toothed glue spatula. A curved, toothed trowel is recommended for gluing outdoors. On gluing slate tiles of varying thickness, it’s best to use a toothed spatula or trowel with large teeth.

Spread glue on the reverse side of the slate tile and on the surface of the underlay for complete coverage. 100 per cent glue coverage under the slate slab is important, especially outdoors, as water can penetrate the cavities under the surface, which can result in frost damage.

The slate slabs should be adjusted so they lie flush with those already laid. If you glue the floor, you should check that it is level and has the right drop using a spirit level or long wooden plank.

3. Grouting

When the entire area has been laid, it should be grouted with a suitable grouting material – in other words, a grouting material designed for natural stone.

For light Oppdal slate flagstones, a cement coloured grouting is normally used. If you wish to emphasise the slate pattern, you can use a darker grouting material. You can also use light or dark grouting for Offerdal slate (this slate i dark grey). Grouting can take place when the glue has hardened sufficiently, at the earliest after 24 hours at normal temperature.

A cement-based grouting material will adhere better to a cut edge than a sawn edge.

Grouting is best applied using a grouting tool or trowel. Make sure that the grout is filled completely and that rinsing after grouting is done carefully so that the grouting material is not drawn down.

Wash the slate slabs well and repeat a number of times after grouting. Change the water frequently. Poor washing will result in a film over the surface.

You should consider treating the new tiled surface with a sealant to prevent grease stains, etc. Take care to choose the right product, as inferior products can damage the slate’s appearance. A few easy and very simple measures will maintain the slate’s attractive appearance for many years.

Normal technical building requirements for elastic grouting, correct drop for a bathroom floor, membranes in wetrooms, etc. should be taken into account.

If there are complicated details, or if incorrect laying may have adverse consequences, the work should be left to a professional.

4. Cleaning after grouting

Wash with a sponge and clean water. A bucket on wheels and a sponge attached to a board will make this easier. The sponge should be moved diagonally across the grouting. Keep on washing repeatedly until the tiled surface is clean and free of cement film.

If you don’t manage to get the surface completely clean to begin with, you can wash it with an acidic cleaning agent the next day. After washing with an acidic agent, rinse thoroughly with clean water to neutralise the surface. Our distributors usually stock this type of cleaning agent.

5. Sealing

When slate tiles are laid on interior floors, it is normal to use a sealant. In general, there are three different sealing principles:

  • Natural soap flakes with a good fat content.
  • Acrylic-based sealants
  • Water or solvent-based sealants

Prior to sealing, any cement film, marks and spots remaining after construction must be removed. The surface must be clean and dry.

Heating cables may not be connected.

Natural soap flakes should be dissolved in hot water and applied to the slate surface. For a surface that is resistant to marks and spots, it should be polished once it is dry. Daily cleaning can be with the same soap in a weaker concentration. The product is environmentally friendly. The floor can be scrubbed using a cleaning agent when required, and then sealed again using natural soap.

Acrylic-based sealants should be applied in two or three thin layers. For a smoother and glossier surface, more layers can be applied. One disadvantage is that acrylic sealing is worn the most where there is most footfall. The acrylic sealing can be removed and then re-applied as required. For everyday maintenance, use a soap product from the same manufacturer, to ensure that the products used are compatible.

Water- or solvent-based sealants, and silane sealants Using a transparent sealant will not change the appearance of the slate. This product provides excellent protection against grease marks. It is approved for use on surfaces where food is prepared, so it can also be used for kitchen worktops. However, once the product has been applied, it cannot be removed! So make sure you don’t use a sealant containing a colour enhancer that may change the aesthetic appearance of the slate.

Laying on mortar

Laying on mortar can take place on a layer of gravel, rough-cast concrete or levelled concrete slabs. The concrete slabs must be completely hardened. Lay a double layer of plastic on the concrete, to absorb movement. Large areas can be divided up using elastic grouting. Normally each area should not be more than 40 sqm. Also make sure that the surface doesn’t become compressed between walls, at corners and columns. The bearing layer must be well-drained.

The mortar should be applied in a layer of around 30-50 mm. It should be mixed to a moist consistency and well-compressed. A layer of glue or special adhesive is applied to the surface of the mortar and the reverse side of the slate. The slate should be secured in place using a rubber mallet.

We are sorry, but you are using a version of Internet Explorer that is not supported on this site. The browser is no longer updated by Microsoft and may therefore pose a security risk. We recommend that you use a different browser. Welcome back!