Jump to main content Jump to navigation Jump to footer

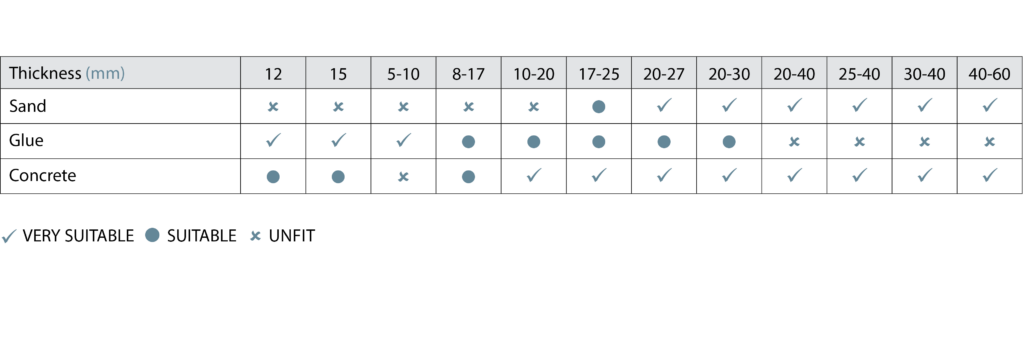
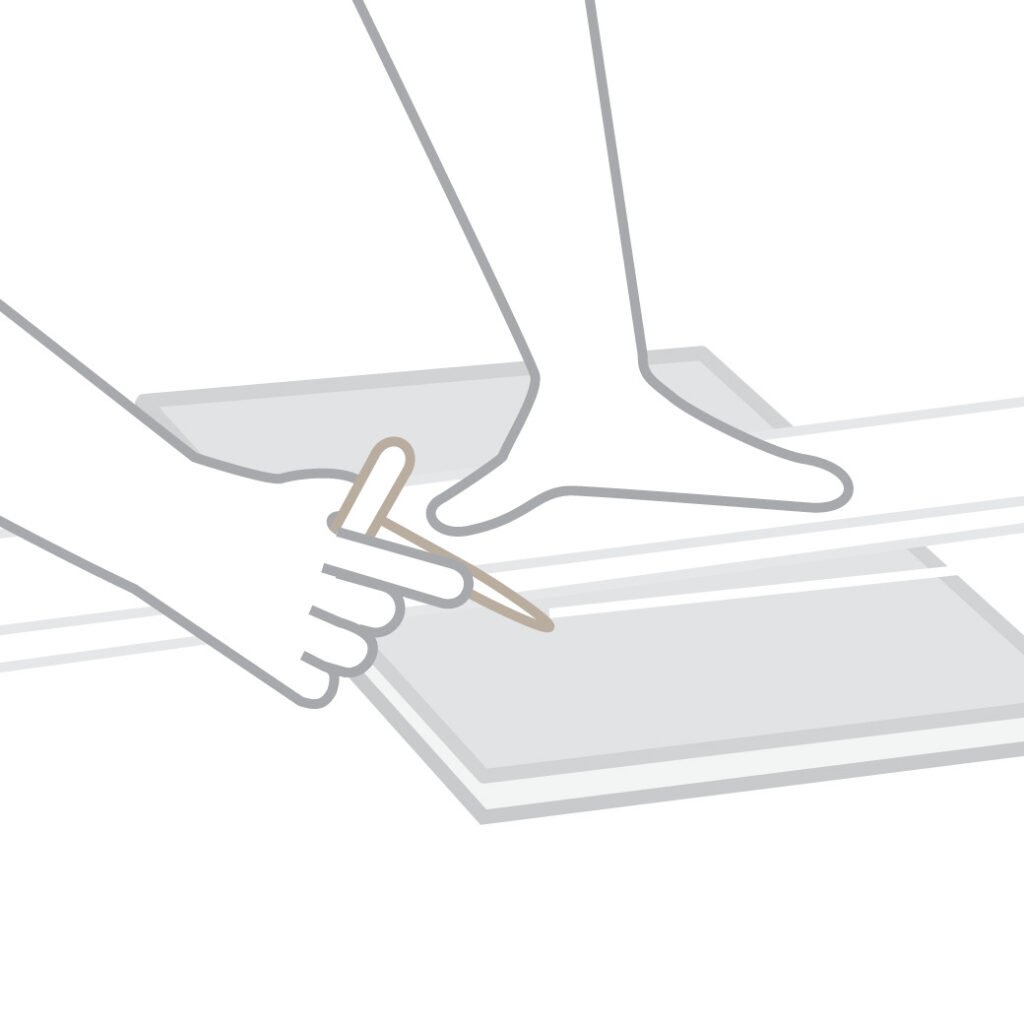
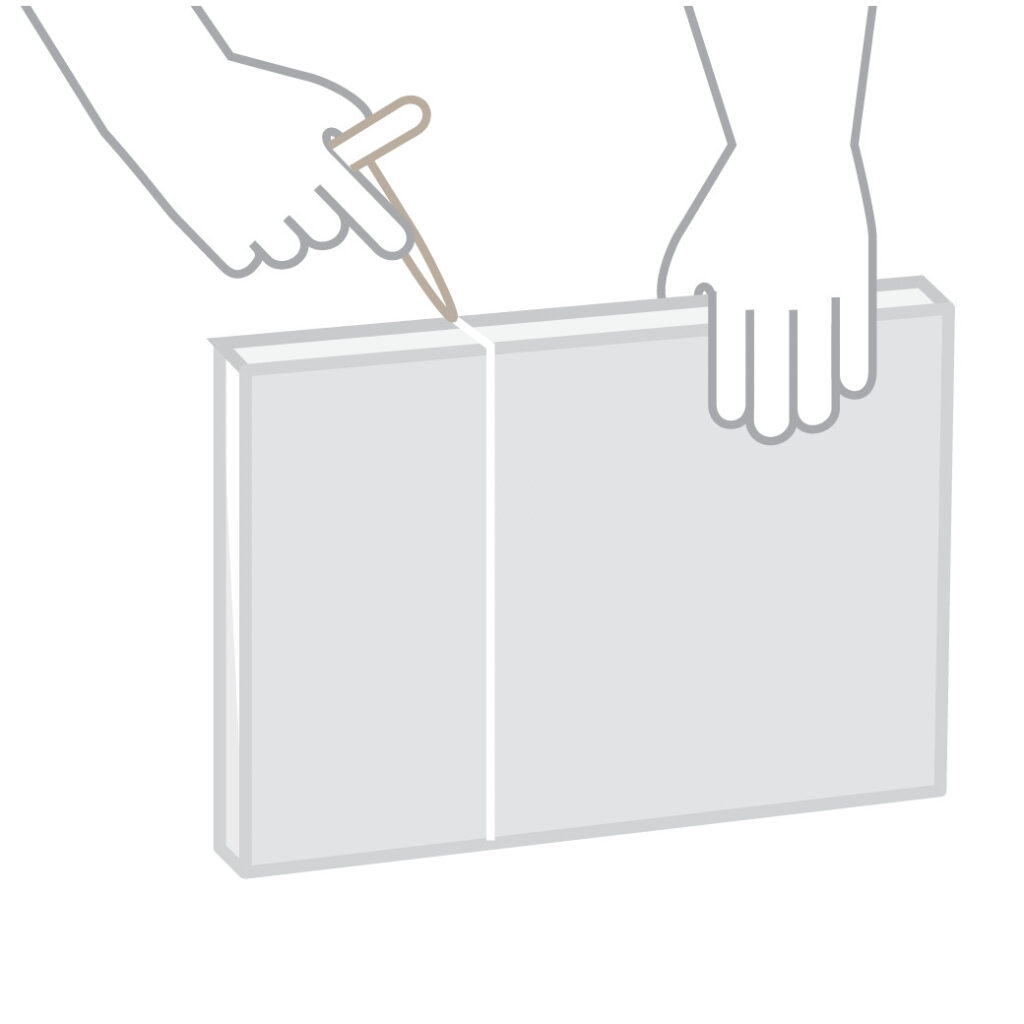
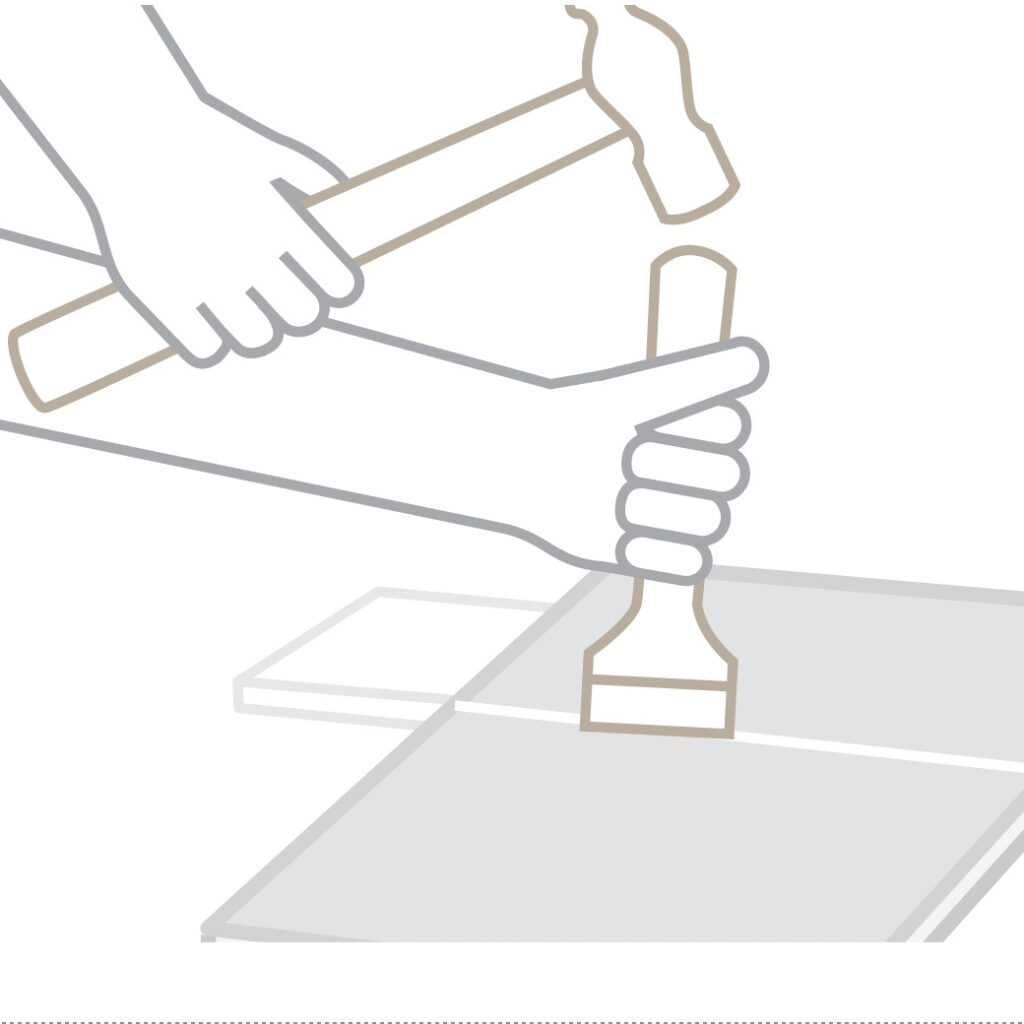
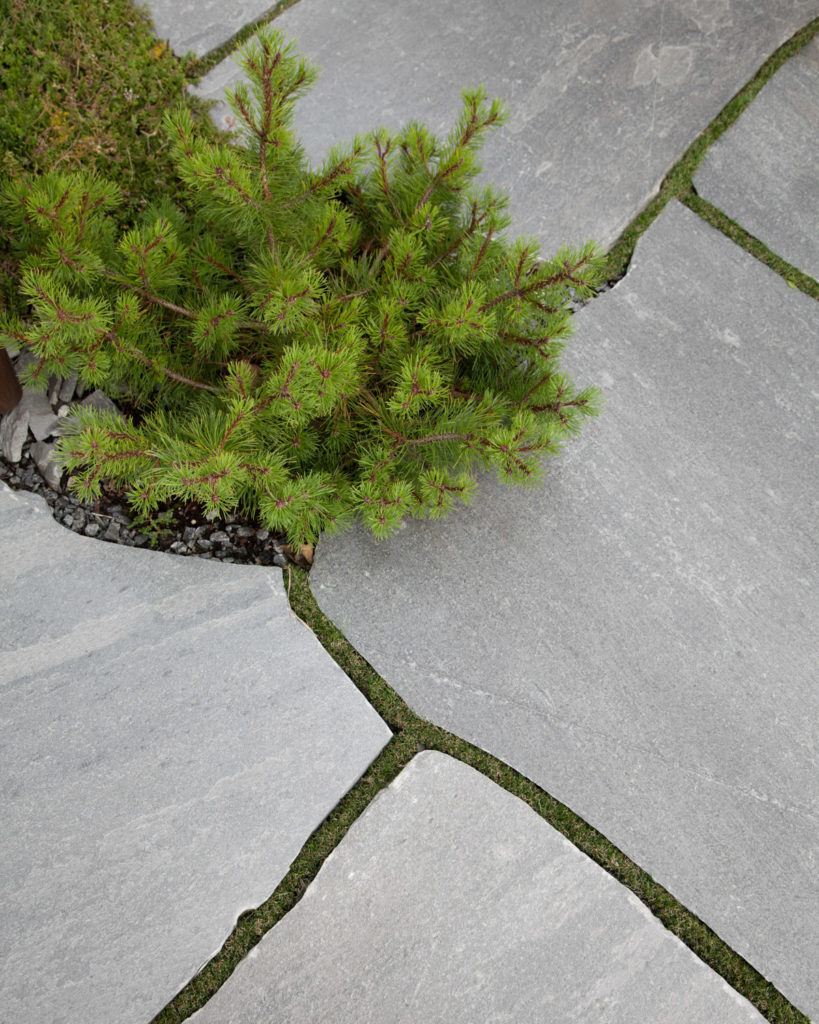
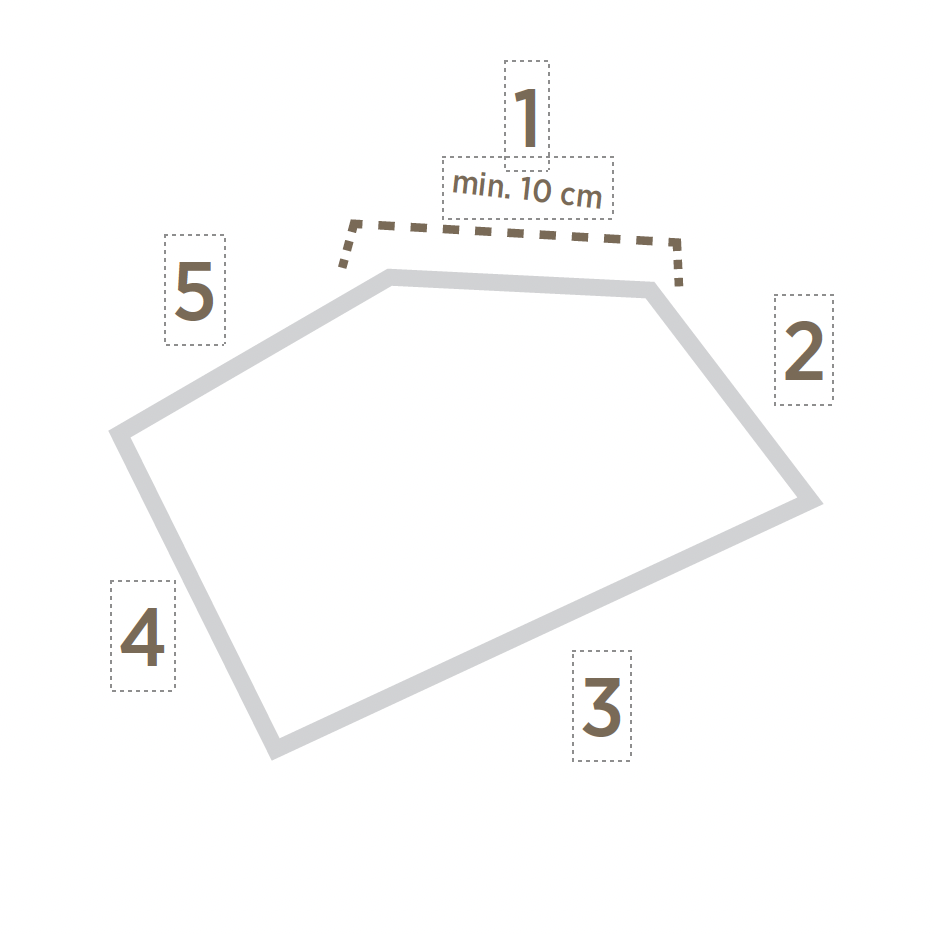
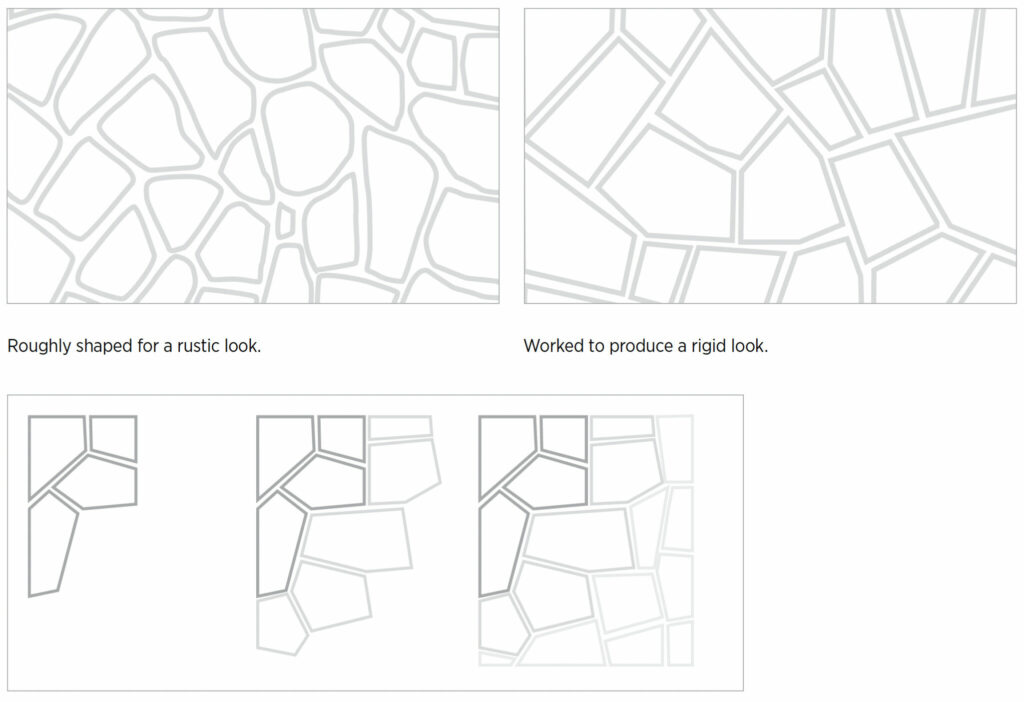
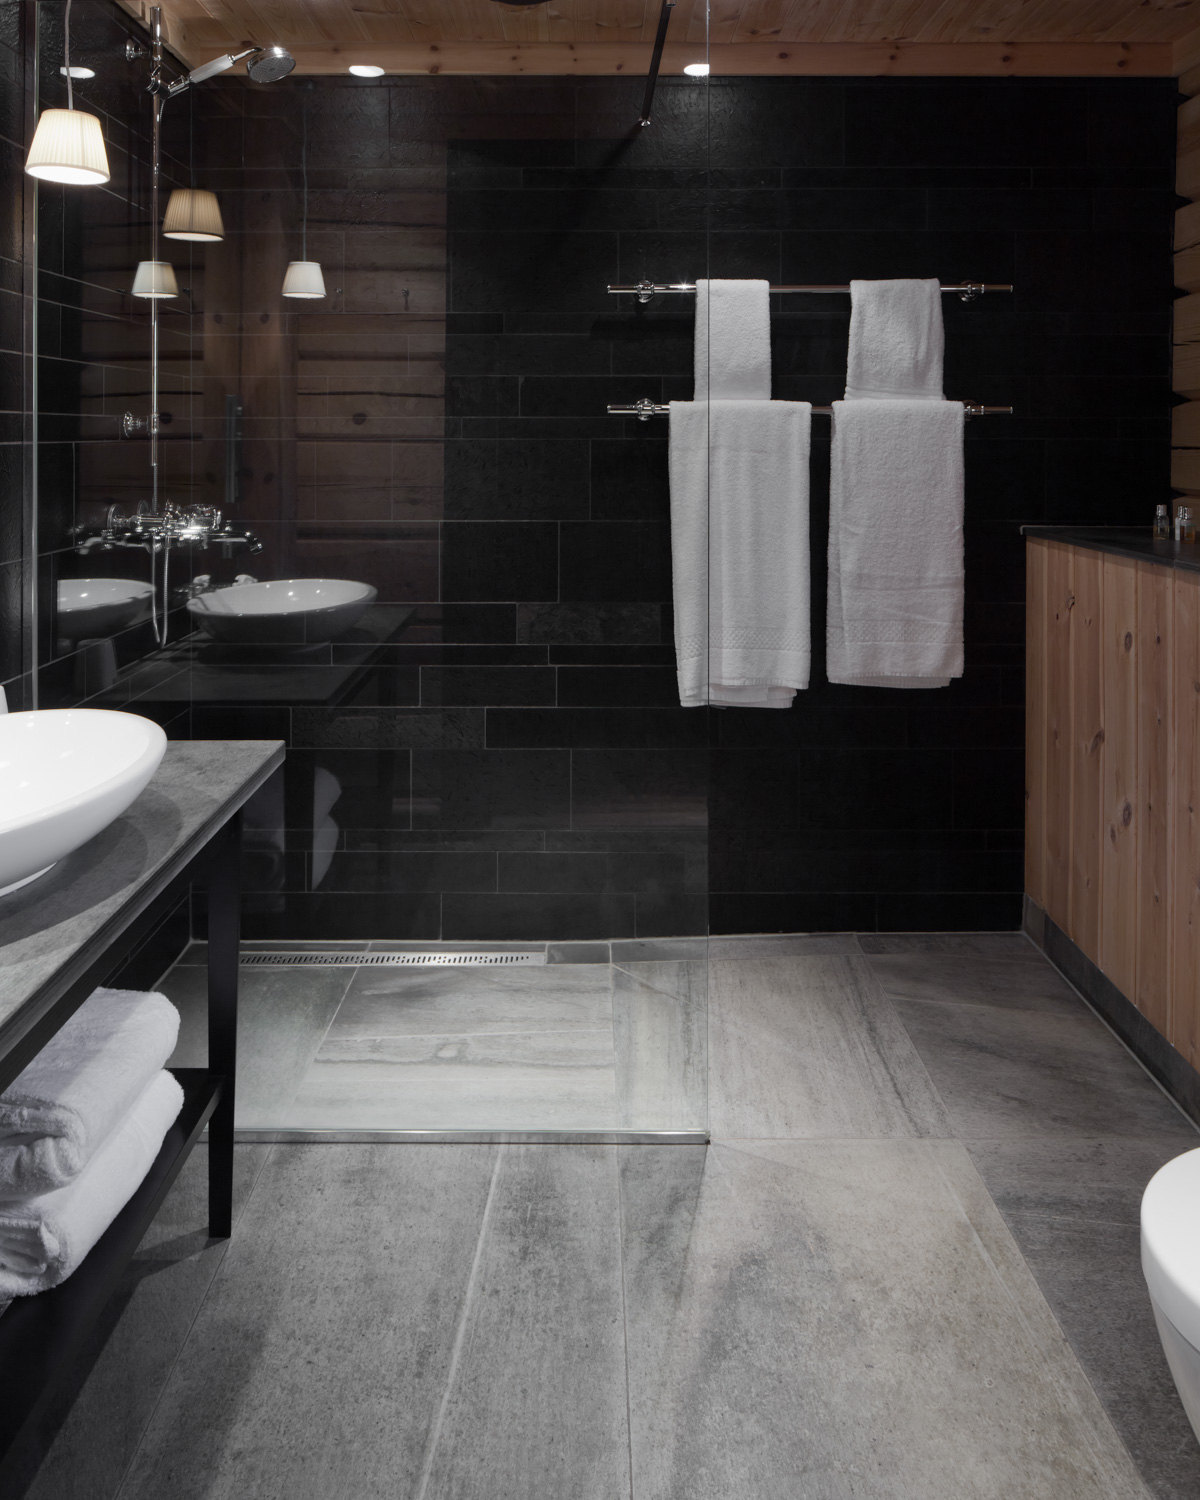
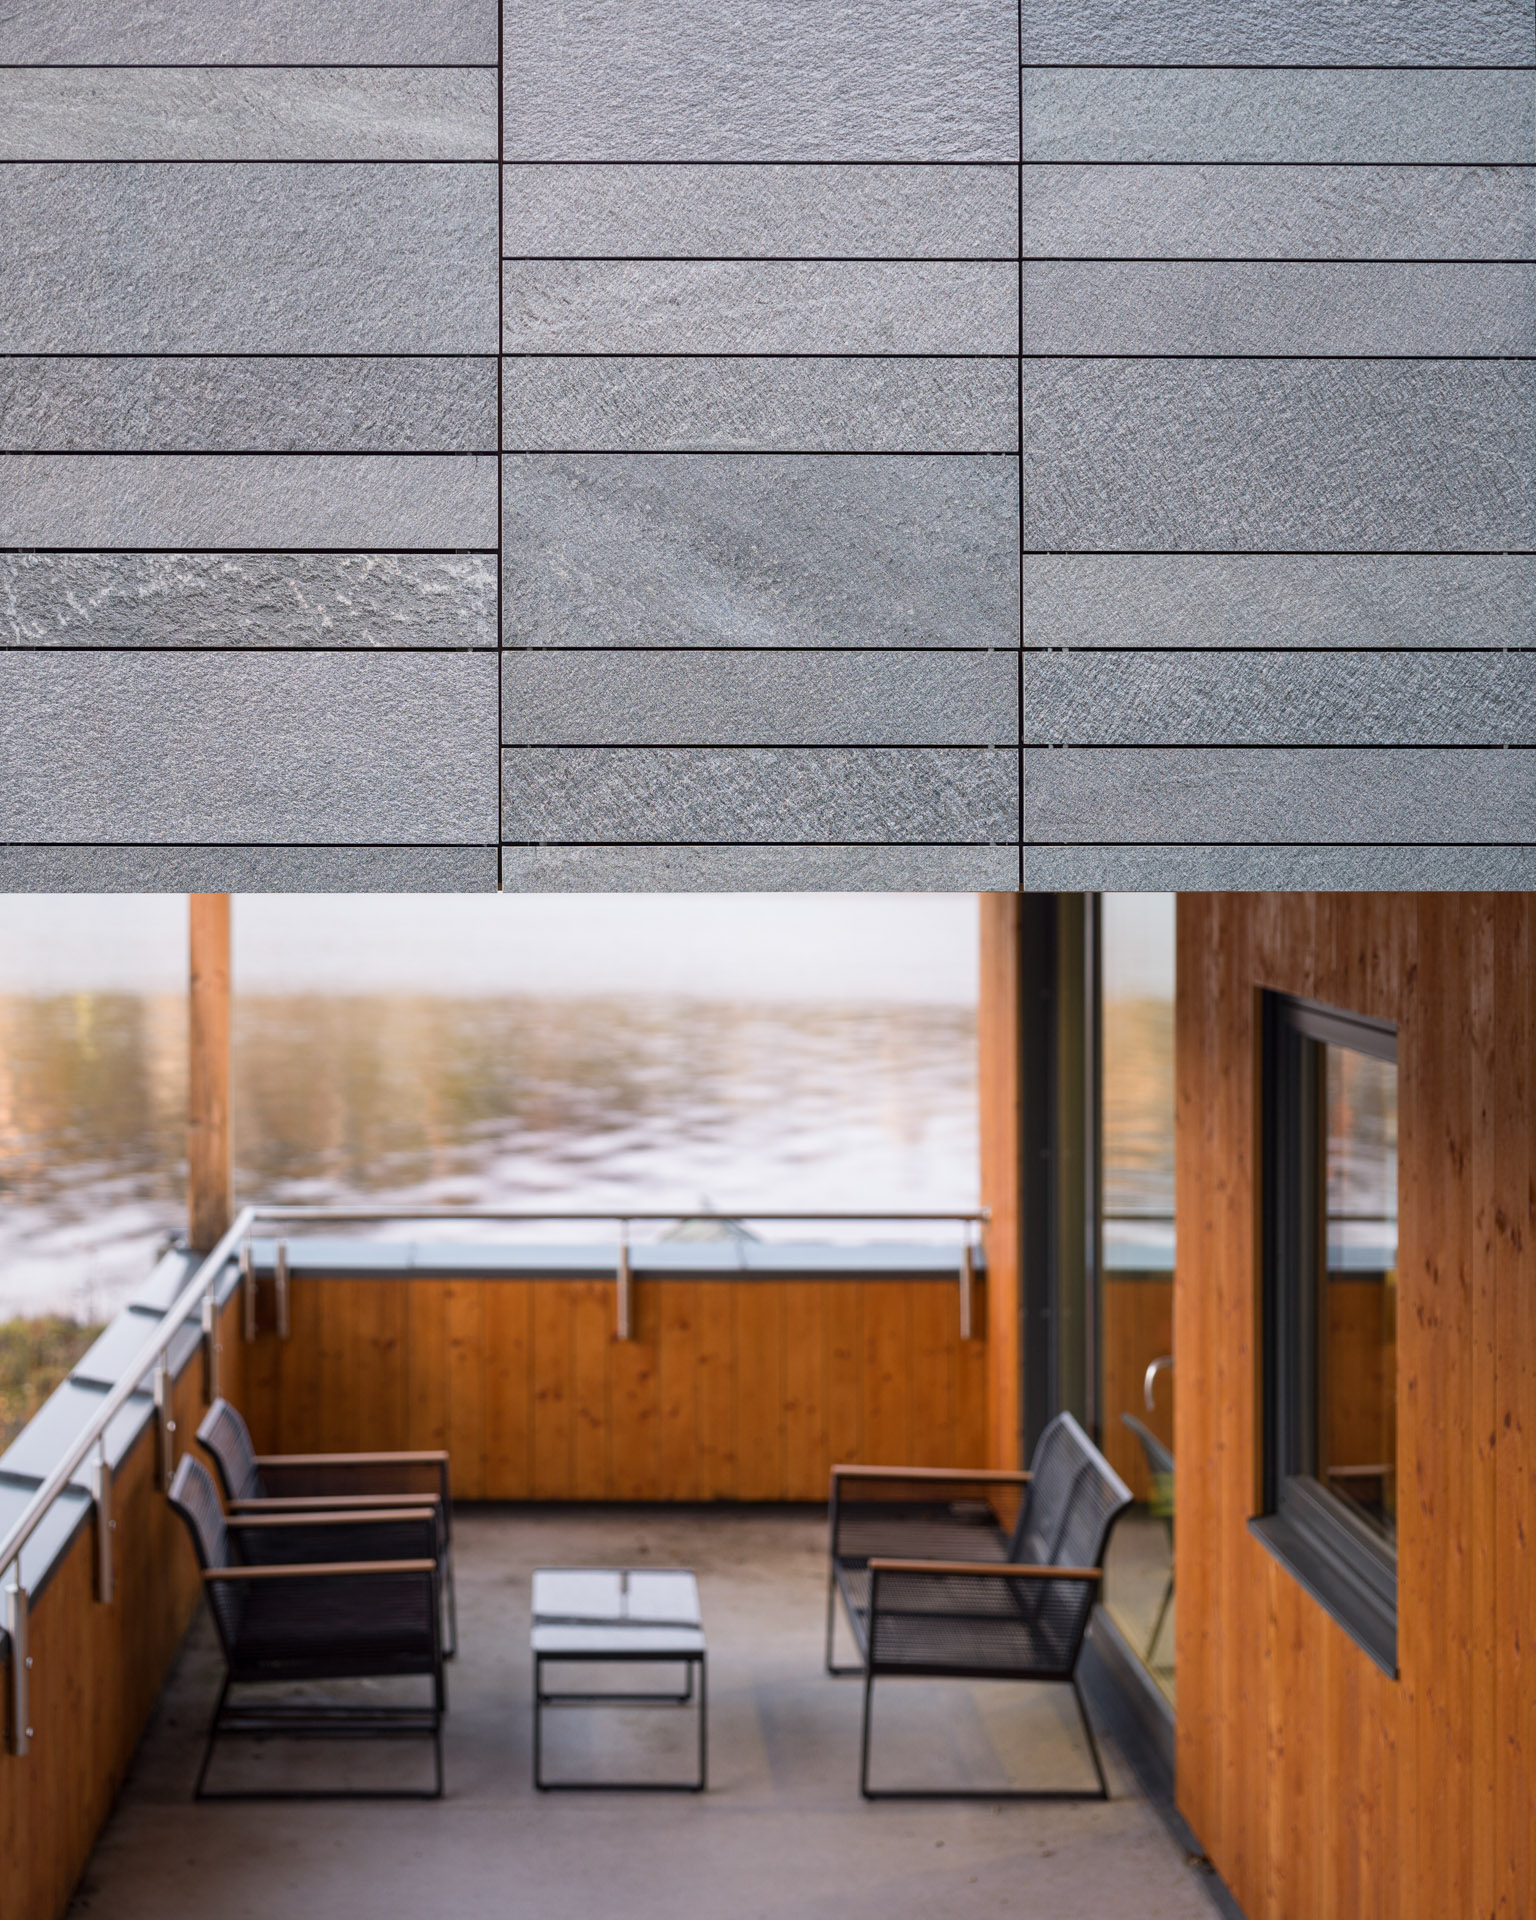
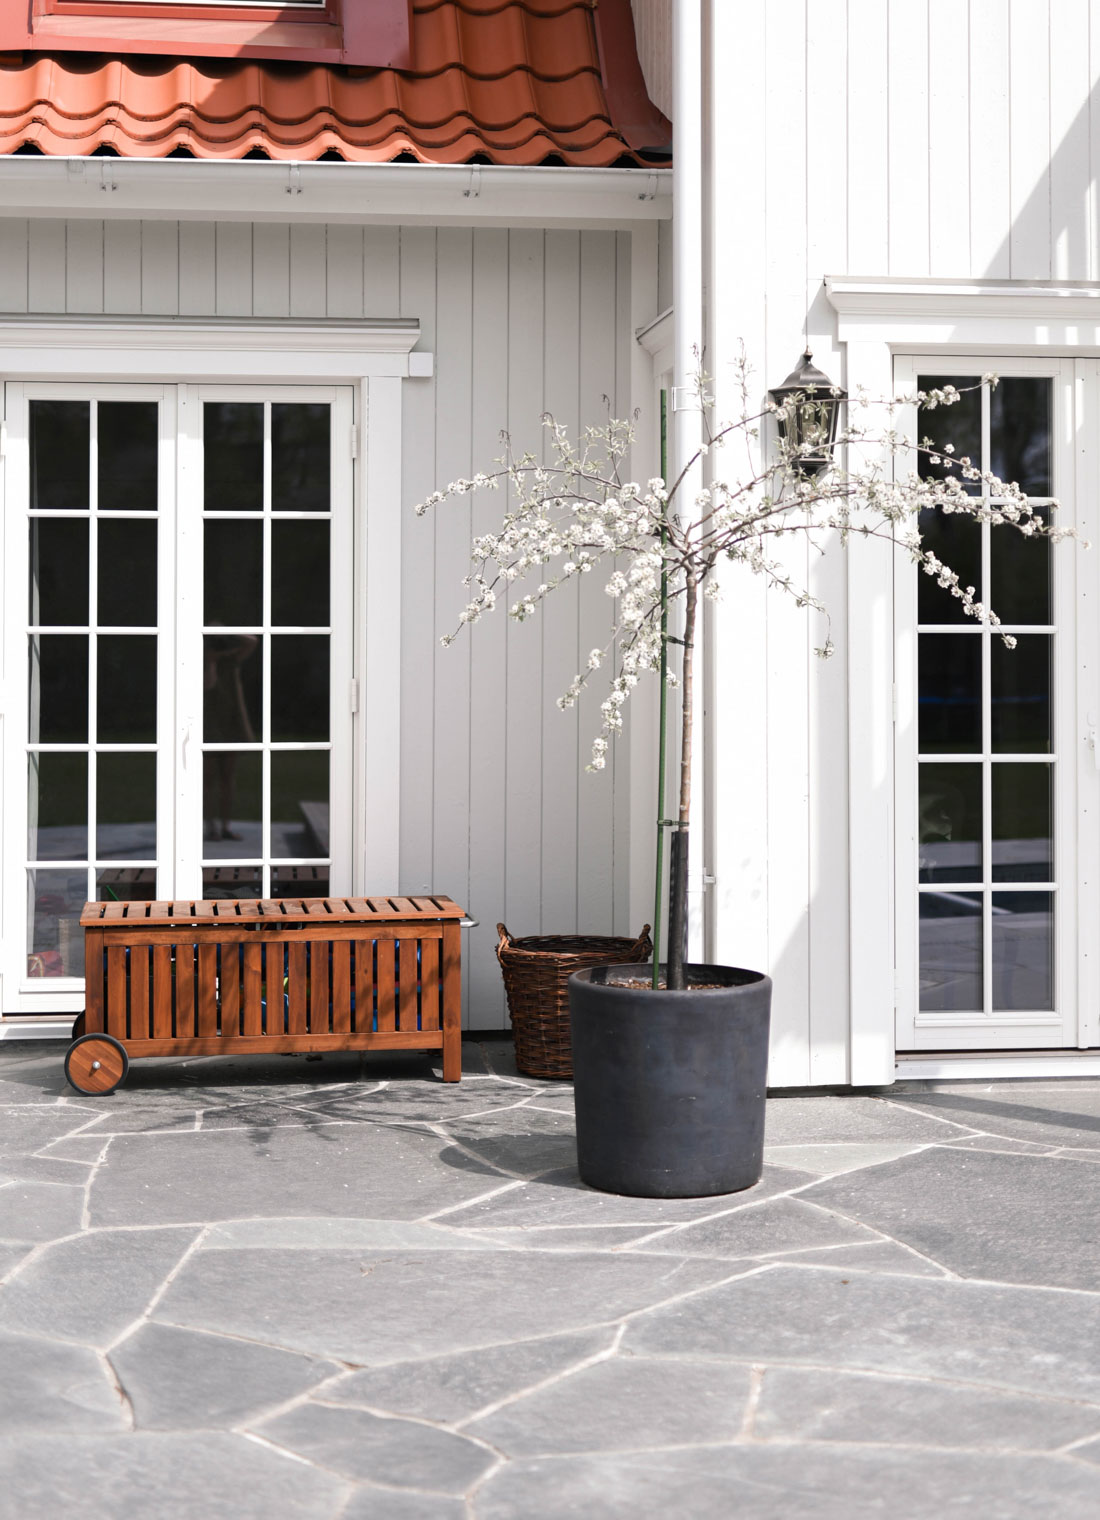
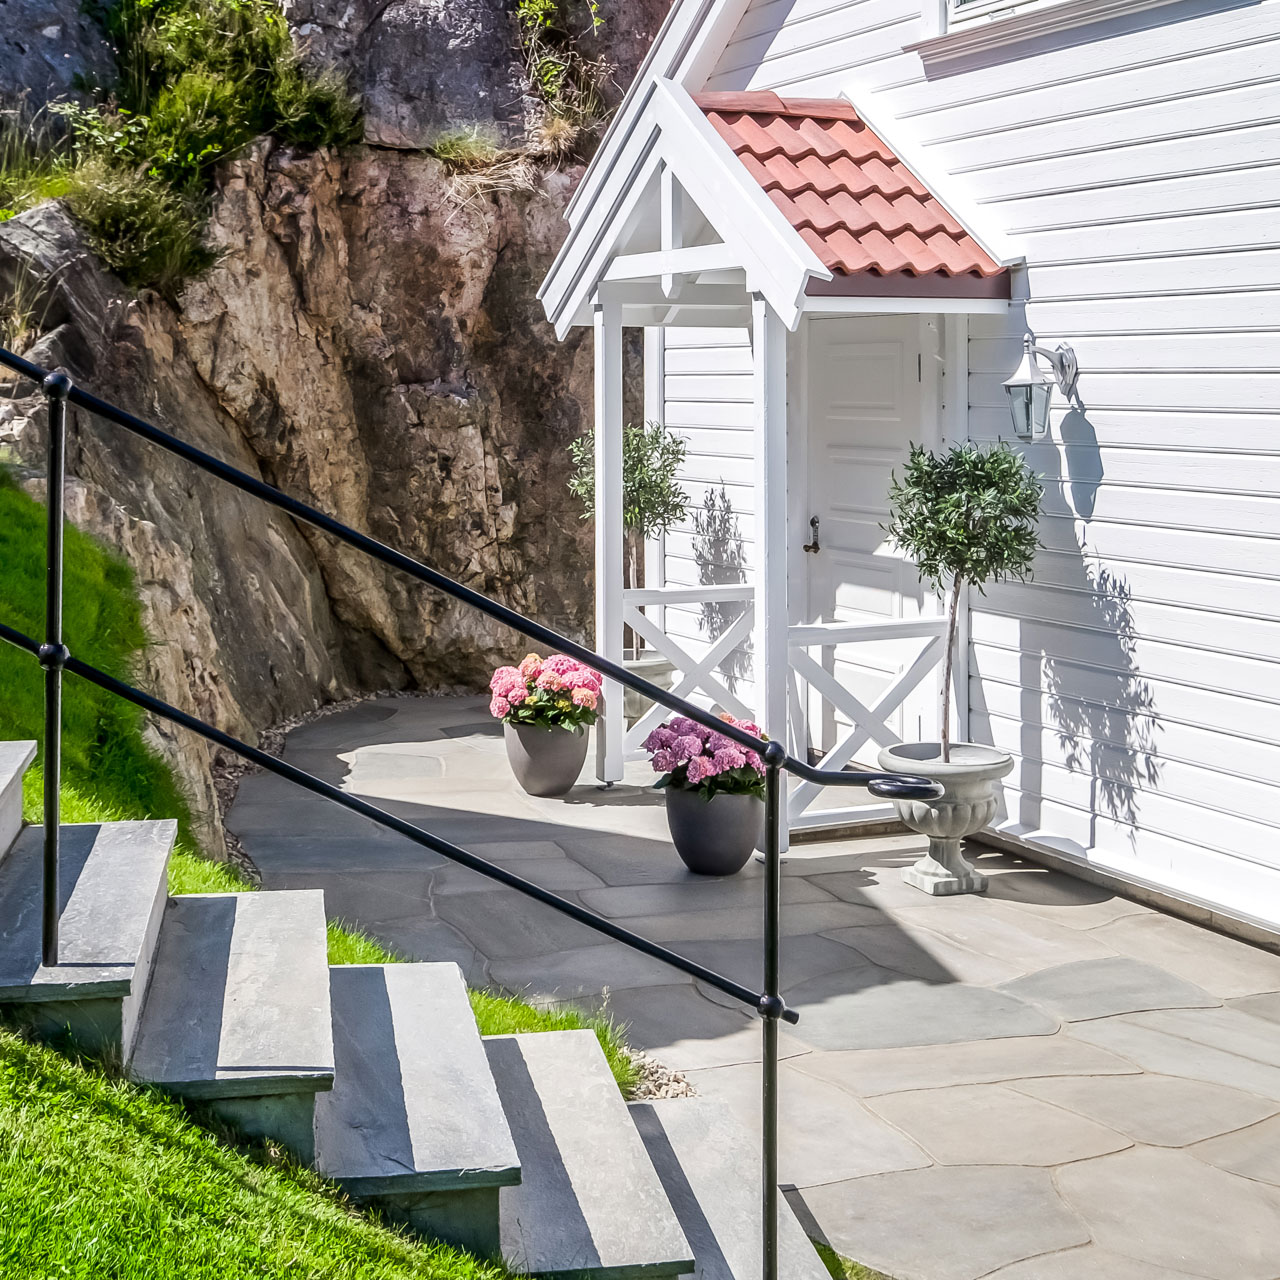
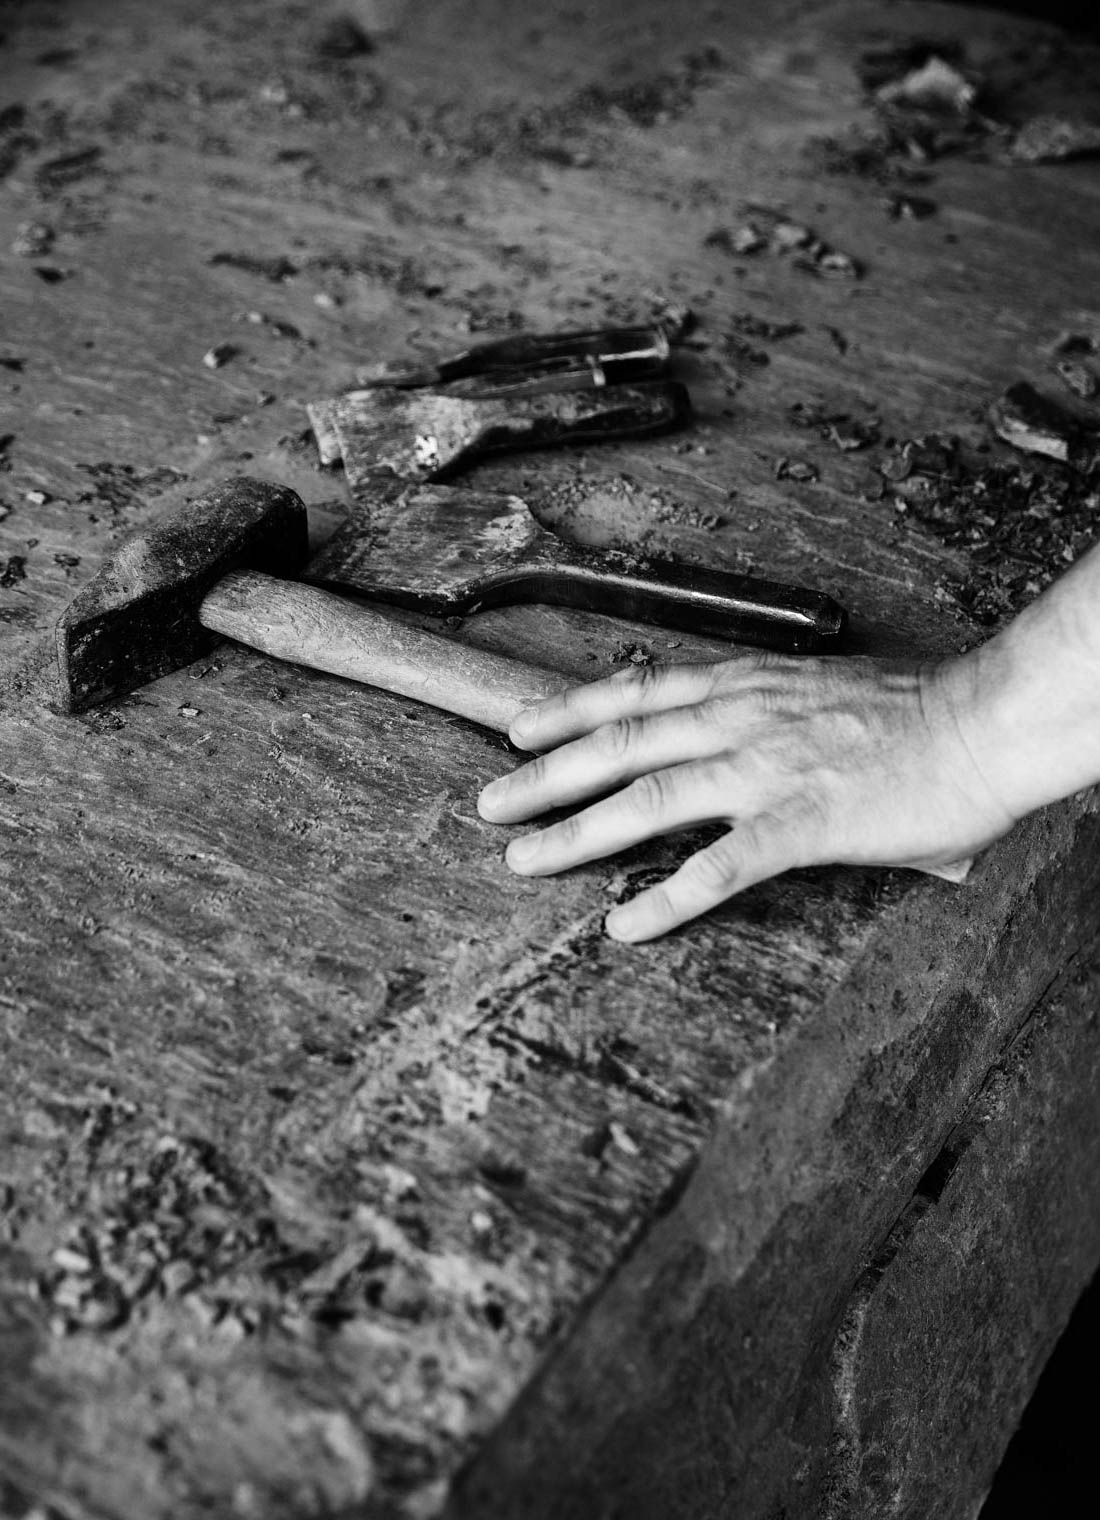
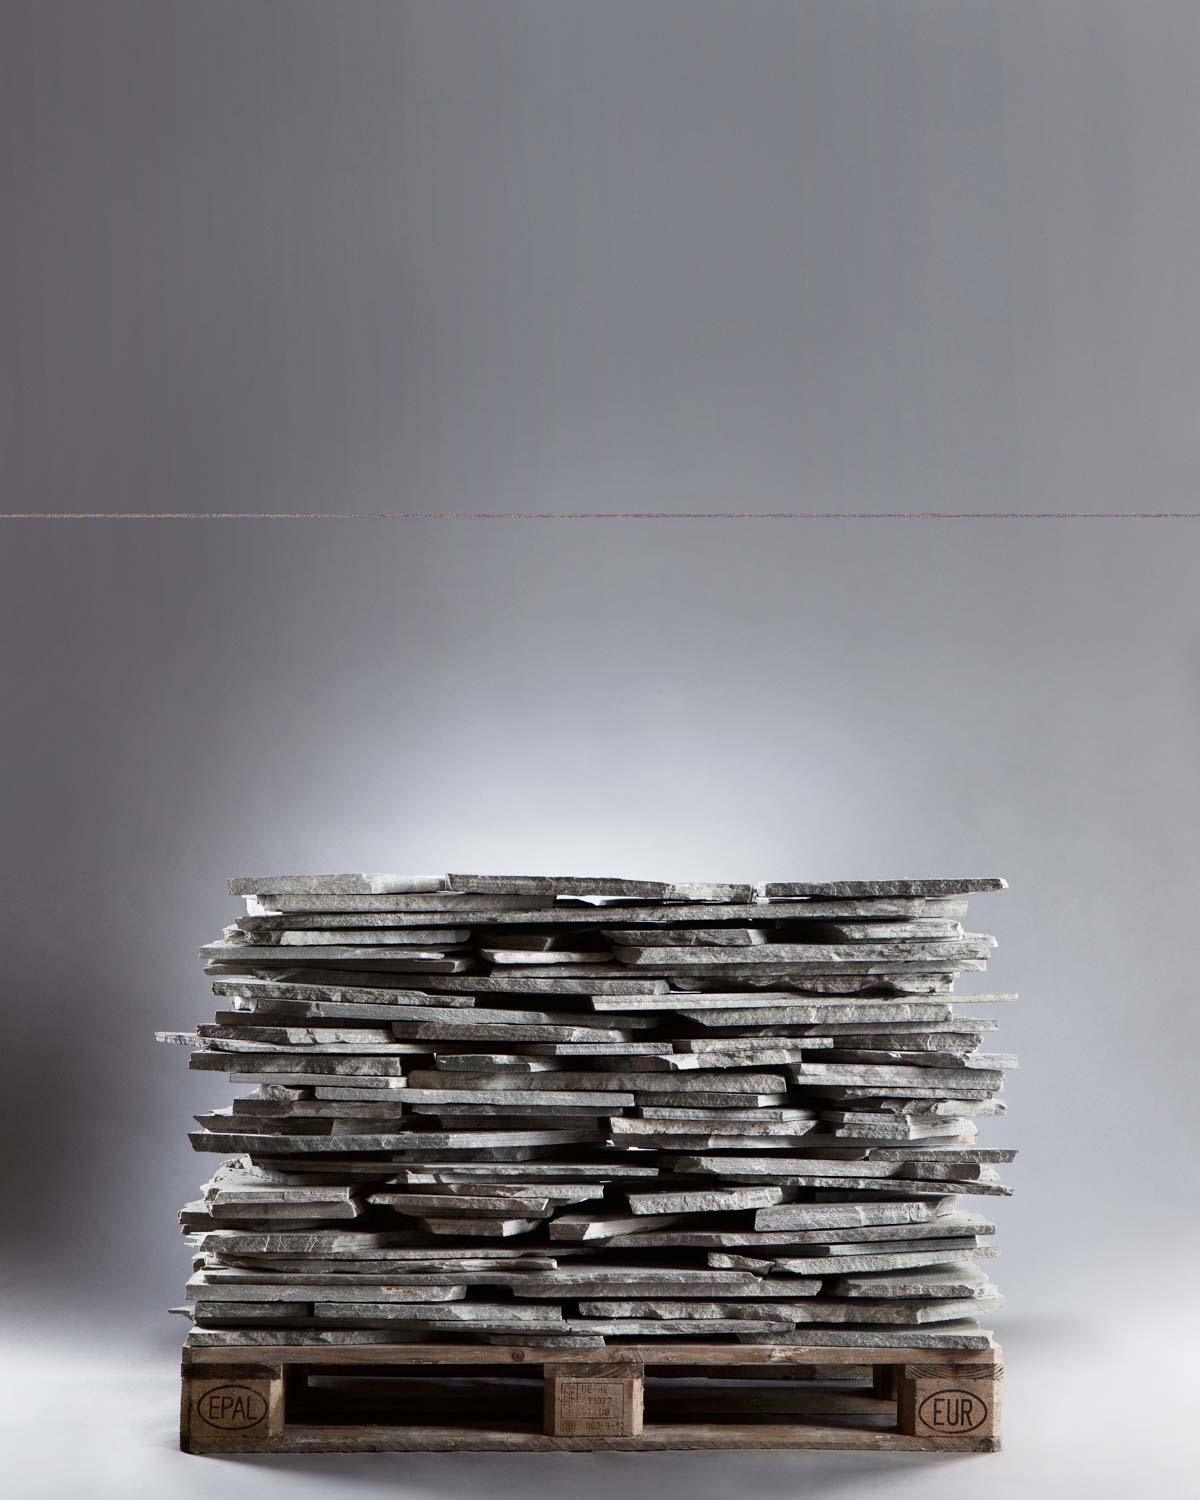
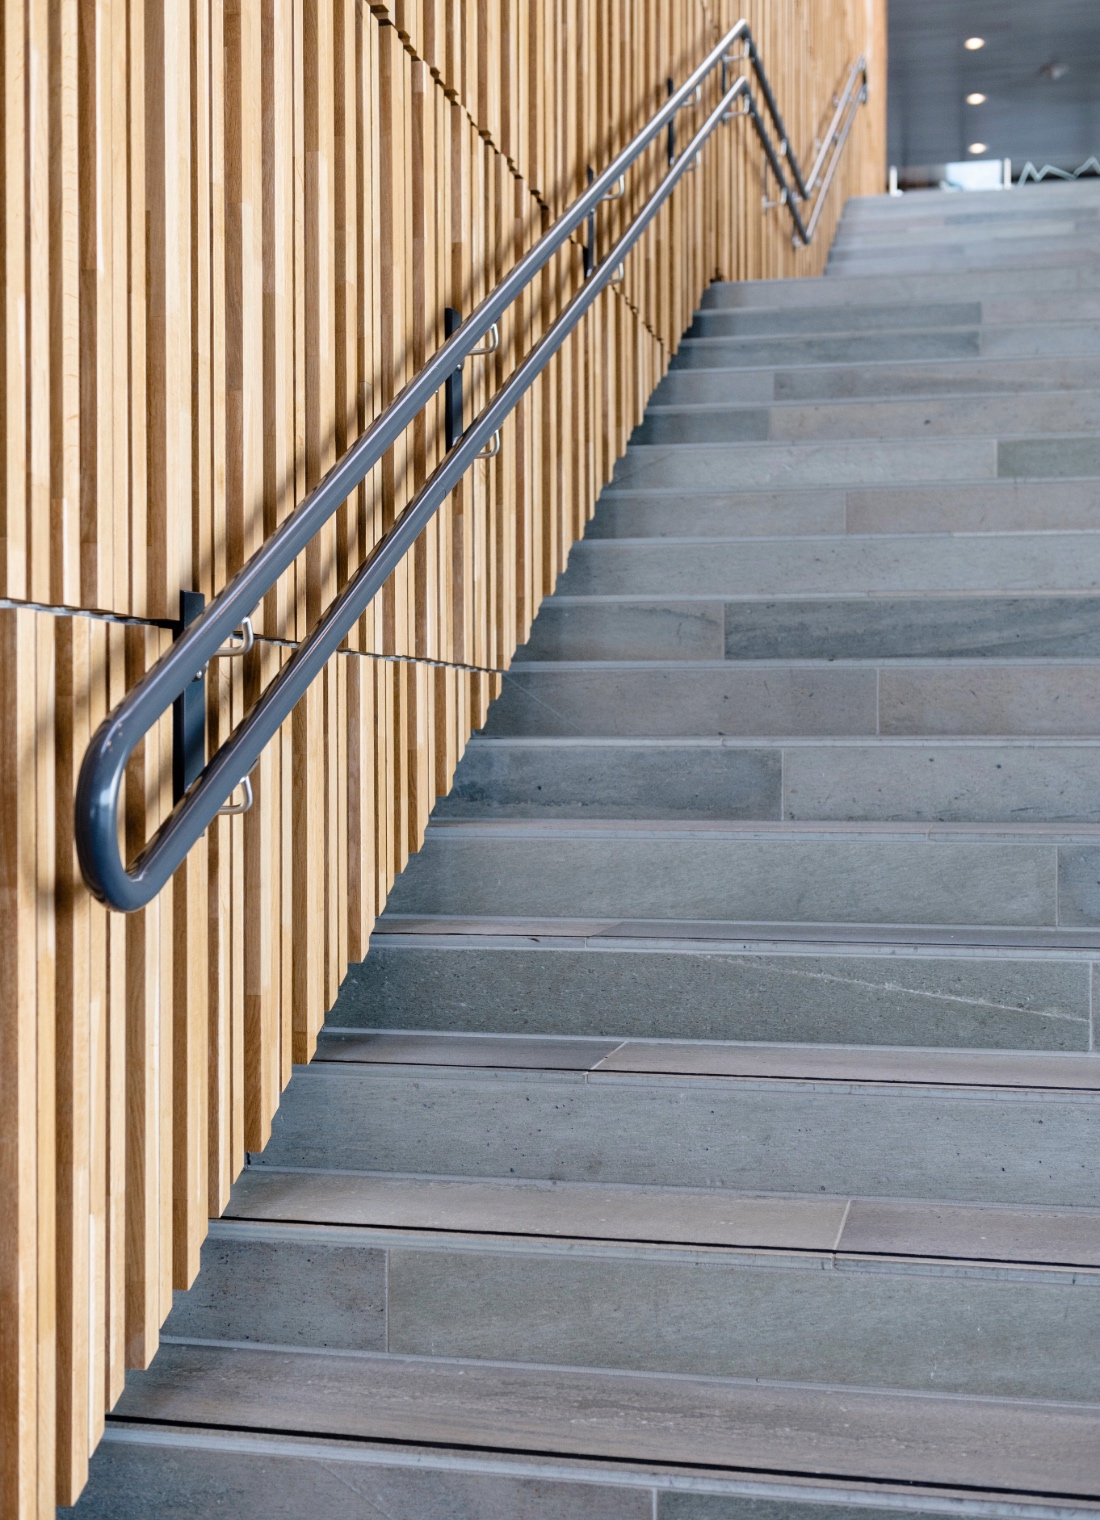
Laying slate flagstones on gravel or sand

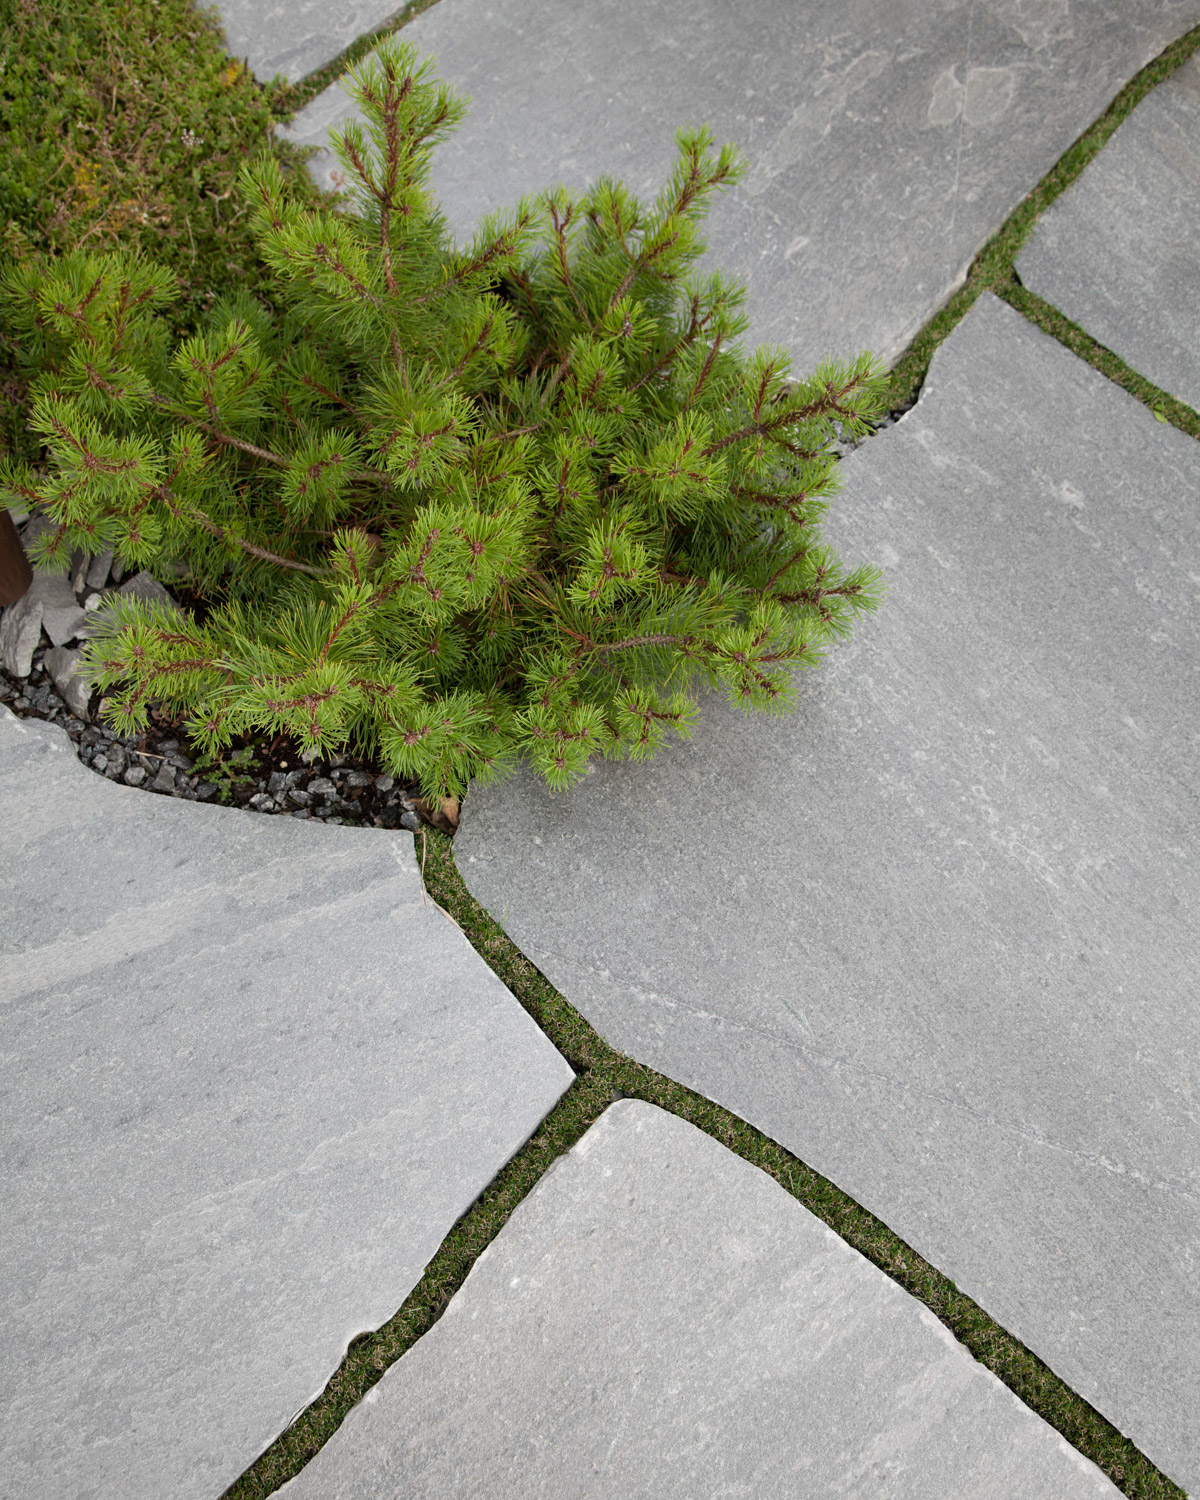
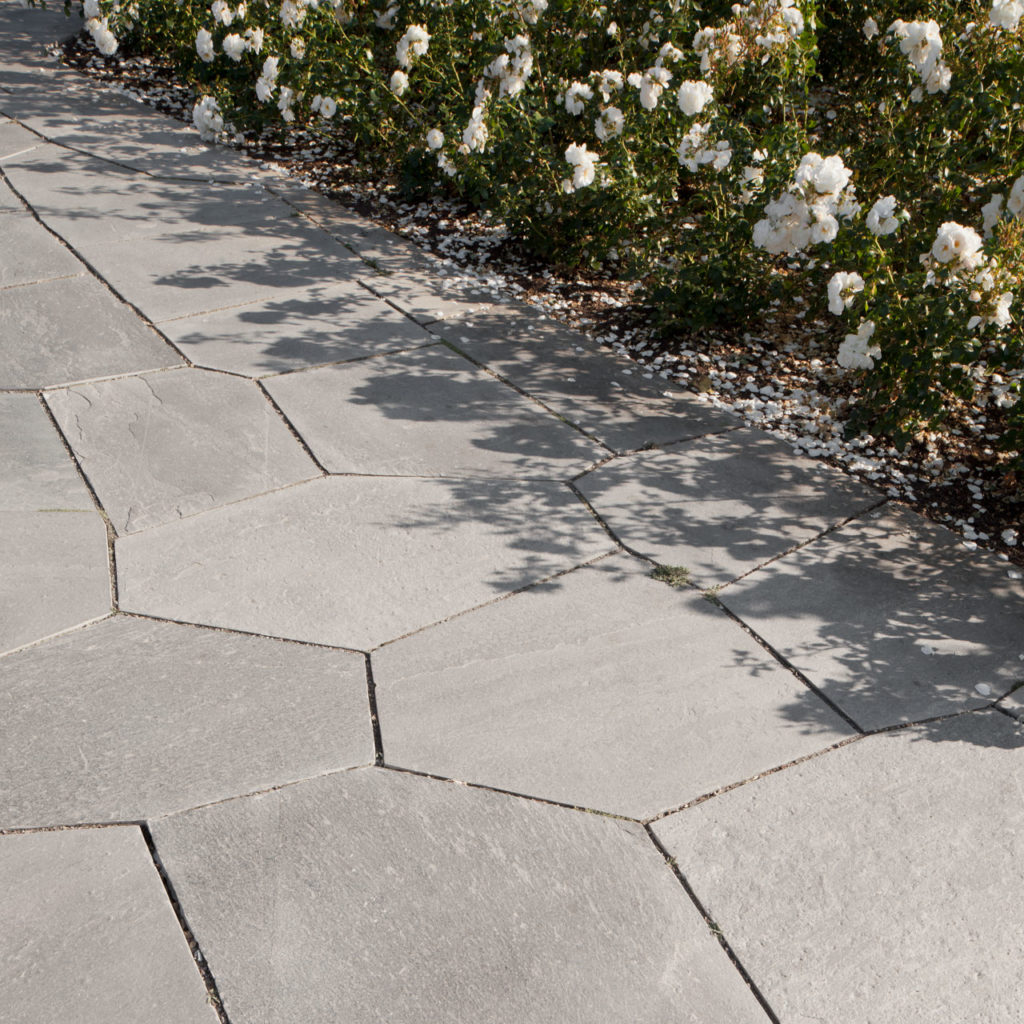
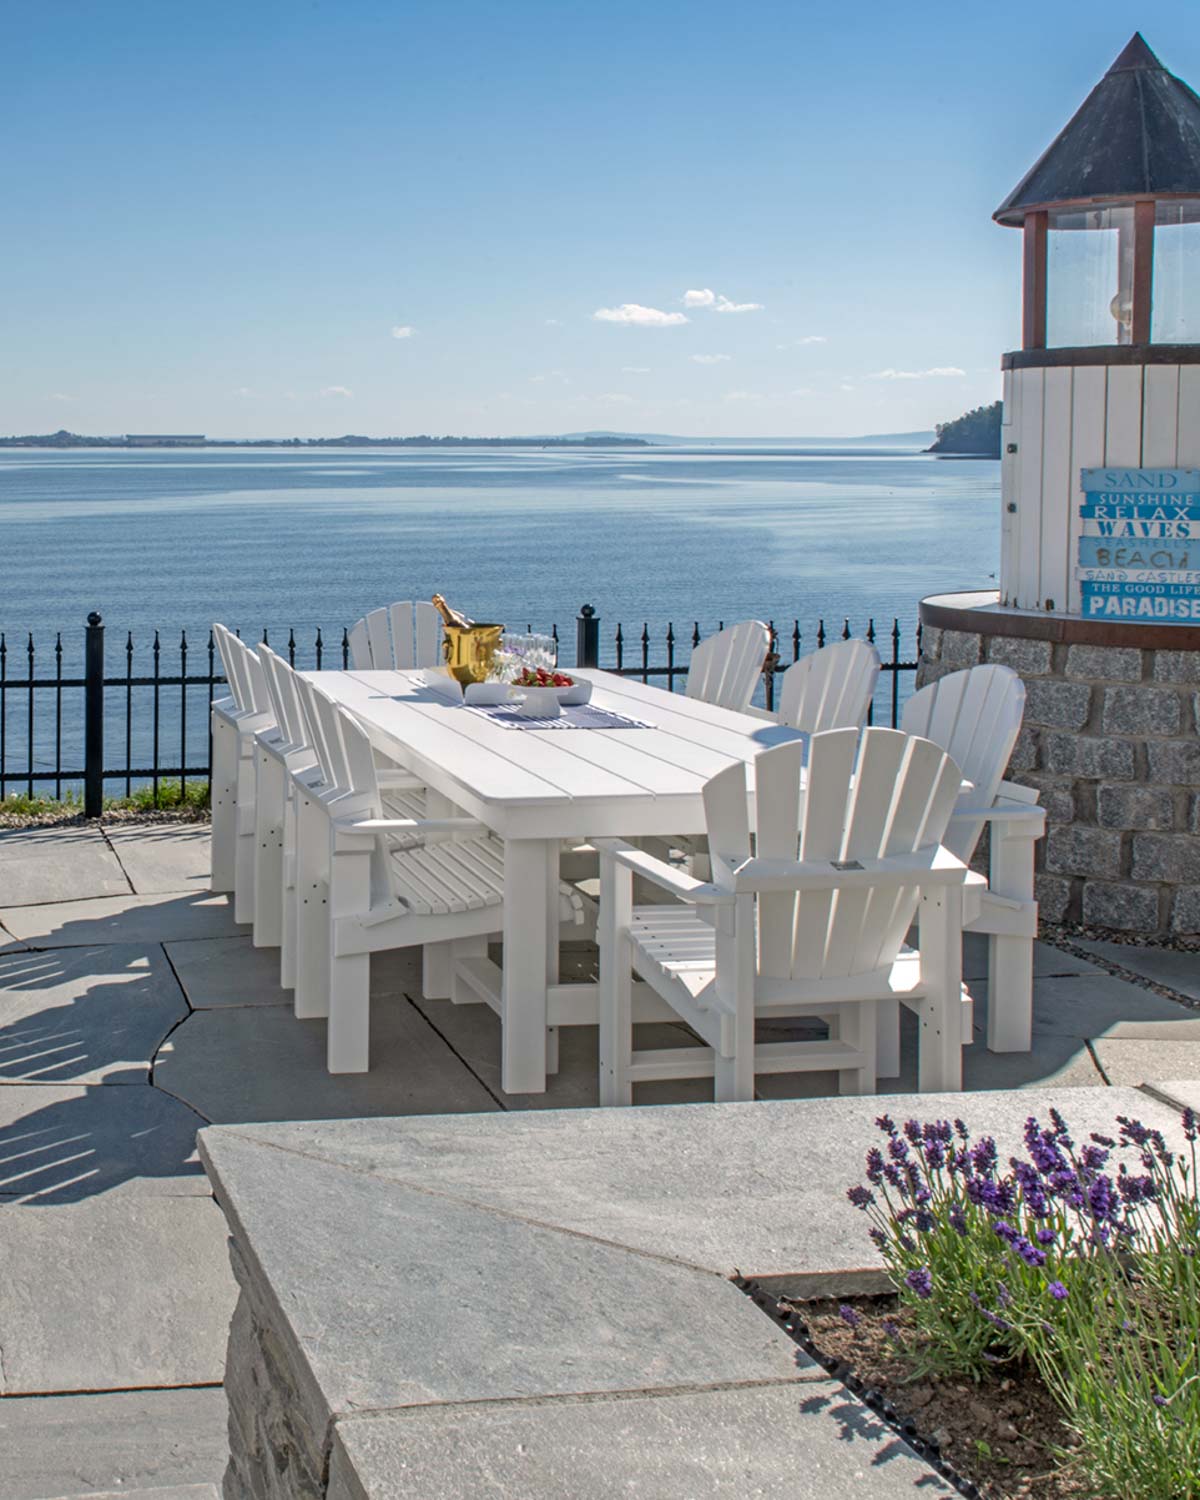
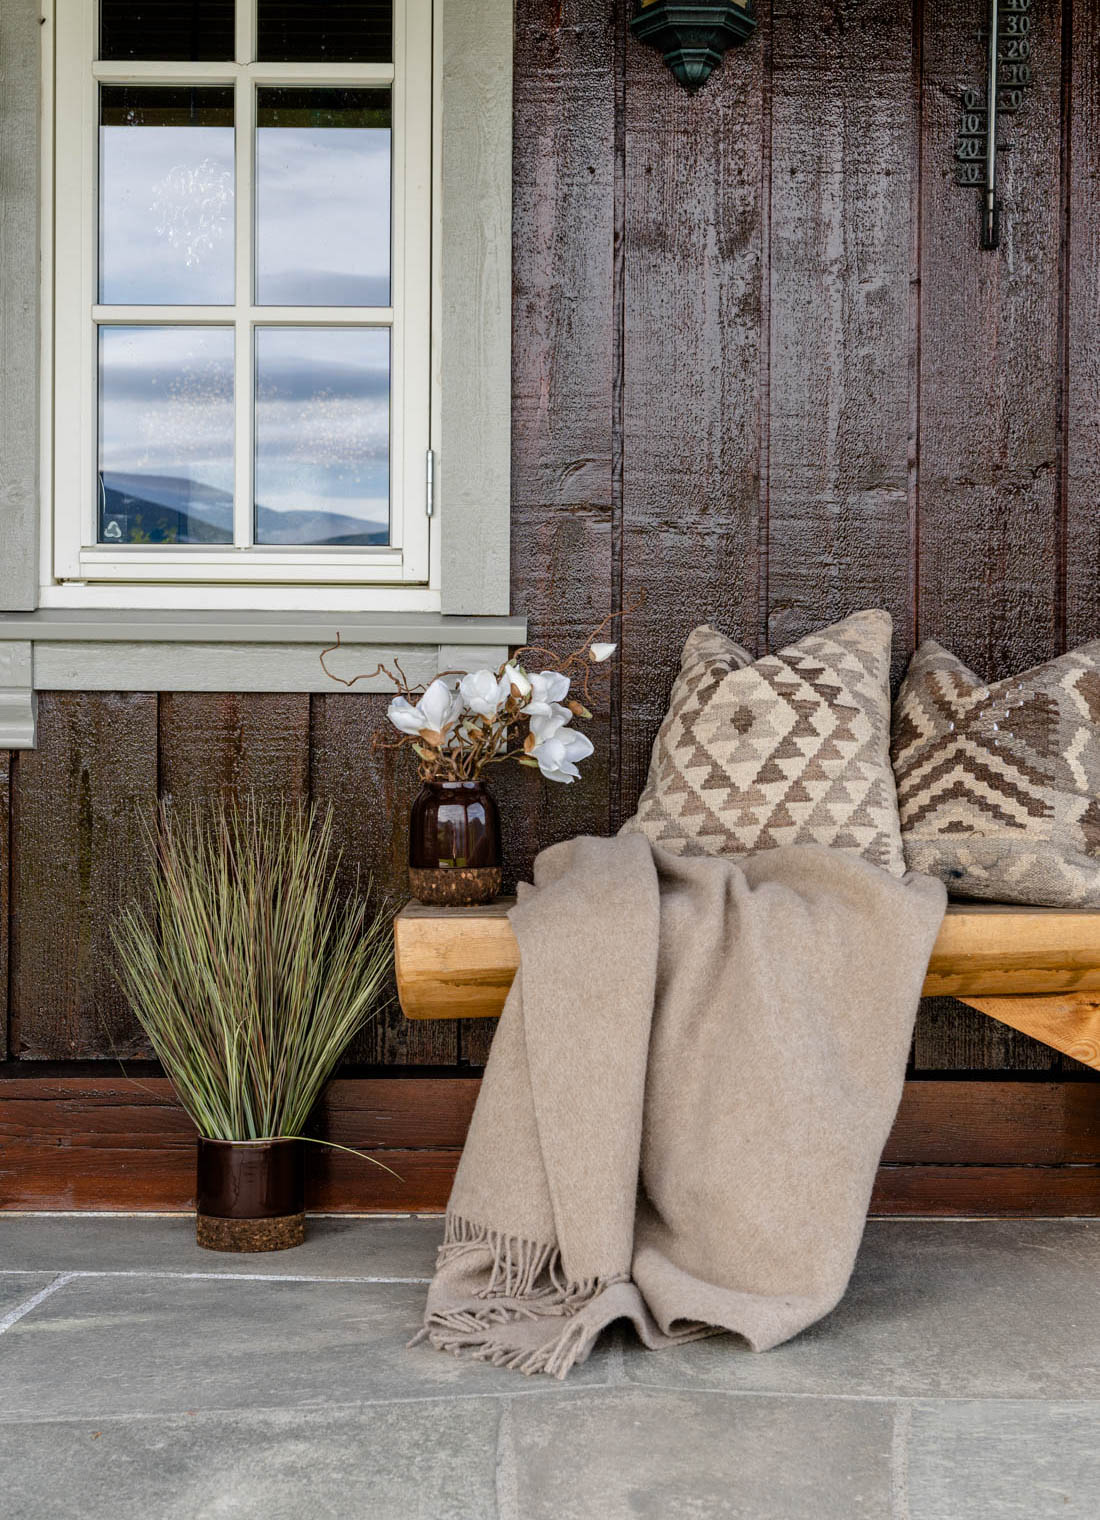
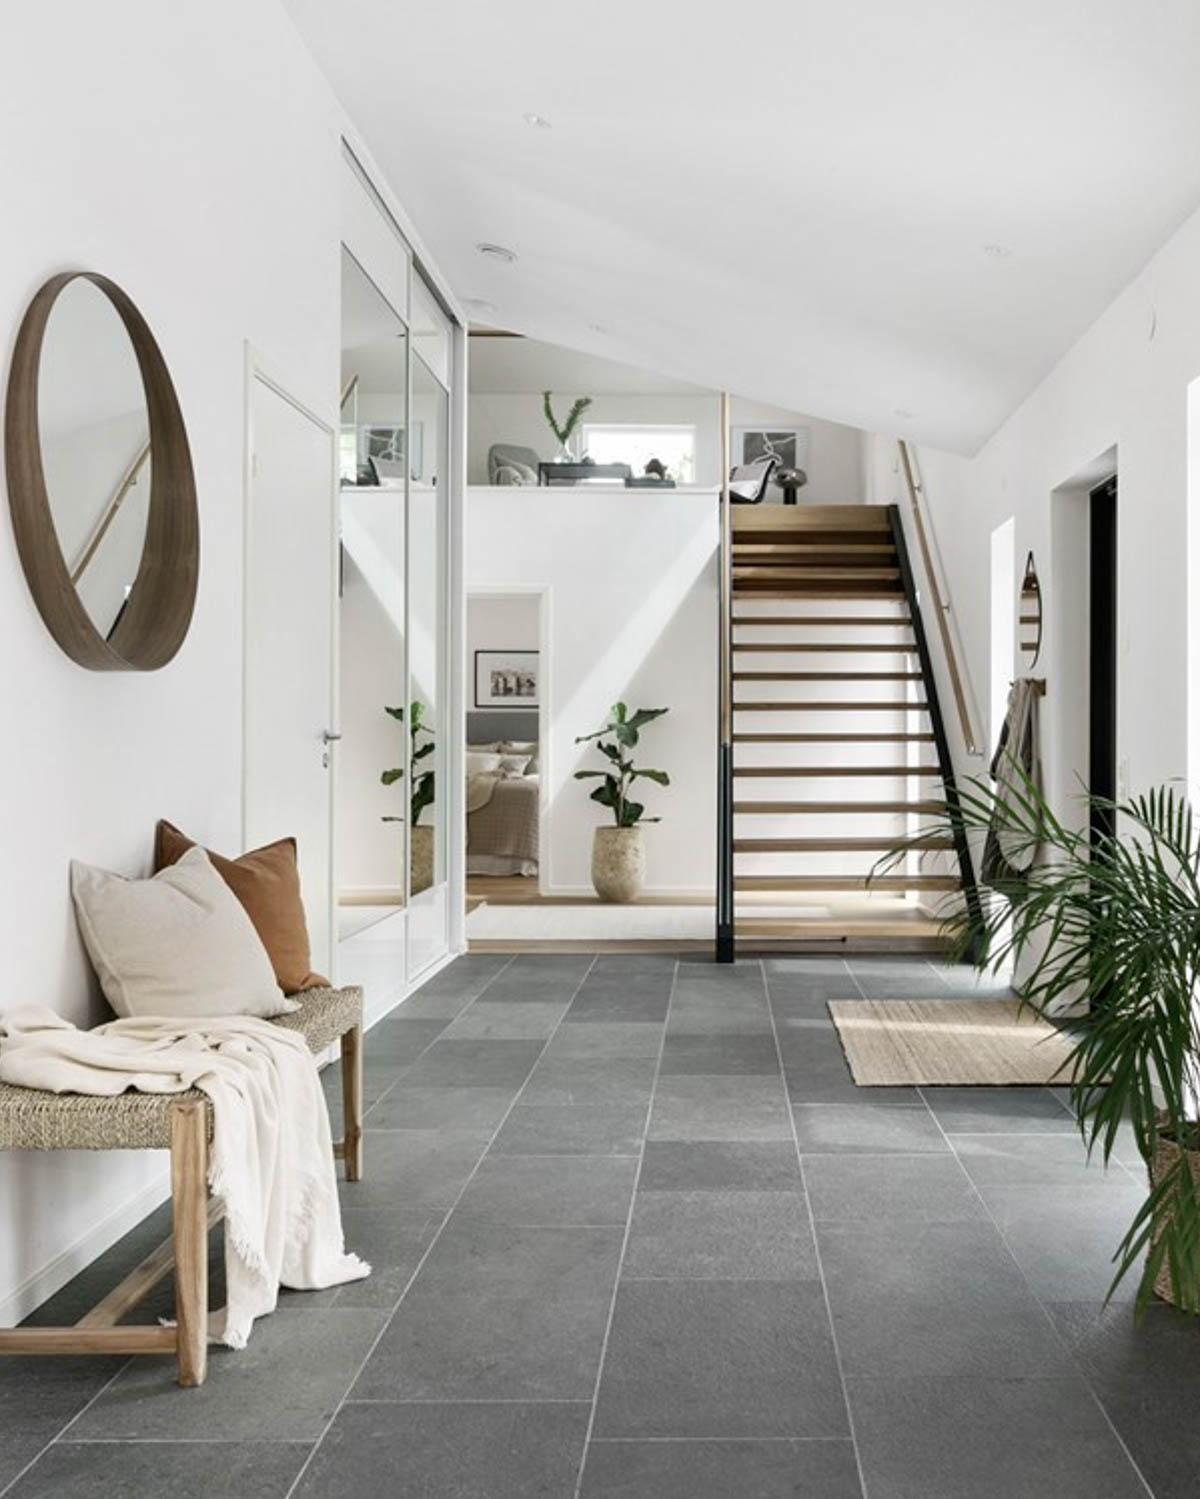
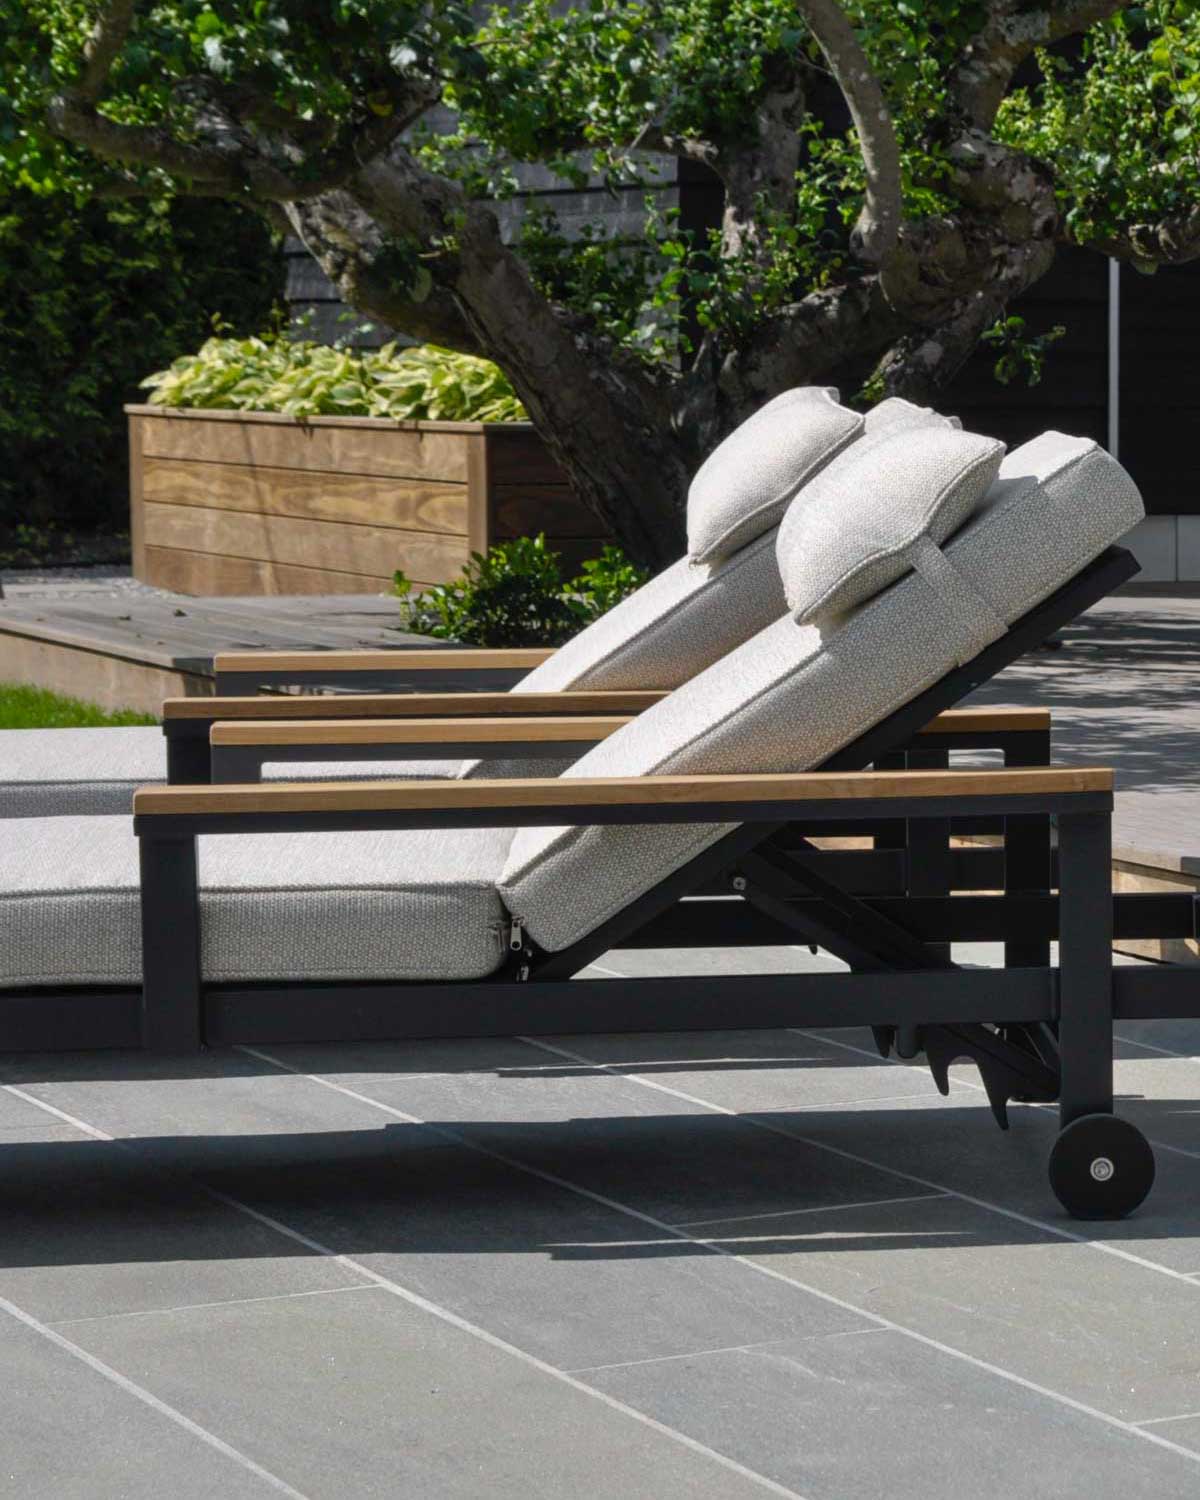
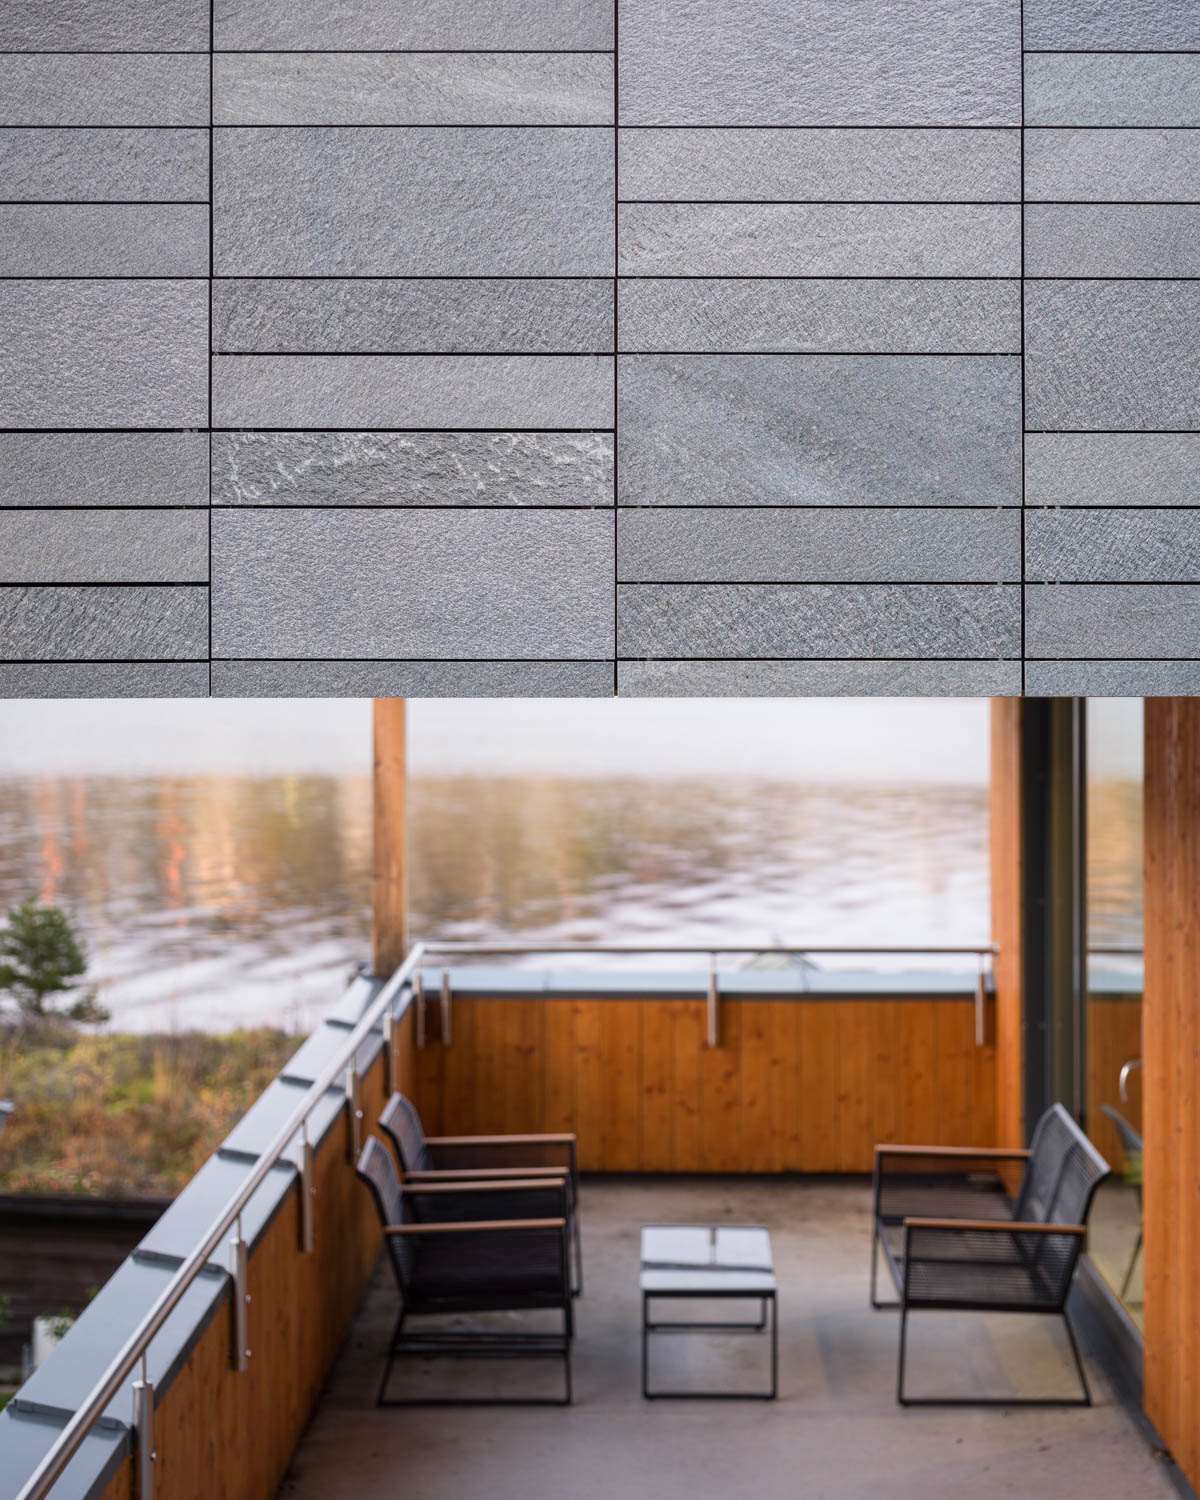
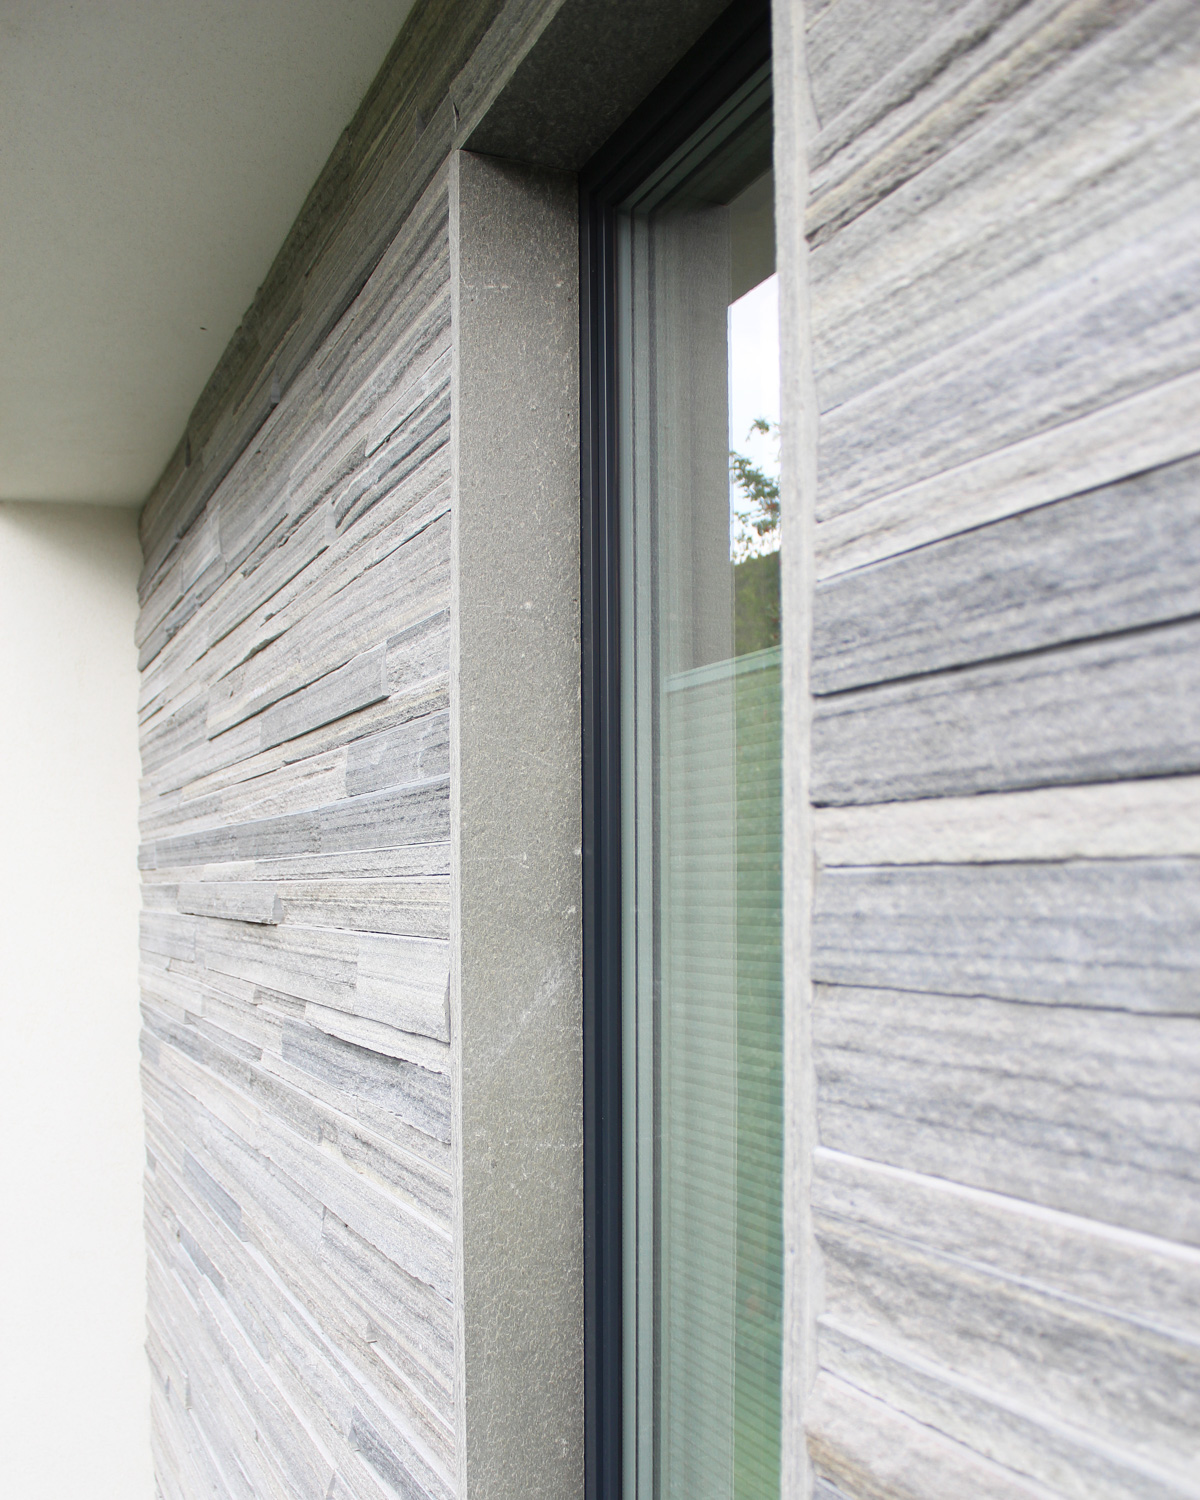
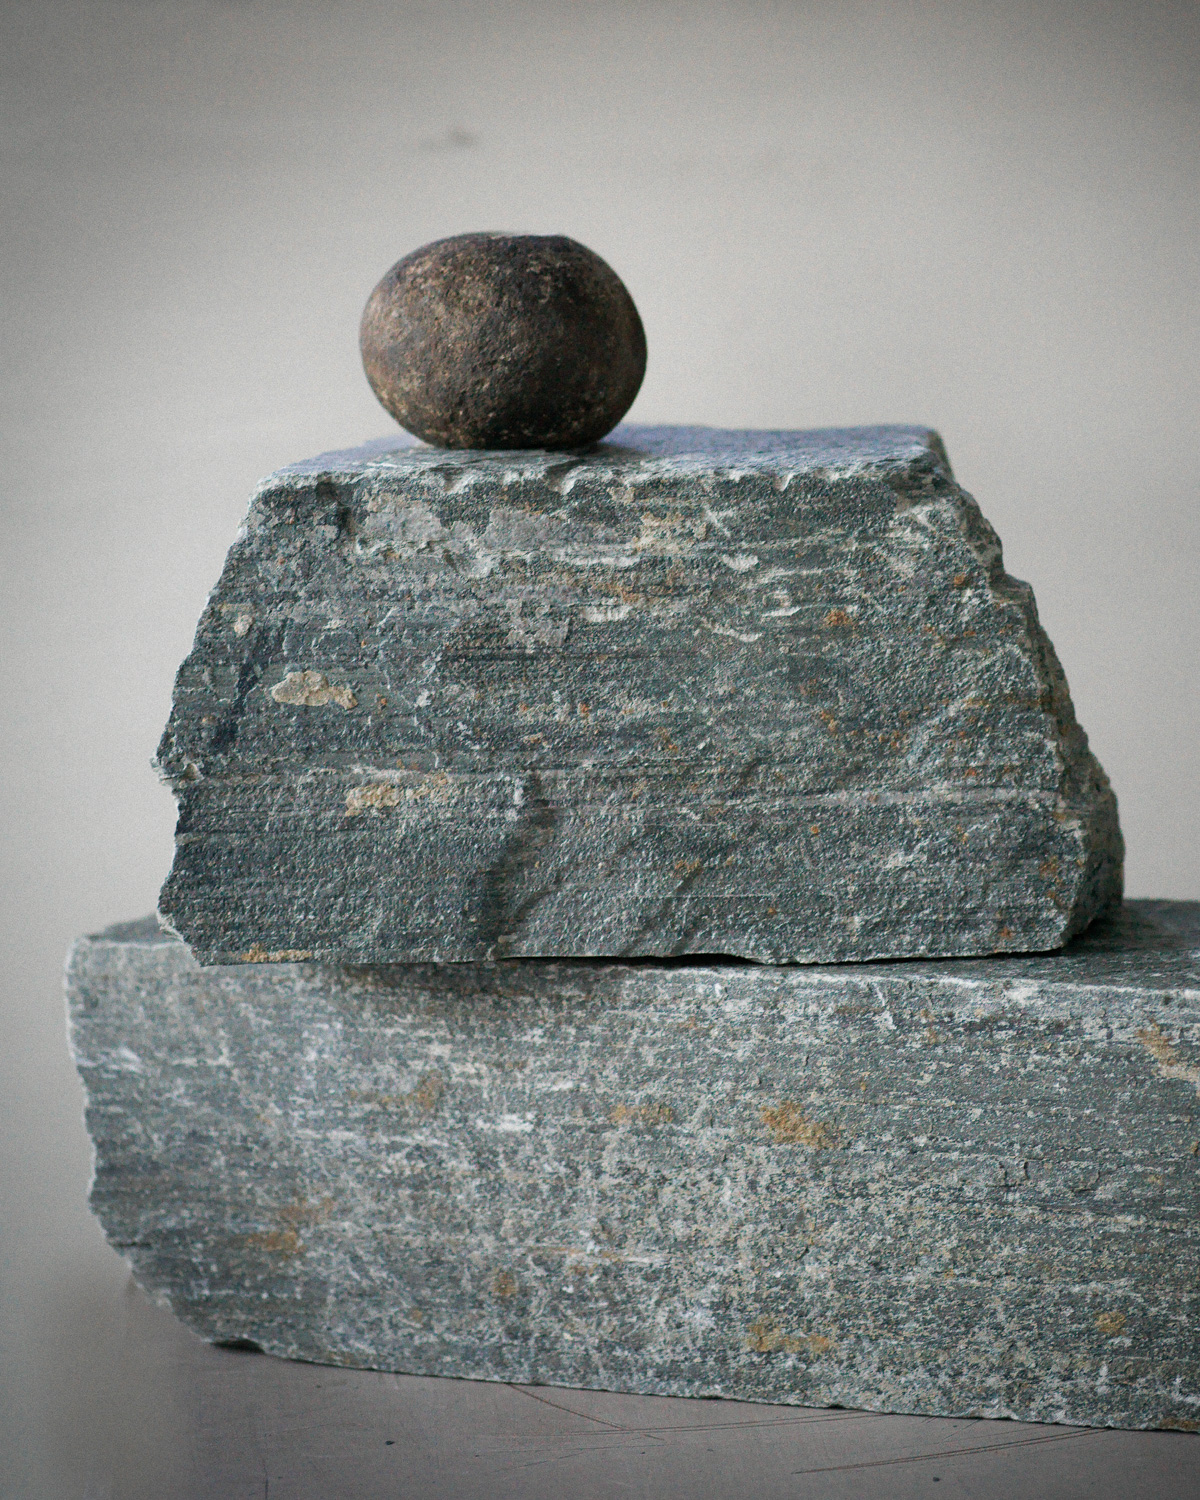
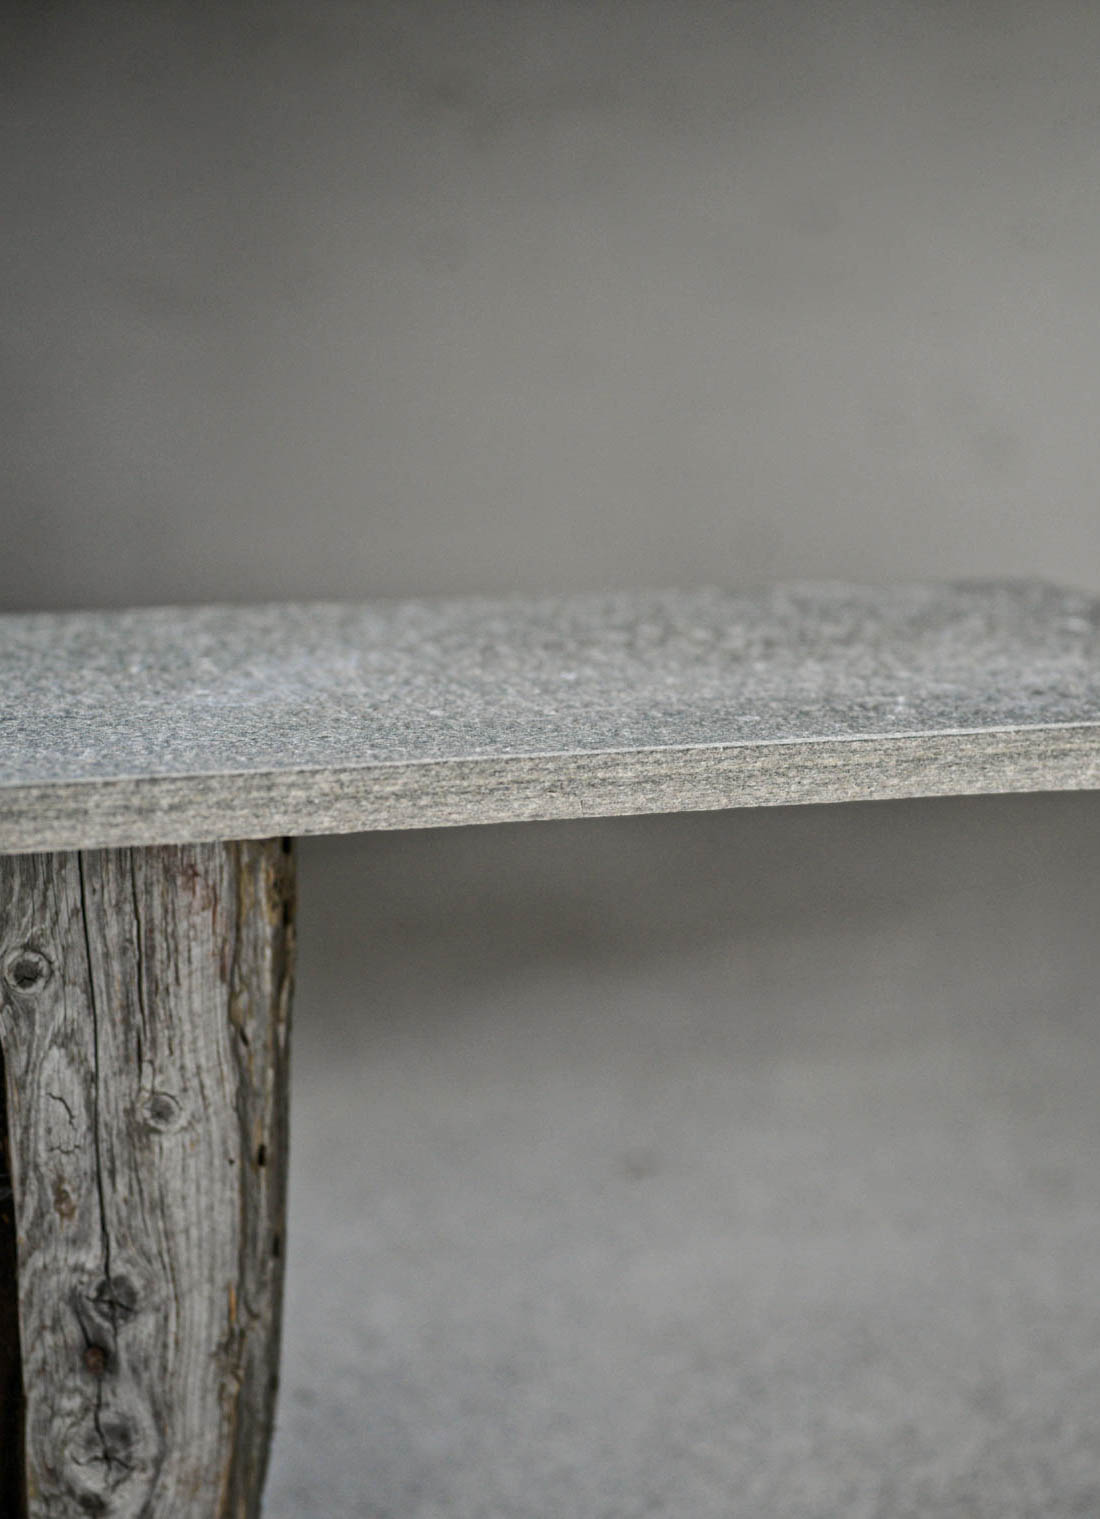
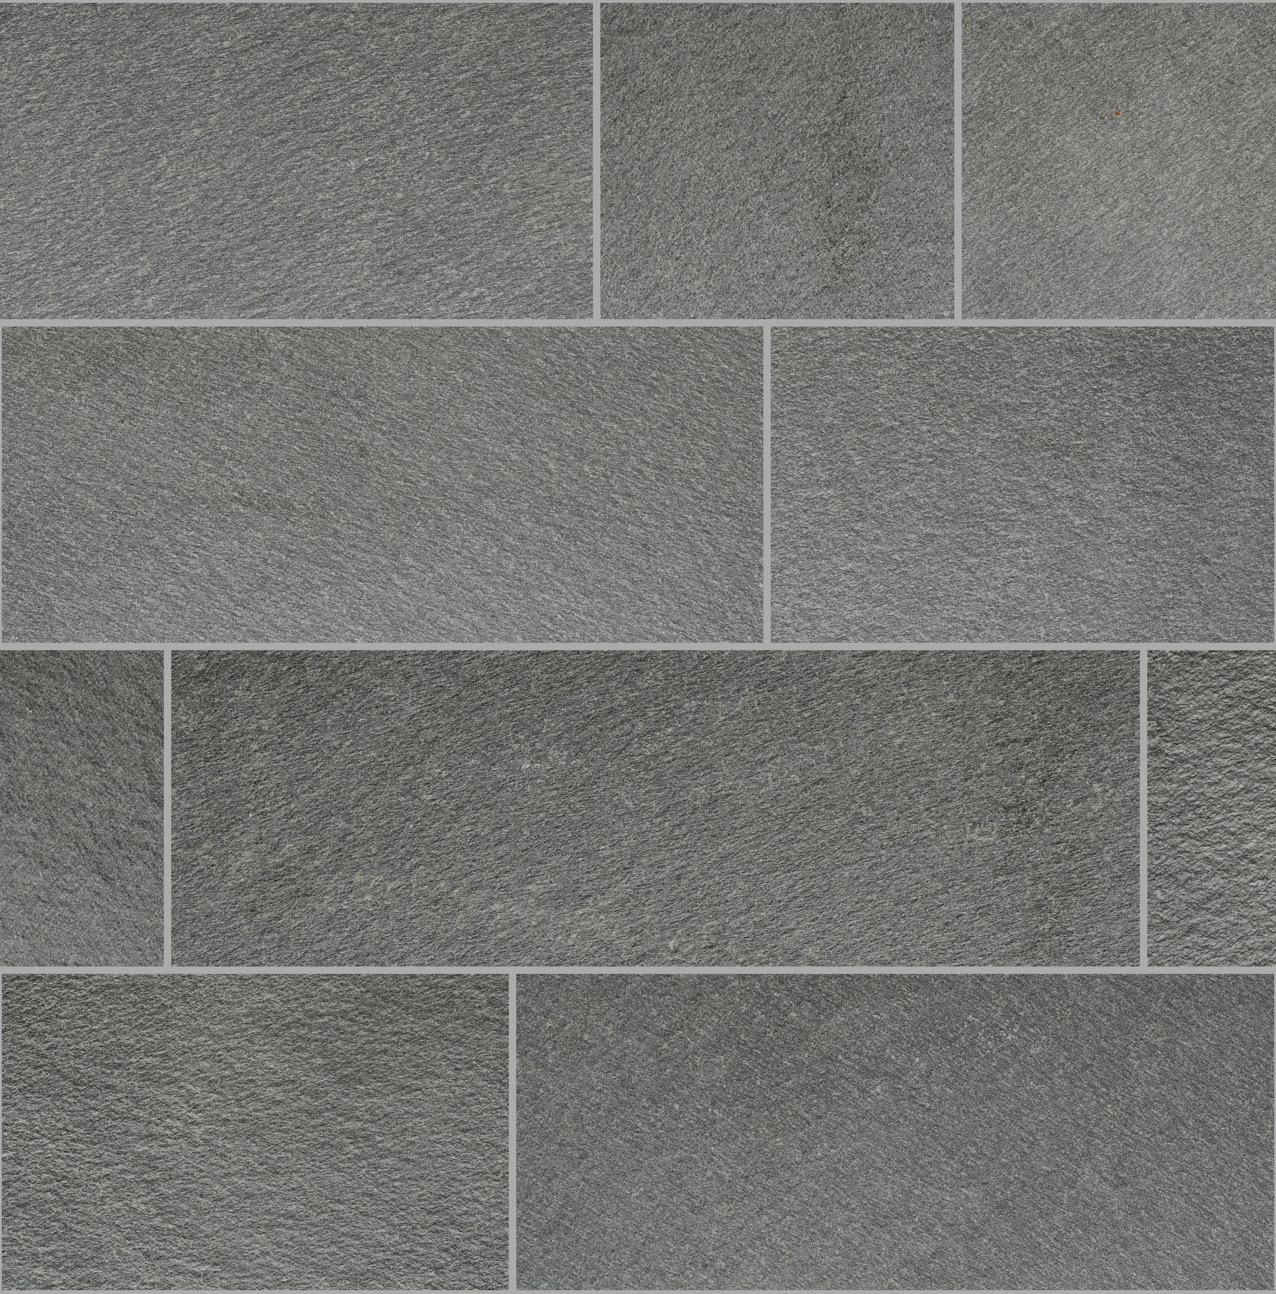
Beautiful slate paving stones create a classic look that never goes out of style. With slate paving stones, you can create a traditional look at your cabin, or exciting contrasts in a modern home. Either way, slate is the perfect match for most surroundings.

Start by choosing the type of slate and the size of paving stone, according to the aesthetic expression you want to create, and then the thickness in terms of the load to which you expect the paving stones to be exposed.

Slate crazy paving can be shaped and fitted by cutting/chipping off/sawing edges and corners. NB: don’t throw away the left-overs! They can be great as decorative stones, in your plant pots or flower beds.

Here is everything you need to know to succeed (NB: scroll down to watch our film from the Minera Skifer School and get a step by step guide to the process).

Choosing size and thickness

Slate paving stones are slate slabs with an uneven shape and natural surfaces and edges. The slabs are sorted into different sizes, from small to extra large, and with different thicknesses, from thin tiles for cladding a wall, to flagstones with which you can pave your driveway.

For areas with walkways, such as a garden, terrace or path, a slab thickness of around 2-3 cm is sufficient. If you intend to drive on the paving stones they should be 4-6 cm thick.

Use the table as a guideline.

Good groundwork

The quality of your finished result depends entirely on the groundwork at the site where paving stones are to be laid. So this should be prioritised.

Make sure there is adequate drainage and avoid hollows and uneven ground, to make sure that water runs off and is not left standing in or on the finished surface.

Make the underlay as flat and stable as possible. Compress it well and make sure there is full contact between the paving stone and the underlay.

Spread a layer of sand or fine gravel that is 5 cm thick. If you do not want grass (or weeds!) to grow between the paving stones, you can lay a fibre membrane under the upper sand layer.

Even though slate is technically one of our most durable materials, like any other material it can be affected by water, which can wash dirt and soil from the surface into the underlay.

Then you’re ready!

Empty the pallet and then spread out the paving stones so that you have an idea how they will look.

Plan to match the thickness of the paving stones to the required slope of the surface: Use the thickest paving stones at the lowest point, so you don’t need to build up paving stones with sand.

Find the paving stones that best match each other before you begin.

Shaping the flagstones

Method 1 – Ball hammer and chisel / slate knife

1. Use chalk to mark the part to be hammered away.

Ensure that the stone is stable, for example by placing it on sand.
2. Use a ball-peen hammer and hit the stone diagonally against the underside of the stone.

Do not take off too much at once, but move gradually inwards along the edge.
3. If a more even edge is required, the edge can be easily adjusted with the back side of the ball peen hammer (butt end).

For an more even edge, use a schist knife/chisel.

Method 2 – cutting with slate scissors

Many distributors have Minera slate scissors for loan or hire. The cutters can be dismantled and are easy to transport. Watch the film and learn how to use slate scissors.

  1. Place the paving stone you wish to cut a little below the neighbouring paving stone and mark along the paving stone using chalk.
  2. Cut along the mark using the inner side of the cutters.
  3. Push the paving stone inwards as you cut.
Et nærbilde av en Minera Skifersaks som klipper en bruddhelle av Oppdalskifer.

Method 3 – score and break (only applies for Light Oppdal slate)

Oppdal quartzite has the distinctive characteristic that it can be scored and broken in the same way as glass, producing a straight edge (broken) that looks more natural compared with a cut edge.

1. Score a line where the stone is to be broken approx. 1-2mm into the surface on the side of the stone that will be facing upwards. Use a scoring knife or similar.

The score line should be some way in from the edge, equivalent to twice the thickness of the stone. E.g.: if the stone is 30mm thick, the score line should be at least 60mm in from the edge.
2. Transfer the score line to the underside of the stone. It is important to do this accurately so that the lines end up directly opposite each other. You do not need to make the score line very deep – you only need to make a mark.
3. Using a hammer and a bolster chisel, strike repeatedly (gently but firmly) along the score line until it breaks off.

Method 4 Angle grinder

An angle grinder with a diamond blade is an alternative when slate slabs are to be split. This method is noisy and dusty and gives a less precise result. The two methods described above are not difficult to master, so we recommend not to use an angle grinder if you can avoid this.


It’s not necessary to cut through the entire paving stone. It’s enough to just score a line about halfway through the paving stone and then snap it.

En terrasse belagt med Lys Oppdalskifer bruddheller som er formet til 5-kant med stramme, rette injer. Hvite rosebusker står langs kanten.

Laying

1. Get an overview

Lay out or set out all your paving stones. Take your time to find paving stones that fit together as closely as possible.

2. Choosing the paving stone

Begin laying from one corner and then fan out. Lay the paving stones with a straight edge against the wall, or against a natural end-point. Lay the paving stones with a drop of at least 1 cm per metre away from the building’s wall. Use a spirit level and a long wooden plank to even out the sand layer and achieve the right slope.

Find a new paving stone that is the best possible fit and lay it on or up to the neighbouring paving stones that have already been fitted. Make sure that it covers the space it is to fill as neatly as possible. Mark with chalk so that you know how much to cut. Remove the paving stone again. Now the fun begins!

3. Fit the paving stone

It’s important that the slate paving stones lies stable and flat when you hammer it down. Hit the slate with the ball of the hammer. When you hit the slate, the weight and speed of the hammer both count. Don’t hit too hard and directly, but at an angle, and with a stroke as if you were playing tennis or casting a fishing rod. This means that you’re only hitting the part of the slate paving stone you want to chip off.

Do not chip off more than 2-3 cm at a time and work gradually across the paving stone. When you are about 1 cm from the chalk mark you can begin the fine chipping with a slate wedge or slate splitter. Begin the fine chipping furthest away from you and work backwards as you chip. The slate splitter or skate wedge should be held quite lightly at an angle to the slate paving stone.

Hit quickly and lightly. You will gain confidence as you go.

4. Lay the paving stone

Once you have shaped the paving stone, put it in place again. Make any fine adjustments to the shape when it is in place.

Lift up the paving stone from one side and adjust the sand below so it doesn’t rock and is at the right height in relation to the paving stones already laid. Bang it into place with a rubber hammer or similar tool. Check the height and drop for the last time before you start on the next paving stone.

5. Distance between paving stones

The distance (grouting width) depends on how you want it to look. The narrower you want the grouting to be, the more you will have to shape the stone and the more you will have to remove. Whatever you do, remember to keep the cut-off bits of stone – they can be used as attractive decorative stones around the garden.

Bruddskifer av lys Oppdal har grønn mose i fugene. Små vintergrønne vekster er planett mellom skiferhellene.

The unwritten “rules”

Paving stones can vary in appearance depending on how they are shaped, the grouting (both width and what they are filled with), and the pattern in which they are laid.

Luckily, there are no hard and fast rules about what is good or correct. So you can decide for yourself how you want your slate paving to look.

Avoid “intersecting” joints with four tiles meeting to form a cross.

Angels at corners should be grater that 45 degrees.

Avoid ressing one tile into another.

Avoid long narrow tiles.

No continious joints (they should be interrupted after three to four slabs as shown here).

Each slab should have minimum 5 sides. Each side should be minimum 10 cm.

Lay according to taste!

Begin laying the paving stones from a corner and then fan outwards.

Good luck! And remember that nothing is more satisfying than enjoying a coffee in the garden on slate paving stones you’ve laid yourself!

We are sorry, but you are using a version of Internet Explorer that is not supported on this site. The browser is no longer updated by Microsoft and may therefore pose a security risk. We recommend that you use a different browser. Welcome back!